


 本文详细介绍了如何使用Vue和Element UI构建用户登录功能,包括页面布局、表单验证及登录逻辑实现。
首先用npm安装Element
npm i element-ui -S
在目录main.js中全局引用
import ElementUI from 'element-ui';

import 'element-ui/lib/theme-chalk/index.css';

Vue.use(ElementUI);
整体布局
对App.vue进行修改
<template>
  <el-container>
    <el-header class="header" height="100px">
      <h1>Vue小模块之用户登录功能</h1>
    </el-header>
    <el-main>
      <router-view/>
    </el-main>
  </el-container>
</template>
<script>
export default {
  name: 'App'
}
</script>

<style>
  .header{
    background-color: #409EFF;
    color: white;
  }
</style>
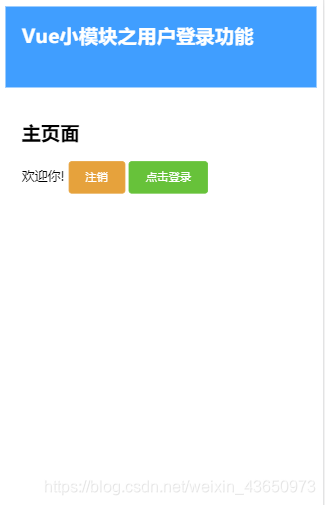
在src/component下建main.vue
<template>
    <div>
        <h1>主页面</h1>
        欢迎你!
        <span>
            <el-button type="warning">注销</el-button>
        </span>
        <el-button type="success" @click="login">点击登录</el-button>
    </div>
</template>
效果如下
要实现的功能是点击登录跳转到登录页面
在main.vue中加入
<script>
    export default {
        methods: {
            login () {
                this.$router.push('/login')
            }

        }

    }
</script>
效果如下:
在新建login.vue
<template>
    <el-row type="flex" justify="center">
        <el-form  :model="user"  status-icon label-width="80px">
            <el-form-item label="用户名">
                <el-input v-model="user.name"></el-input>
            </el-form-item>
            <el-form-item label="密码" >
                <el-input v-model="user.pass" type="password"></el-input>
            </el-form-item>
            <el-form-item>
                    <el-button type="primary" icon="el-icon-upload" @click="login">登录</el-button>
            </el-form-item>
        </el-form>
    </el-row>
</template>
我们要对表单进行验证,用到elementUi的validate方法
首先配置验证规则
data () {
            return {
                user: {},
                rules: {
                    name: [
                        {required: true, message: '用户名不能为空', trigger: 'blur'}
                    ],
                    pass: [
                        {required: true, message: '密码不能为空', trigger: 'blur'}
                    ]
                }
            }
        }
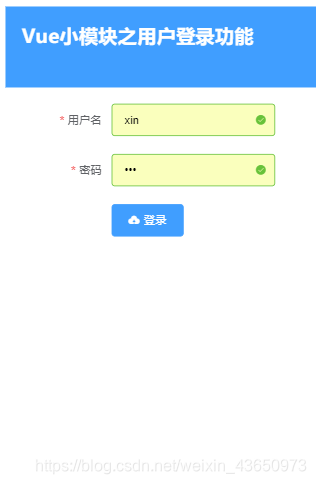
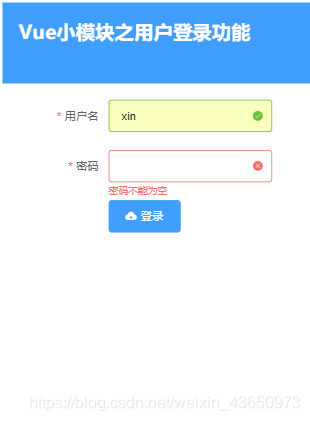
接下来在el-form中添加rules属性绑定为之前配置的验证规则,添加status-icon属性可显示状态图标
 <el-form ref="loginForm" :model="user" :rules="rules" status-icon label-width="80px">

     .........

</el-form>
除此之外,必须在要实现验证功能的el-form-item标签中添加prop属性
 <el-form-item label="用户名" prop="name">

       <el-input v-model="user.name"></el-input>

  </el-form-item>

   <el-form-item label="密码" prop="pass">

        <el-input v-model="user.pass" type="password"></el-input>

    </el-form-item>
效果如下:
提交表单
首先我们需要给el-form表单增加ref属性以便login方法进行调用
 <el-form ref="loginForm" :model="user" :rules="rules" status-icon label-width="80px">

   ......

</el-form>
这样只有在验证正确的情况下才可以下才进行切换(目前暂时指定用户名和密码),失败了也有提醒
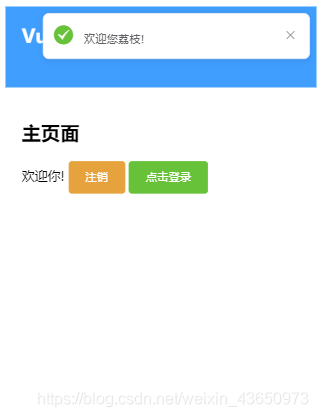
login () {
this.$refs.loginForm.validate((valid) => {
if(valid){
if(this.user.name=="荔枝" && this.user.pass=="123"){
this.$notify({
message:'欢迎您' + this.user.name + '!',
type:'success',
duration: 3000
})
this.$router.replace('/')
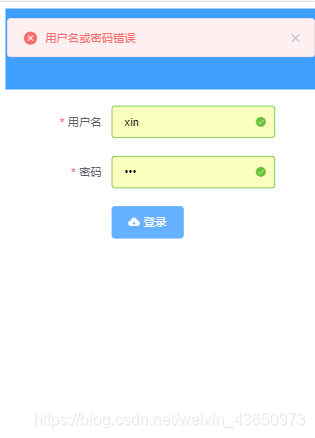
}else{
this.$message({
type: 'error',
message: '用户名或密码错误',
showClose: true
})
}
}else{
return false;
}
})
///
}
登录成功:
登录失败:


 被折叠的 条评论
为什么被折叠?
被折叠的 条评论
为什么被折叠?
 到【灌水乐园】发言


