


利用html-js实现简单的轮播图
1、先在html中将页面搭建出来
2、在使用css对页面进行样式的调整
3、使用js设置轮播图的各个元素
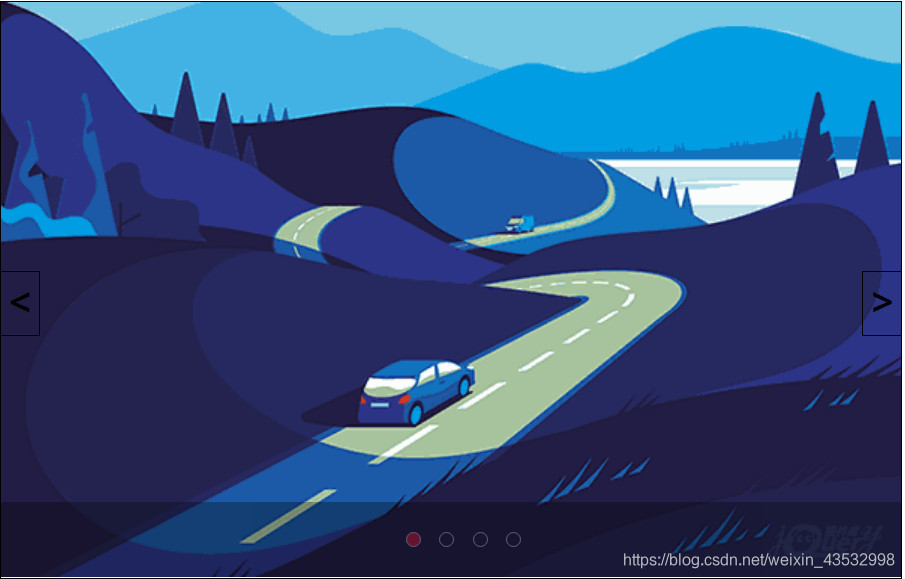
实现效果展示
html页面
<!DOCTYPE html>
<html>
<head>
<meta charset="utf-8" />
<title>轮播图</title>
<link rel="stylesheet" type="text/css" href="css/coment.css" />
</head>
<body>
<div class="content" id="content">
<span class="change left" id="pre">
<
</span>
<span class="change right" id="next">
>
</span>
<ul class="contentList" id="contentList">
<li><img src="img/t1.png" /></li>
<li><img src="img/t2.png" /></li>
<li><img src="img/t3.png" /></li>
<li><img src="img/t4.png" /></li>
</ul>
<div class="shade">
<ul class="contentRount" id="contentRount">
<li></li>
<li></li>
<li></li>
<li></li>
</ul>
</div>
</div>
<script type="text/javascript" src="js/carous.js">
</script>
</body>
</html>
css页面
.content {
	width: 720px;
	height: 460px;
	/*居中*/
	position: relative;
	margin: 40px auto;
	border: black solid 1px;
}

.content.contentList {
	width: 100%;
	height: 100%;
	/*变成快级元素*/
	display: block;
}

.content .contentList li {
	width: 100%;
	height: 100%;
	/*变成快级元素*/
	display: block;
	/*绝对定位*/
	position: absolute;
	top: 0px;
	left: 0px;
	opacity: 0;
}

.content .contentList li img {
	width: 100%;
	height: 100%;
	/*变成快级元素*/
	display: block;
}

/*改变一个元素节点的class属性,让他显示的更靠前*/
/*active  激活*/
.active{
	z-index: 9;
	opacity: 1 !important;
	transition: all 1s;
}


.change {
	width: 30px;
	height: 50px;
	display: block;
	position: absolute;
	top: 215px;
	/*设置元素的堆叠顺序*/
	z-index: 10;
	font-size: 30px;
	font-weight: bold;
	border-top: black solid 1px;
	border-bottom: black solid 1px;
	line-height: 44px;
	text-align: center;
	/*将鼠标变成手掌*/
	cursor: pointer;
}

.change:hover {
	/*设置透明度,零点几可以将前面的零省略*/
	opacity: .1;
}

.left {
	border-right: black solid 1px;
	left: 0;
}

.right {
	border-left: black solid 1px;
	right: 0;
}

/*添加一个遮罩层*/
.shade{
	width: 100%;
	height: 60px;
	background-color: black;
	opacity: .3;
	position: absolute;
	bottom: 0;
	left: 0px;
	z-index: 10;
}
.contentRount{
	display: block;
	margin: auto;
	height: 60px;
	width: 120px;
	line-height: 60px;
	text-align: center;
	margin-left: 265px;
}

.contentRount li{
	display: inline-block;
	height: 10px;
	width: 10px;
	/*圆角属性*/
	border-radius: 50% ;
	border: white solid 1px;
	background-color: black;
	margin-left: 10px;
	cursor: pointer;
}

.activer{
	background-color: red !important;
}
JavaScript页面
//返回文档中匹配指定 CSS 选择器的所有元素
var preImg = document.getElementById("pre");
var nextImg = document.getElementById("next");
var imgs = document.querySelectorAll("#contentList li");
var rount = document.querySelectorAll("#contentRount li");

//给rount标签挂载一个下标
for(var i = 0; i < rount.length; i++) {
	rount[i].setAttribute("data-index", i);
}

//当前显示第几张图片
var currentIndex = 0;

//让第一张图片和圆点统一
showImg()

//点击上一张的操作
preImg.addEventListener('click', function() {
	goPre()
})

//点击下一张的操作
nextImg.addEventListener('click', function() {
	goNext()
})

//将点击上一张提取出来
function goPre() {
	currentIndex--;
	if(currentIndex == -1) {
		currentIndex = imgs.length - 1;
	}
	showImg();
}

//将点击下一张提取出来
function goNext() {
	currentIndex++;
	if(currentIndex == imgs.length) {
		currentIndex = 0;
	}
	showImg();
}

//遍历循环
for(var i = 0; i < rount.length; i++) {
	rount[i].addEventListener('click', function(event) {
		currentIndex = Number(event.target.getAttribute('data-index'));
		showImg()
	});
}
//根据图片的下标显示图片
function showImg() {
	//图片
	for(i = 0; i < imgs.length; i++) {
		//三个等于号既要比较数据的值,还要比较数据的类型/ 而两个等于只比较数据的值
		if(i === currentIndex) {
			//setAttribute创建或改变某个新属性。
			imgs[i].setAttribute('class', 'active')
		} else {
			imgs[i].removeAttribute('class')
		}
	}

	//圆点
	for(i = 0; i < rount.length; i++) {
		//三个等于号既要比较数据的值,还要比较数据的类型/ 而两个等于只比较数据的值
		if(i === currentIndex) {
			//setAttribute创建或改变某个新属性。
			rount[i].setAttribute('class', 'activer')
		} else {
			rount[i].removeAttribute('class')
		}
	}
}

//指定周期
setInterval(function() {
	goPre()
}, 3000)


 被折叠的 条评论
为什么被折叠?
被折叠的 条评论
为什么被折叠?
 到【灌水乐园】发言


