


Redux 的简单使用
目录:
1、安装
2、创建Store
3、创建Reducer
4、使用store在组件中调用redux state中的数据
5、向store传值
安装
对于IOS:
yarn add redux
对于Windows:
npm install redux
创建Store
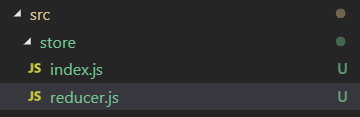
在src目录下新建store文件夹,并且创建reducer.js和index.js(index.js负责创建store)目录结构应该像是这样的:
在index中,我们写下创建store的代码:
import { createStore } from 'redux';
import reducer from './reducer';

const store = createStore(reducer);

export default store;
创建reducer
我们打开reducer.js,写下创建reducer的代码:
const defaultState = {
    state: 'fine'
    //默认state数据
}

export default (state = defaultState, action)=>{
    return state;
}
使用store在组件中调用数据
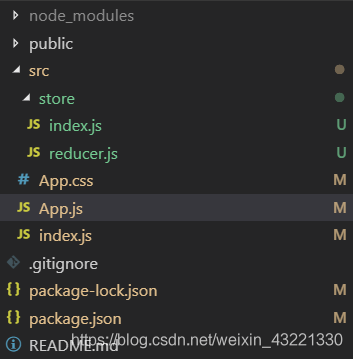
此时项目目录结构如下:
App.js的代码如下:
import React, { Component } from 'react';
import './App.css';
import store from './store'

class App extends Component {
  constructor(props){
    super(props);
    this.state = store.getState();
  }

  render() {
    return (
      <div>
        {this.state.state}
      </div>
    );
  }
}

export default App;
App.css代码如下:
/* http://meyerweb.com/eric/tools/css/reset/
   v2.0 | 20110126
   License: none (public domain)
*/

html, body, div, span, applet, object, iframe,
h1, h2, h3, h4, h5, h6, p, blockquote, pre,
a, abbr, acronym, address, big, cite, code,
del, dfn, em, img, ins, kbd, q, s, samp,
small, strike, strong, sub, sup, tt, var,
b, u, i, center,
dl, dt, dd, ol, ul, li,
fieldset, form, label, legend,
table, caption, tbody, tfoot, thead, tr, th, td,
article, aside, canvas, details, embed,
figure, figcaption, footer, header, hgroup,
menu, nav, output, ruby, section, summary,
time, mark, audio, video {
	margin: 0;
	padding: 0;
	border: 0;
	font-size: 100%;
	font: inherit;
	vertical-align: baseline;
}
/* HTML5 display-role reset for older browsers */
article, aside, details, figcaption, figure,
footer, header, hgroup, menu, nav, section {
	display: block;
}
body {
	line-height: 1;
}
ol, ul {
	list-style: none;
}
blockquote, q {
	quotes: none;
}
blockquote:before, blockquote:after,
q:before, q:after {
	content: '';
	content: none;
}
table {
	border-collapse: collapse;
	border-spacing: 0;
}
index.js如下:
import React from 'react';
import ReactDOM from 'react-dom';
import App from './App';

ReactDOM.render(<App />, document.getElementById('root'));
此时,你应该能够看到测试页面上显示fine

向Store传值
完成上述工作之后,我们应该已经能够成功访问store中的state数据了,下面我们将会对store进行传值。附:redux调试工具安装
此时改变App.js,新代码如下:
import React, { Component } from 'react';
import './App.css';
import store from './store'

class App extends Component {
  constructor(props){
    super(props);
    this.state = store.getState();
    this.handleStoreChange = this.handleStoreChange.bind(this);
    store.subscribe(this.handleStoreChange);
    this.handleButtonClick = this.handleButtonClick.bind(this);
  }

  handleStoreChange(){
    this.setState(
      store.getState
    )
  }

  handleButtonClick(){
    const action = {
      type: 'change_text_value',
      data: 'hello, world!'
    }

    store.dispatch(action)
  }

  render() {
    return (
      <div>
        {this.state.state}
        <button onClick = {this.handleButtonClick}>改写前面的值</button>
      </div>
    );
  }
}

export default App;
改变reducer.js
const defaultState = {
    state: 'fine'
}

export default (state = defaultState, action)=>{
    if(action.type === 'change_text_value'){
        const newState = JSON.parse(JSON.stringify(state));
        newState.state = action.data;
        return newState;
    }

    return state;
}
访问页面,我们可以看到

摁下按钮,值变为了:
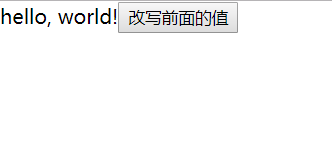
至此,一个简单的redux使用已经完成了。


 291
291

 被折叠的 条评论
为什么被折叠?
被折叠的 条评论
为什么被折叠?
 到【灌水乐园】发言


