


官网 https://redis.io
简介
Redis是NoSQL的数据库,ey-value方式存储的内存数据库(key :通常是String类型、value:strings, hashes, lists, sets, sorted sets选择哪一个根据业务来定的),而对于存在内存里的数据,万一挂掉的情况,内部有机制,定时的把内存数据 刷到磁盘上面,重启之后可以把磁盘上的数据加载进来的
特性
- 速度很快 :1s 十万次 ,读写非常好的
- 持久化(两种方式):1)RDB (快照) 2)AOF(所有的操作记录下来,写到操作日志的,类似于Hadoop写操作) 重启之后优先AOF ,因为 数据更加完整 ,RBD是定时的快照
- 数据类型丰富
- 多语言的:java 、scala 、python等都可以
- 其他功能 : 发布订阅,事务 ,pipeline(指的是 多条指令 可以放在一起 最后 发一条指令 代替 而不是一条数据一个指令 网络传输少很多 工作当中批量的 一定要采用pipeline的方式 发送请求
- 单线程的 (这也是速度快的一大原因)
- 有集群,有主从复制 ,来保证分布式和高可用
国内微博(粉丝数、热门) 使用redis的多
部署
会使用docker的小伙伴可以直接使用docker部署,这里介绍编译安装的方式
安装包准备
可以从官网 https://redis.io/ 下载最新版redis
[hadoop@hadoop001 soft]$ wget http://download.redis.io/releases/redis-5.0.8.tar.gz
[hadoop@hadoop001 soft]$ ll redis-5.0.8.tar.gz
-rw-rw-r-- 1 hadoop hadoop 1985757 Mar 12 23:08 redis-5.0.8.tar.gz
解压
[hadoop@hadoop001 soft]$ tar -zxvf redis-5.0.8.tar.gz -C ~/app/
依赖包安装
[root@hadoop001 ~]# yum -y install cpp binutils glibc glibc-kernheaders glibc-common glibc-devel gcc make gcc-c++ libstdc++-devel tcl
编译、安装
[hadoop@hadoop001 redis-5.0.8]$ make

[hadoop@hadoop001 redis-5.0.8]$ make install
cd src && make install
make[1]: Entering directory `/home/hadoop/app/redis-5.0.8/src'
    CC Makefile.dep
make[1]: Leaving directory `/home/hadoop/app/redis-5.0.8/src'
make[1]: Entering directory `/home/hadoop/app/redis-5.0.8/src'

Hint: It's a good idea to run 'make test' ;)

    INSTALL install
install: cannot create regular file ‘/usr/local/bin/redis-server’: Permission denied
make[1]: *** [install] Error 1
make[1]: Leaving directory `/home/hadoop/app/redis-5.0.8/src'
make: *** [install] Error 2
[hadoop@hadoop001 redis-5.0.8]$
//上面是没有权限的原因
[hadoop@hadoop001 redis-5.0.8]$ sudo  make install
cd src && make install
make[1]: Entering directory `/home/hadoop/app/redis-5.0.8/src'

Hint: It's a good idea to run 'make test' ;)

    INSTALL install
    INSTALL install
    INSTALL install
    INSTALL install
    INSTALL install
make[1]: Leaving directory `/home/hadoop/app/redis-5.0.8/src'
[hadoop@hadoop001 redis-5.0.8]$ ls
00-RELEASENOTES  CONTRIBUTING  deps     Makefile   README.md   runtest          runtest-moduleapi  sentinel.conf  tests
BUGS             COPYING       INSTALL  MANIFESTO  redis.conf  runtest-cluster  runtest-sentinel   src            utils
[hadoop@hadoop001 redis-5.0.8]$

[hadoop@hadoop001 src]$ ls redis-server
redis-server            #服务端的
[hadoop@hadoop001 src]$ ls redis-cli
redis-cli                  #客户端的
[hadoop@hadoop001 src]$

#注意:你把redis编译好了 ‘/usr/local/bin/redis-server 这个目录下也是有 redis-server的
[hadoop@hadoop001 bin]$ cd /usr/local/bin/
[hadoop@hadoop001 bin]$ ls redis-server
redis-server
[hadoop@hadoop001 bin]$ ls redis-cli
redis-cli
[hadoop@hadoop001 bin]$
修改配置文件以及启动Redis
[hadoop@hadoop001 src]$ ./redis-server
23563:C 29 Apr 2020 11:37:59.362 # oO0OoO0OoO0Oo Redis is starting oO0OoO0OoO0Oo
23563:C 29 Apr 2020 11:37:59.362 # Redis version=5.0.8, bits=64, commit=00000000, modified=0, pid=23563, just started
23563:C 29 Apr 2020 11:37:59.362 # Warning: no config file specified, using the default config. In order to specify a config file use ./redis-server /path/to/redis.conf
_._
_.-``__ ''-._
_.-`` `. `_. ''-._ Redis 5.0.8 (00000000/0) 64 bit
.-`` .-```. ```\/ _.,_ ''-._
( ' , .-` | `, ) Running in standalone mode
|`-._`-...-` __...-.``-._|'` _.-'| Port: 6379
| `-._ `._ / _.-' | PID: 23563
`-._ `-._ `-./ _.-' _.-'
|`-._`-._ `-.__.-' _.-'_.-'|
| `-._`-._ _.-'_.-' | http://redis.io
`-._ `-._`-.__.-'_.-' _.-'
|`-._`-._ `-.__.-' _.-'_.-'|
| `-._`-._ _.-'_.-' |
`-._ `-._`-.__.-'_.-' _.-'
`-._ `-.__.-' _.-'
`-._ _.-'
`-.__.-'
23563:M 29 Apr 2020 11:37:59.363 # WARNING: The TCP backlog setting of 511 cannot be enforced because /proc/sys/net/core/somaxconn is set to the lower value of 128.
23563:M 29 Apr 2020 11:37:59.364 # Server initialized
23563:M 29 Apr 2020 11:37:59.364 # WARNING overcommit_memory is set to 0! Background save may fail under low memory condition. To fix this issue add 'vm.overcommit_memory = 1' to /etc/sysctl.conf and then reboot or run the command 'sysctl vm.overcommit_memory=1' for this to take effect.
23563:M 29 Apr 2020 11:37:59.364 # WARNING you have Transparent Huge Pages (THP) support enabled in your kernel. This will create latency and memory usage issues with Redis. To fix this issue run the command 'echo never > /sys/kernel/mm/transparent_hugepage/enabled' as root, and add it to your /etc/rc.local in order to retain the setting after a reboot. Redis must be restarted after THP is disabled.
23563:M 29 Apr 2020 11:37:59.364 * Ready to accept connections
#注意:6379 redis经典端口
[hadoop@hadoop001 ~]$ ps -ef | grep redis
hadoop 23563 12668 0 11:37 pts/0 00:00:00 ./redis-server *:6379
hadoop 23795 23768 0 11:39 pts/1 00:00:00 grep --color=auto redis
[hadoop@hadoop001 ~]$
#说明redis 服务端启动了
#再启动客户端 :
[hadoop@hadoop001 src]$ ./redis-cli
127.0.0.1:6379> keys *
(empty list or set)
127.0.0.1:6379> set name leo
OK
127.0.0.1:6379> keys *
1) "name"
127.0.0.1:6379> get name
"leo"
127.0.0.1:6379>
#前面是前端启动,后台运行:需要对redis.conf 文件进行简单的配置 配置一下 logfile位置
#创建日志目录
[hadoop@hadoop001 redis-5.0.8]$ mkdir redislogs
[hadoop@hadoop001 redis-5.0.8]$ cd redislogs/
[hadoop@hadoop001 redislogs]$ pwd
/home/hadoop/app/redis-5.0.8/redislogs
[hadoop@hadoop001 redislogs]$
#修改配置文件
[hadoop@hadoop001 redis-5.0.8]$ vi redis.conf
bind 0.0.0.0 #做修改,使得客户端可以访问
protected-mode no #无密码,测试用
daemonize yes #以daemon方式,修改成yes
logfile "/home/hadoop/app/redis-5.0.8/redislogs/redis.log" #日志文件路径
#后台启动
[hadoop@hadoop001 src]$ ./redis-server ../redis.conf
[hadoop@hadoop001 src]$ ps -ef |grep redis
hadoop 26574 1 0 12:01 ? 00:00:00 ./redis-server 0.0.0.0:6379
hadoop 26714 23768 0 12:02 pts/1 00:00:00 grep --color=auto redis
[hadoop@hadoop001 src]$
#客户端操作: 需要把redis.conf 里的 bind 去掉 或者 配置成 0.0.0.0
[hadoop@hadoop001 src]$ ./redis-cli -h hadoop001 -p 6379
hadoop001:6379>
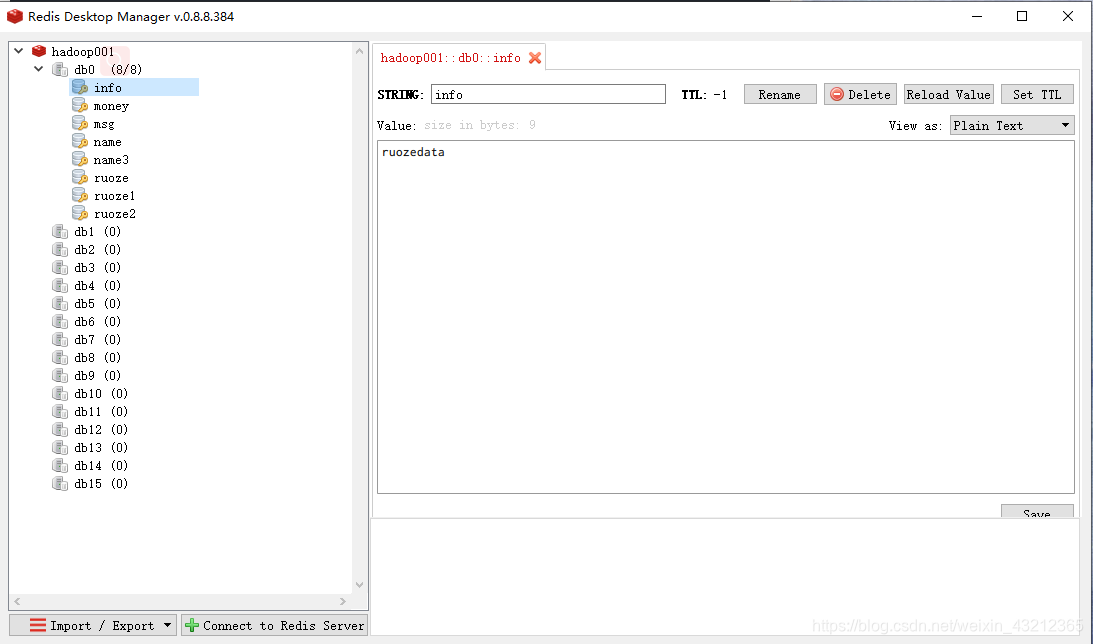
在黑窗口查看 redis还是比较麻烦的 https://www.jianshu.com/p/6895384d2b9e 安装一下
在黑窗口查看 redis还是比较麻烦的 https://www.jianshu.com/p/6895384d2b9e 安装一下
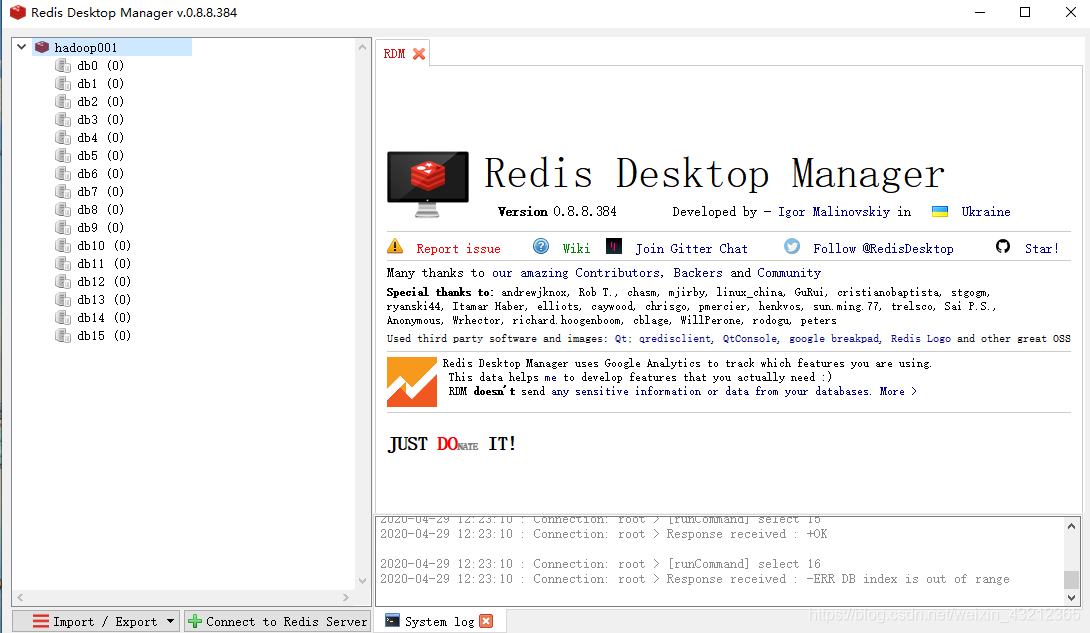
基础操作
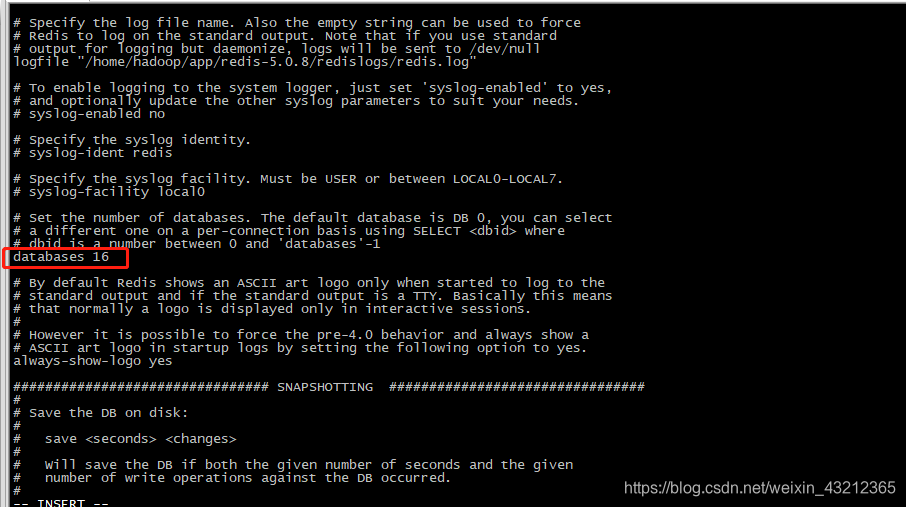
Resdis多数据库特性,默认有16个数据库,默认是在0库,可以改的 redis.conf ,通常情况下数据库之间是隔离的
Redis 切换库 黑窗口:
[hadoop@hadoop001 src]$ ./redis-cli -h hadoop001 -p 6379
hadoop001:6379> select 1
OK
hadoop001:6379[1]> select 0
OK
hadoop001:6379> select 16
(error) ERR DB index is out of range
hadoop001:6379>
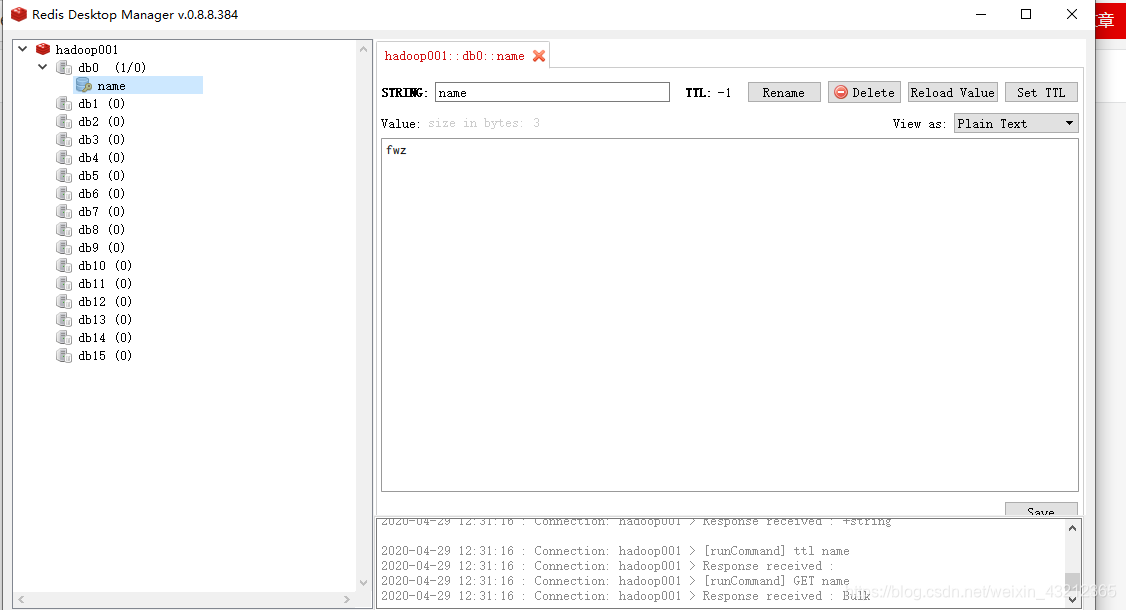
hadoop001:6379> set name fwz
OK
hadoop001:6379>
通常情况下 数据库之间是 隔离的
hadoop001:6379> select 1
OK
hadoop001:6379[1]> set  bigdata spark
OK
hadoop001:6379[1]> get  bigdata
"spark"
hadoop001:6379[1]> select 0
OK
hadoop001:6379> get bigdata
(nil)
hadoop001:6379>

#工作中,可以用不同的库存放相同的数据(测试用)
注意:
flushall 这个操作没有做隔离的 会把所有的库里的东西 全部干掉, 慎用
hadoop001:6379>  FLUSHALL
OK
hadoop001:6379> select 1
OK
hadoop001:6379[1]> get bigdata
(nil)
hadoop001:6379[1]>
redis里的基础命令:
#keys  *    查你当前库里的所有的key,这个keys 是能进行匹配的
hadoop001:6379[1]> select 0
OK
hadoop001:6379> set name 1
OK
hadoop001:6379> set name2 xx
OK
hadoop001:6379> set name3 ll
OK
hadoop001:6379> keys *
1) "name"
2) "name3"
3) "name2"
hadoop001:6379>  keys name*
1) "name"
2) "name3"
3) "name2"
hadoop001:6379> keys name?
1) "name3"
2) "name2"
hadoop001:6379> keys name[0-9]
1) "name3"
2) "name2"
hadoop001:6379>
判断某一个key 存不存在
exists 对应的key 返回1 表示存在
hadoop001:6379> EXISTS name
(integer) 1
hadoop001:6379> EXISTS name10
(integer) 0
hadoop001:6379>
删除
del  key
del key1 key2

hadoop001:6379> DEL name
(integer) 1
hadoop001:6379> del name1 name2
(integer) 1
hadoop001:6379>

# 或者 会到外面删除 ,类似于hive里的hive -e
[hadoop@hadoop001 redis-5.0.8]$ src/redis-cli keys "*"
1) "name3"
[hadoop@hadoop001 redis-5.0.8]$ src/redis-cli del `redis-cli keys "name*"`
(integer) 1
[hadoop@hadoop001 redis-5.0.8]$ src/redis-cli keys "*"
(empty list or set)
[hadoop@hadoop001 redis-5.0.8]$
命令太多了 看官网
查看 key的类型:
hadoop001:6379> type name
string
hadoop001:6379>
命令帮助
hadoop001:6379> help
redis-cli 5.0.8
To get help about Redis commands type:
      "help @<group>" to get a list of commands in <group>
      "help <command>" for help on <command>
      "help <tab>" to get a list of possible help topics
      "quit" to exit

To set redis-cli preferences:
      ":set hints" enable online hints
      ":set nohints" disable online hints
Set your preferences in ~/.redisclirc
hadoop001:6379>
注意:help @ 用的最多
hadoop001:6379>  help @string

  APPEND key value
  summary: Append a value to a key
  since: 2.0.0

  BITCOUNT key [start end]
  summary: Count set bits in a string
  since: 2.6.0

  BITFIELD key [GET type offset] [SET type offset value] [INCRBY type offset increment] [OVERFLOW WRAP|SAT|FAIL]
  summary: Perform arbitrary bitfield integer operations on strings
  since: 3.2.0

  BITOP operation destkey key [key ...]
  summary: Perform bitwise operations between strings
  since: 2.6.0

  BITPOS key bit [start] [end]
  summary: Find first bit set or clear in a string
  since: 2.8.7

  DECR key
  summary: Decrement the integer value of a key by one
  since: 1.0.0

  DECRBY key decrement
  summary: Decrement the integer value of a key by the given number
  since: 1.0.0

  GET key
  summary: Get the value of a key
  since: 1.0.0

  GETBIT key offset
  summary: Returns the bit value at offset in the string value stored at key
  since: 2.2.0

  GETRANGE key start end
  summary: Get a substring of the string stored at a key
  since: 2.4.0

  GETSET key value
  summary: Set the string value of a key and return its old value
  since: 1.0.0

  INCR key
  summary: Increment the integer value of a key by one
  since: 1.0.0

  INCRBY key increment
  summary: Increment the integer value of a key by the given amount
  since: 1.0.0

  INCRBYFLOAT key increment
  summary: Increment the float value of a key by the given amount
  since: 2.6.0

  MGET key [key ...]
  summary: Get the values of all the given keys
  since: 1.0.0

  MSET key value [key value ...]
  summary: Set multiple keys to multiple values
  since: 1.0.1

  MSETNX key value [key value ...]
  summary: Set multiple keys to multiple values, only if none of the keys exist
  since: 1.0.1

  PSETEX key milliseconds value
  summary: Set the value and expiration in milliseconds of a key
  since: 2.6.0

  SET key value [expiration EX seconds|PX milliseconds] [NX|XX]
  summary: Set the string value of a key
  since: 1.0.0

  SETBIT key offset value
  summary: Sets or clears the bit at offset in the string value stored at key
  since: 2.2.0

  SETEX key seconds value
  summary: Set the value and expiration of a key
  since: 2.0.0

  SETNX key value
  summary: Set the value of a key, only if the key does not exist
  since: 1.0.0

  SETRANGE key offset value
  summary: Overwrite part of a string at key starting at the specified offset
  since: 2.2.0

  STRLEN key
  summary: Get the length of the value stored in a key
  since: 2.2.0

hadoop001:6379>
数据类型:
1)strings
set ruoze www.ruozedata.com
get ruoze
mset ruoze1 ruozedata1 ruoze2 ruozedata2 #多个设置
mget ruoze1 ruoze2
set ruoze1 ruozedata001 #修改,微博上面的好友数就可以通过这个做到
setnx ruoze1 ruoze001 #这个操作是存在的话就不做任何操作,不存在的话就会赋值,返回1是代表不进行操作
setnx :
SETNX key value
summary: Set the value of a key, only if the key does not exist
since: 1.0.0
#经典应用:很多 incr可以用来统计在线人数
set money 100
incr money #默认是加1
set age abc
incr age #这步操作就会报错,要保证是数值类型,因为我们前面设置的是abc
incrby money 100 #可以设置加的数值
decrby money 10 #减的数值
incrbyfloat money 1.1 #加 float类型的,使用过程中要注意计数不是想象的那样
incrbyfloat money -1.1 #减
append ruoze spark #拼接操作,把spark拼接到ruoze的value值下面
strlen ruoze #获得value长度
#可以设置偏移量
SETRANGE msg 1 world #从第一个位置开始替换
hadoop001:6379> set msg helloworld
OK
hadoop001:6379> get msg
"helloworld"
hadoop001:6379> SETRANGE msg 1 world
(integer) 10
hadoop001:6379> get msg
"hworldorld"
hadoop001:6379>
getrange msg 0 4 #取[0,4]的数据
getrange msg -4 -1 #-1代表最后一个,从最后一个开始取4个
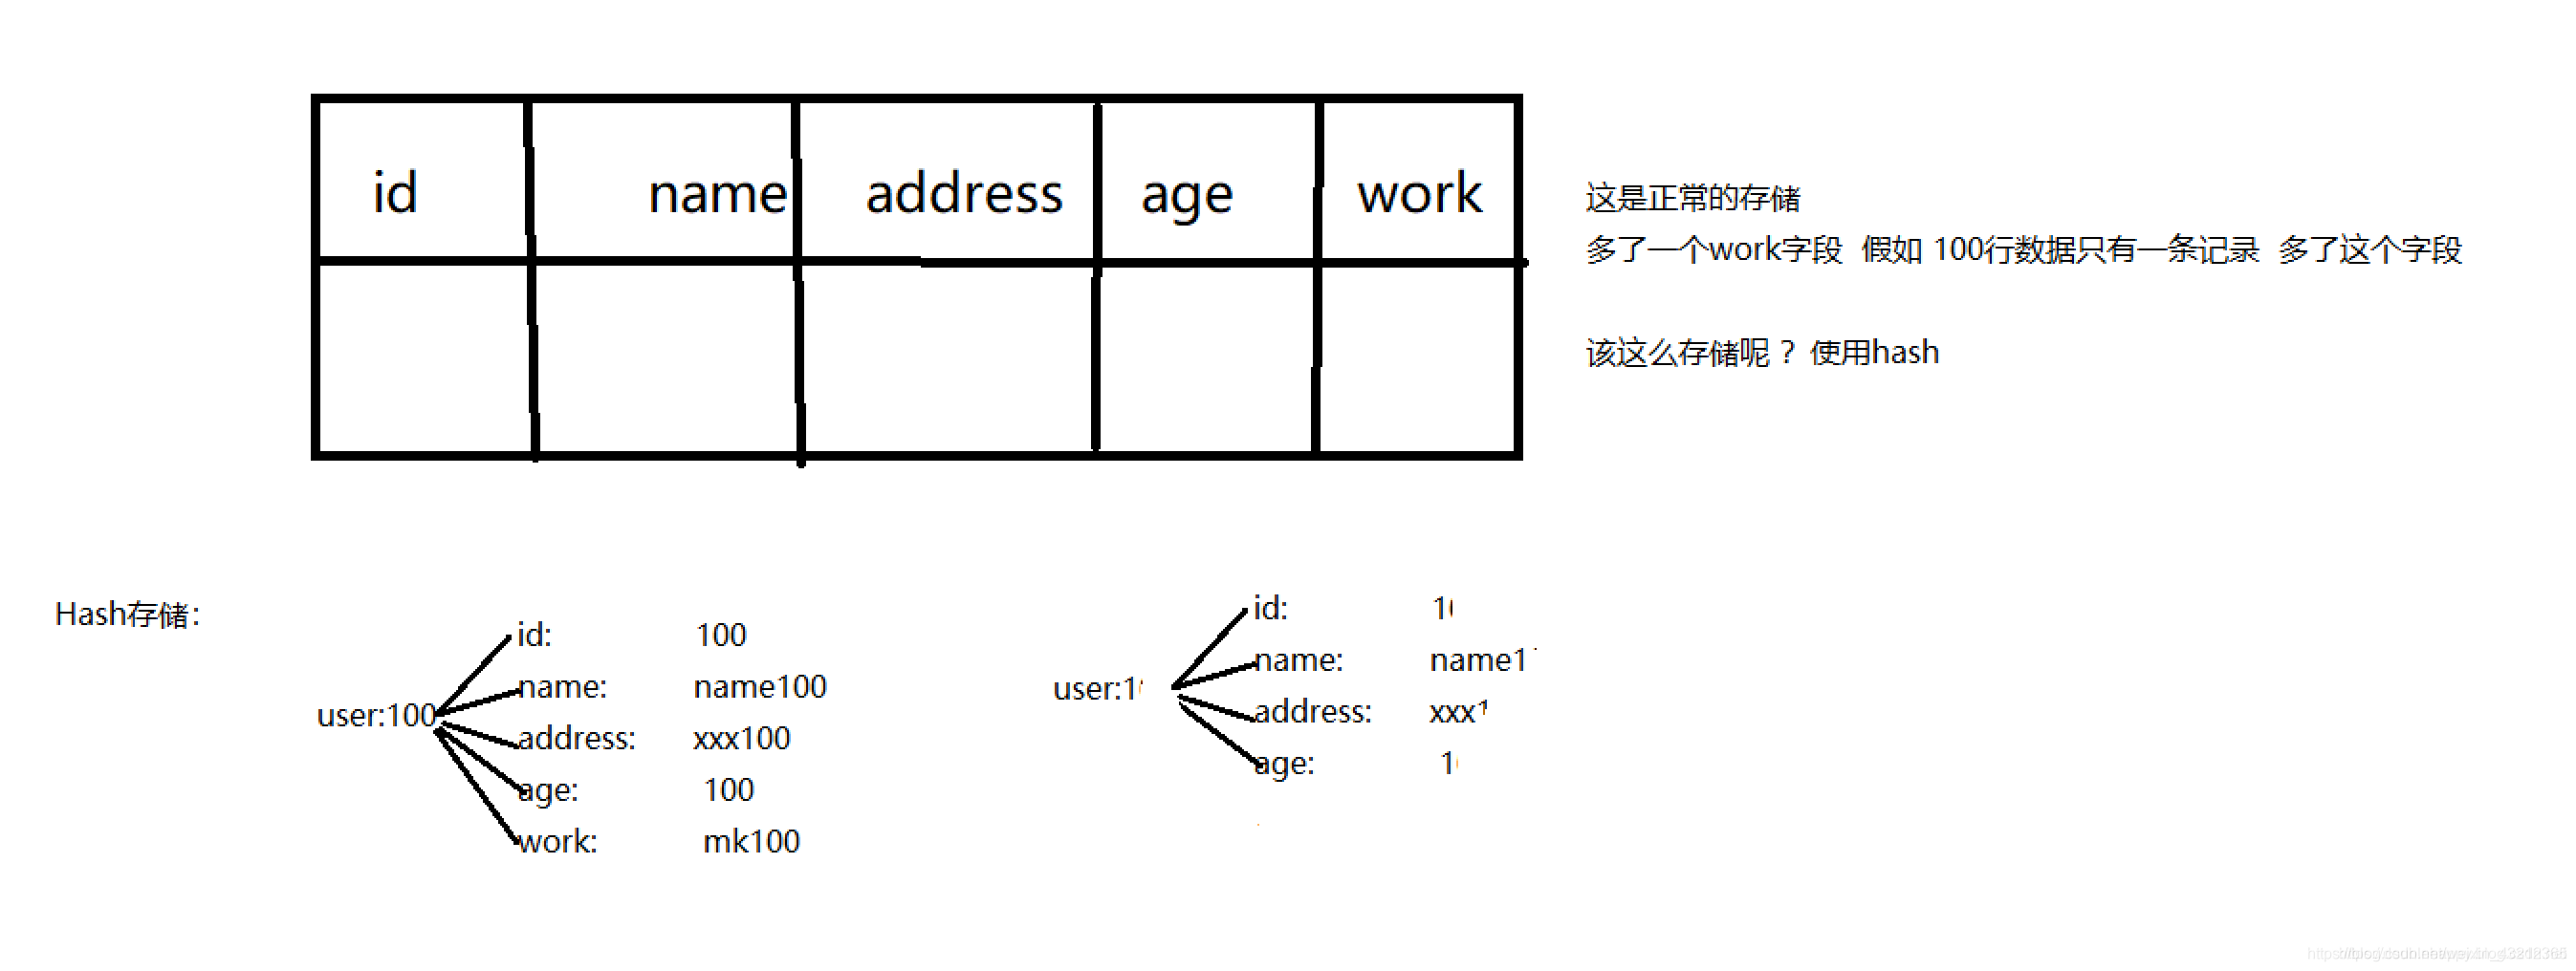
2)hashes
场景 多了一个字段 假如 100行数据只有一条记录 多了这个字段
大数据里 偏移量使用它 来存储的
hmset:
对已有的会修改 对没有的会加上去
help @hashes
hset user:100 name ruoze #user:100可以理解为一个主键
hset user:100 age 30
hset user:100 password 111111
#offset偏移量可以用这个数据结构来存储,topic、partition等
hget user:100 age
hmset user:100 age 18 gender male
#多个设置和修改,对于已有的会更新,没有的就insert
hmget user:100 age gender
hexists user:100 age #判断是否存在
hgetall user:100
hkeys user:100
#使用string肯定会有很多个key,而使用hash存储方式,只会有一个key,使用hash存储肯定会比string方式存储更加节省空间
3)lists(有序,可以存重复的)
help@lists
lpush list a #往list里从前面开始加
lpush list b
lpush list c
row value
1 c
2 b
3 a
//顺序要注意
lpop list #取数据 ,从row1开始取,弹出,取出来之后就没了,类似于一个框里取完就没了
lpush list x
llen list #看长度
lrange list 0 -1 #角标取值,0是第一个,-1是最后一个,这里角标取值同上面的弹出是不同的概念,这里取值完后还存在
lrem list 2 a #删除2个a,count value
lindex list 1
lset list 0 a #修改,第0个位置放一个a
4)set(不可以重复,是无序的)
sadd set a #数据结构决定了没有办法去加重复的东西
SMEMBERS set #查看值
SDIFF set set1 #返回set 里面有的 set1里面没有的
SINTER set set1 #交集
SUNION set set1
SCARD aaa #统计集合里有几个
spop aaa #弹出
idea开发
首先在pom文件中添加依赖,jedis是操作redis的一个客户端
    <!-- https://mvnrepository.com/artifact/redis.clients/jedis -->
    <dependency>
      <groupId>redis.clients</groupId>
      <artifactId>jedis</artifactId>
      <version>3.1.0</version>
    </dependency>
单元测试代码
package com.ruozedata;

import org.junit.After;
import org.junit.Assert;
import org.junit.Before;
import org.junit.Test;
import redis.clients.jedis.Jedis;

public class RedisApp {
    String host = "hadoop001";
    int port = 6379;
    Jedis jedis;

    @Test
    public void test01() {
        jedis.set("info", "ruozedata");
        //判断是不是相等,使用Assert
        Assert.assertEquals("ruozedata", jedis.get("info"));
        //这里最好还要做一步删除,因为单元测试不能影响实际的准确性
    }


    @Before
    public void setUp() {
        jedis = new Jedis(host, port);
    }


    @After
    public void tearDown() {
        jedis.close();
    }
}


 559
559

 被折叠的 条评论
为什么被折叠?
被折叠的 条评论
为什么被折叠?
 到【灌水乐园】发言


