


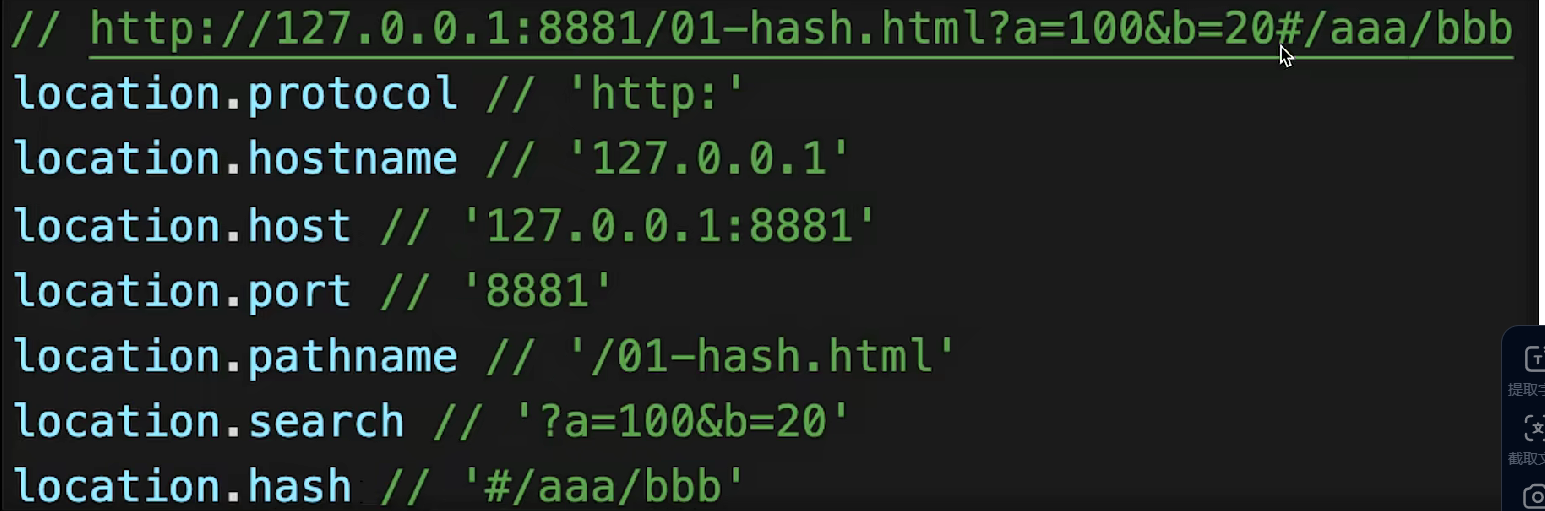
网页url组成部分
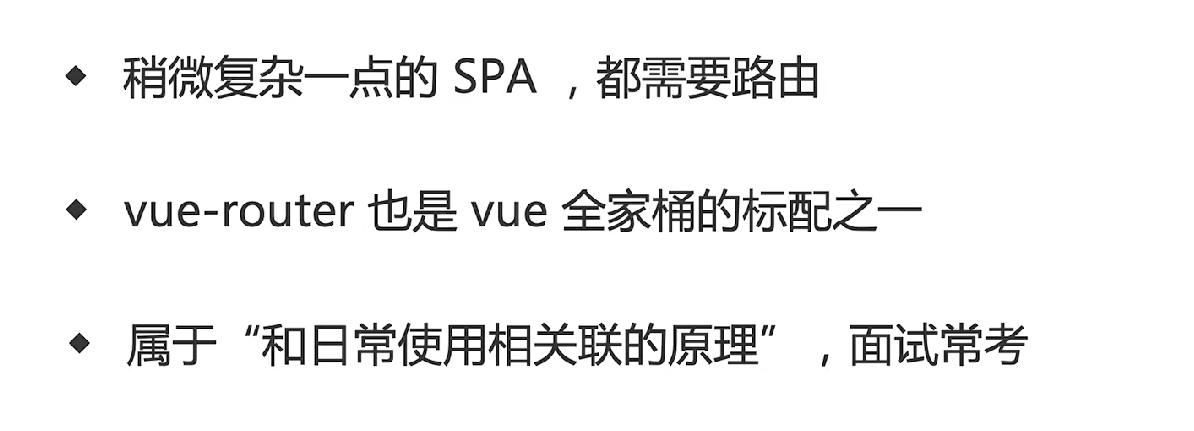
vue-router的路由模式
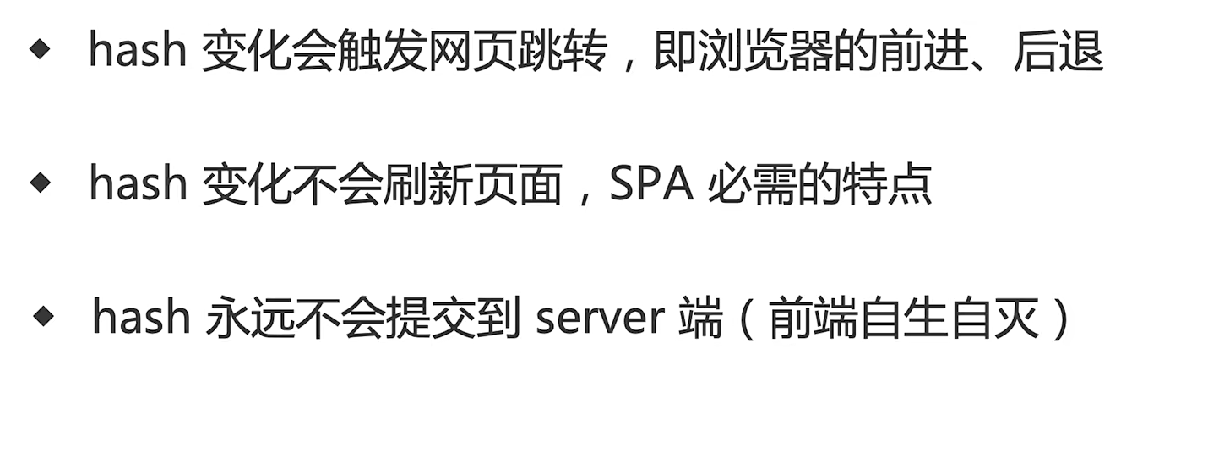
hash
js实现
<!DOCTYPE html>
<html lang="en">
<head>
    <meta charset="UTF-8">
    <meta name="viewport" content="width=device-width, initial-scale=1.0">
    <meta http-equiv="X-UA-Compatible" content="ie=edge">
    <title>hash test</title>
</head>
<body>
    <p>hash test</p>
    <button id="btn1">修改 hash</button>

    <script>
        // hash 变化,包括:
        // a. JS 修改 url
        // b. 手动修改 url 的 hash
        // c. 浏览器前进、后退
        window.onhashchange = (event) => {
            console.log('old url', event.oldURL)
            console.log('new url', event.newURL)

            console.log('hash:', location.hash)
        }

        // 页面初次加载,获取 hash
        document.addEventListener('DOMContentLoaded', () => {
            console.log('hash:', location.hash)
        })

        // JS 修改 url
        document.getElementById('btn1').addEventListener('click', () => {
            location.href = '#/user'
        })
    </script>
</body>
</html>
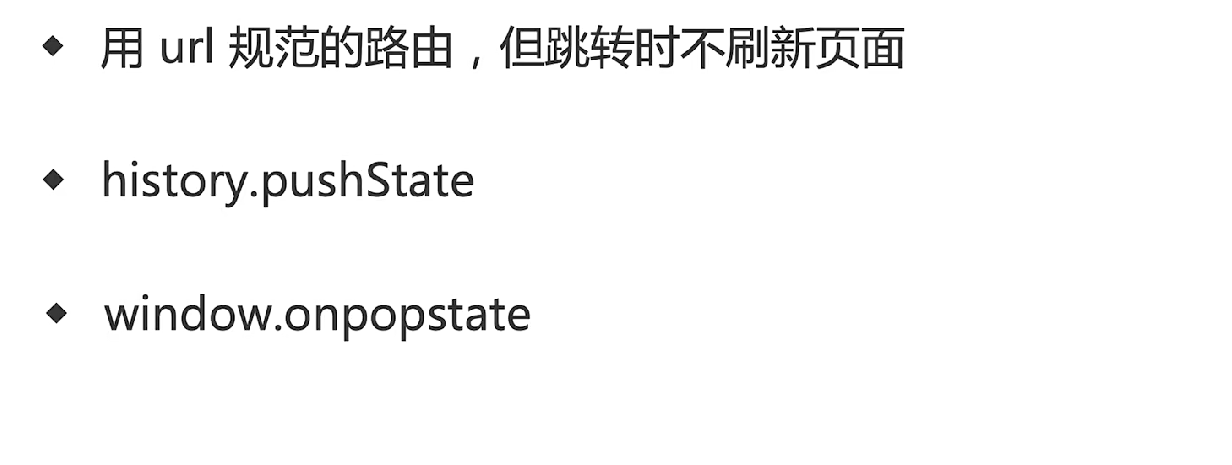
H5 history
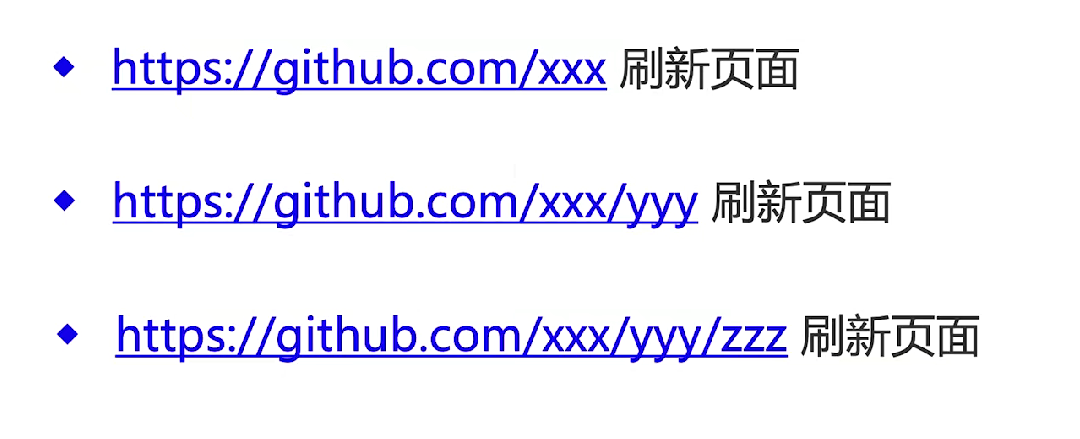
正常页面浏览
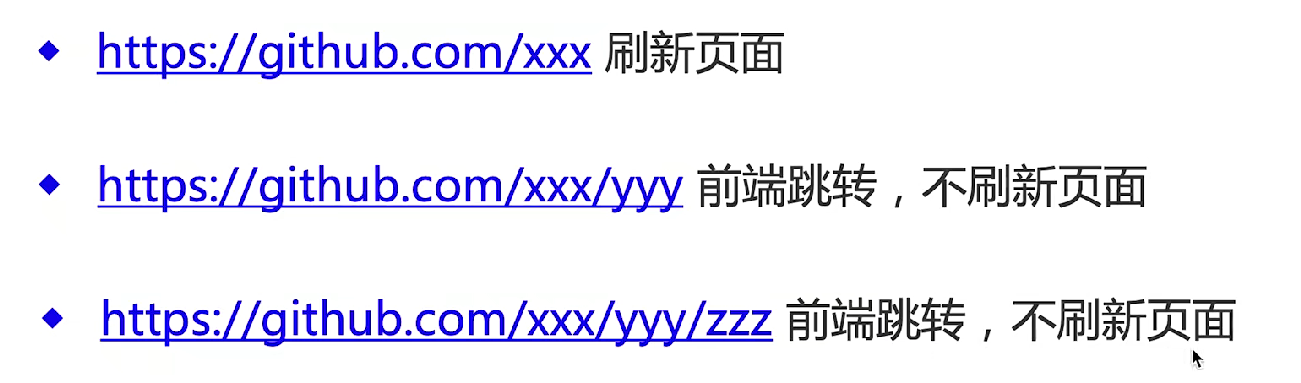
改造成H5 history模式
代码实现
<!DOCTYPE html>
<html lang="en">
<head>
    <meta charset="UTF-8">
    <meta name="viewport" content="width=device-width, initial-scale=1.0">
    <meta http-equiv="X-UA-Compatible" content="ie=edge">
    <title>history API test</title>
</head>
<body>
    <p>history API test</p>
    <button id="btn1">修改 url</button>

    <script>
        // 页面初次加载,获取 path
        document.addEventListener('DOMContentLoaded', () => {
            console.log('load', location.pathname)
        })

        // 打开一个新的路由
        // 【注意】用 pushState 方式,浏览器不会刷新页面
        document.getElementById('btn1').addEventListener('click', () => {
            const state = { name: 'page1' }
            console.log('切换路由到', 'page1')
            history.pushState(state, '', 'page1') // 重要!!
        })

        // 监听浏览器前进、后退
        window.onpopstate = (event) => { // 重要!!
            console.log('onpopstate', event.state, location.pathname)
        }

        // 需要 server 端配合,可参考
    </script>
</body>
</html>
效果如下:

为什么需要后端的配合?
在使用 HTML5 History API 的单页应用(SPA)中,服务器端需要返回 index.html 的原因是为了确保无论用户访问哪个路由(如 /home、/about),都能正确加载前端应用的核心文件(如 JavaScript、CSS 等),并由前端路由处理路径。以下是详细解释:
一、为什么需要返回 index.html?
-
单页应用的特点
- SPA 只有一个 HTML 文件(通常是
index.html),所有页面内容由 JavaScript 动态渲染。 - 前端路由(如 Vue Router、React Router)负责根据 URL 显示不同的组件。
- SPA 只有一个 HTML 文件(通常是
-
HTML5 History API 的工作方式
- 使用
history.pushState()或history.replaceState()修改 URL,但不会向服务器发送请求。 - 当用户直接访问某个路径(如
/about)或刷新页面时,浏览器会向服务器请求该路径的资源。
- 使用
-
服务器的作用
- 如果服务器没有配置为返回
index.html,直接访问/about会导 404 错误,因为服务器上并没有about.html文件。 - 通过返回
index.html,前端路由可以解析 URL 并渲染对应的页面内容。
- 如果服务器没有配置为返回
二、代码解析
以下是vue官方提供的原生node.js服务器代码,逐行解释其作用:
const http = require('http');
const fs = require('fs');
const httpPort = 80;

http
  .createServer((req, res) => {
    // 读取 index.html 文件
    fs.readFile('index.html', 'utf-8', (err, content) => {
      if (err) {
        console.log('We cannot open "index.html" file.');
      }

      // 设置响应头
      res.writeHead(200, {
        'Content-Type': 'text/html; charset=utf-8',
      });

      // 返回 index.html 内容
      res.end(content);
    });
  })
  .listen(httpPort, () => {
    console.log('Server listening on: http://localhost:%s', httpPort);
  });
| 代码部分 | 作用 |
|---|---|
http.createServer() | 创建一个 HTTP 服务器 |
fs.readFile('index.html', ...) | 读取 index.html 文件 |
res.writeHead(200, {...}) | 设置响应状态码为 200,并指定内容类型为 text/html,字符集为 utf-8 |
res.end(content) | 将 index.html 的内容作为响应体返回 |
.listen(httpPort, ...) | 监听指定端口(80),启动服务器 |
三、服务器返回 index.html 的流程
-
用户访问
/home- 浏览器向服务器发送请求,路径为
/home。 - 服务器返回
index.html。
- 浏览器向服务器发送请求,路径为
-
前端路由接管
- 浏览器加载
index.html中的 JavaScript 文件。 - 前端路由解析
/home,渲染对应的页面内容。
- 浏览器加载
-
用户刷新页面
- 浏览器再次向服务器请求
/home。 - 服务器仍然返回
index.html,确保前端路由可以正常工作。
- 浏览器再次向服务器请求


 被折叠的 条评论
为什么被折叠?
被折叠的 条评论
为什么被折叠?
 到【灌水乐园】发言


