


 该博客围绕Python学习展开,涵盖软件开发过程的分析、设计、实施等环节,介绍面向对象编程理念、类的写法、构造与析构函数,还涉及文件的输入输出操作、异常处理以及sys和os等标准库的使用。
第十章 软件开发过程
1.什么(分析)
2.如何(设计)
3.编写(实施)
4.测试(测试与调试)
5.使用(实施或开发)
6.维护(优化)
第十一章 面向对象的编程
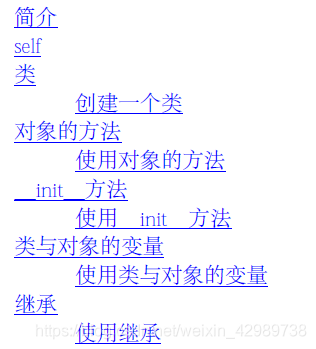
1.简介
到目前为止,我们的程序主要是根据操作数据的函数或语句块来设计程序的,这被称为面向对象的编程。
还有一种把数据和功能结合起来,用称为对象的东西包裹来起来组织程序的方法。这种方法称为面向对象的编程理念。在大多数时候你可以使用过程性编程,但是有些时候当你想要编写大型程序或是寻找一个更加合适的解决方案的时候,你就得使用面向对象得编程技术。

class Person:
pass
p=Person()
print§
class Person:
def sayHi(self):
print(‘hello,how are you?’)
p=Person()
p.sayHi()
这里我们看到了self的用法。注意sayHi方法没有任何参数,但仍然在函数定义时有self。
刚开始学习Python的类写法的时候觉得很是麻烦,为什么定义时需要而调用时又不需要,为什么不能内部简化从而减少我们敲击键盘的次数?
你看完这篇文章后就会明白所有的疑问。
3、由于类起到模板的作用,因此,可以在创建实例的时候,把我们认为必须绑定的属性强制填写进去。这里就用到Python当中的一个内置方法__init__方法,例如在Student类时,把name、score等属性绑上去:
class Student(object):
def init(self, name, score):
self.name = name
self.score = score
这里注意:
(1)、__init__方法的第一参数永远是self,表示创建的类实例本身,因此,在__init__方法内部,就可以把各种属性绑定到self,因为self就指向创建的实例本身。
(2)、有了__init__方法,在创建实例的时候,就不能传入空的参数了,必须传入与__init__方法匹配的参数,但self不需要传,Python解释器会自己把实例变量传进去:
作者:CLHugh
来源:优快云
原文:https://blog.youkuaiyun.com/CLHugh/article/details/75000104
版权声明:本文为博主原创文章,转载请附上博文链接!
class Person:
def init(self,name):
self.name=name# 把外部name变量赋值给类的实例对象
def sayHi(self):
print(‘hello,My name is:’,self.name)
#定义一个Person类,并赋初值(zhai haixiang)
#(zhai haixiang)作为一个外部变量,通过析构函数
p=Person(‘zhai haixiang’)
p.sayHi()# 注意引用的时候都是要加上.XXX
Person(‘zhai’).sayHi()# 也可以直接赋值

构造函数VS析构函数
class Person:
‘’‘Reprensent’’’
population=0# 是一个属性类
def __init__(self,name):
    '''Initializes'''
    self.name=name
    print(self.name)
    Person.population+=1

def __del__(self):
    '''I am dying.'''
    print(self.name)

    Person.population-=1

    if Person.population==0:
        print('This is last one.')
    else:
        print('There is stil %d person left.',Person.population)

def  sayHi(self):
    '''Greeting by the person'''

def howMany(self):
    '''Prints the current poplation'''

    if Person.population==1:
        print('I am the only person here.')
    else:
        print('We have %d person here.',Person.population)
a=Person(‘zhai’)
a.sayHi()
a.howMany()
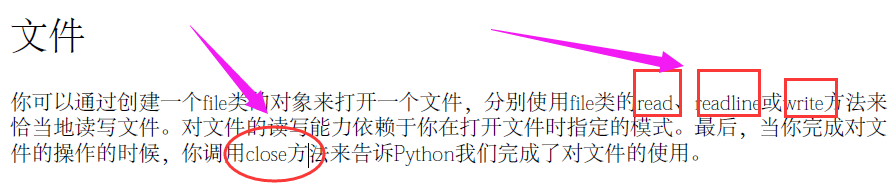
第十二章 输入和输出 文件
1.文件写入本地(poem.txt)
poem=’’‘Programming is fun When the work is done
if you wanna make your work also fun use Python!’’’
f=open(‘poem.txt’,‘w’)
f.write(poem)
f.close()
2.从本地读出所写内容,并输出在屏幕上。
f=open(‘poem.txt’)
while True:
line=f.readline()
if len(line)==0:
break
print(line)
执行结果如下:
Programming is fun When the work is done
if you wanna make your work also fun use Python!

各种读写方式参见:https://www.cnblogs.com/xinchrome/p/5011304.html
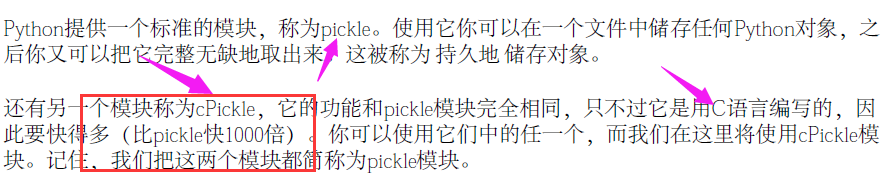
3.存储器
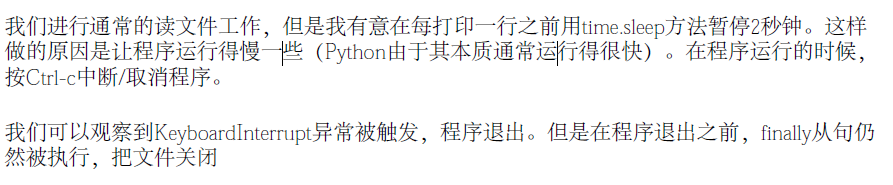
第十三章 异常
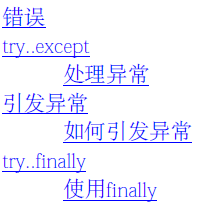
try … except
import time
try:
f=open(‘poem.txt’)
while True:
line=f.readline()
if len(line)==0:
break
time.sleep(2)
print(line)
finally:
f.close()
print(‘Clearning up…close the line’)
第十四章 标准库
1.实sys 模块
2.os模块
好啦,就到这啦!


 被折叠的 条评论
为什么被折叠?
被折叠的 条评论
为什么被折叠?
 到【灌水乐园】发言


