


本文中说的这个业务逻辑适用于多个渠道的选择的业务逻辑,而且之后渠道还会进行添加。
这段逻辑可以提高代码的维护性
以支付渠道为例
当项目中存在多渠道支付的时候就会存在渠道的选择问题,如果还用if。。。esle。。。
这种方式对于维护的难度就突飞猛进,如果改错一个,整个代码就炸了。这个锅还是不要背的
 首先来分析一下,支付渠道逻辑中。支付是共性,渠道是特性
支付我们就可以抽出一个接口,渠道就可以作为实现类中的逻辑
 这个自定义注解@pay后边会讲
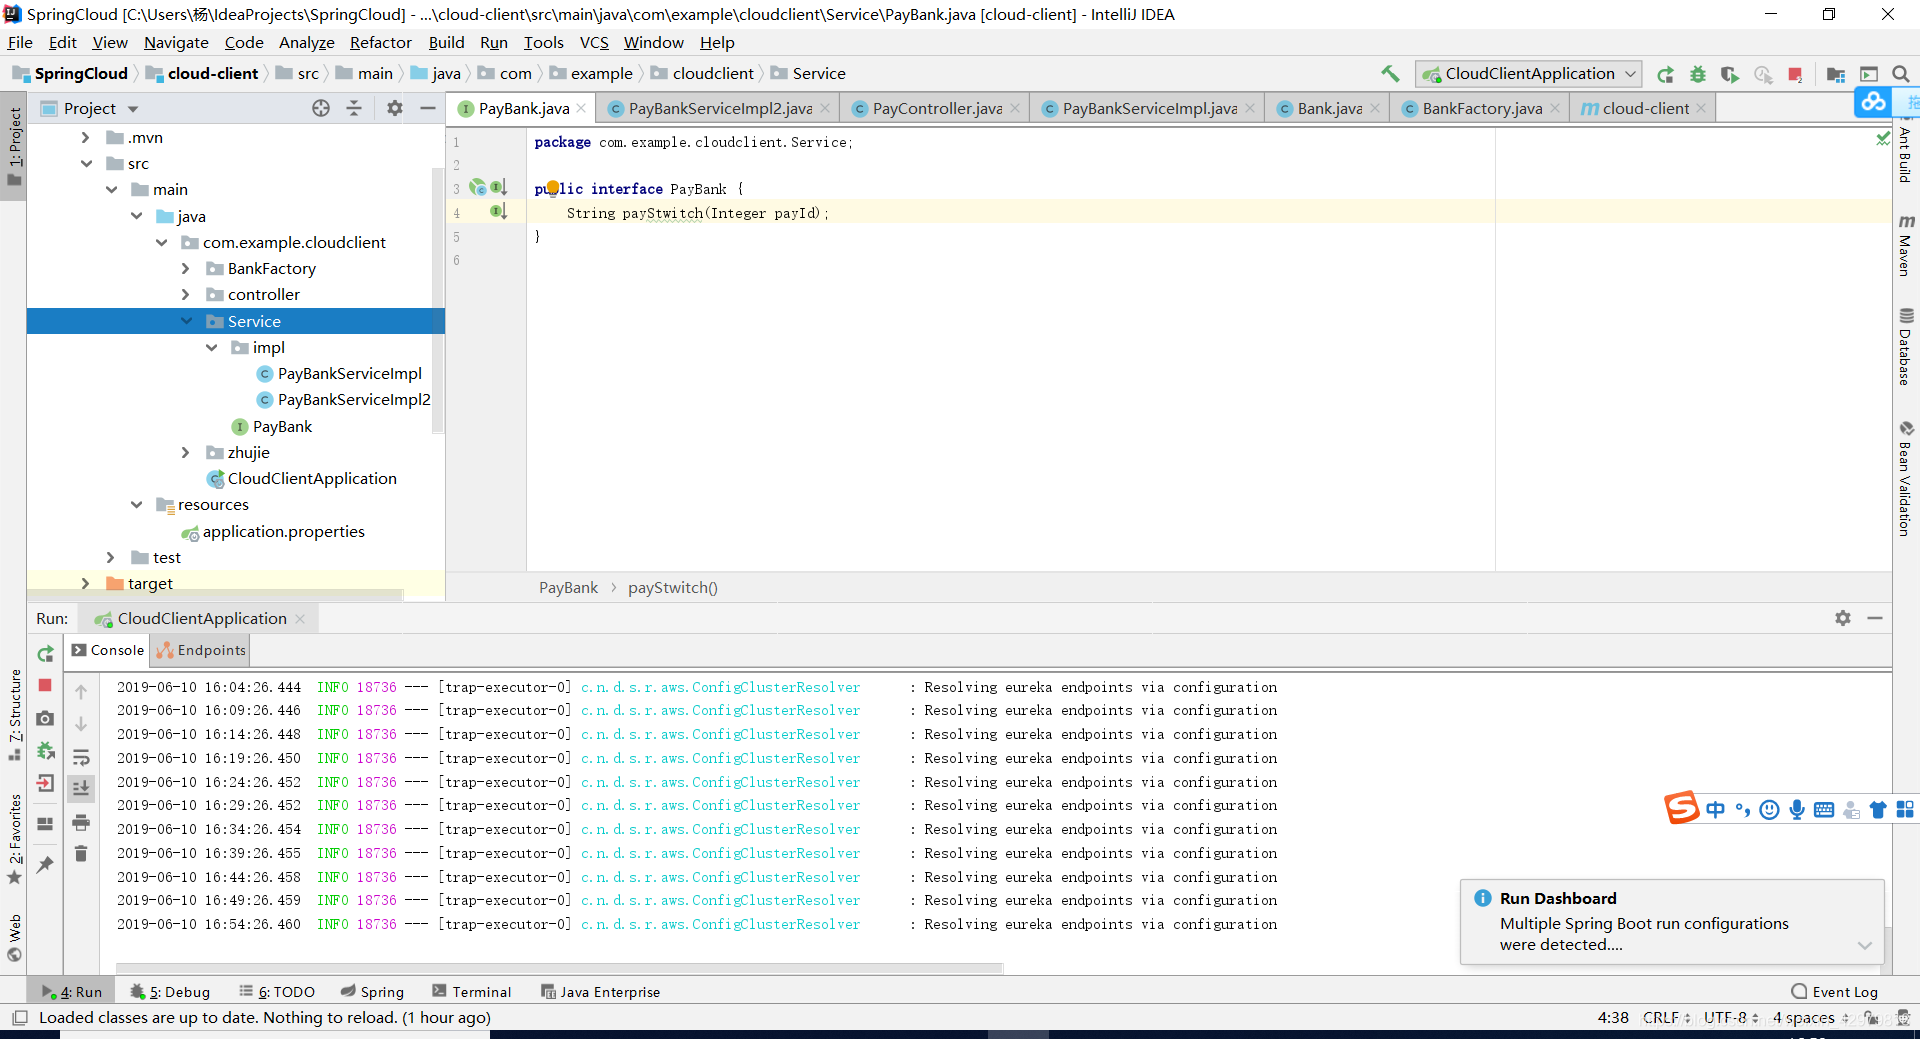
package com.example.cloudclient.Service;

public interface PayBank {
    String payStwitch(Integer payId);
}
package com.example.cloudclient.Service.impl;

import com.example.cloudclient.Service.PayBank;
import com.example.cloudclient.zhujie.Pay;
import org.springframework.stereotype.Service;

@Pay("1")
@Service("PayBankService")
public class PayBankServiceImpl implements PayBank {
    @Override
    public String payStwitch(Integer payId) {
        return "第一家";
    }
}
package com.example.cloudclient.Service.impl;

import com.example.cloudclient.Service.PayBank;
import com.example.cloudclient.zhujie.Pay;

@Pay("2")
public class PayBankServiceImpl2 implements PayBank {
    @Override
    public String payStwitch(Integer payId) {
        return "第二家";
    }
}
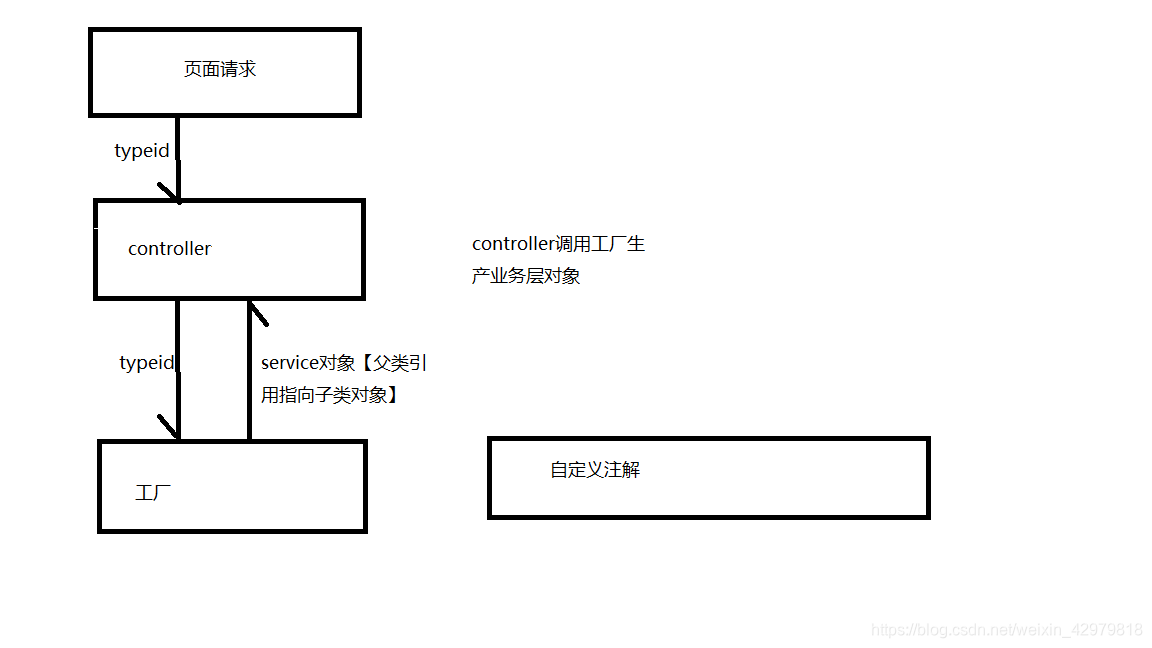
这样渠道的就有了,之后我们就该考虑怎么进行选则渠道,
对渠道的选则说白了就是对实现类的选则,最后调用的方法都是payStwitch
这个方法,在页面进行选则的时候一定会穿到后台一个唯一标识进行区分,
我设像写一个方法 ,我传给你一个标识id你给我返回一个对象(接口指向实现类对象)
对于创建对象这个事,我认为工厂模式还是比较合适的
一个id对应一个对象,就想到用map来存放,想个办法把实现类对象都放进来(总不能一个一个new吧)
于是这边想到反射。
这时@pay注解就就起到了两个作用,关联唯一id与对象之间的关系,然后扫描所有带有pay注解的类
Reflections是反射工具类,reflections.getTypesAnnotatedWith这个方法可以获取所有带有某个注解的类的全限定名
这个map的key就是唯一id(@pay()括号里的值,当然这个值要于页面值相对应),value就是对应类的全限定名。
这样通过反射就可以创建对象了
package com.example.cloudclient.BankFactory;

import com.example.cloudclient.Service.PayBank;
import com.example.cloudclient.Service.impl.PayBankServiceImpl;
import com.example.cloudclient.zhujie.Pay;
import org.reflections.Reflections;
import org.springframework.beans.factory.annotation.Autowired;
import org.springframework.stereotype.Service;

import java.lang.annotation.Annotation;
import java.util.HashMap;
import java.util.Map;
import java.util.Set;

public class BankFactory {

   public static BankFactory bankFactory =  new BankFactory();

   public static Map<String,String> map = new HashMap<>();

   static {
       Reflections reflections = new Reflections("com.example.cloudclient.Service.impl");
       Set<Class<?>> typesAnnotatedWith = reflections.getTypesAnnotatedWith(Pay.class);
       for (Class c : typesAnnotatedWith){

           Pay annotation = (Pay) c.getAnnotation(Pay.class);
           map.put(annotation.value(),c.getCanonicalName());
       }
   }
   public PayBank creat(String typeId) throws ClassNotFoundException, IllegalAccessException, InstantiationException {


       String s = map.get(typeId);
       Class<?> aClass = Class.forName(s);
       PayBank o = (PayBank) aClass.newInstance();
       return o;
   }

    public static  BankFactory getInstance(){
        return bankFactory;
    }


}
package com.example.cloudclient.zhujie;


import java.lang.annotation.ElementType;
import java.lang.annotation.Retention;
import java.lang.annotation.RetentionPolicy;
import java.lang.annotation.Target;
@Retention(RetentionPolicy.RUNTIME)
@Target({ElementType.TYPE})
public @interface Pay {
    String value();
}
package com.example.cloudclient.BankFactory;

import com.example.cloudclient.Service.PayBank;
import org.springframework.stereotype.Service;

@Service("payService")
public class Bank {


    public String pays(String typeid){
        BankFactory instance = BankFactory.getInstance();
        String s = null;
        try {
            PayBank creat = instance.creat(typeid);
            s = creat.payStwitch(12);
        } catch (IllegalAccessException e) {
            e.printStackTrace();
        } catch (InstantiationException e) {
            e.printStackTrace();
        } catch (ClassNotFoundException e) {
            e.printStackTrace();
        }
        return s;
    }
}
只要controller来调用工厂里的creat方法就可以了
package com.example.cloudclient.controller;

import com.example.cloudclient.BankFactory.Bank;
import org.springframework.beans.factory.annotation.Autowired;
import org.springframework.stereotype.Controller;
import org.springframework.web.bind.annotation.PathVariable;
import org.springframework.web.bind.annotation.RequestMapping;
@Controller
@RequestMapping("/t")
public class PayController {
    @Autowired
    private Bank bank;

    @RequestMapping("/test/{typeid}")
    public  void testPay(@PathVariable String typeid){
        String pays = bank.pays(typeid);
        System.out.println(pays);
    }
}


 总结
总结
如果之后有新增的需求就可以不用管之前是怎么写的,自己新写一个类。值关注自己的业务代码就可以了


 被折叠的 条评论
为什么被折叠?
被折叠的 条评论
为什么被折叠?
 到【灌水乐园】发言


