


都说好记性不如烂笔头,每天写一点,从量变到质变的开始!废话不多说,以下所有内容均来自本人实际操作:
1.设置Spring Boot的parent
<parent>
    <groupId>org.springframework.boot</groupId>
    <artifactId>spring-boot-starter-parent</artifactId>
    <version>2.1.1.RELEASE</version>
    <relativePath/>
</parent>说明:Spring Boot的项目必须要将parent设置为Spring Boot的parent,该parent包含了大量默认的配置,大大简化了我们的开发.
2.导入Spring Boot的web支持
<dependency>
    <groupId>org.springframework.boot</groupId>
    <artifactId>spring-boot-starter-web</artifactId>
</dependency>
3.添加Spring Boot的插件
<plugin>
    <groupId>org.springframework.boot</groupId>
    <artifactId>spring-boot-maven-plugin</artifactId>
</plugin>
4.编写第一个Spring Boot应用
@Controller
@SpringBootApplication
@Configuration
public class HelloApplication {
@RequestMapping("hello")
@ResponseBody
public String hello() {
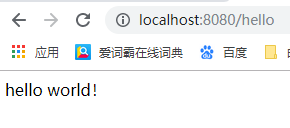
return "hello world!";
}
public static void main(String[] args) {
SpringApplication.run(HelloApplication.class, args);
}
}代码说明:
@SpringBootApplication:Spring Boot项目的核心注解,主要目的是开启自动配置;
@Configuration:这是一个配置Spring的配置类;
@Controller:标明这是一个SpringMVC的Controller控制器;
main方法:在main方法中启动一个应用,即:这个应用的入口;
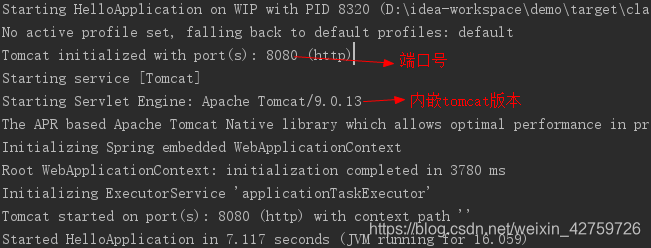
5.启动应用
看到 Started HelloApplication in 7.117 seconds (JVM running for 16.059) 说明启动成功
打开浏览器访问


 被折叠的 条评论
为什么被折叠?
被折叠的 条评论
为什么被折叠?
 到【灌水乐园】发言


