


 本文详细介绍了如何搭建SSM框架,包括配置MyBatis、Spring和数据库连接等关键步骤,并展示了具体的XML配置文件示例。此外,还提供了项目代码的GitHub链接。
SSM搭建
这里简单列举了搭建SSM的主要配置文件和最终的效果展示,关于后端java代码后面会上传github。个人经验总结,ssm应用开发可以用两个词概括,关联,映射。
项目代码地址:https://github.com/2248414907/ssm
配置mybatis-conf.xml
<?xml version="1.0" encoding="UTF-8" ?>
<!DOCTYPE configuration
PUBLIC "-//mybatis.org//DTD Config 3.0//EN"
"http://mybatis.org/dtd/mybatis-3-config.dtd">
<configuration>


	<!--
		5.databaseIdProvider:
			Mybatis用来支持多数据库厂商。Mybatis可以根据不同的数据库执行不同的sql语句
			DB_VENDOR: VendorDatabaseIdProvider 作用就是得到数据库厂商的标识名.
					   Connection.getMetaData().getDataBaseProductName();
			常见的数据库厂商的标识名:
				MySQL:  MySQL
				Oracle: Oracle
				SQL Server:  SQL Server
	 -->
	 <databaseIdProvider type="DB_VENDOR">
	 	<!-- 为数据库厂商的标识名起别名 -->
	 	<property name="MySQL" value="mysql"/>
	 	<property name="Oracle" value="oracle"/>
	 	<property name="SQL Server" value="sqlserver"/>
	 </databaseIdProvider>

</configuration>
配置db.properties
jdbc.driver=com.mysql.jdbc.Driver
jdbc.url=jdbc:mysql://localhost:3306/ssmbuild
jdbc.username=root
jdbc.password=123456


orcl.driver=oracle.jdbc.OracleDriver
orcl.url=jdbc:oracle:thin:@localhost:1521:xe
orcl.username=system
orcl.password=1234
配置applicationContext.xml,spring和mybatis整合
<?xml version="1.0" encoding="UTF-8"?>
<beans xmlns="http://www.springframework.org/schema/beans"
	xmlns:xsi="http://www.w3.org/2001/XMLSchema-instance"
	xmlns:context="http://www.springframework.org/schema/context"
	xmlns:mybatis-spring="http://mybatis.org/schema/mybatis-spring"
	xmlns:tx="http://www.springframework.org/schema/tx"
	xsi:schemaLocation="http://www.springframework.org/schema/beans http://www.springframework.org/schema/beans/spring-beans.xsd
		http://mybatis.org/schema/mybatis-spring http://mybatis.org/schema/mybatis-spring-1.2.xsd
		http://www.springframework.org/schema/tx http://www.springframework.org/schema/tx/spring-tx-4.0.xsd
		http://www.springframework.org/schema/context http://www.springframework.org/schema/context/spring-context-4.0.xsd">


	<!-- 开启注解扫描 -->
	<context:component-scan base-package="com.shanghai.ssm">
		<context:exclude-filter type="annotation" expression="org.springframework.stereotype.Controller"/>
	</context:component-scan>

	<!-- 数据源 -->
	<context:property-placeholder location="classpath:db.properties"/>
	<bean id="dataSource" class="com.mchange.v2.c3p0.ComboPooledDataSource">
		<property name="jdbcUrl" value="${jdbc.url}"></property>
		<property name="driverClass" value="${jdbc.driver}"></property>
		<property name="user" value="${jdbc.username}"></property>
		<property name="password" value="${jdbc.password}"></property>
	</bean>

	<!-- 事务 -->
	<bean id="dataSourceTransactionManager"
			class="org.springframework.jdbc.datasource.DataSourceTransactionManager">
		<property name="dataSource" ref="dataSource"></property>
	</bean>

	<tx:annotation-driven transaction-manager="dataSourceTransactionManager"/>

	<!-- Mybatis与Spring的整合 -->
	<bean id="sqlSessionFactoryBean" class="org.mybatis.spring.SqlSessionFactoryBean">
		<!-- 注入数据源 -->
		<property name="dataSource" ref="dataSource"></property>
		<!-- 指定MyBatis的全局配置文件 -->
		<property name="configLocation" value="classpath:mybatis-conf.xml"></property>
		<!-- 指定sql映射文件的位置 -->
		<property name="mapperLocations" value="classpath:com/shanghai/ssm/mapper/*.xml"></property>
		<!-- 取别名 -->
		<property name="typeAliasesPackage" value="com.shanghai.ssm.beans"></property>

	</bean>

	<!-- 扫描所有的mapper接口,生成代理实现类,交给IOC容器管理 -->
	<bean class="org.mybatis.spring.mapper.MapperScannerConfigurer">
		<property name="basePackage" value="com.shanghai.ssm.mapper"></property>
	</bean>

	<mybatis-spring:scan base-package="com.atguigu.ssm.mapper"/>


</beans>
配置EmployeeMapper.xml在这里插入代码片
<?xml version="1.0" encoding="UTF-8"?>
<!DOCTYPE mapper PUBLIC "-//mybatis.org//DTD Mapper 3.0//EN" "http://mybatis.org/dtd/mybatis-3-mapper.dtd" >

<mapper namespace="com.shanghai.ssm.mapper.EmployeeMapper">

	<select id="selectAllEmps" resultMap="MyEmpAndDept">
		select
			e.id eid,e.last_name, e.gender, e.email, d.id did ,d.departmentname
		from employee e ,department d
		where e.id = d.id
	</select>

	<resultMap type="com.shanghai.ssm.beans.Employee" id="MyEmpAndDept">

		<id column = "eid" property="id" />
		<result column="last_name" property="lastName"/>
		<result column="gender" property="gender" />
		<result column="email" property="email" />
		<association property="dept" javaType="com.shanghai.ssm.beans.Department">
			<id column="did" property="id" />
			<result column="departmentname" property="departmentName"/>
		</association>
	</resultMap>


	<delete id="delData"  parameterType="int">
		delete from
		where id = ${id}

	</delete>


	<update id="updData" >
		update employee
		set last_name ='10001'
		where id = ${id}
	</update>


	<insert id="insertData" parameterType="com.shanghai.ssm.beans.User" >
		insert into user(username,password,age,gender,city)
		values(${username},${password},${age},${gender},${address.city})
	</insert>

</mapper>
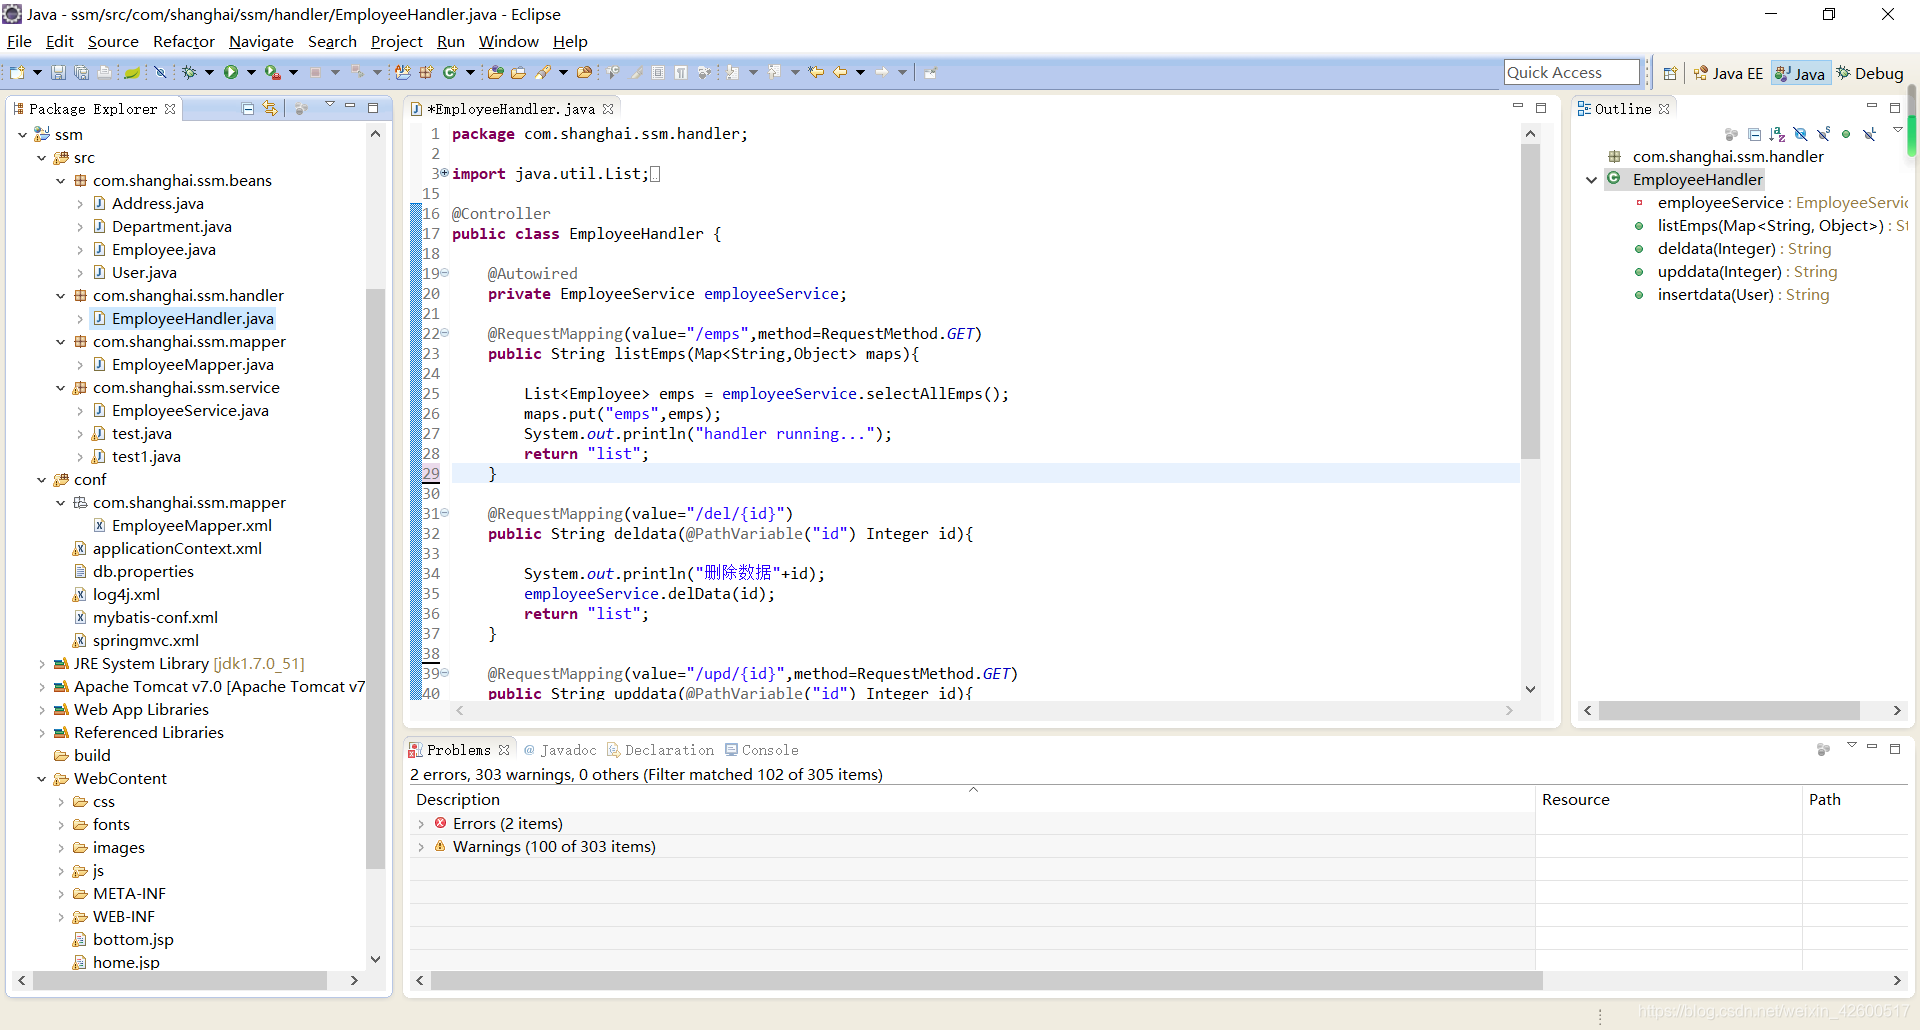
项目工程截图
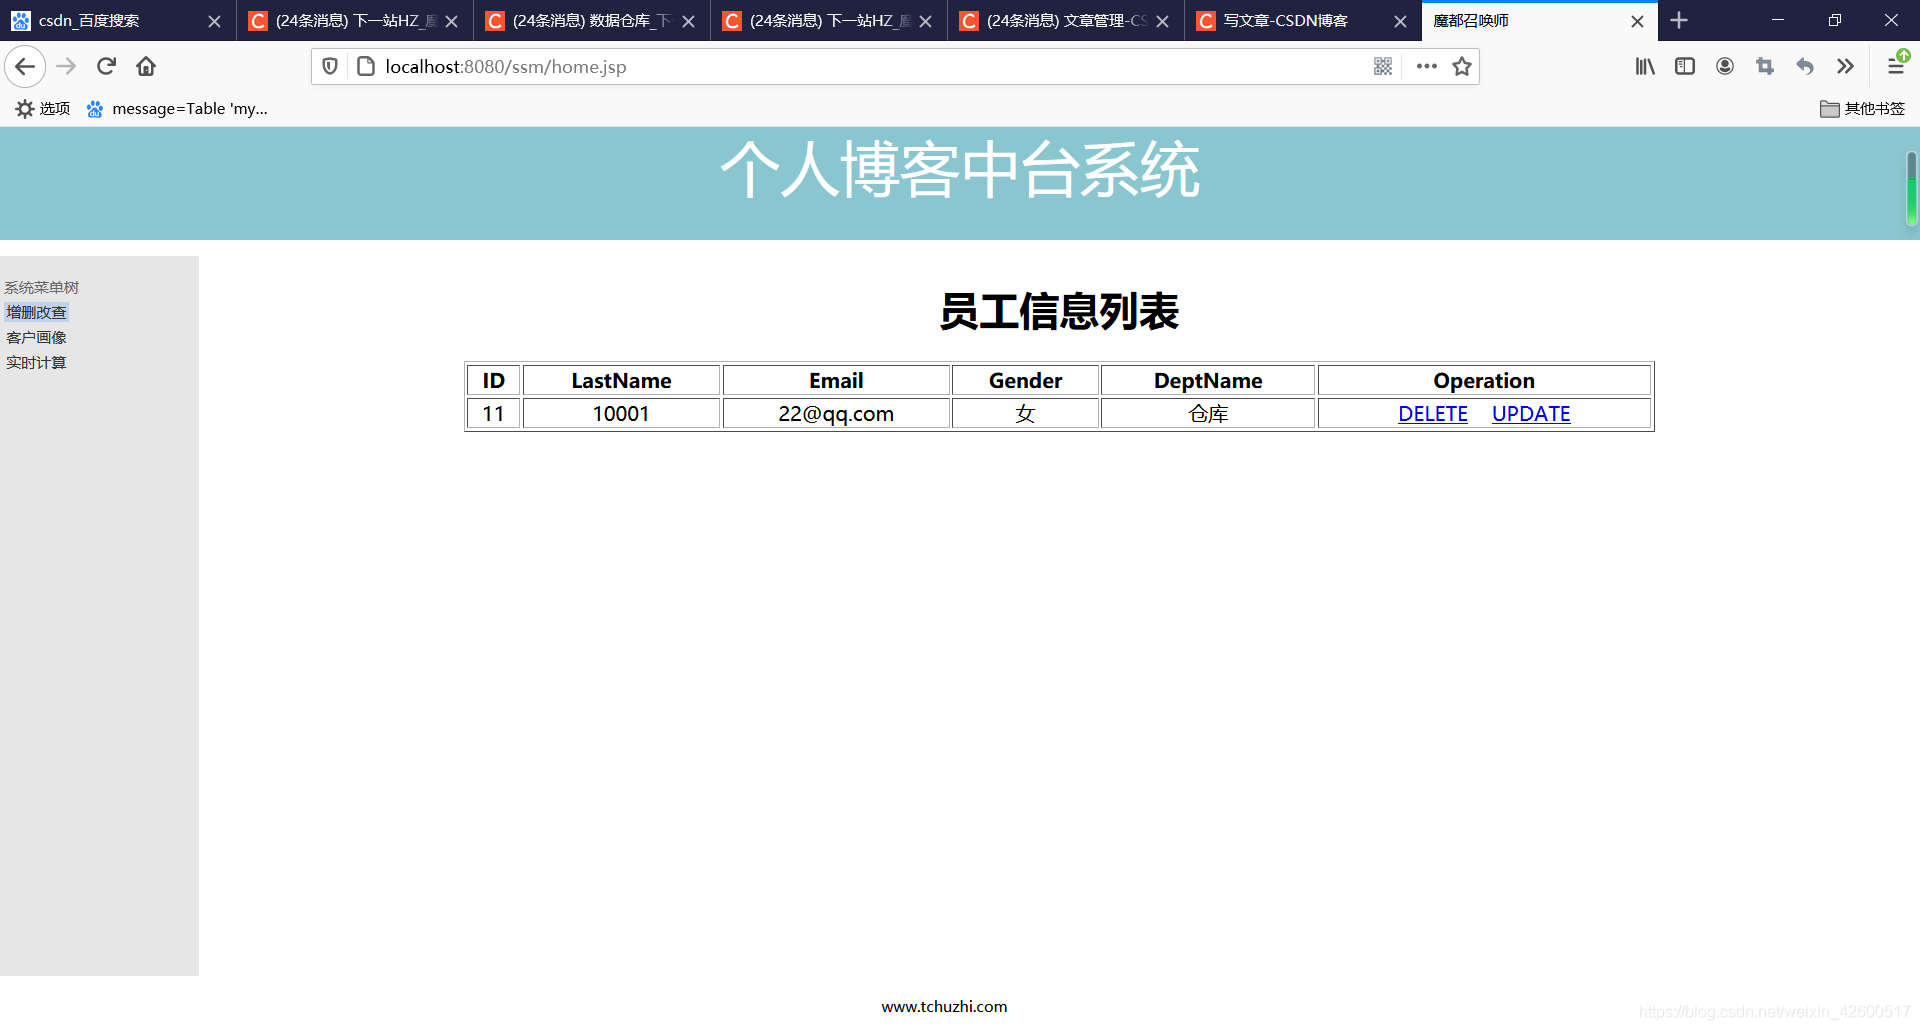
运行截图


 1689
1689

 被折叠的 条评论
为什么被折叠?
被折叠的 条评论
为什么被折叠?
 到【灌水乐园】发言


