


 本文介绍了如何在SpringCloud Gateway中集成Nacos,并使用WebFlux进行配置。详细讲解了添加依赖、配置bootstrap.yml以及创建测试Controller的过程,强调了Spring Boot与Spring Cloud版本匹配的重要性,并提醒在WebFlux中排除Tomcat依赖。
SpringCloud官方地址 Spring Cloud
源码地址:https://gitee.com/datadogapache/dashboard/projects
一.添加Nacos依赖:
        <dependency>
            <groupId>org.springframework.cloud</groupId>
            <artifactId>spring-cloud-starter-alibaba-nacos-config</artifactId>
            <version>0.2.2.RELEASE</version>
        </dependency>
        <dependency>
            <groupId>com.alibaba.cloud</groupId>
            <artifactId>spring-cloud-starter-alibaba-nacos-discovery</artifactId>
            <version>2.2.1.RELEASE</version>
        </dependency>
二.添加GateWay依赖:
           <dependency>
                 <groupId>org.springframework.cloud</groupId>
                 <artifactId>spring-cloud-starter-gateway</artifactId>
                   <exclusions>
                      <exclusion>
                          <groupId>org.springframework.boot</groupId>
                          <artifactId>spring-boot-starter-web</artifactId>
                      </exclusion>
                      <exclusion>
                          <groupId>org.springframework.boot</groupId>
                          <artifactId>spring-boot-starter-webflux</artifactId>
                      </exclusion>
                   </exclusions>
            </dependency>
注意:坑!坑!坑!
springcloudgateway的底层实现是基于webflux,而webflux和传统的webmvc冲突,所以当项目中存在spring-boot-starter-web依赖时,需排除webmvc,且在spring-cloud-starter-gateway依赖中排除spring-boot-starter-web和spring-boot-starter-webflux,单独引入spring-boot-starter-webflux依赖替代webmvc,pom.xml中完整的依赖如下:
<?xml version="1.0" encoding="UTF-8"?>
<project xmlns="http://maven.apache.org/POM/4.0.0" xmlns:xsi="http://www.w3.org/2001/XMLSchema-instance"
         xsi:schemaLocation="http://maven.apache.org/POM/4.0.0 https://maven.apache.org/xsd/maven-4.0.0.xsd">
    <modelVersion>4.0.0</modelVersion>
    <parent>
        <groupId>org.springframework.boot</groupId>
        <artifactId>spring-boot-starter-parent</artifactId>
        <version>2.3.3.RELEASE</version>
        <relativePath/> <!-- lookup parent from repository -->
    </parent>
    <groupId>com.example</groupId>
    <artifactId>springcloudgateway</artifactId>
    <version>0.0.1-SNAPSHOT</version>
    <name>springcloudgateway</name>
    <description>Demo project for Spring Boot</description>
    <properties>
        <java.version>1.8</java.version>
        <spring.cloud.version>Hoxton.RELEASE</spring.cloud.version>
    </properties>
    <dependencies>
        <dependency>
            <groupId>org.springframework.boot</groupId>
            <artifactId>spring-boot-starter-web</artifactId>
            <exclusions>
                <exclusion>
                    <groupId>org.springframework</groupId>
                    <artifactId>spring-webmvc</artifactId>
                </exclusion>
                <exclusion>
                    <groupId>org.springframework.boot</groupId>
                    <artifactId>spring-boot-starter-tomcat</artifactId>
                </exclusion>
            </exclusions>
        </dependency>
        <dependency>
            <groupId>org.springframework.boot</groupId>
            <artifactId>spring-boot-starter-webflux</artifactId>
        </dependency>
<!--        <dependency>
            <groupId>io.projectreactor.netty</groupId>
            <artifactId>reactor-netty</artifactId>
            <version>0.9.2.RELEASE</version>
        </dependency>-->
        <dependency>
            <groupId>org.springframework.cloud</groupId>
            <artifactId>spring-cloud-starter-alibaba-nacos-config</artifactId>
            <version>0.2.2.RELEASE</version>
        </dependency>
        <dependency>
            <groupId>com.alibaba.cloud</groupId>
            <artifactId>spring-cloud-starter-alibaba-nacos-discovery</artifactId>
            <version>2.2.1.RELEASE</version>
        </dependency>
                 <dependency>
                   <groupId>org.springframework.cloud</groupId>
                    <artifactId>spring-cloud-starter-gateway</artifactId>
                     <exclusions>
                         <exclusion>
                             <groupId>org.springframework.boot</groupId>
                             <artifactId>spring-boot-starter-web</artifactId>
                         </exclusion>
                         <exclusion>
                             <groupId>org.springframework.boot</groupId>
                             <artifactId>spring-boot-starter-webflux</artifactId>
                         </exclusion>
                     </exclusions>
               </dependency>
        <dependency>
            <groupId>org.projectlombok</groupId>
            <artifactId>lombok</artifactId>
            <optional>true</optional>
        </dependency>
        <dependency>
            <groupId>org.springframework.boot</groupId>
            <artifactId>spring-boot-starter-test</artifactId>
            <scope>test</scope>
        </dependency>
    </dependencies>
<dependencyManagement>
    <dependencies>
        <dependency>
            <groupId>org.springframework.cloud</groupId>
            <artifactId>spring-cloud-dependencies</artifactId>
            <version>${spring.cloud.version}</version>
            <type>pom</type>
            <scope>import</scope>
        </dependency>
    </dependencies>
</dependencyManagement>
    <build>
        <plugins>
            <plugin>
                <groupId>org.springframework.boot</groupId>
                <artifactId>spring-boot-maven-plugin</artifactId>
                <configuration>
                    <excludes>
                        <exclude>
                            <groupId>org.projectlombok</groupId>
                            <artifactId>lombok</artifactId>
                        </exclude>
                    </excludes>
                </configuration>
            </plugin>
        </plugins>
    </build>
</project>
最后也是最重要的一点就是!!!
1.springboot的版本和springcloud的版本对应一定要一致,否者项目将报各种错误。spring官网中有其对应的版本,上面代码中spingboot的版本为2.3.3.RELEASE,springcloud的版本为Hoxton.RELEASE.
2.因为webflux基于netty,所以还需在spring-boot-starter-web中排除tomcat依赖:
        <dependency>
            <groupId>org.springframework.boot</groupId>
            <artifactId>spring-boot-starter-web</artifactId>
            <exclusions>
                <exclusion>
                    <groupId>org.springframework</groupId>
                    <artifactId>spring-webmvc</artifactId>
                </exclusion>
                <exclusion>
                    <groupId>org.springframework.boot</groupId>
                    <artifactId>spring-boot-starter-tomcat</artifactId>
                </exclusion>
            </exclusions>
        </dependency>
三.配置bootstrap.yml
spring:
  application:
    name: gateway
  profiles:
    active: dev
  cloud:
    nacos:
      config:
        server-addr: 192.168.91.1:8848
        file-extension: yml
      discovery:
        server-addr: 192.168.91.1:8848
    gateway:
      httpclient:
        connect-timeout: 3000
        response-timeout: 10s
      routes:
        - id: test
          uri: lb://gateway
          predicates:
            - Path=/345/123
          filters:
           - StripPrefix=1
各字段含义如下:
id:我们自定义的路由 ID,保持唯一
uri:目标服务地址,lb为自定义nacos中的服务
predicates:路由条件,Predicate 接受一个输入参数,返回一个布尔值结果。该接口包含多种默认方法来将 Predicate 组合成其他复杂的逻辑(比如:与,或,非)。
filters:过滤器,有多种过滤条件,其中StripPrefix为跳过路径数。例如:访问localhost:8090/test/api/home,当StripPrefix=2时,/test/api被跳过,直接访问localhost:8090/home
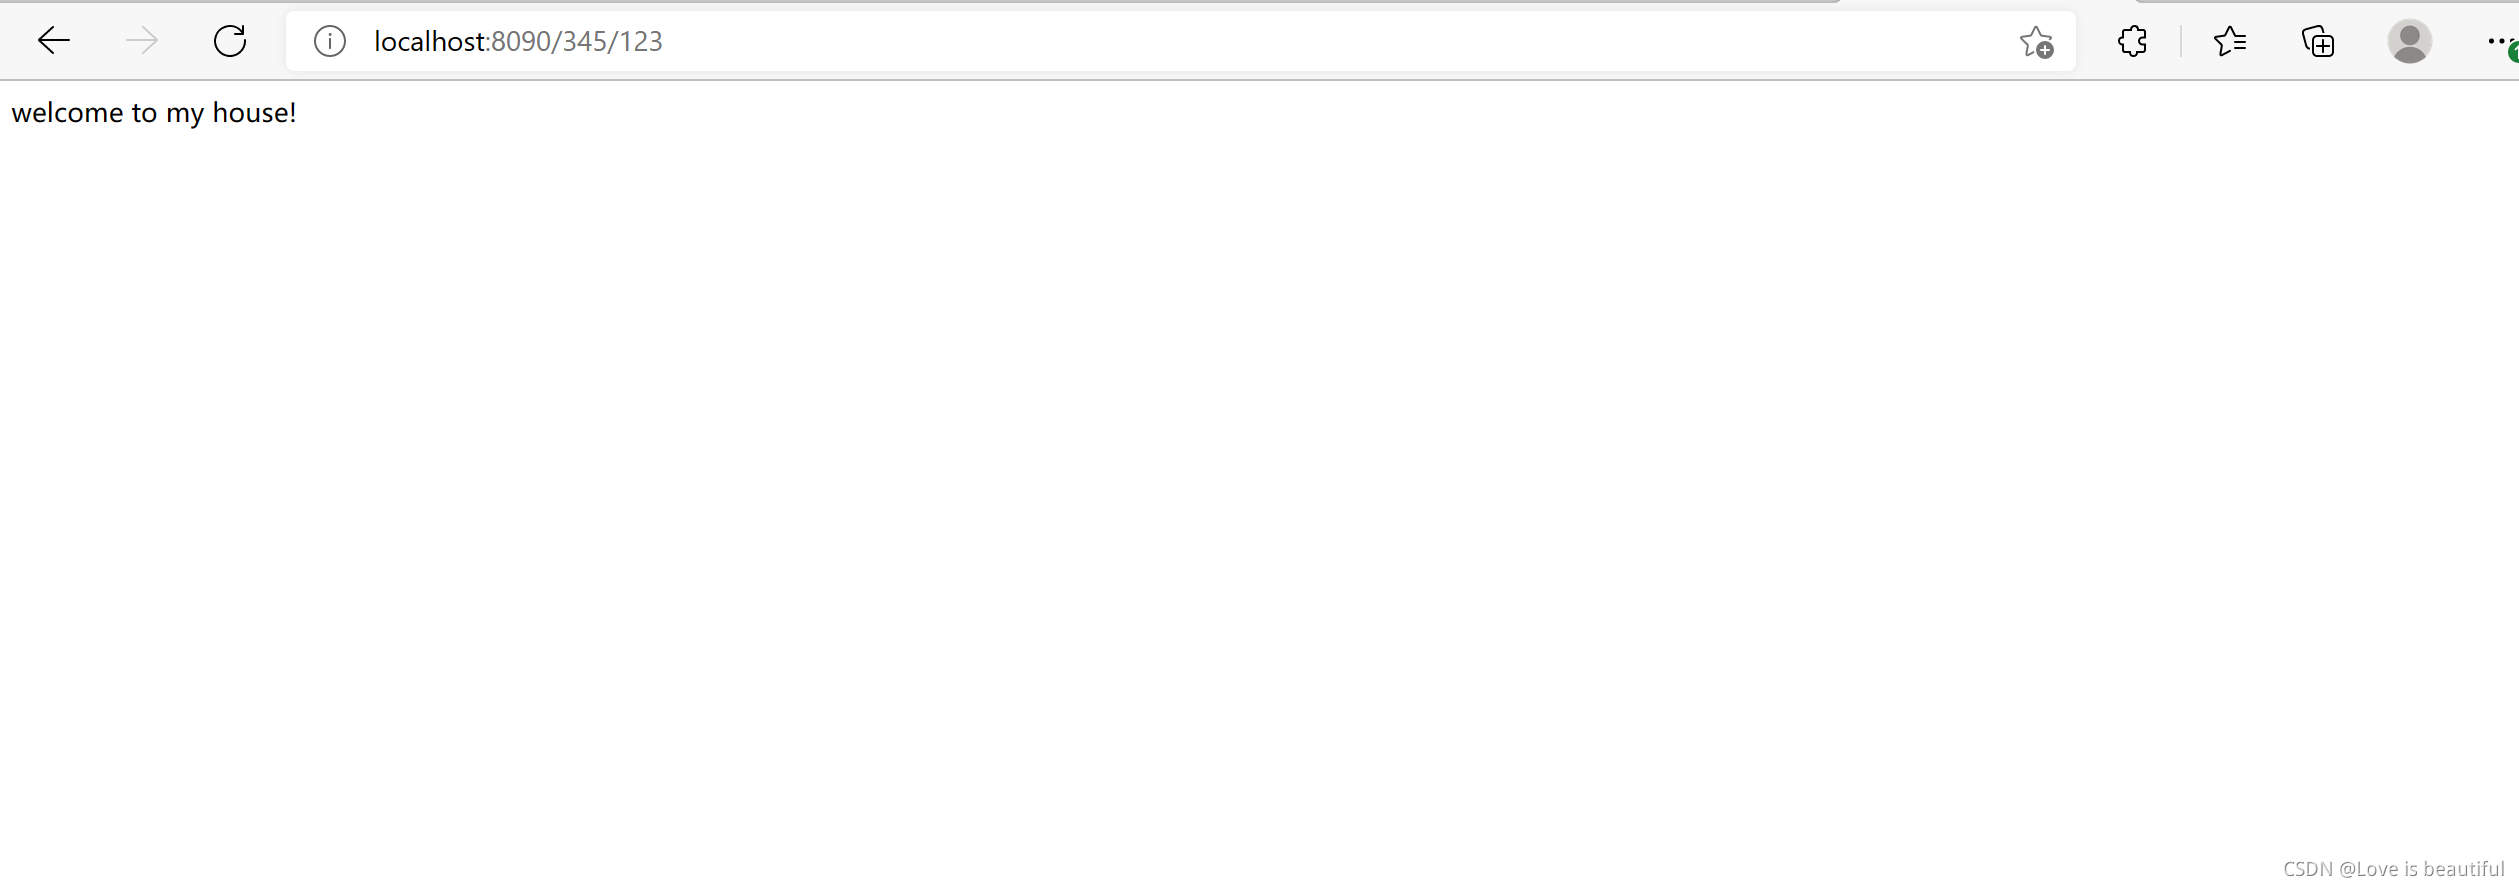
上面这段配置的意思是,配置了一个 id 为test的URI代理规则,路由的规则为:
当访问地址http://localhost:80890/345/123时,
会路由到上游地址http://localhost:80890/123。
四.建立controller测试路径
package com.example.springcloudgateway.controller;

import org.springframework.web.bind.annotation.CrossOrigin;
import org.springframework.web.bind.annotation.RequestMapping;
import org.springframework.web.bind.annotation.RequestMethod;
import org.springframework.web.bind.annotation.RestController;

@RestController
@CrossOrigin
public class gatecontroller {
    @RequestMapping(value = "/123",method = RequestMethod.GET)
    public String tsetGate() {
      return "welcome to my house!";
    }
}
浏览器中输入localhost:8090/345/123
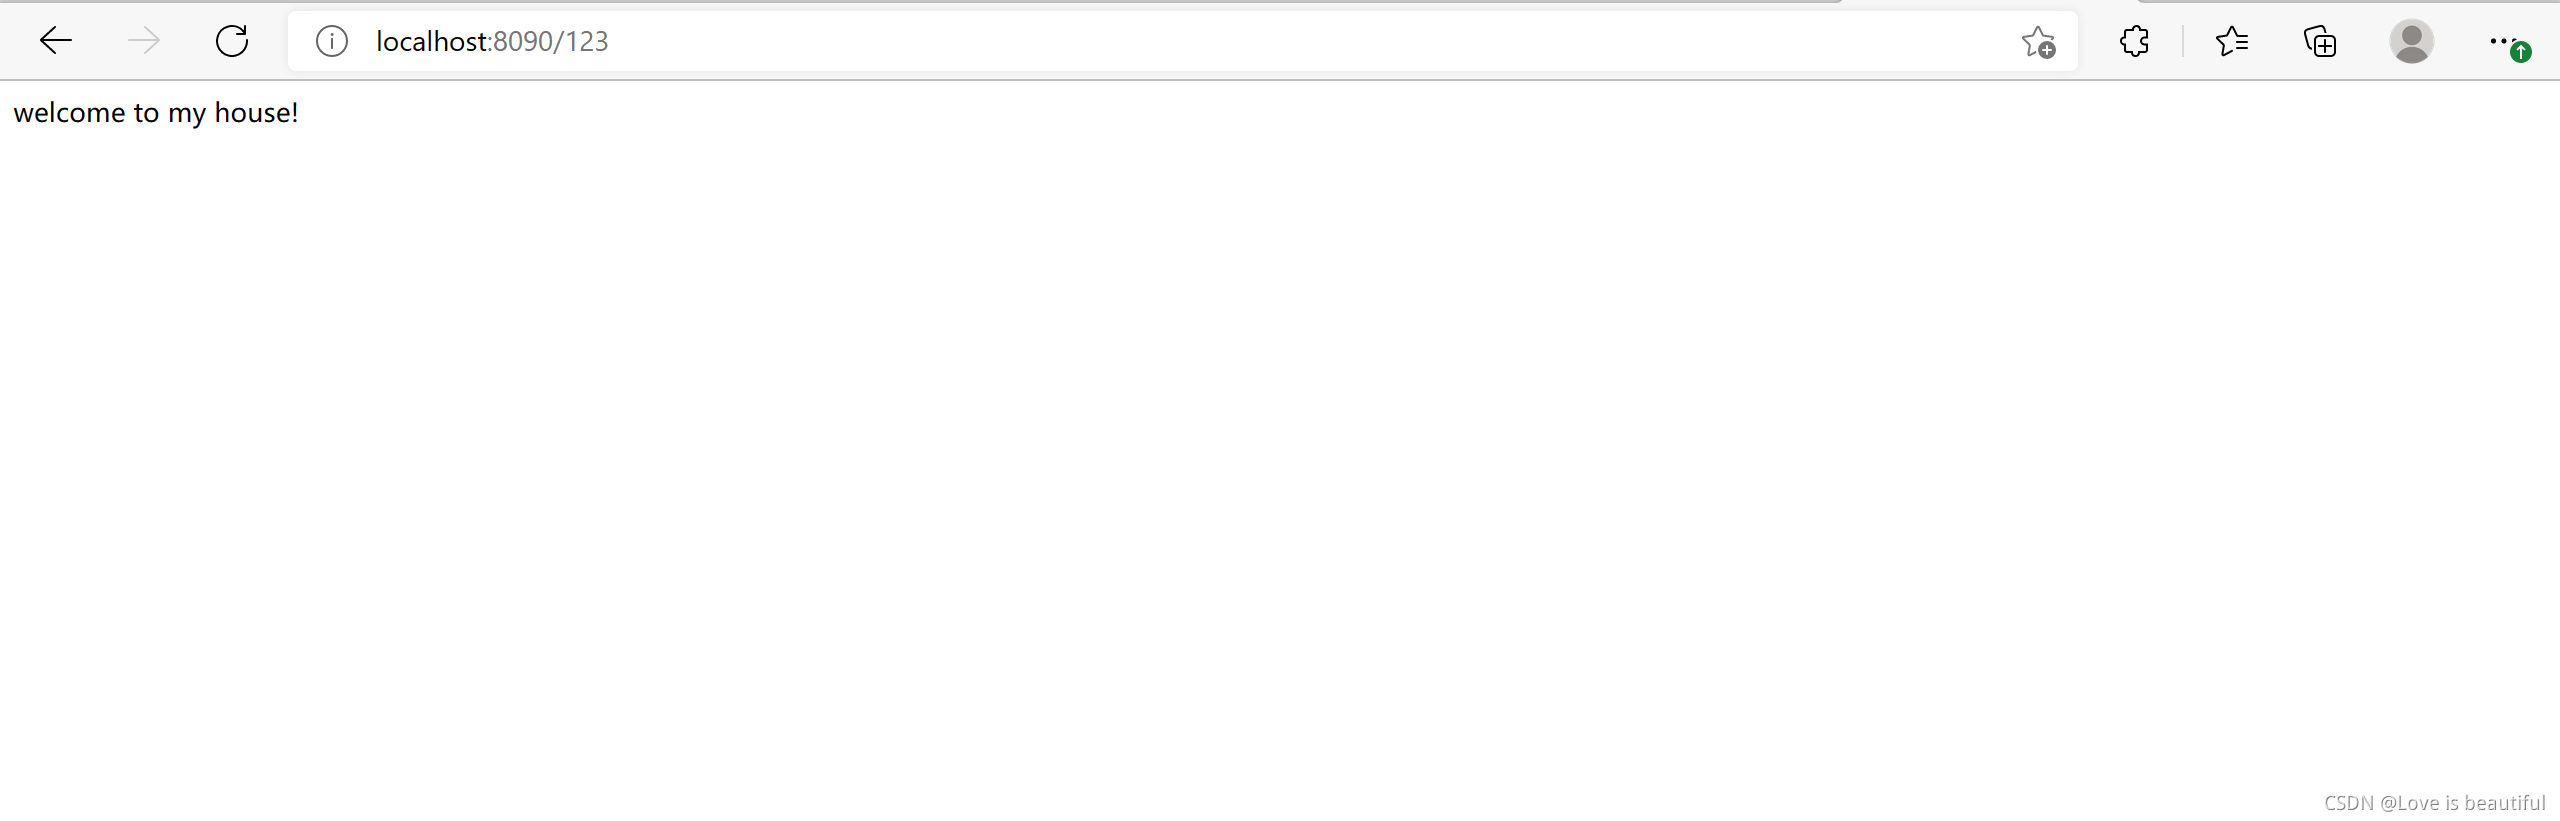
当输入localhost:8090/123时,由于网关没有断言(predicates)设置路由规则为真,即可直接访问
完毕!后期还会更更多关于网关的知识点,特推荐一篇关于SpringCloud gateway的博文:SpringCloud gateway (史上最全) - 疯狂创客圈 - 博客园 (cnblogs.com)
希望多多交流指正!


 被折叠的 条评论
为什么被折叠?
被折叠的 条评论
为什么被折叠?
 到【灌水乐园】发言


