


Redis 7.2.0 搭建和集群配置
一.Redis 下载与单机部署
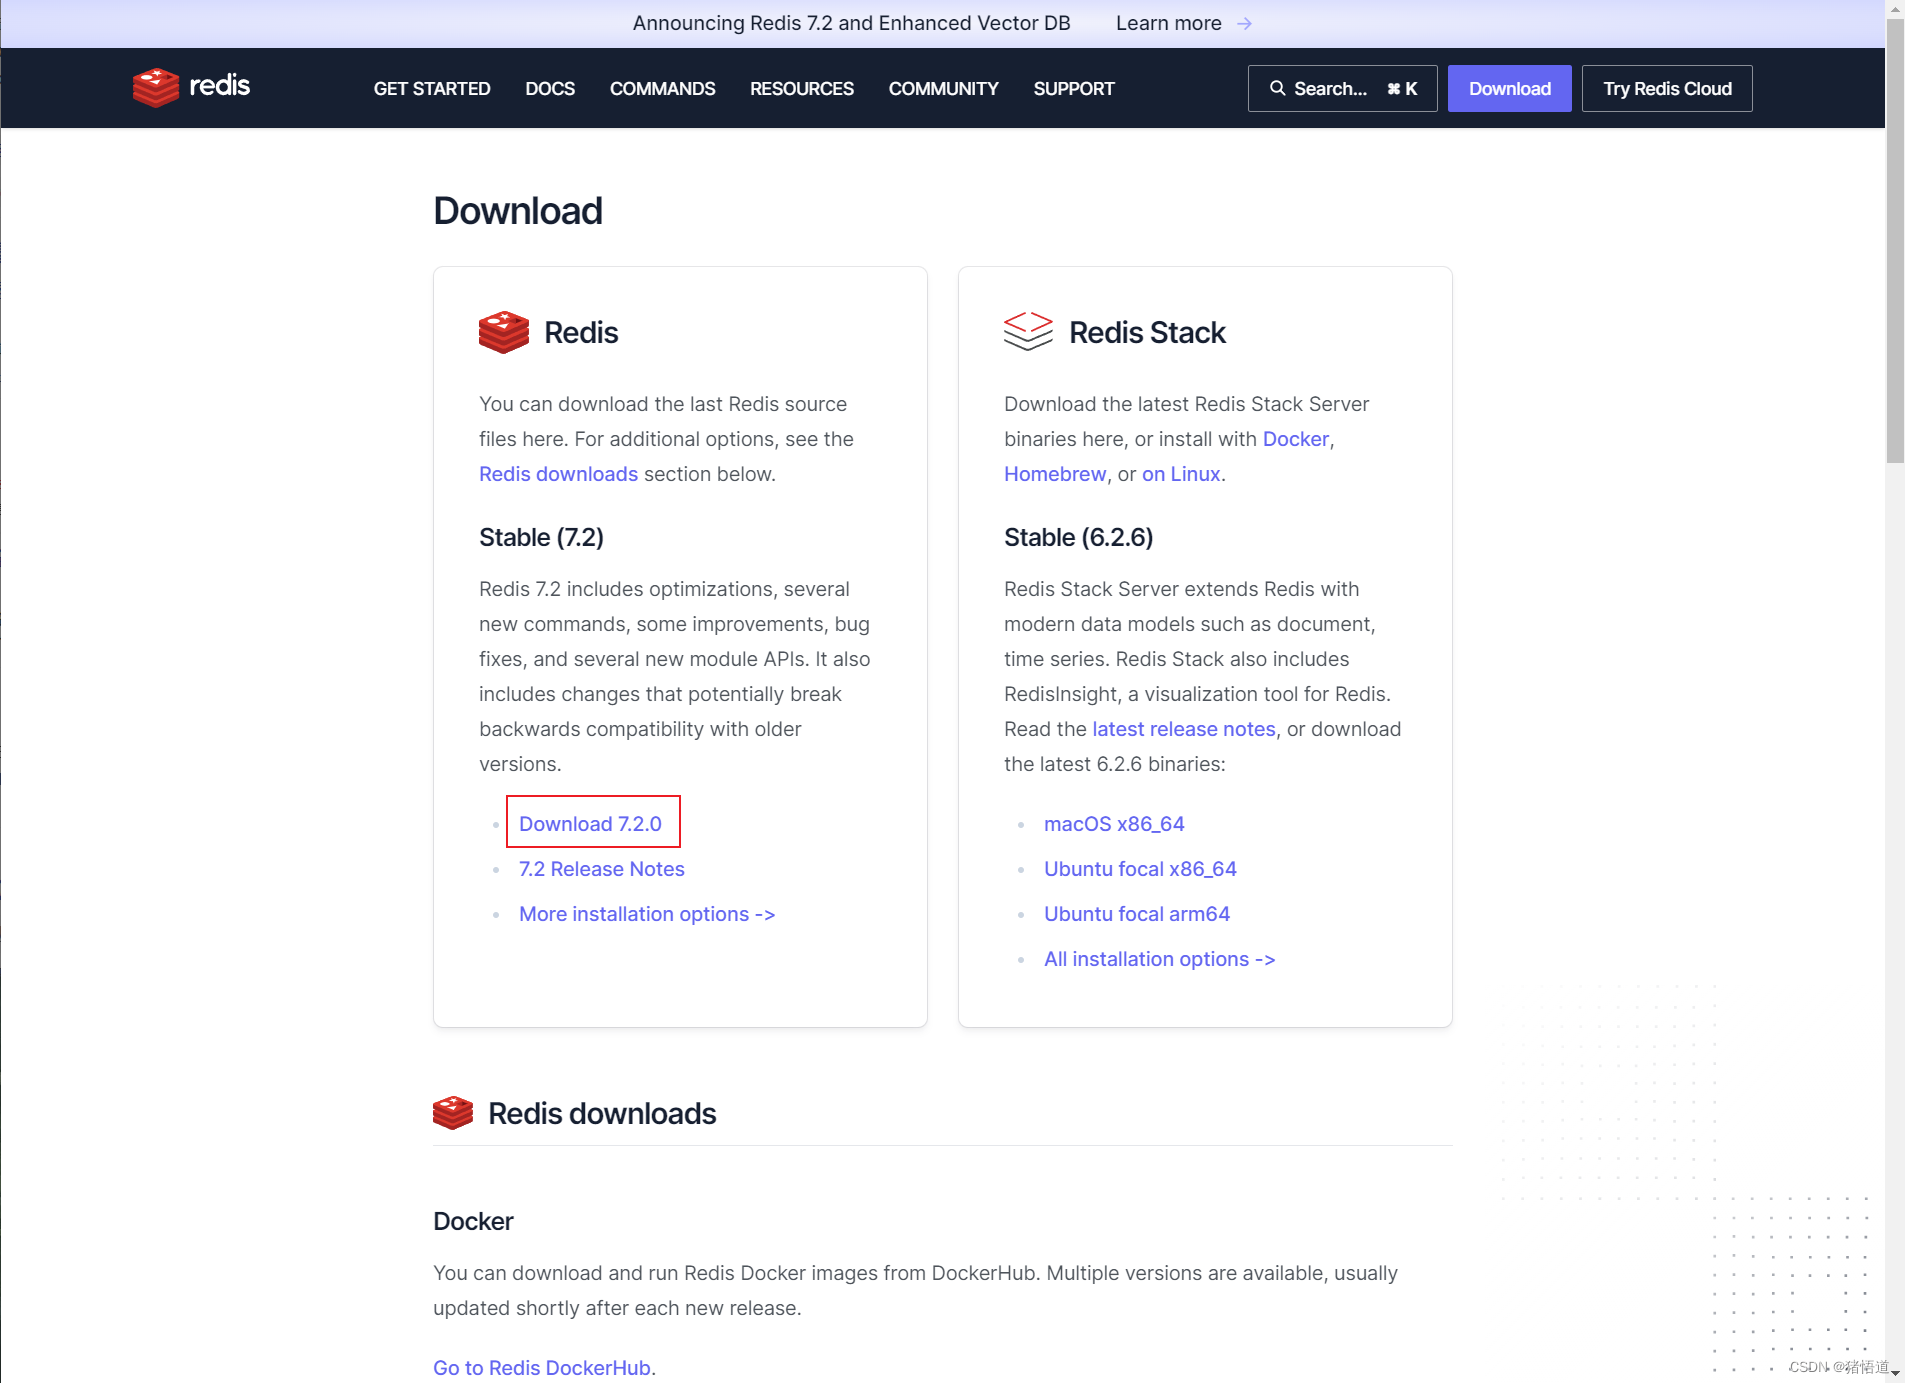
1.Redis 下载
2.虚拟机配置
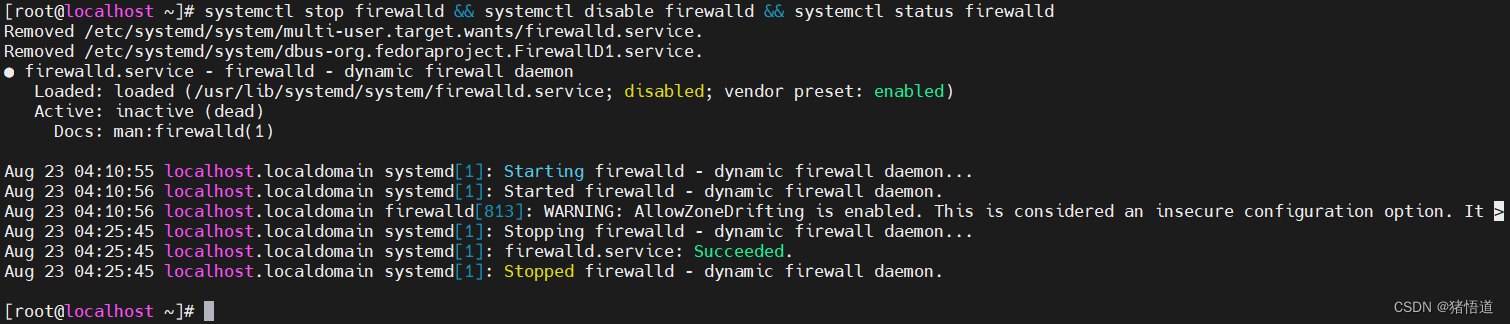
## 1.关闭防火墙
systemctl stop firewalld && systemctl disable firewalld && systemctl status firewalld
## 2.配置域名解析
echo '192.168.1.103 rd1' >> /etc/hosts
echo '192.168.1.104 rd2' >> /etc/hosts
echo '192.168.1.105 rd3' >> /etc/hosts
echo '192.168.1.106 rd4' >> /etc/hosts
echo '192.168.1.107 rd5' >> /etc/hosts
echo '192.168.1.108 rd6' >> /etc/hosts
关闭并禁用防火墙
3.Redis 单机源码安装和测试
## 1.解压缩
tar zxvf redis-7.2.0.tar.gz
## 2.进入源码安装目录
cd /home/redis-7.2.0/src/
## 3.编译和安装
make && make install PREFIX=/usr/local/redis
## 4.进入Redis解压目录
cd /home/redis-7.2.0/
## 5.修改配置
vim redis.conf
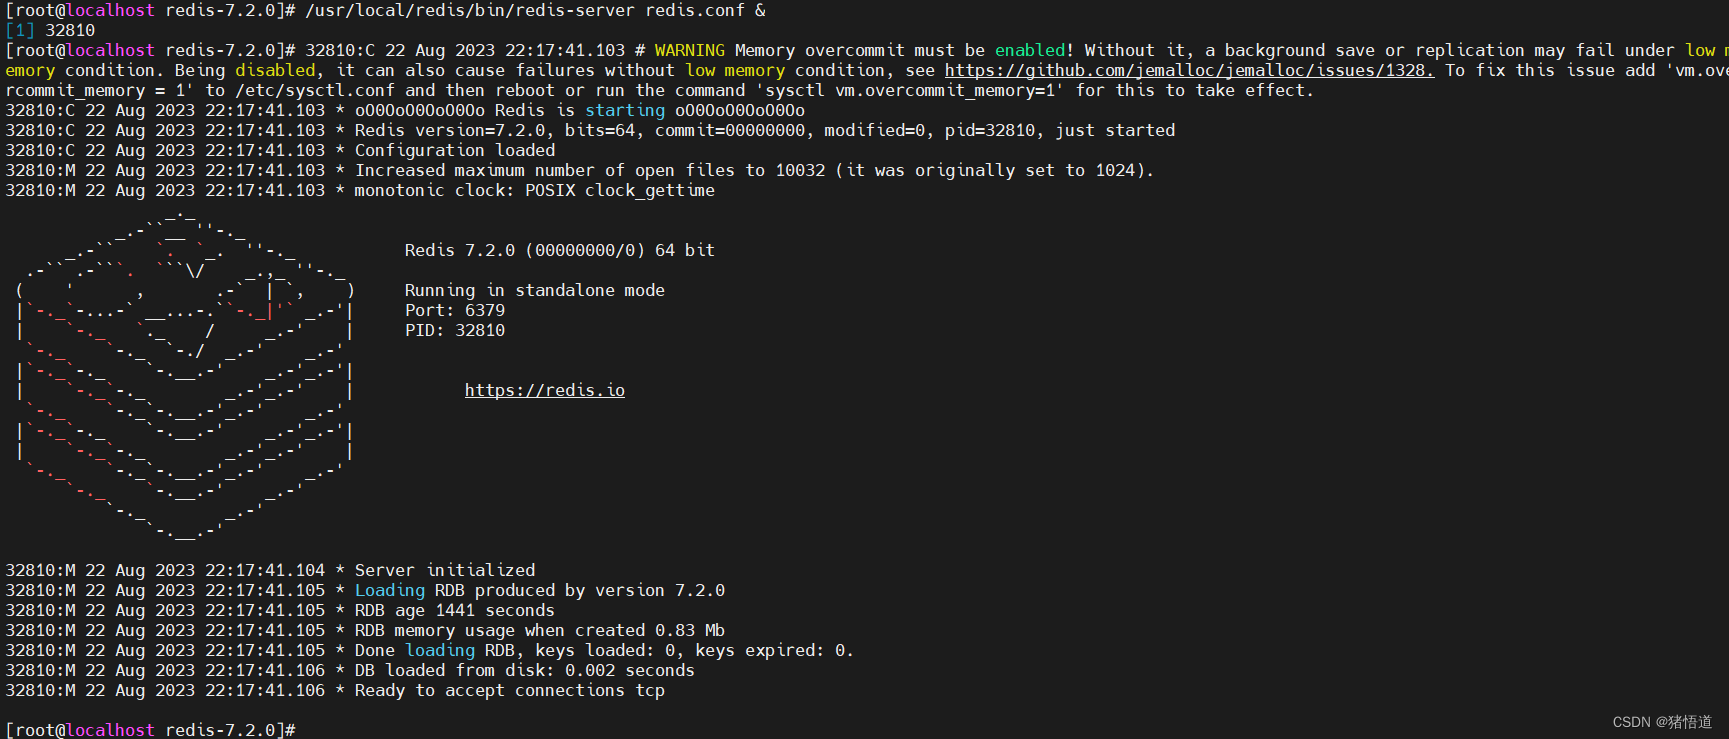
## 6.启动服务
/usr/local/redis/bin/redis-server redis.conf &
## 7.停止服务
kill -9 `ps aux |grep redis|grep -v grep | awk '{print $2}'`
以下行号仅供参考,增加配置后会有微小变动
| 行号 | 原值 | 新值 | 含义 |
|---|---|---|---|
| 87 | bind 127.0.0.1 -::1 | bind 0.0.0.0 -::1 | 绑定地址 |
| 111 | protected-mode yes | #protected-mode no | 防火墙保护 |
| 533 | replicaof | replicaof rd1 6379 | 配置主节点(主从同步) |
| 541 | masterauth | masterauth 123456 | 配置主节点密码(主从同步) |
| 535 | requirepass 123456 | 密码(在空行添加) |
哨兵配置(可在配置哨兵模式时参考)
| 行号 | 原值 | 新值 | 含义 |
|---|---|---|---|
| 92 | sentinel monitor | sentinel monitor mymaster 192.168.1.103 6379 1 | 哨兵初始监控的主机地址 |
| 112 | sentinel auth-pass mymaster MySUPER–secret-0123passw0rd | sentinel auth-pass mymaster 123456 | 哨兵配置主节点密码(保持所有节点密码一致,避免重新选取主节点后连接失败) |
| 170 | requirepass | requirepass 456789 | 哨兵密码 |
服务启动
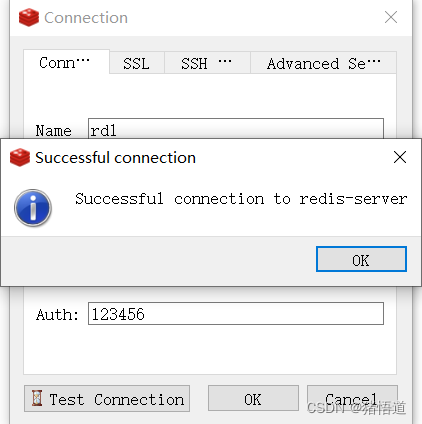
连接测试
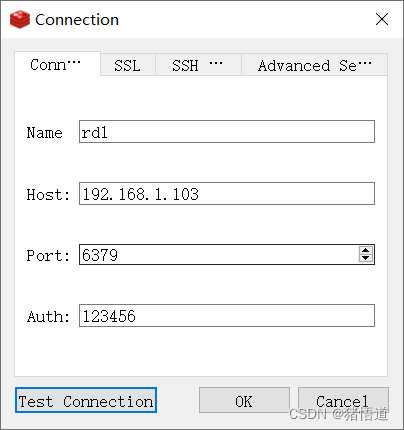
连接
4.Java 单机连接测试
1.Pom 依赖
<?xml version="1.0" encoding="UTF-8"?>
<project xmlns="http://maven.apache.org/POM/4.0.0"
         xmlns:xsi="http://www.w3.org/2001/XMLSchema-instance"
         xsi:schemaLocation="http://maven.apache.org/POM/4.0.0 http://maven.apache.org/xsd/maven-4.0.0.xsd">
    <modelVersion>4.0.0</modelVersion>

    <groupId>org.example</groupId>
    <artifactId>redis-demo</artifactId>
    <version>1.0-SNAPSHOT</version>

    <properties>
        <maven.compiler.source>20</maven.compiler.source>
        <maven.compiler.target>20</maven.compiler.target>
        <project.build.sourceEncoding>UTF-8</project.build.sourceEncoding>
    </properties>

    <dependencies>
        <dependency>
            <groupId>org.springframework.boot</groupId>
            <artifactId>spring-boot-starter-web</artifactId>
            <version>3.1.2</version>
        </dependency>
        <dependency>
            <groupId>org.springframework.boot</groupId>
            <artifactId>spring-boot-starter-data-redis</artifactId>
            <version>3.1.2</version>
        </dependency>
        <dependency>
            <groupId>org.apache.commons</groupId>
            <artifactId>commons-pool2</artifactId>
            <version>2.11.1</version>
        </dependency>

        <!-- 测试类 -->

        <dependency>
            <groupId>junit</groupId>
            <artifactId>junit</artifactId>
            <version>4.13.2</version>
        </dependency>
        <dependency>
            <groupId>org.springframework.boot</groupId>
            <artifactId>spring-boot-starter-test</artifactId>
            <version>3.1.2</version>
        </dependency>
    </dependencies>
</project>
2.配置文件
spring:
  data:
    redis:
      host: 192.168.1.103
      port: 6379
      password: 123456
3.启动类
package org.example;

import org.springframework.boot.SpringApplication;
import org.springframework.boot.autoconfigure.SpringBootApplication;

/**
 * @author zhuwd && moon
 * @Description
 * @create 2023-08-22 22:28
 */
@SpringBootApplication
public class RedisApp {

    public static void main(String[] args) {

        SpringApplication.run(RedisApp.class,args);
    }
}
4.配置类
package org.example.config;

import org.springframework.beans.factory.annotation.Autowired;
import org.springframework.context.annotation.Bean;
import org.springframework.data.redis.connection
最低0.47元/天 解锁文章


 819
819

 被折叠的 条评论
为什么被折叠?
被折叠的 条评论
为什么被折叠?
 到【灌水乐园】发言


