


 本文详细介绍了如何在Windows 7系统上配置EMGU CV 3.0.0.2157环境,并利用C#进行基本的图像处理操作,如图像翻转和灰度转换。
这事小弟第一次发表博文:
一是为了提供一些有用的资料方便向各位大哥请教;
二是为了让自己印象深刻,以后的路子也好铺;
好,废话不多少说了,防止被人砍!
我的配置如下
系统:windows 7 旗舰版
c# Visual C# 2015
EMGUCV: emgucv-windows-universal 3.0.0.2157
下载地址址为:http://pan.baidu.com/s/19haRO。 转自:http://www.cnblogs.com/CoverCat/p/5003363.html#3825725
接着就是安装位置,我是安装到D盘 D:\Emgu\emgucv-windows-universal 3.0.0.2157
环境配置如下(简略)
我的电脑”--->右键“属性”---->左边的框中选择“高级系统设置”-->位于下面倒数第二行的“环境变量”-->下面系统变量的“PATH”输入“;D:\Emgu\emgucv-windows-universal 3.0.0.2157\bin”
也可以把X86或者X64放进去,根据系统选择
注意Path 是以分号“;”进行分割的!!!
接着运行VS2015,创建新工程
添加引用
新建完成之后,将鼠标移右边的“资源管理器”
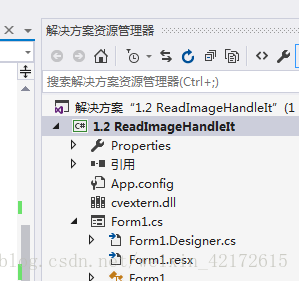
右键单击“引用”-->选择“添加引用”
弹出如下窗口
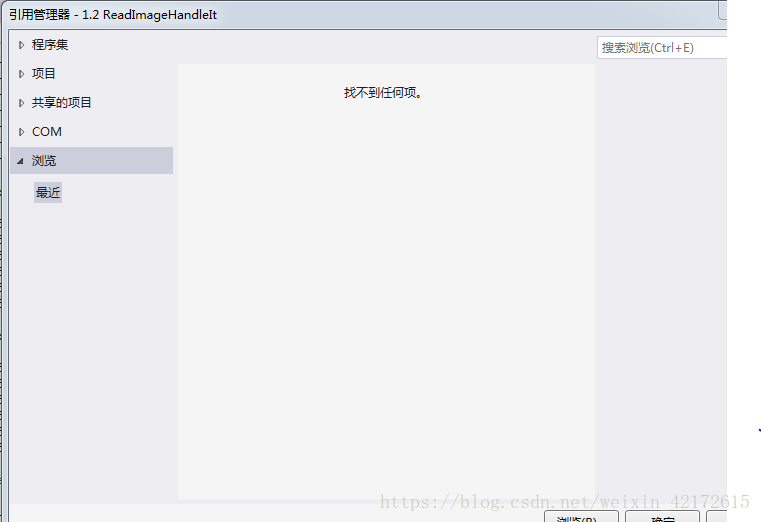
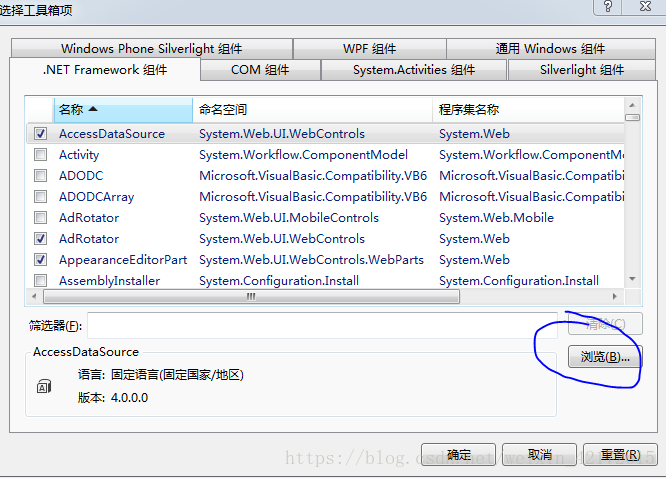
左边的框中 选择“浏览”-----》再次往下选择下面的“浏览”
我的是存放在“D:\Emgu\emgucv-windows-universal 3.0.0.2157\bin”
就是找到emgucv的安装根目录;
选择如下几个添加进去即可
Emgu.CV
Emgu.Util
Emgu.CV.UI
ZedGraph
Emgu.CV.UI
Emgu.CV.Cuda
点击确定即可!!
添加工具箱
位于上方的标题栏下的“工具”---->“选择工具项”----->在".NET Framework"

选择即可添加工具插件!!
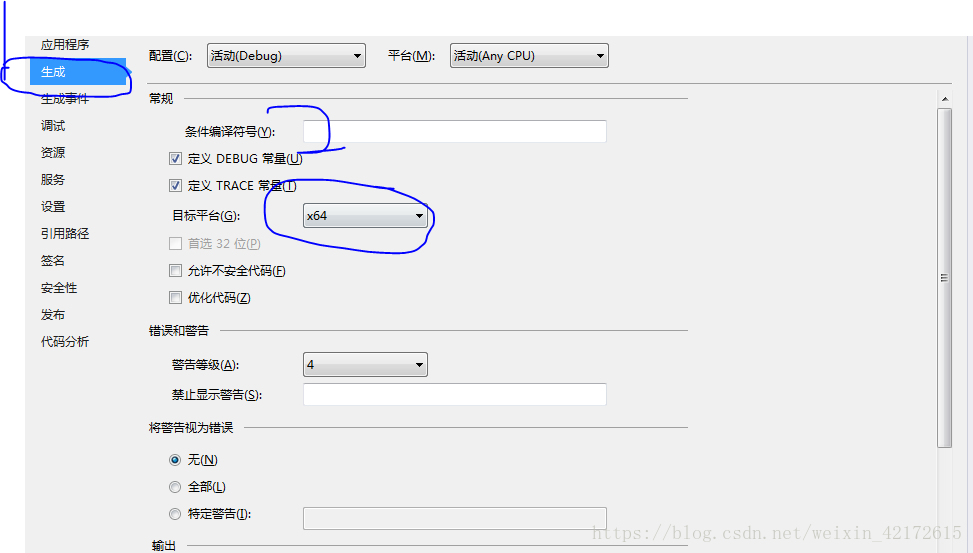
##生成的目标平台选择##
找到上方的“调试”--->“配置管理器”
依据自己的系统选择合适的目标平台
X32----X86
X64----X64
接着也很重要
还是在标题栏下的“项目”---->“添加现有项”
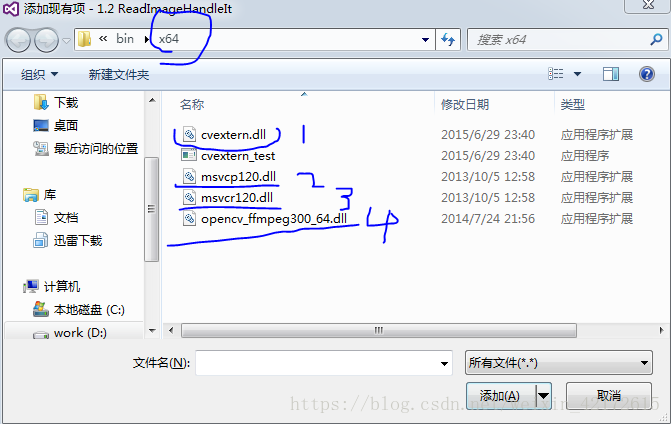
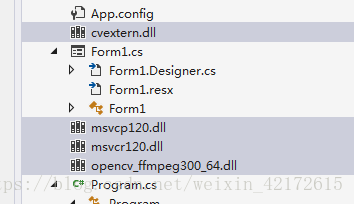
将上述4个添加进去
按着CTRL选中他们点击右键,选中“属性”改成下图

到此,我们终于完了配置!!心累!!
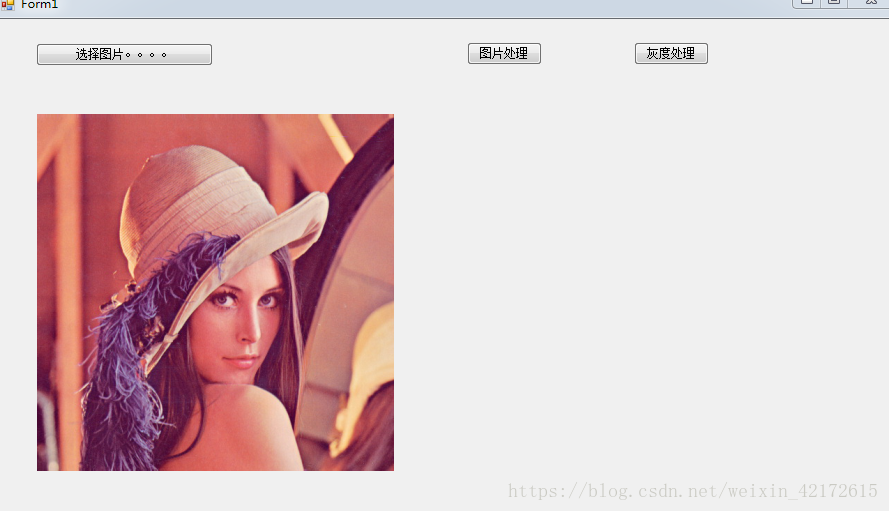
接下来就是在UI界面添加所需的工具
1,添加一个button ,其TEXT该为:“选择图片”;
2,添加一个IMAGEBOX;

3,同2
4,增加一个OPENFILEDIALOG
5,增加两个按钮,TEXT分别为 “图像翻转”和“图像灰度处理”
记得添加引用空间
如下所示
using Emgu.CV;
using Emgu.CV.CvEnum;
using Emgu.CV.Structure;
双击“选择图片”的按钮
输入以下代码
            OpenFileDialog openFileDialog = new OpenFileDialog();
            openFileDialog.InitialDirectory = @"D:\Emgu\emgucv-windows-universal 3.0.0.2157\bin";//注意这里写路径时要用c:\\而不是c:\
            openFileDialog.Filter = "文本文件|*.*|C#文件|*.cs|所有文件|*.*";
            openFileDialog.RestoreDirectory = true;
            openFileDialog.FilterIndex = 1;

            if (openFileDialog1.ShowDialog() == DialogResult.OK)
            {
                Image<Bgr, Byte> image = new Image<Bgr, byte>(openFileDialog1.FileName);//从文件加载图片
                imageBox1.Image = image;//显示图片
            }
双击“翻转处理”的按钮
输入以下代码
if (imageBox1.Image != null)
{
var image = (Image<Bgr, Byte>)imageBox1.Image;
image._Flip(FlipType.Horizontal);//翻转图像
imageBox2.Image = image;
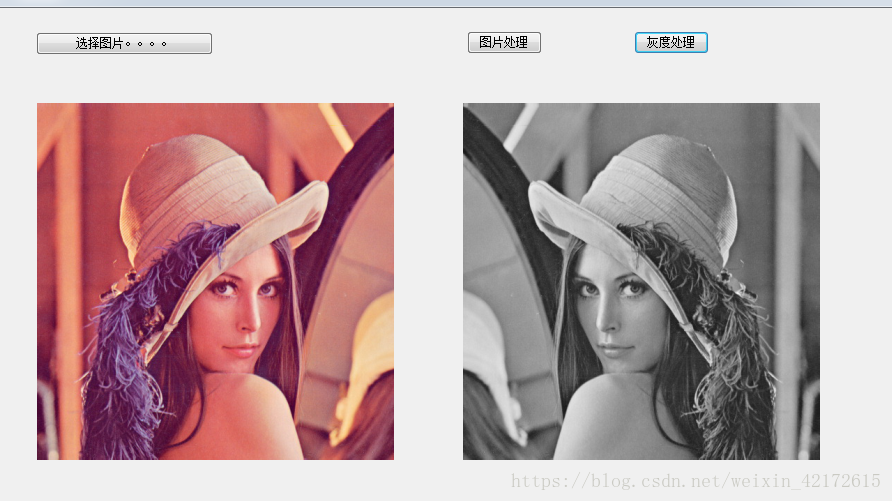
}双击“灰度处理”的按钮
输入以下代码
             if (imageBox2.Image != null)
            {
                var grayimage = (Image<Bgr, Byte>)imageBox2.Image;
                imageBox2.Image = grayimage.Convert<Gray, Byte>();

}using System;
using System.Collections.Generic;
using System.ComponentModel;
using System.Data;
using System.Drawing;
using System.Linq;
using System.Text;
using System.Threading.Tasks;
using System.Windows.Forms;
using Emgu.CV;
using Emgu.CV.CvEnum;
using Emgu.CV.Structure;
namespace _1._2_ReadImageHandleIt
{
public partial class Form1 : Form
{
public Form1()
{
InitializeComponent();
}
private void button1_Click(object sender, EventArgs e)
{
OpenFileDialog openFileDialog = new OpenFileDialog();
openFileDialog.InitialDirectory = @"D:\Emgu\emgucv-windows-universal 3.0.0.2157\bin";//注意这里写路径时要用c:\\而不是c:\
openFileDialog.Filter = "文本文件|*.*|C#文件|*.cs|所有文件|*.*";
openFileDialog.RestoreDirectory = true;
openFileDialog.FilterIndex = 1;
if (openFileDialog1.ShowDialog() == DialogResult.OK)
{
Image<Bgr, Byte> image = new Image<Bgr, byte>(openFileDialog1.FileName);//从文件加载图片
imageBox1.Image = image;//显示图片
}
}
private void button2_Click(object sender, EventArgs e)
{
if (imageBox1.Image != null)
{
var image = (Image<Bgr, Byte>)imageBox1.Image;
image._Flip(FlipType.Horizontal);//翻转图像
imageBox2.Image = image;
}
}
private void button3_Click(object sender, EventArgs e)
{
if (imageBox2.Image != null)
{
var grayimage = (Image<Bgr, Byte>)imageBox2.Image;
imageBox2.Image = grayimage.Convert<Gray, Byte>();
}
}
}
}最后的演示成果如下所示
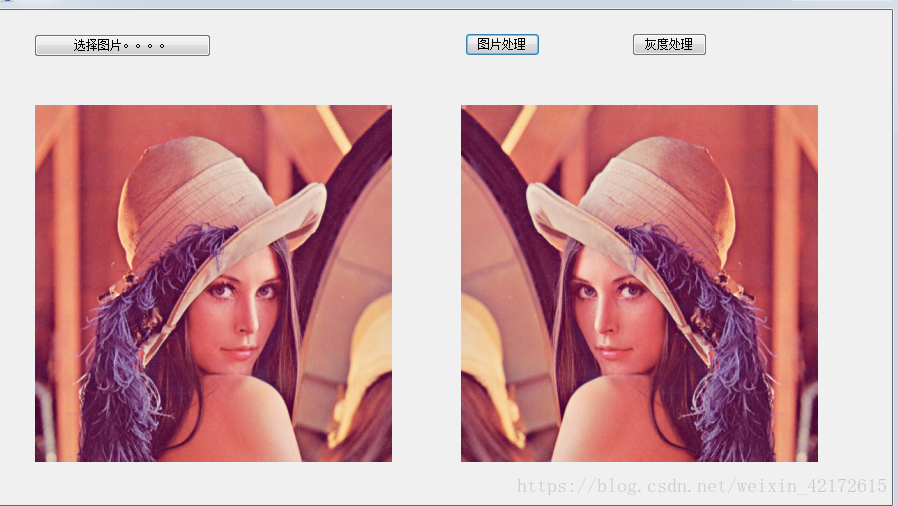
图片 翻转 参考 如下博文:http://www.cnblogs.com/CoverCat/p/5004788.html
图片 灰度处理 参考 如下博文http://xuzhihong1987.blog.163.com/blog/static/26731587201231272935145/


 被折叠的 条评论
为什么被折叠?
被折叠的 条评论
为什么被折叠?
 到【灌水乐园】发言


