


 本文详细介绍了UDP通信的基本流程,通过Qt库实现了一个简单的UDP服务器。代码展示了如何使用QUdpSocket进行数据发送与接收,包括初始化通信套接字、绑定端口、发送数据以及接收并处理数据的过程。
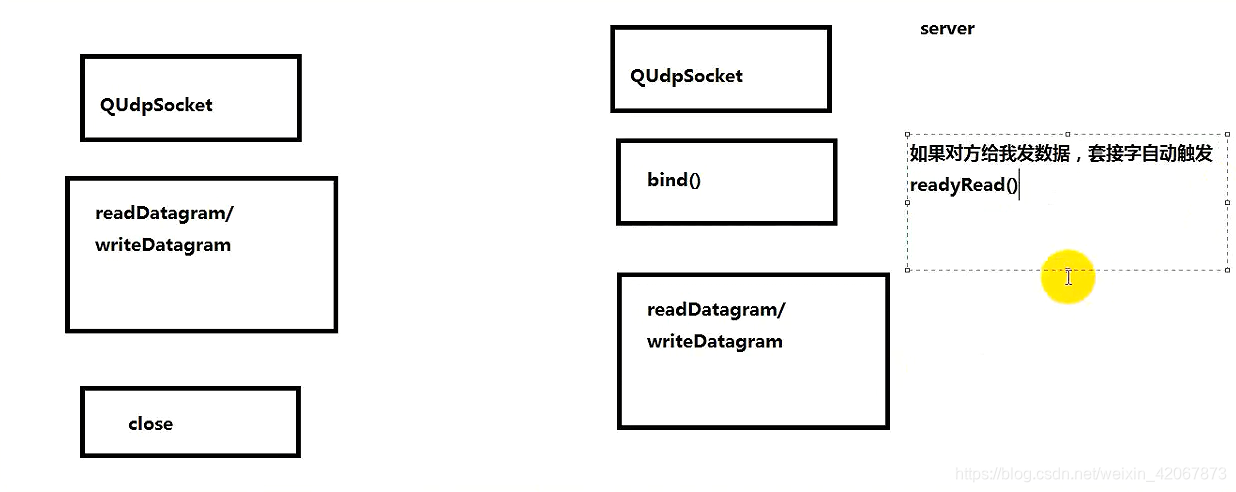
首先展示UDP通信中的流程:
一、具体代码展示
1、两端通信只需要通信两端同时使用<QUdpSocket>内提供的socket进行通信即可,无服务器和客户端之分
头文件:
#ifndef UDPSERVER_H
#define UDPSERVER_H

#include <QWidget>
#include <QUdpSocket>

namespace Ui {
class UdpServer;
}

class UdpServer : public QWidget
{
    Q_OBJECT

public:
    explicit UdpServer(QWidget *parent = 0);
    ~UdpServer();

private slots:

    void on_pb_send_clicked();

    void on_pushButton_3_clicked();

    void dealSomething();

private:
    Ui::UdpServer *ui;
    QUdpSocket *udpSocket;
};

#endif // UDPSERVER_H
具体实现:
#include "udpserver.h"
#include "ui_udpserver.h"

#include <QString>
#include <QByteArray>

UdpServer::UdpServer(QWidget *parent) :
    QWidget(parent),
    ui(new Ui::UdpServer)
{
    ui->setupUi(this);

    //显示为通信套接字开辟空间,并指定父对象
    udpSocket = new QUdpSocket(this);

    setWindowTitle("服务器端口: 8888");

    udpSocket->bind(8888);

    //当对方成功把数据发送过来
    connect(udpSocket, SIGNAL(readyRead()),
            this, SLOT(dealSomething()));

}

UdpServer::~UdpServer()
{
    delete ui;
}

void UdpServer::on_pb_send_clicked()
{
    QString str = ui->te_write->toPlainText();
    QString ip = ui->le_ip->text();
    quint16 port = ui->le_port->text().toInt();
    udpSocket->writeDatagram(str.toUtf8(), QHostAddress(ip), port);
}

void UdpServer::on_pushButton_3_clicked()
{

}


void UdpServer::dealSomething()
{
    //接受信息
    char buff[1024] = {0};
    QHostAddress add;
    quint16 port;
    qint64 len = udpSocket->readDatagram(buff, sizeof(buff),
                     &add, &port);
    if(len > 0)
    {
        QString str = QString("[%1:%2] %3").arg(add.toString()).arg(port).arg(buff);

        ui->te_read->setText(str);
    }
}
二、效果展示:


 9154
9154

 被折叠的 条评论
为什么被折叠?
被折叠的 条评论
为什么被折叠?
 到【灌水乐园】发言


