


提示:文章写完后,目录可以自动生成,如何生成可参考右边的帮助文档
前言
课程要点;材质 meterials
测试不同材质
1.让我们创建三个几何体,和材质放到场景中
2.让它们旋转,同时自动更新
3.结合texture,想一想如何创建纹理
4.纹理如何放到材质中
5.材质的属性 常用的,map ,color , wireframe , side,opacity,transparent ,alphaMap
6.创建新的材质 不同的材质对应不同运用的场景
MeshNormalMaterial // 网格法线材质 法向量映射到RGB颜色的材质
MeshMatcapsMaterial // 材质捕捉(MatCap,或光照球(Lit Sphere))纹理所定义,其编码了材质的颜色与明暗。
guthub matcaps https://github.com/nidorx/matcaps
MeshDepthMaterial // 深度网格材质 深度基于相机远近平面。白色最近,黑色最远 用于迷雾等处理
// 续看
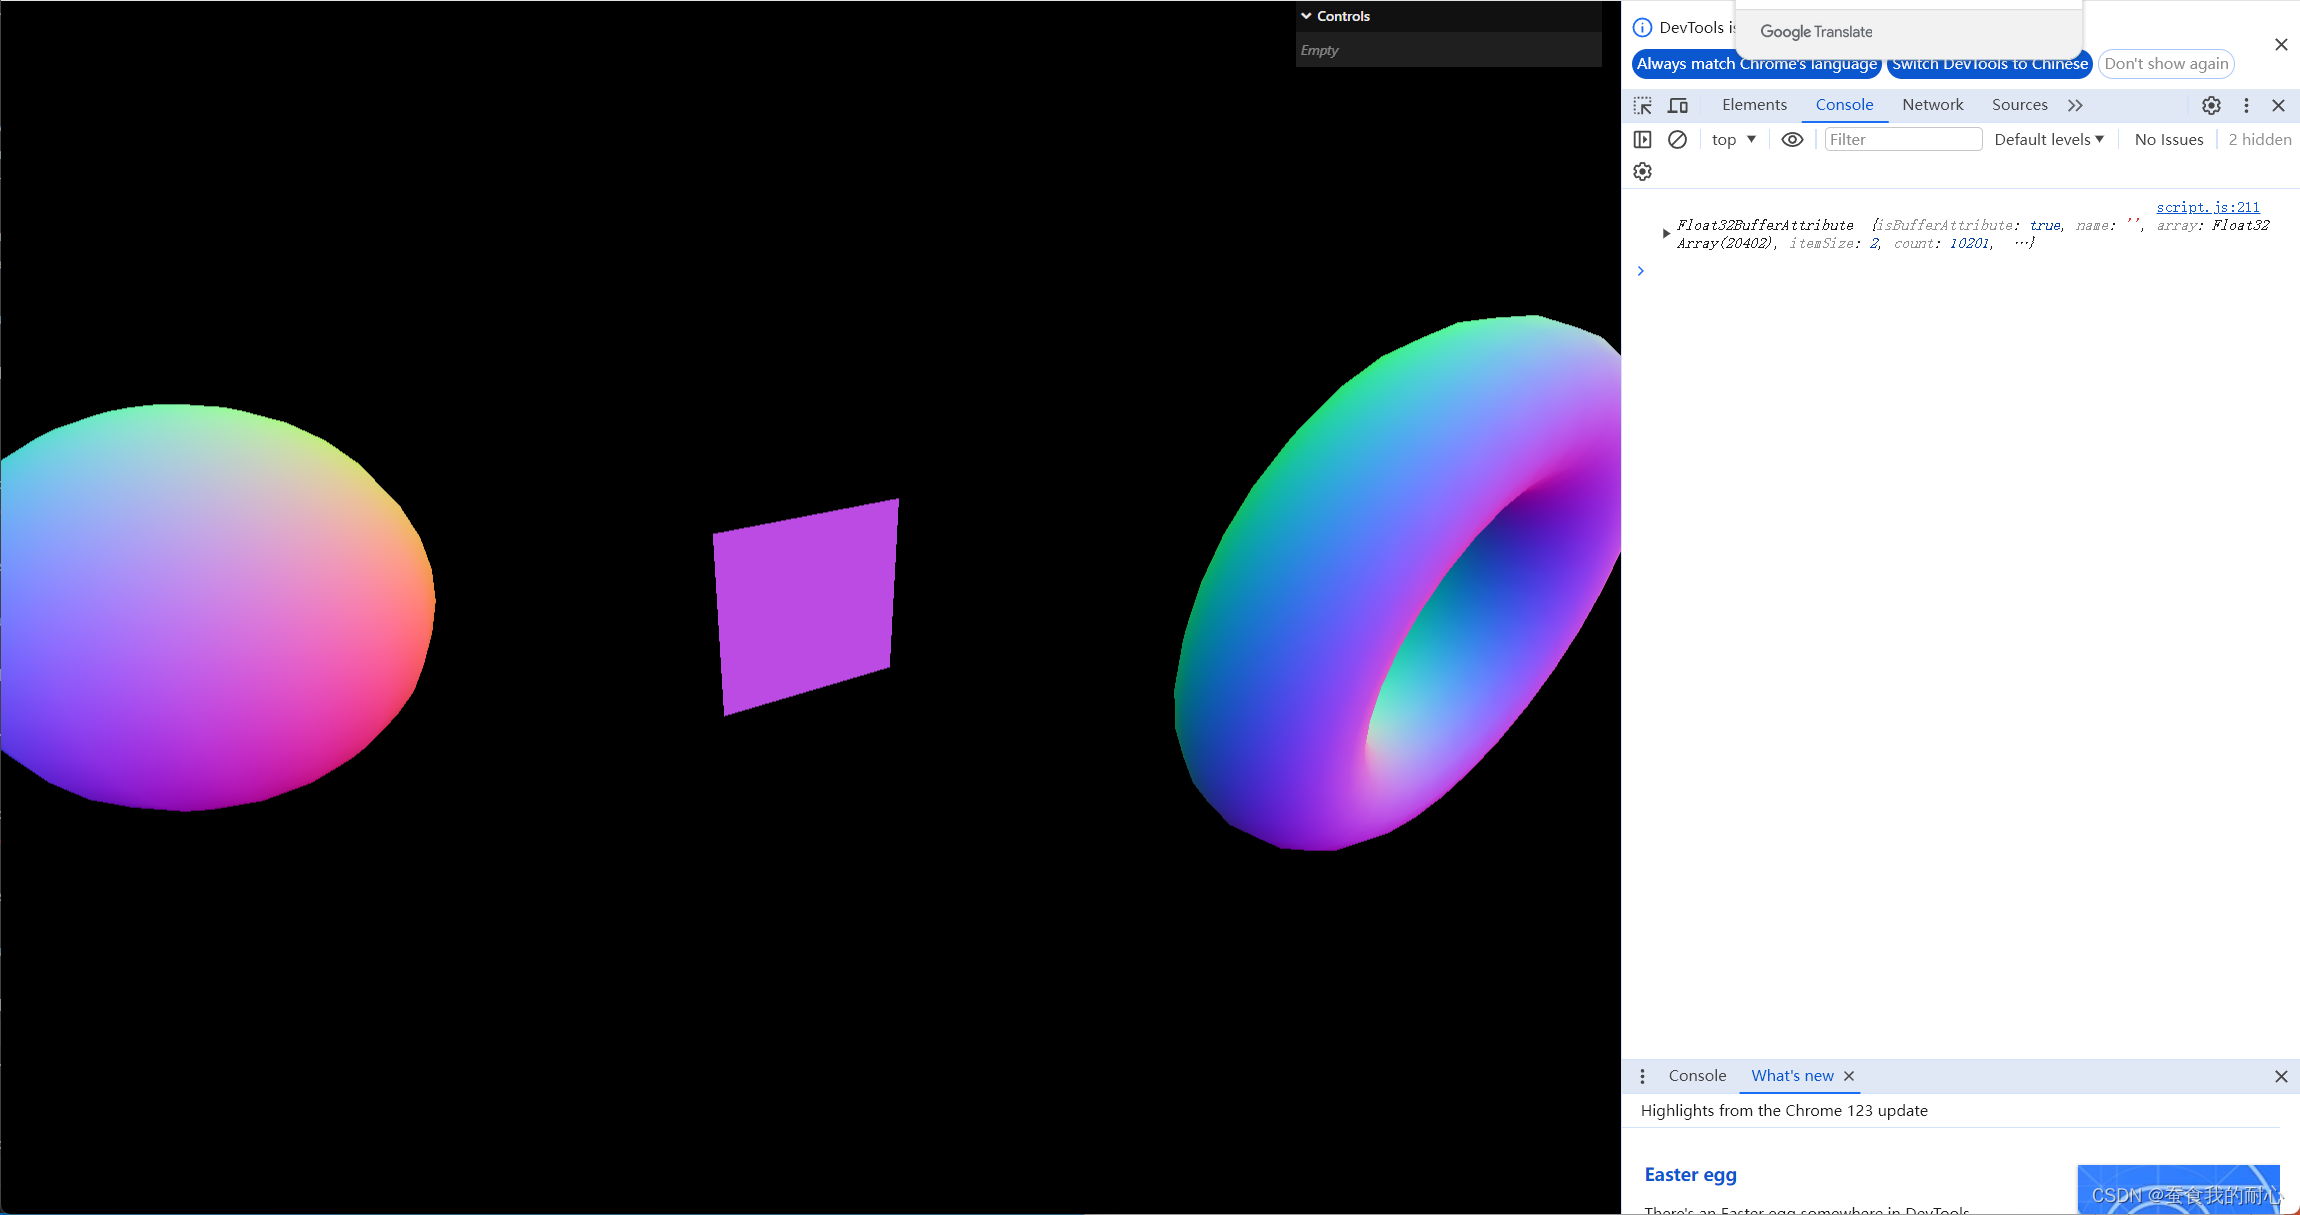
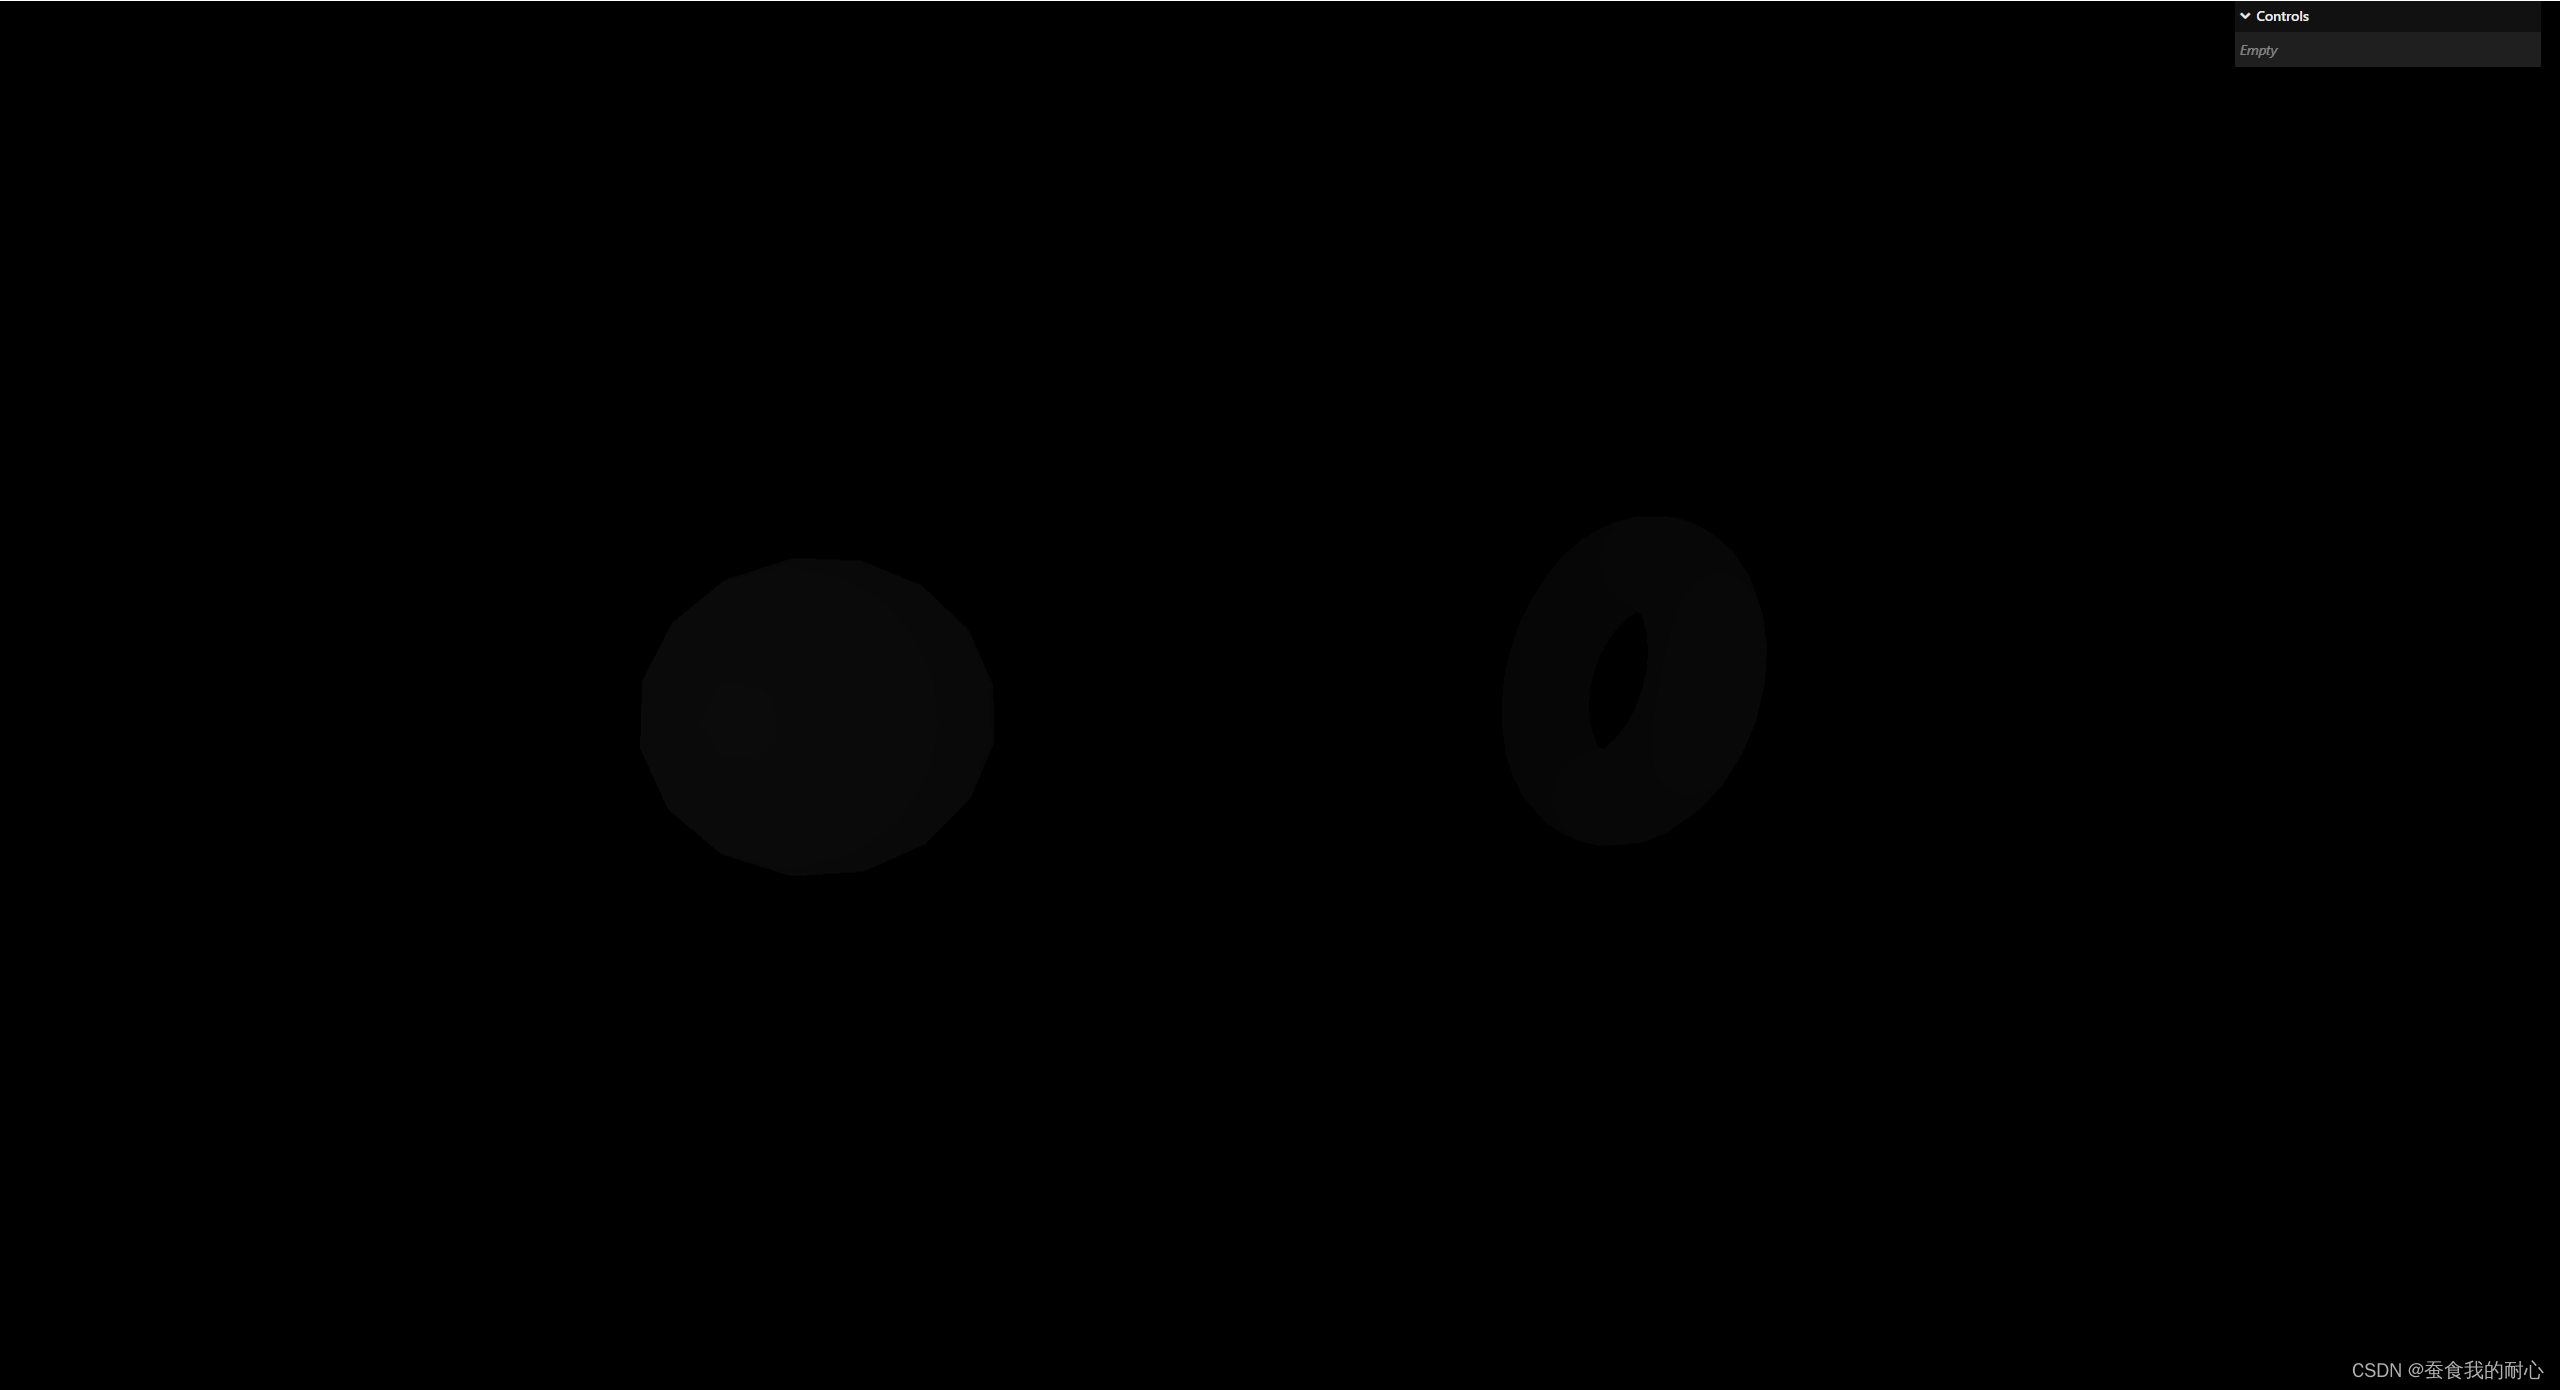
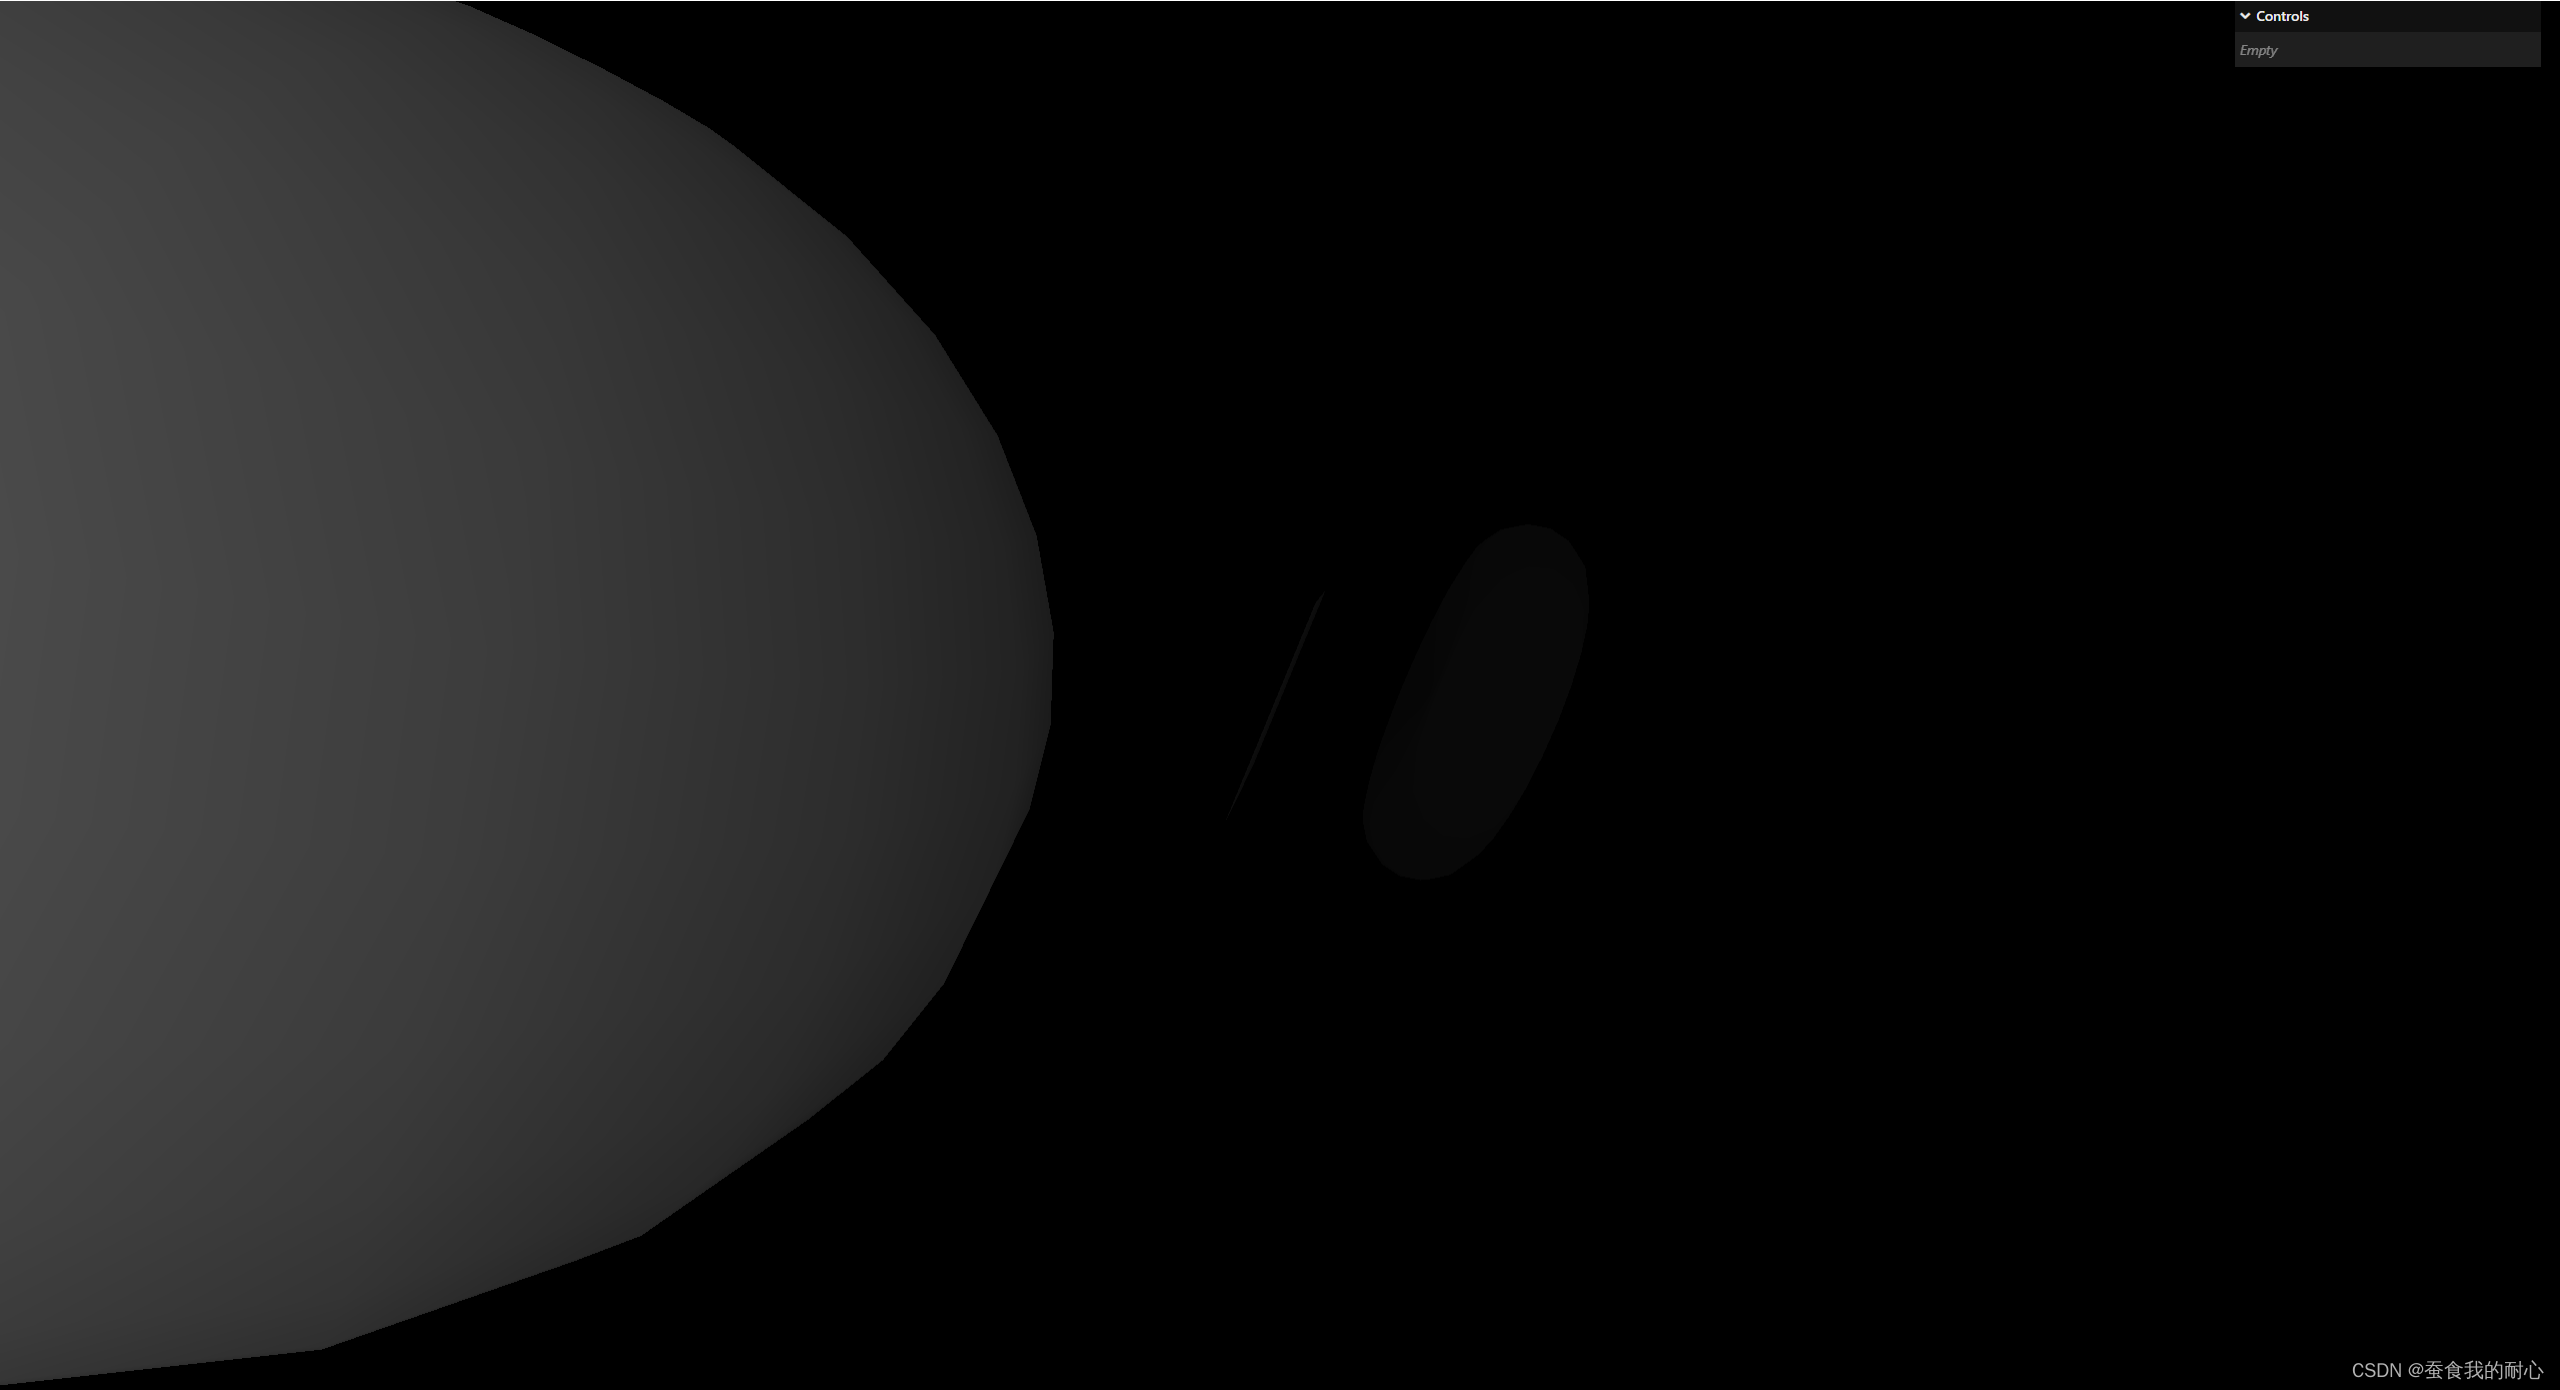
1. 三个物体 球,平面,环形
SphereGeometry
PlaneGeometry
TorusGeometry
2.使用法线贴图,环境光遮挡等 需要纹理
TextureLoading() load()
知道了很多的纹理,因此我们可以使用不同的网格材质进行测试
3.
3.1 MeshBasicMaterial 网格基本材质
map:纹理名 要将纹理应用:请使用贴图,
wrieframe : 是否线性展示
opacity: 透明度 ,不过要配合transparent使用
alphaMap: 外面是黑色,里面是白色 白色可见 黑色不可见 同上配合transparent使用
side: 侧面 ,如果我们移动平面 会发现背面是不可见
有三个属性: THREE.FrontSide(default),THREE.BackSide,THREE.DoubleSide
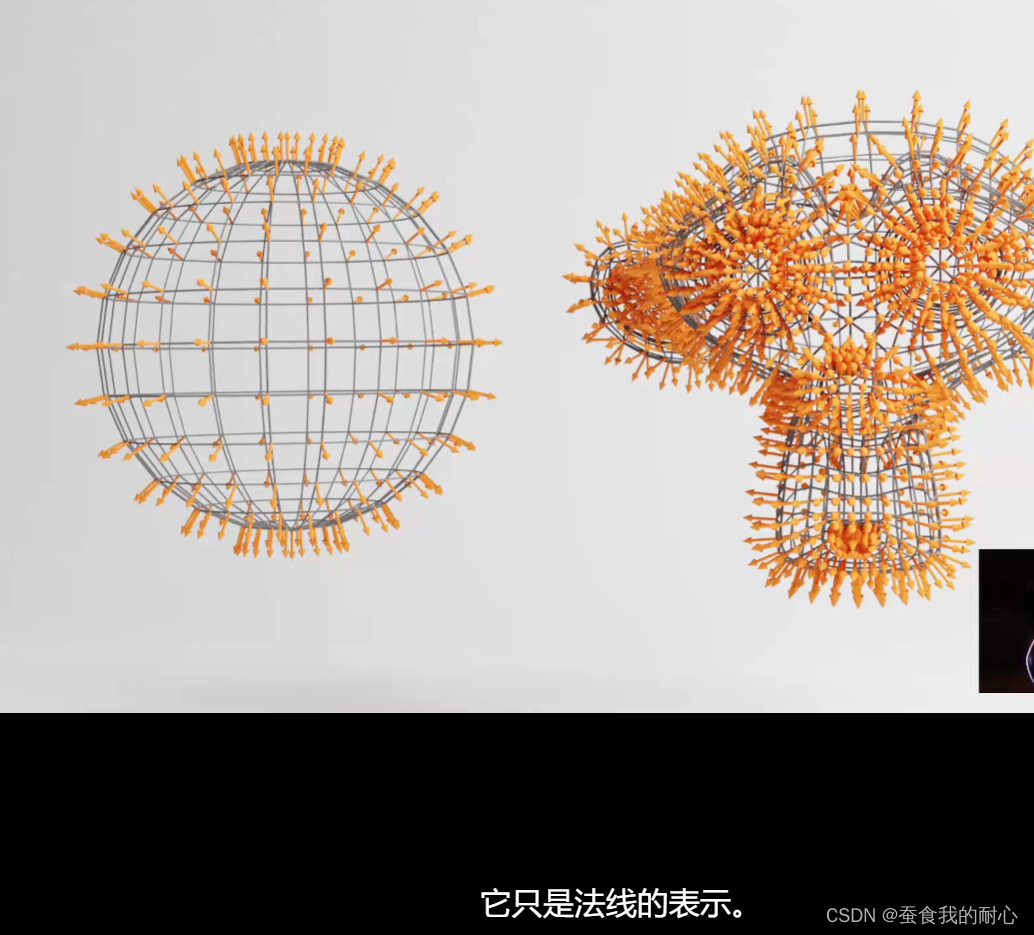
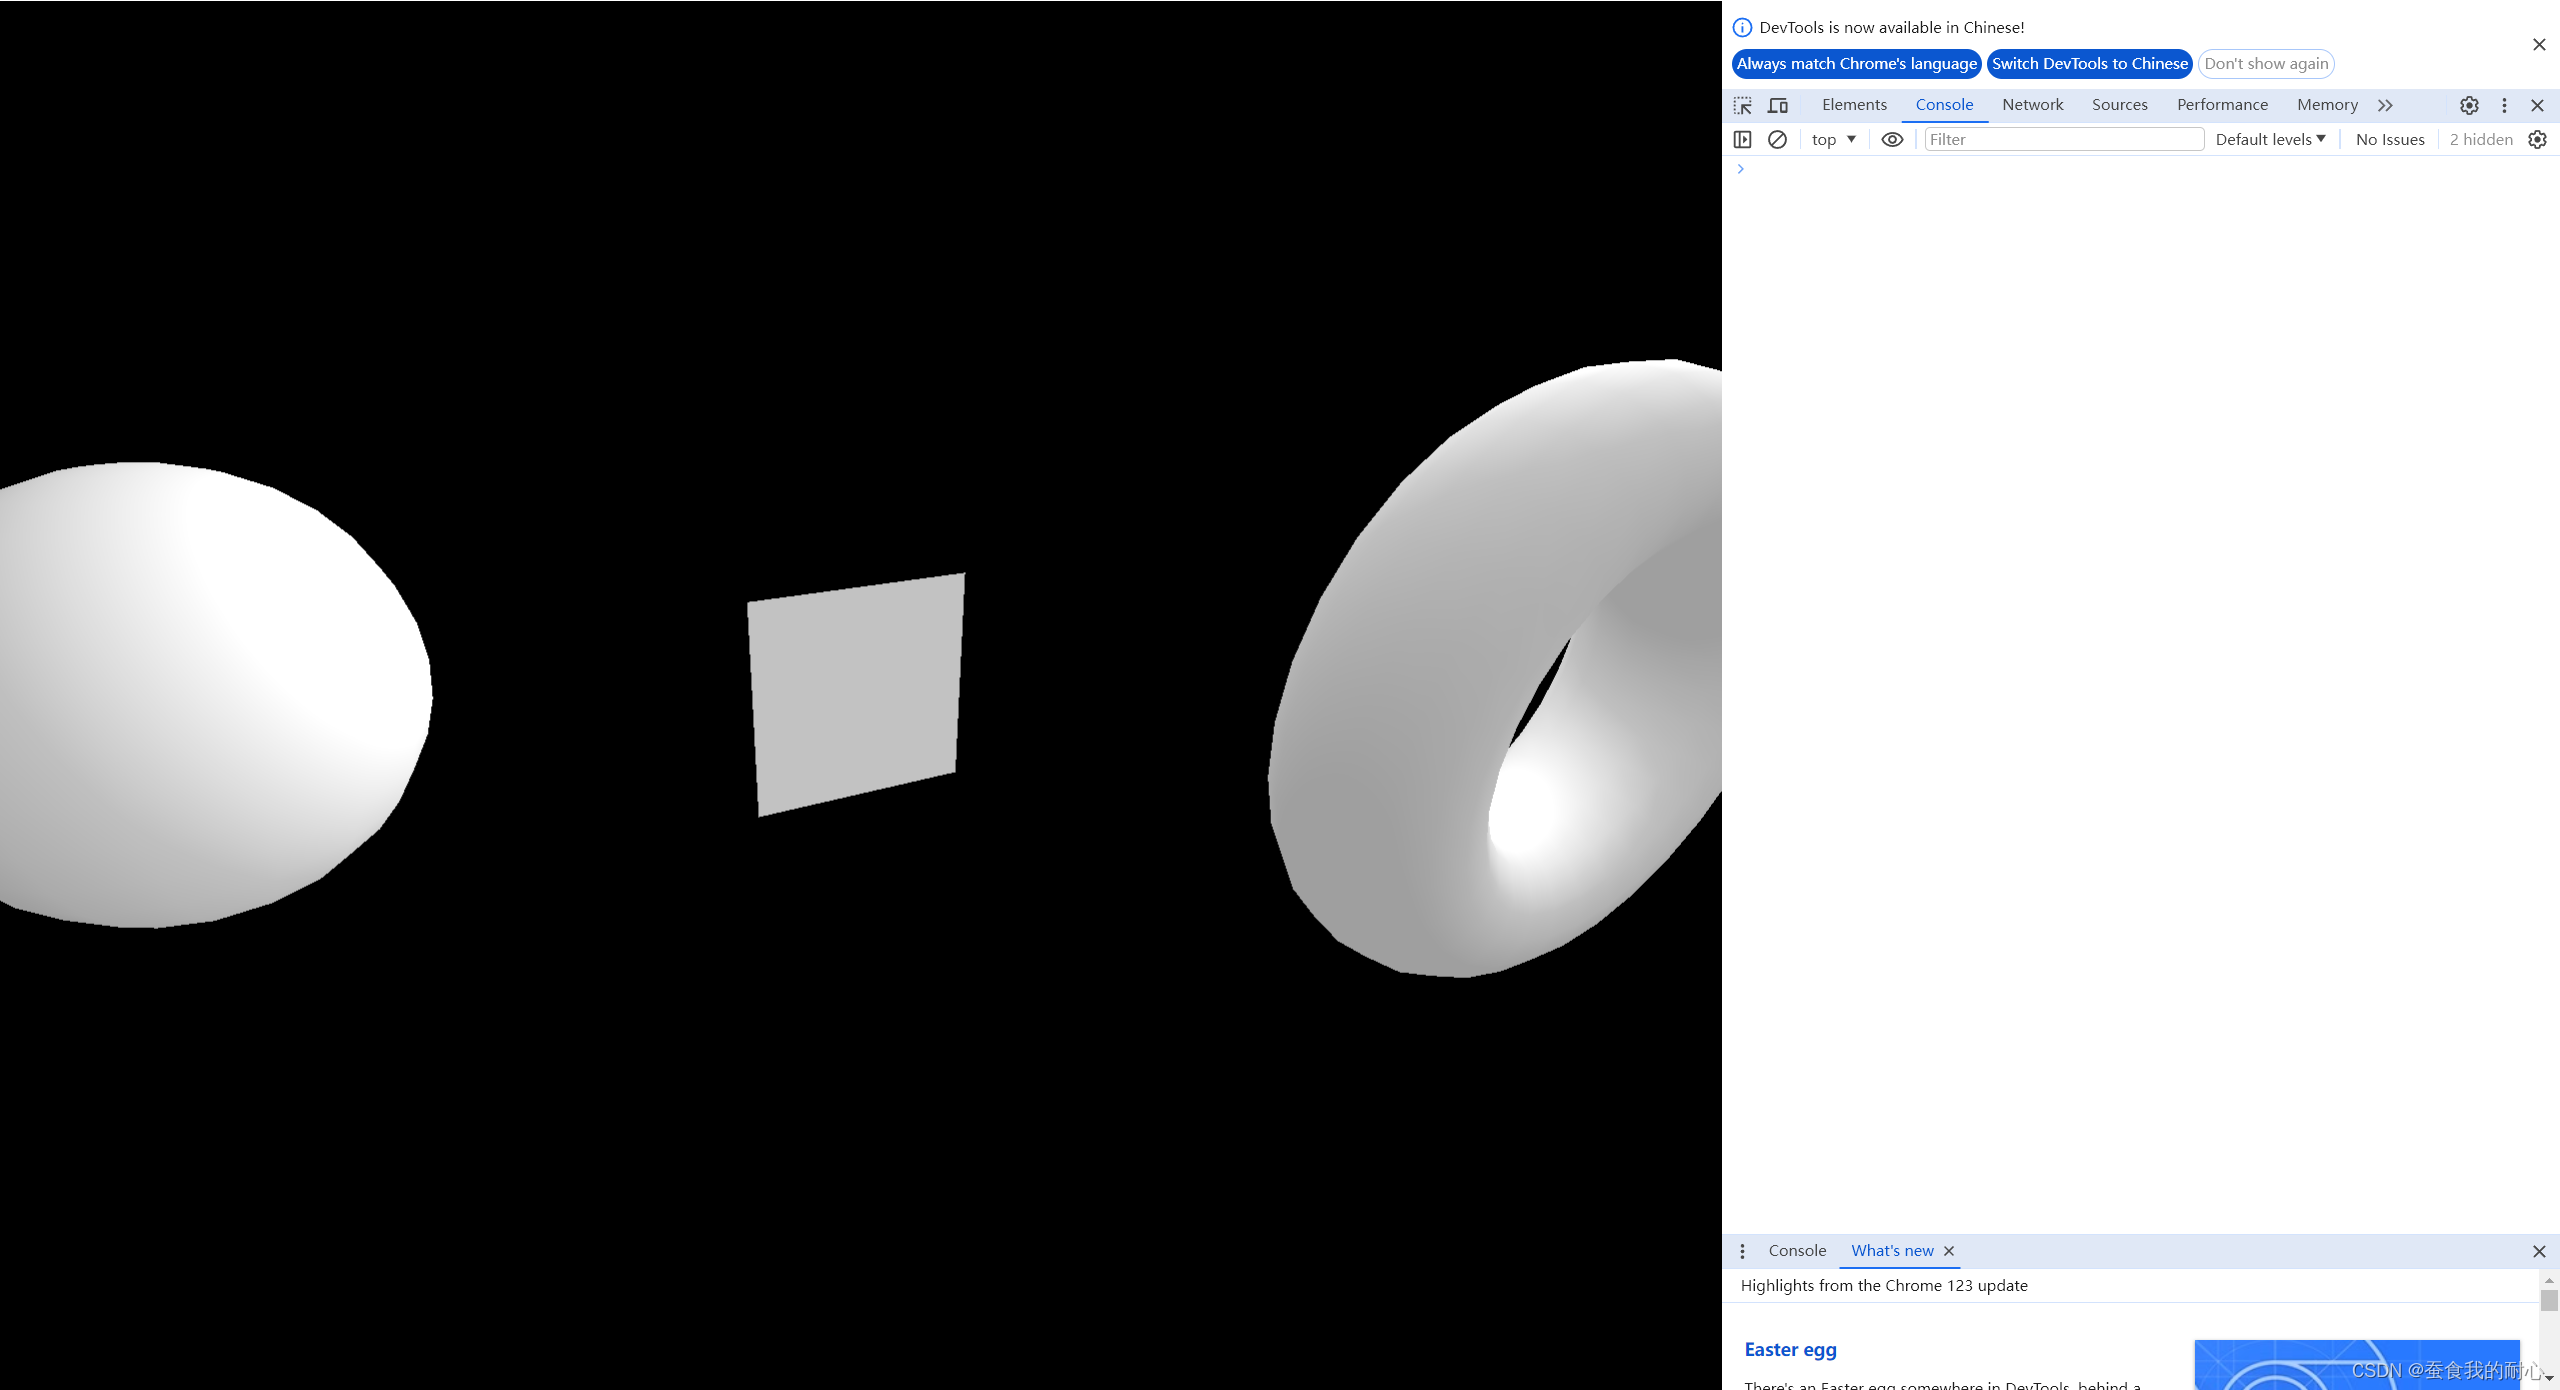
3.2 MeshNormalMaterial 网格法线材质 (不会有帧率的问题)
应用场景:法线包含面是面外部方向的信息,x,y,z;为什么需要法线材质,它是关于闪电,反射和折射
法线指向灯光的方向,也就是摄像机的正上方,人脸看的很清楚;若是在球体的对面,是在光线的对面
则看不清人类
新属性: flatShading : 布尔 平面阴影
3.3 MeshMatcapMaterial (matcap材质)
主要是通过法线作为参考来显示颜色,纹理上的正确颜色,放到材质上
3.4 MeshDepthMaterial 网格深度材质
如何工作:简单的将 几何体为白色,若它接近摄像机远近,近时候会是白色,远的时候会是黑色
应用场景:雾,无声的山丘效应等 ,光线对深度材料不起作用
3.5 关于灯光 ,由于下面的材质需要灯光 ,先加入两盏灯光
new THREE.AmbientLight() // 颜色,强度 是指 环境光
new THREE.PointLight() // 颜色,强度 是指 点光源
3.6 MeshLambertMaterial 网格木材材质 (对于光源有反应)无参数
// 仔细看 会在几何图形中看到模糊的线条,这是问题
3.7 MeshPhongMaterial 网状织物材质
可以看到光的反射,切模糊的线条等问题消失 但是性能不如上一个
shininess : 材料光泽平等 ,可以更好的享受光的反射
specular : 高光 ,
3.8 MeshToonMaterial 卡通材质
3.9 MeshStanderMaterial 标准材质 比Phong更好的算法和参数,如:粗糙度和金属度
metalness : 金属度
roughness : 粗糙度
遵顼PBR原则
4.0 引入gui 调试面板
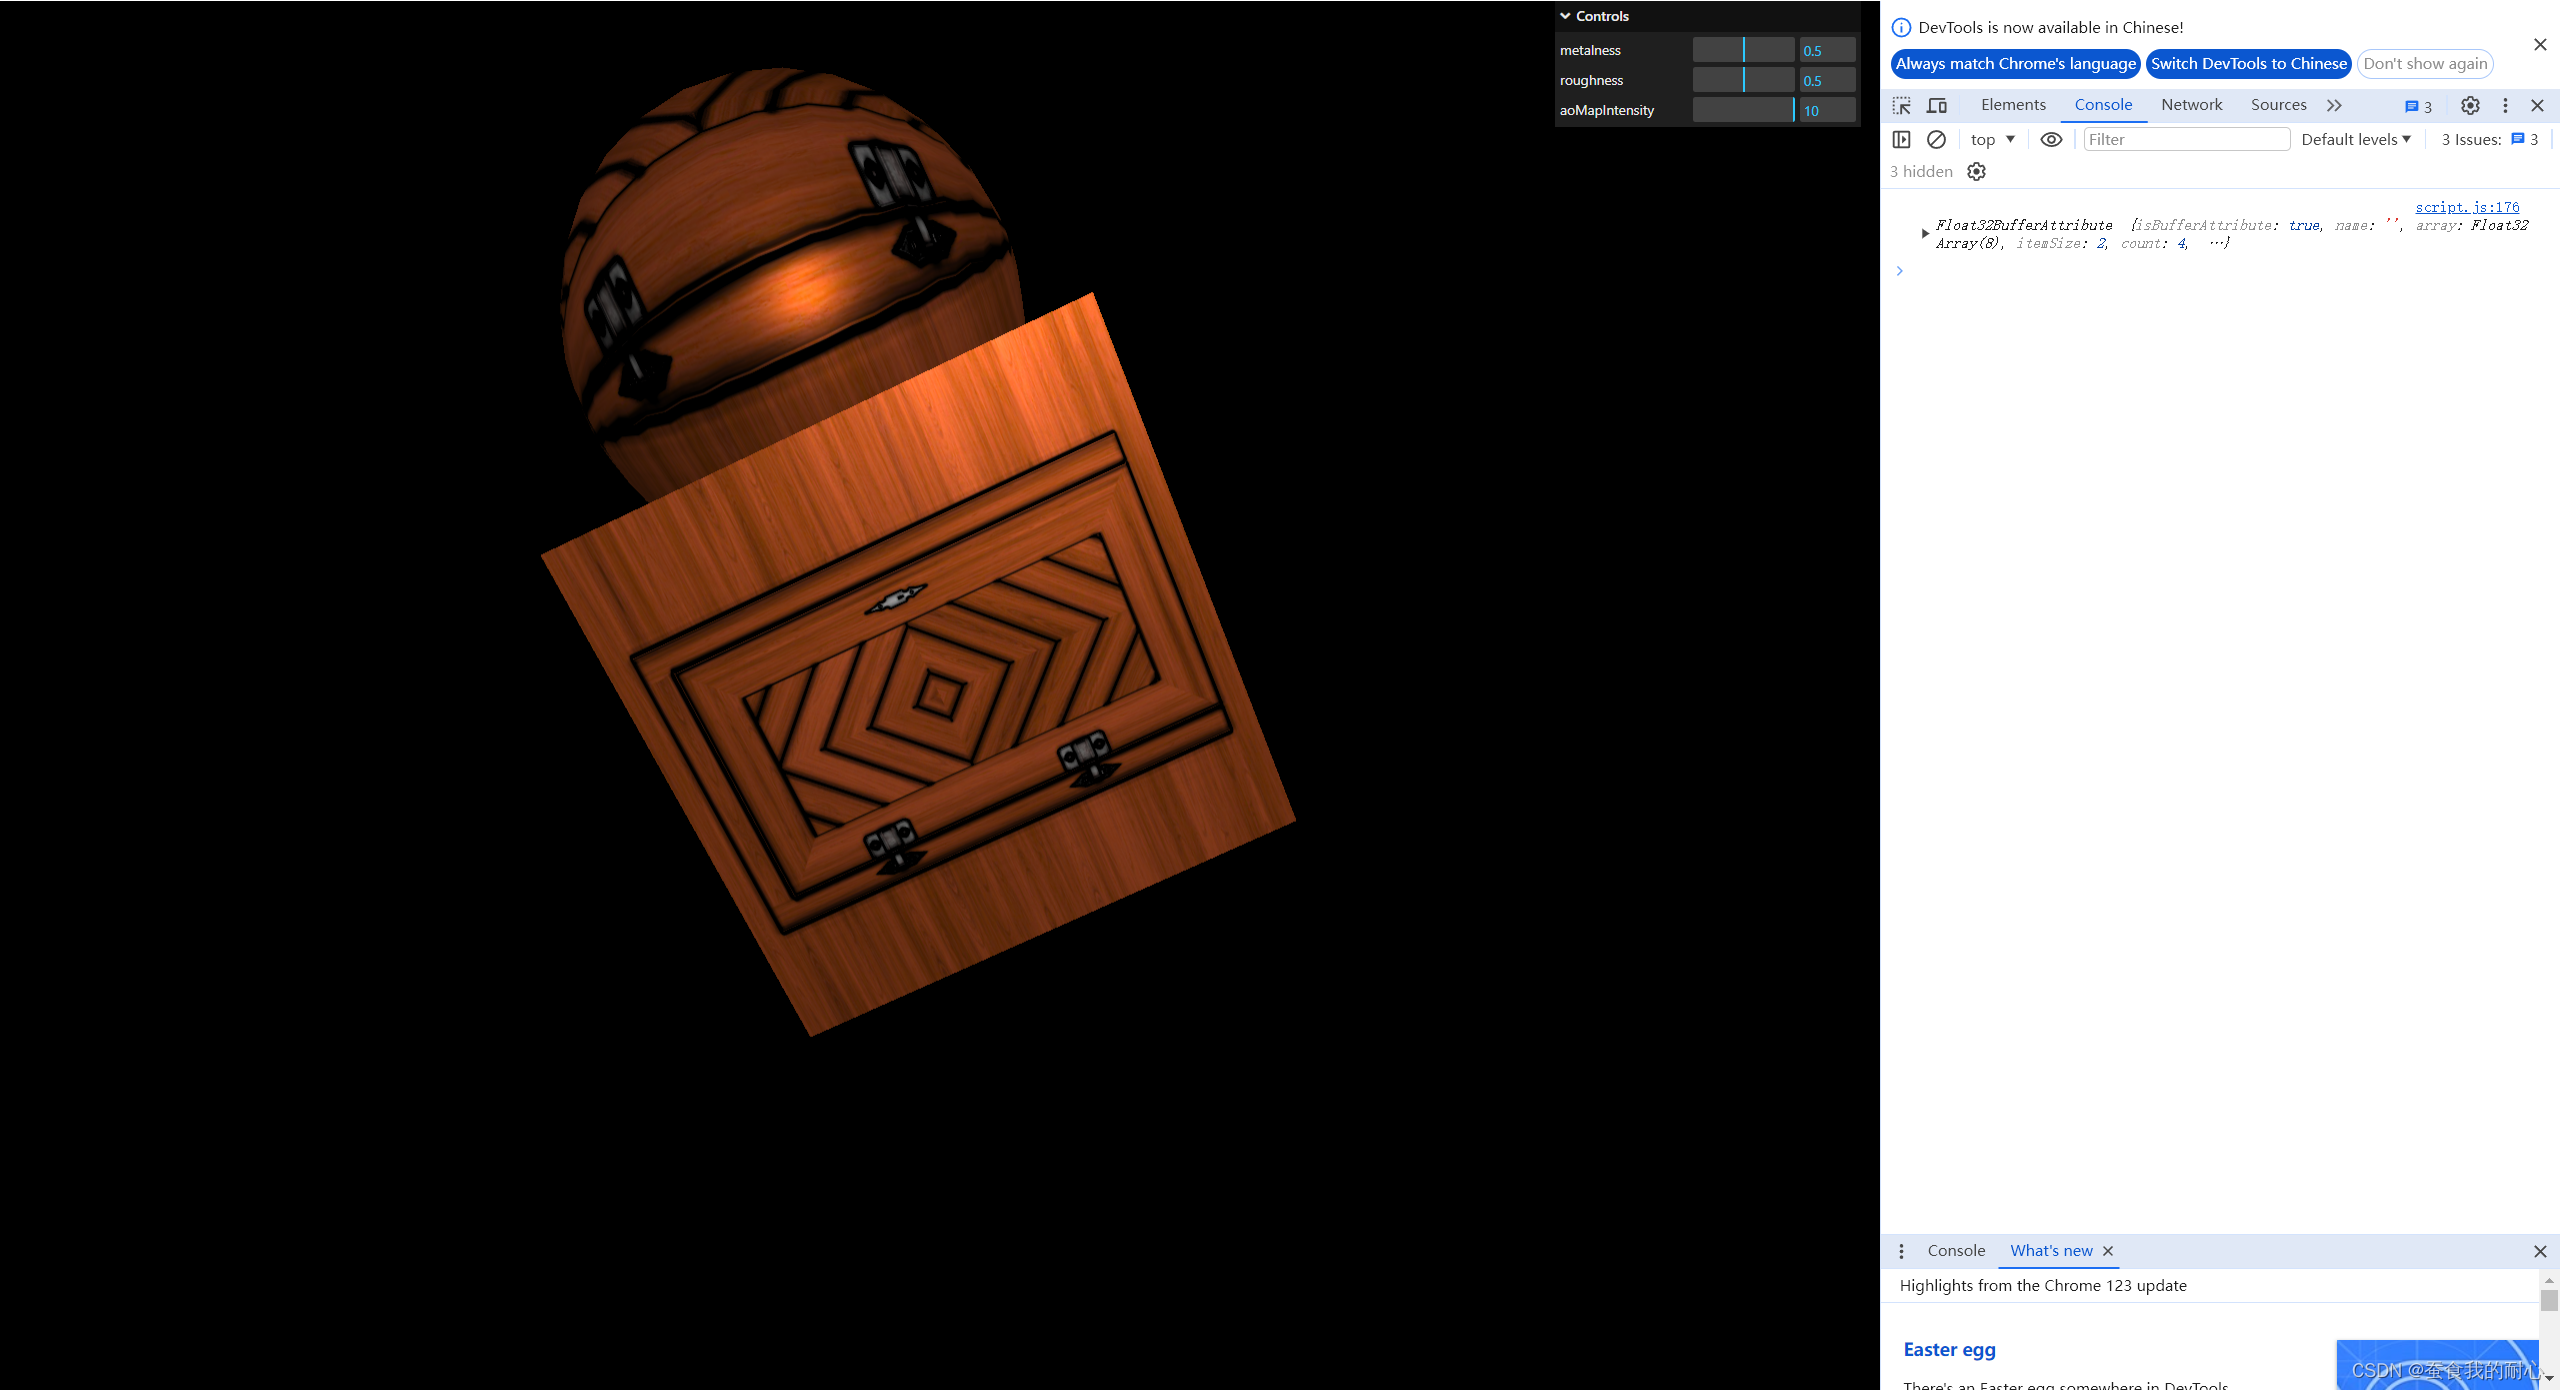
4.1 实现阴影 环境光遮挡纹理 aoMap
由于门 在平面中展示需要有层次感,要有阴影; 所以需要uv坐标 来帮助实现
uv坐标:防止环境纹理上的遮挡; 2*2
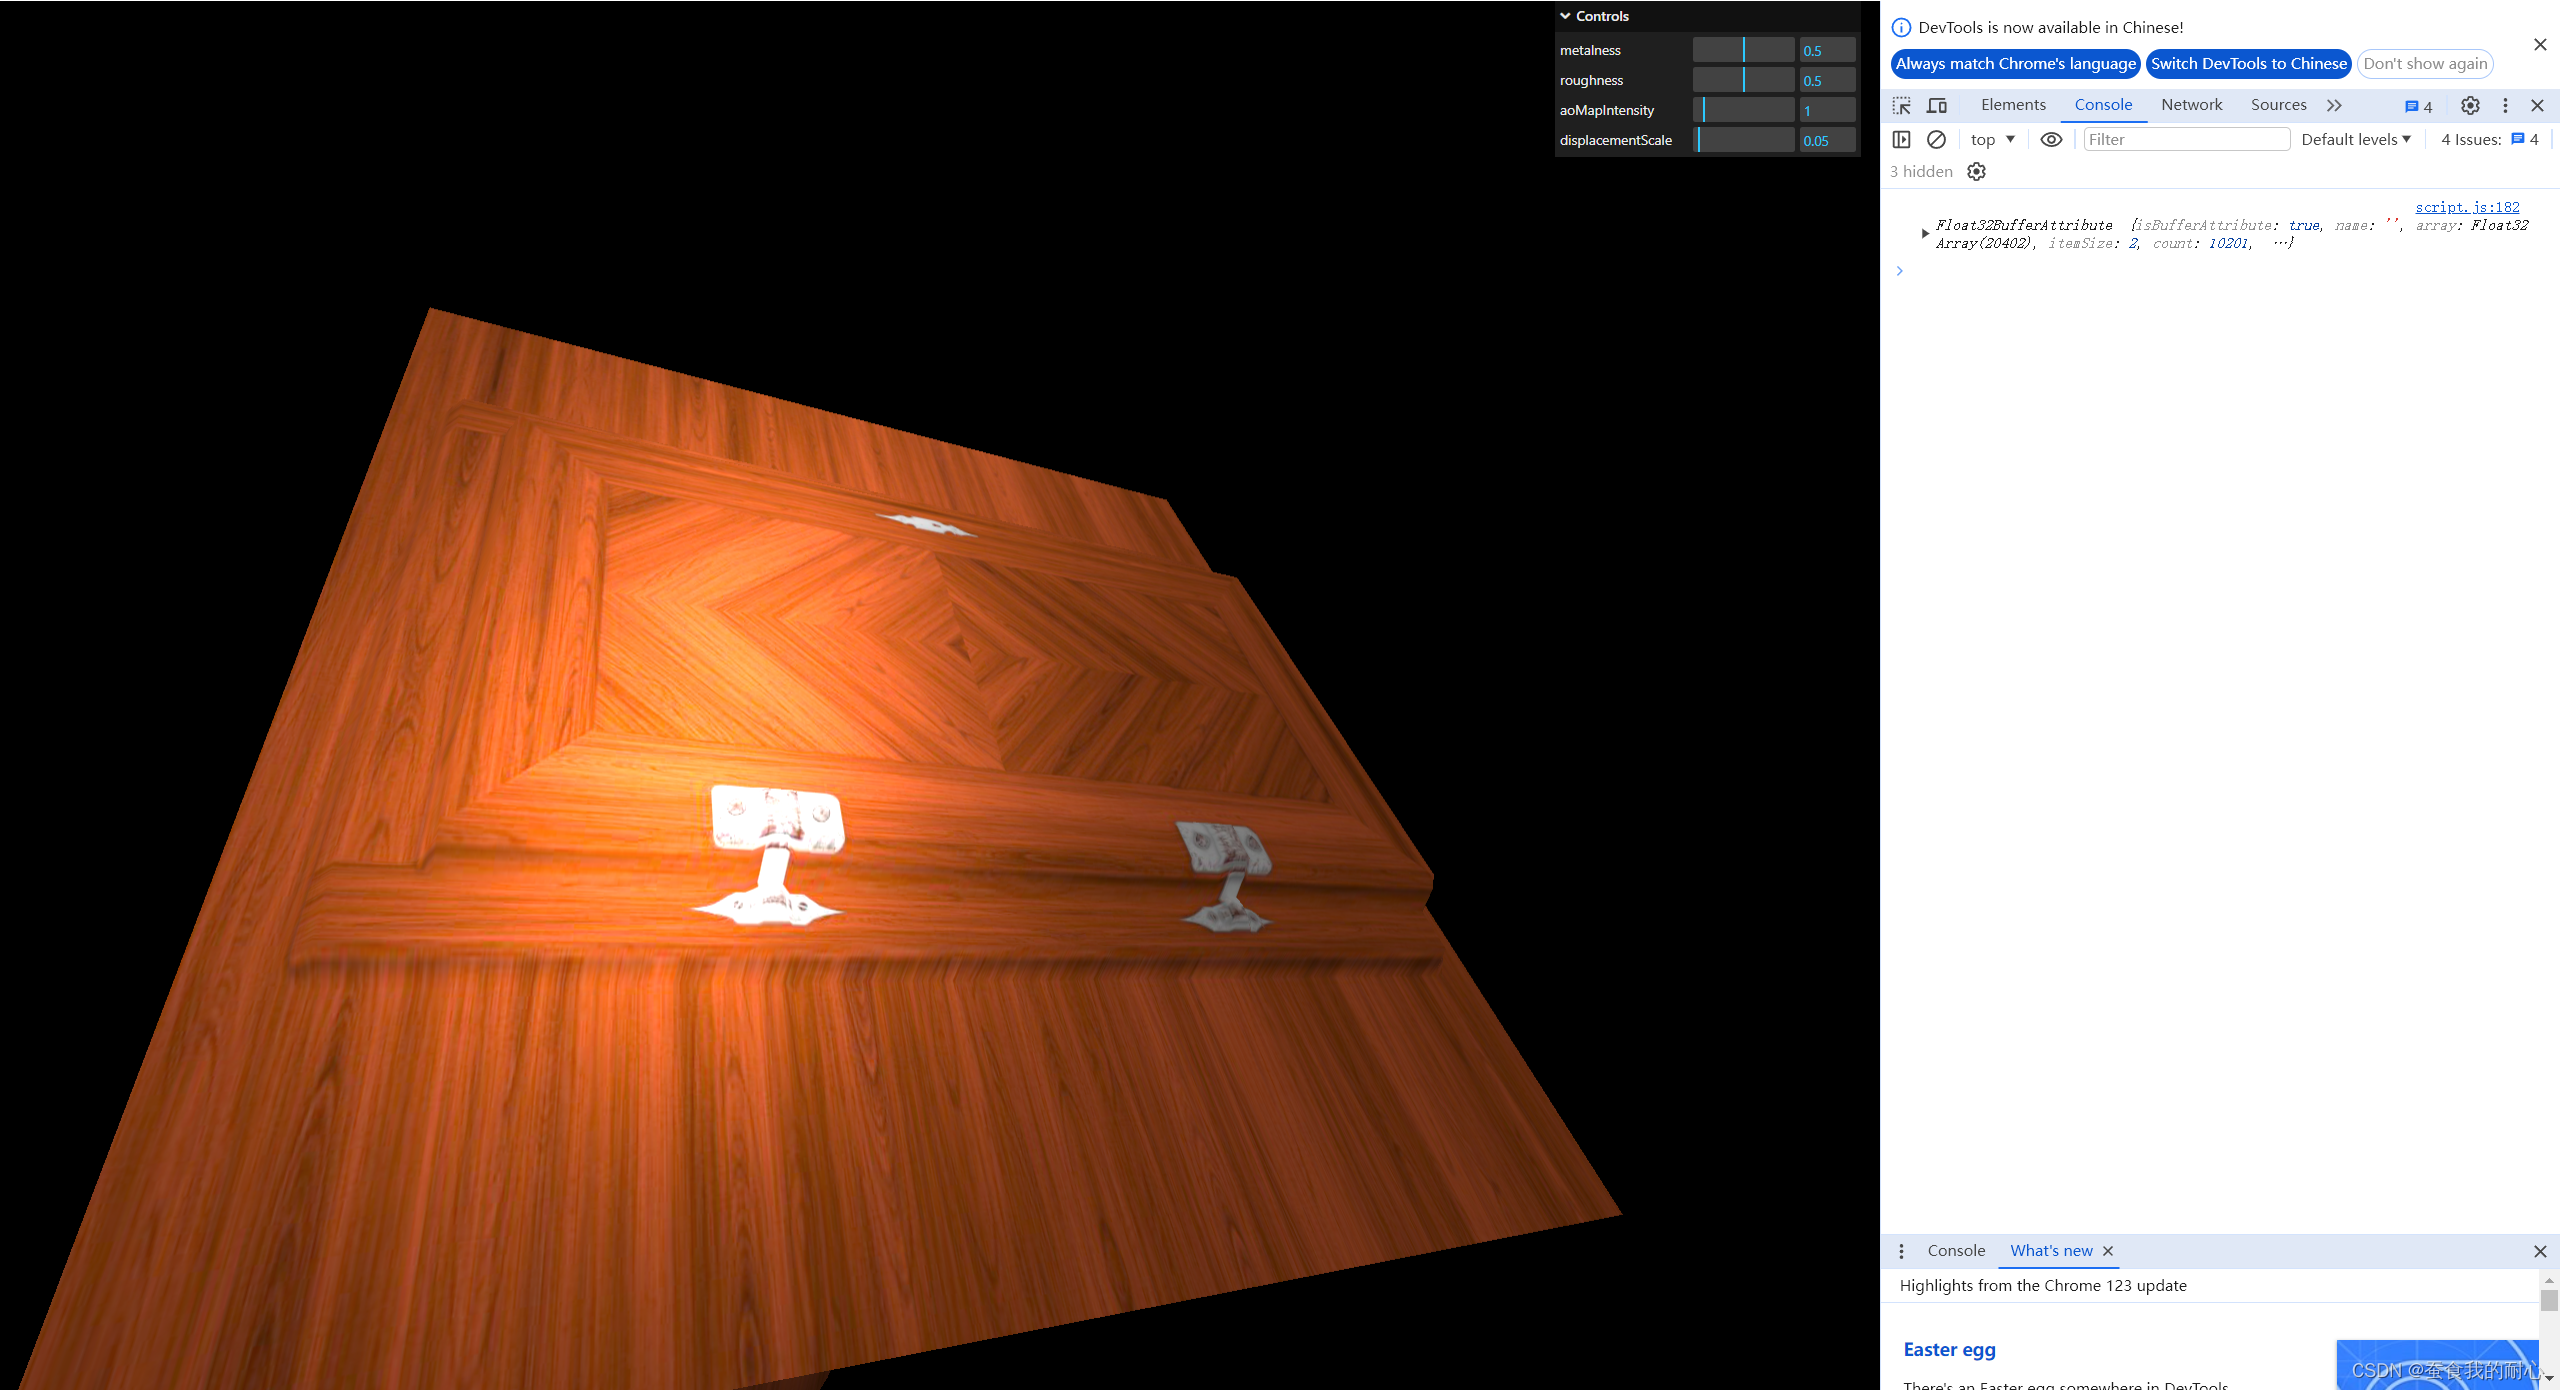
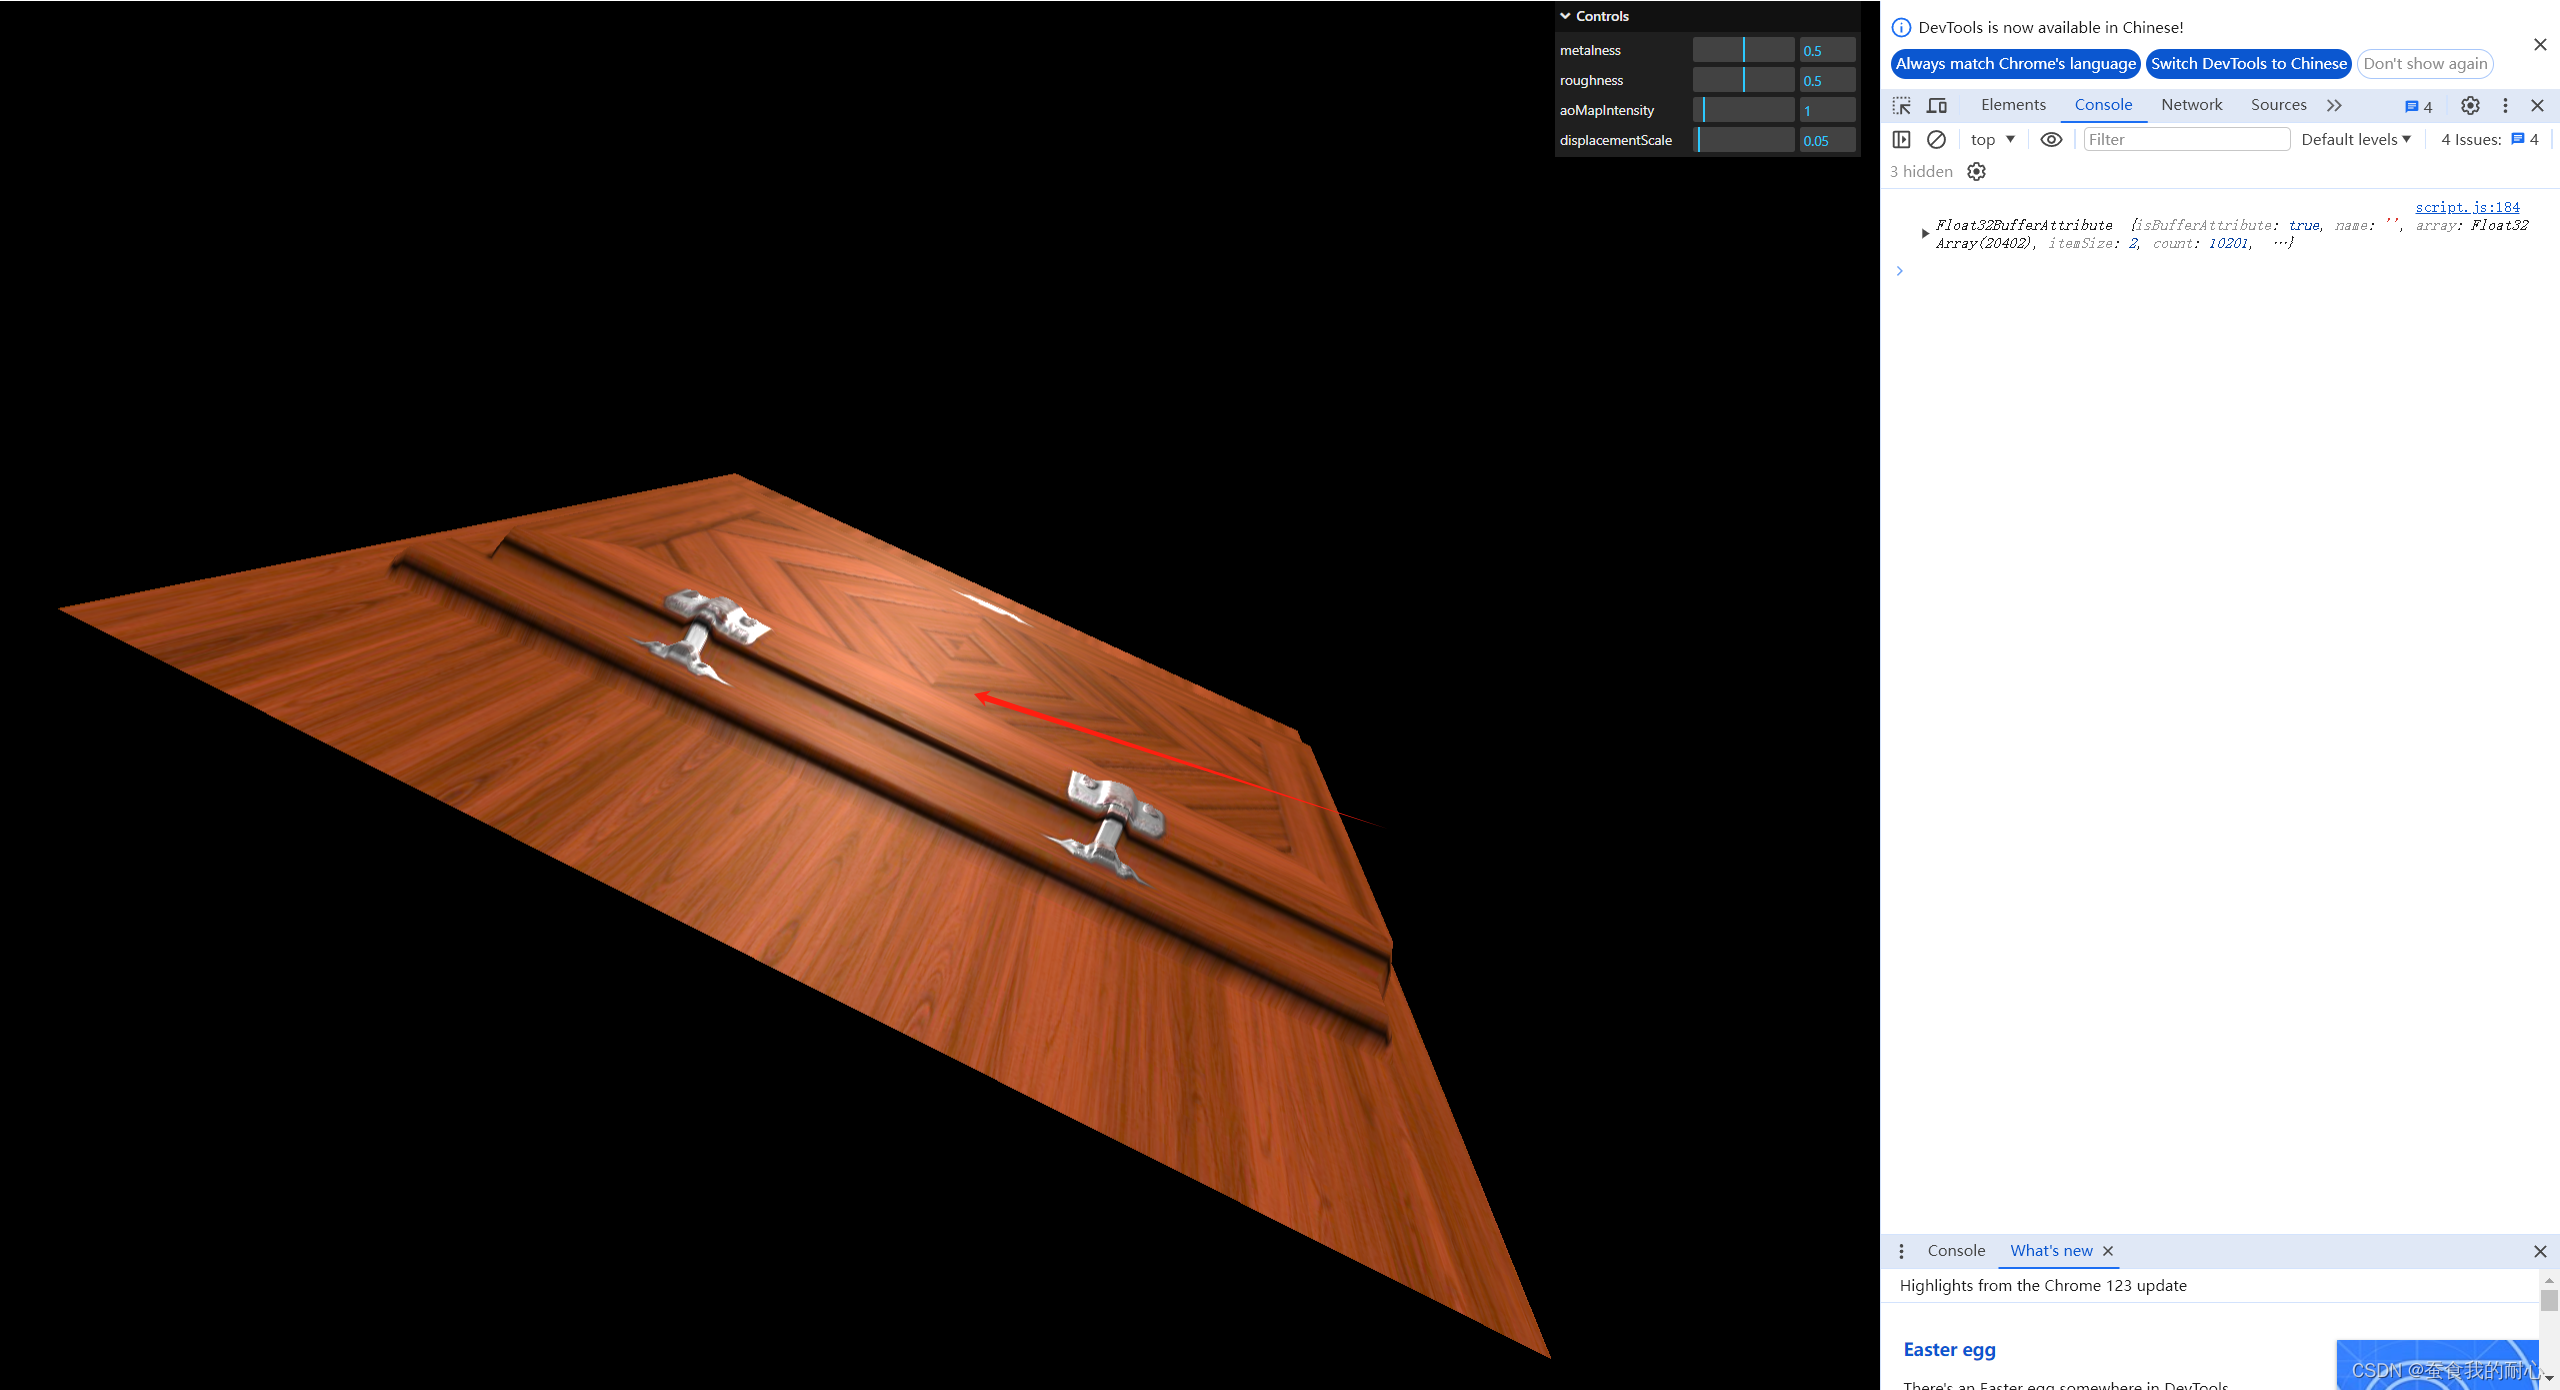
4.2 位移贴图 ,高度
displacementMap
4.3 金属度的贴图
4.4 法线贴图
4.5 环境贴图
立方体纹理加载器 CubeTextureLoader
二、代码
import * as THREE from 'three'
import { CubeTextureLoader, LineLoop, Mesh, NearestFilter, PointLight } from 'three'
import { OrbitControls } from 'three/examples/jsm/controls/OrbitControls.js'
import * as lil from 'lil-gui'

/*
* Debug ui
*/
const gui = new lil.GUI()

/**
 * Base
 */
// Canvas
const canvas = document.querySelector('canvas.webgl')

// Scene
const scene = new THREE.Scene()

/*
    textrue
*/
const TextureLoader = new THREE.TextureLoader() // 纹理加载器 load方法加载需要的纹理图
const cubeTextureLoader = new THREE.CubeTextureLoader()

const doorColorTexture = TextureLoader.load('/textures/door/color.jpg')
// 阿尔法
const doorAlphaTexture = TextureLoader.load('/textures/door/alpha.jpg')
// 环境光遮挡
const doorAmbientOcclusionTexture = TextureLoader.load('/textures/door/ambientOcclusion.jpg')
// 八
const doorHeightTexture = TextureLoader.load('/textures/door/height.jpg' )
// 正常
const doorNormalTexture = TextureLoader.load('/textures/door/normal.jpg' )
// 金属
const doorMetalnessTexture = TextureLoader.load('/textures/door/metalness.jpg' )
// 粗糙度
const doorRoughnessTexture = TextureLoader.load('/textures/door/roughness.jpg' )
// matcap纹理
const matcapTexture = TextureLoader.load('/textures/matcaps/1.png' )
// 渐变
const gradientTexture = TextureLoader.load('/textures/gradients/3.jpg' )

//环境贴图 参数 :左右 上下 前后  立方体纹理加载器
const environmentMapTexture = cubeTextureLoader.load([
    '/textures/environmentMaps/0/px.jpg',
    '/textures/environmentMaps/0/nx.jpg',
    '/textures/environmentMaps/0/py.jpg',
    '/textures/environmentMaps/0/ny.jpg',
    '/textures/environmentMaps/0/pz.jpg',
    '/textures/environmentMaps/0/nz.jpg',
])

gradientTexture.minFilter = THREE.NearestFilter
gradientTexture.magFilter = THREE.NearestFilter
gradientTexture.generateMipmaps = false

/*
    Object
    我想要在一个网格内创建一个球体,平面,曲线
    我要有物体,or 材质 or 在网格中,放到场景
    一个网格下,三个网孔
*/
// const material = new THREE.MeshBasicMaterial() // 网格材质
// material.map = doorColorTexture
// material.color = new THREE.Color('#ff0000')
// material.wireframe = true
// material.opacity = 0.5 // 设置透明度要设置transparent
// material.transparent = true;
// material.alphaMap = doorAlphaTexture // 要设置transparent 得到一个完整的,门
// material.side = THREE.DoubleSide // 这是会发现背面也有图

// const material = new THREE.MeshNormalMaterial()   //网格法线材质 彩色 包含外部方向信息
// material.flatShading = true

// const material = new THREE.MeshMatcapMaterial() // 因为正确显示颜色,可以在没有灯光的情况下,模拟灯光
// material.matcap = matcapTexture

// const material = new THREE.MeshDepthMaterial()

// const material = new THREE.MeshLambertMaterial() // 此时若关闭光源 会一片漆黑

// const material = new THREE.MeshPhongMaterial()

// const material = new THREE.MeshToonMaterial() // 颜色极具变化 ,可以通过渐变贴图实现颜色平滑过渡
//  // 加上这个,失去卡通色,原因MIP拉伸导致 ;防止发生,在纹理中使用过滤器,同时禁用MIP
// material.gradientMap = gradientTexture

// const material = new THREE.MeshStandardMaterial()
// material.metalness = 0.5
// material.roughness = 0.5
// material.map = doorColorTexture
// material.aoMap = doorAmbientOcclusionTexture
// material.aoMapIntensity = 1 // aoMapIntensity 环境光强度
// material.displacementMap = doorHeightTexture // 使用了置换贴图 和 门高纹理
// material.displacementScale = 0.05  // 位移比例
// material.metalnessMap = doorMetalnessTexture  // 金属度的贴图
// material.rounghMap = doorRoughnessTexture  // 金属度的贴图
// material.normalMap = doorNormalTexture  // 法线贴图
// material.normalScale.set(0.5,0.5) // 可以设置更多的细节

// // 此时没有展现一个完整的门 因为 左右两边拉伸呢
// // 此时用到 alphaMap  , 需要设置transparent = true
// material.transparent = true
// material.alphaMap = doorAlphaTexture

// 环境贴图
const material = new THREE.MeshStandardMaterial()
material.metalness = 0.5
material.roughness = 0.5
material.envMap = environmentMapTexture


gui.add(material,'metalness').min(0).max(1).step(0.0001)
gui.add(material,'roughness').min(0).max(1).step(0.0001)
gui.add(material,'aoMapIntensity').min(0).max(10).step(0.0001)
gui.add(material,'displacementScale').min(0).max(1).step(0.0001)
// gui.add(material,'normalScale').min(0).max(1).step(0.0001)

material.shininess = 100;
material.specular = new THREE.Color('#ff0000')

const sphere = new Mesh(
    new THREE.SphereGeometry(0.5,16,16),
    material
)
sphere.position.x = -1.5

sphere.geometry.setAttribute(
    'uv2',
    new THREE.BufferAttribute(sphere.geometry.attributes.uv.array, 2),
)

const plane = new Mesh(
    // new THREE.PlaneGeometry(0.5,0.5),
    new THREE.PlaneGeometry(0.5,0.5,100,100), // 宽高,
    material
)
plane.geometry.setAttribute(
    'uv2',
    new THREE.BufferAttribute(plane.geometry.attributes.uv.array, 2),
)

console.log(plane.geometry.attributes.uv)

const torus = new Mesh(
    new THREE.TorusGeometry(0.5,0.2,16,30),
    material
)
torus.position.x = 1.5
torus.geometry.setAttribute(
    'uv2',
    new THREE.BufferAttribute(torus.geometry.attributes.uv.array, 2),
)

// 补充,不需要重复add, 可以接收多个对象
scene.add(sphere,plane,torus)

/*
*   Lights
*/
const ambientLight = new THREE.AmbientLight('#ffffff',0.5)
scene.add(ambientLight)

const pointLight = new THREE.PointLight('#ffffff',0.5)
pointLight.position.x = 2
pointLight.position.y = 2
pointLight.position.y = 2
scene.add(pointLight)


/**
 * Sizes
 */
const sizes = {
    width: window.innerWidth,
    height: window.innerHeight
}

window.addEventListener('resize', () =>
{
    // Update sizes
    sizes.width = window.innerWidth
    sizes.height = window.innerHeight

    // Update camera
    camera.aspect = sizes.width / sizes.height
    camera.updateProjectionMatrix()

    // Update renderer
    renderer.setSize(sizes.width, sizes.height)
    renderer.setPixelRatio(Math.min(window.devicePixelRatio, 2))
})

/**
 * Camera
 */
// Base camera
const camera = new THREE.PerspectiveCamera(75, sizes.width / sizes.height, 0.1, 100)
// camera.position.x = 1
// camera.position.y = 1
camera.position.z = 2
scene.add(camera)

// Controls
const controls = new OrbitControls(camera, canvas)
controls.enableDamping = true

/**
 * Renderer
 */
const renderer = new THREE.WebGLRenderer({
    canvas: canvas
})
renderer.setSize(sizes.width, sizes.height)
renderer.setPixelRatio(Math.min(window.devicePixelRatio, 2))

/**
 * Animate
 */
const clock = new THREE.Clock()

const tick = () =>
{
    const elapsedTime = clock.getElapsedTime()

    // Updata Object
    sphere.rotation.x = 0.2* elapsedTime
    plane.rotation.x = 0.2* elapsedTime
    torus.rotation.x = 0.2* elapsedTime

    sphere.rotation.y = 0.2* elapsedTime
    plane.rotation.y = 0.2* elapsedTime
    torus.rotation.y = 0.2* elapsedTime

    // Update controls
    controls.update()

    // Render
    renderer.render(scene, camera)

    // Call tick again on the next frame
    window.requestAnimationFrame(tick)
}

tick()
三,知识点
1.1 球,平面,环形
new THREE.SphereGeometry() // 参数: 球体半径,水平分段数,垂直分段数。。。
new THREE.PlaneGeometry() //参数:宽,高 ,宽度分段数,高度分段数
new THREE.TorusGeometry() // 参数:环面的半径,管道的半径,管道横截面的分段数,管道分段数
1.2 纹理
有了几何体,还要有纹理和材质,可以使用法线贴图,环境遮挡光等
new THREE.TextureLoading()
const TextureLoader = new THREE.TextureLoader() // 纹理加载器 load方法加载需要的纹理图
const cubeTextureLoader = new THREE.CubeTextureLoader()

const doorColorTexture = TextureLoader.load('/textures/door/color.jpg')
// 阿尔法
const doorAlphaTexture = TextureLoader.load('/textures/door/alpha.jpg')
// 环境光遮挡
const doorAmbientOcclusionTexture = TextureLoader.load('/textures/door/ambientOcclusion.jpg')
// 八
const doorHeightTexture = TextureLoader.load('/textures/door/height.jpg' )
// 正常
const doorNormalTexture = TextureLoader.load('/textures/door/normal.jpg' )
// 金属
const doorMetalnessTexture = TextureLoader.load('/textures/door/metalness.jpg' )
// 粗糙度
const doorRoughnessTexture = TextureLoader.load('/textures/door/roughness.jpg' )
// matcap纹理
const matcapTexture = TextureLoader.load('/textures/matcaps/1.png' )
// 渐变
const gradientTexture = TextureLoader.load('/textures/gradients/3.jpg' )

//环境贴图 参数 :左右 上下 前后  立方体纹理加载器
const environmentMapTexture = cubeTextureLoader.load([
    '/textures/environmentMaps/0/px.jpg',
    '/textures/environmentMaps/0/nx.jpg',
    '/textures/environmentMaps/0/py.jpg',
    '/textures/environmentMaps/0/ny.jpg',
    '/textures/environmentMaps/0/pz.jpg',
    '/textures/environmentMaps/0/nz.jpg',
])


gradientTexture.minFilter = THREE.NearestFilter
gradientTexture.magFilter = THREE.NearestFilter
gradientTexture.generateMipmaps = false
加载不同的纹理图片 ,在不同的材质中显示不同的效果!
1.3 Material
不同的纹理,对应不同的材质方法!
1.3.1 MeshBasicMaterial() 网格基本材质
const material = new THREE.MeshBasicMaterial() // 网格材质
material.map = doorColorTexture  // map : 贴图方法

// 在创建的几何图形中放入

const sphere = new Mesh(
    new THREE.SphereGeometry(0.5,16,16),
    material
)
sphere.position.x = -1.5

const plane = new Mesh(
    // new THREE.PlaneGeometry(0.5,0.5),
    new THREE.PlaneGeometry(0.5,0.5,100,100), // 宽高,
    material
)


const torus = new Mesh(
    new THREE.TorusGeometry(0.5,0.2,16,30),
    material
)
torus.position.x = 1.5
material.color = new THREE.Color('#ff0000') // 设置颜色时需要这样设置 不能直接等于red这种
material.wireframe = true // 展示线条 ,可以看到中间平面基本没有顶点,左右两边有很多顶点

material.opacity = 0.5 // 设置透明度要设置transparent
material.transparent = true // 几何体之间可以透视
material.alphaMap = doorAlphaTexture // 同样也要设置transparent ,这种的是阿尔法贴图
黑色没有,白色有,因此中间会显示一个完整的门,左右的拉伸你都会隐藏掉
material.side = THREE.DoubleSide // 我们在观察时 ,如果我们移动平面 会发现背面是不可见,是虚无的没有的,因此可以设置DoubleSize 显示背面 ,当然还有两外两个参数, THREE.FrontSide(default),THREE.BackSide,THREE.DoubleSide

1.3.2 MeshNormalMaterial 网格法线材质
概念:彩色的,包含外部的方向信息!,x,y,z等坐标的外部方向信息。不会有帧率的问题!
应用场景:法线包含面是面外部方向的信息,x,y,z;为什么需要法线材质,它是关于闪电,反射和折射 法线指向灯光的方向,也就是摄像机的正上方,人脸看的很清楚;若是在球体的对面,是在光线的对面 则看不清人类
const material = new THREE.MeshNormalMaterial()
material.flatShading = true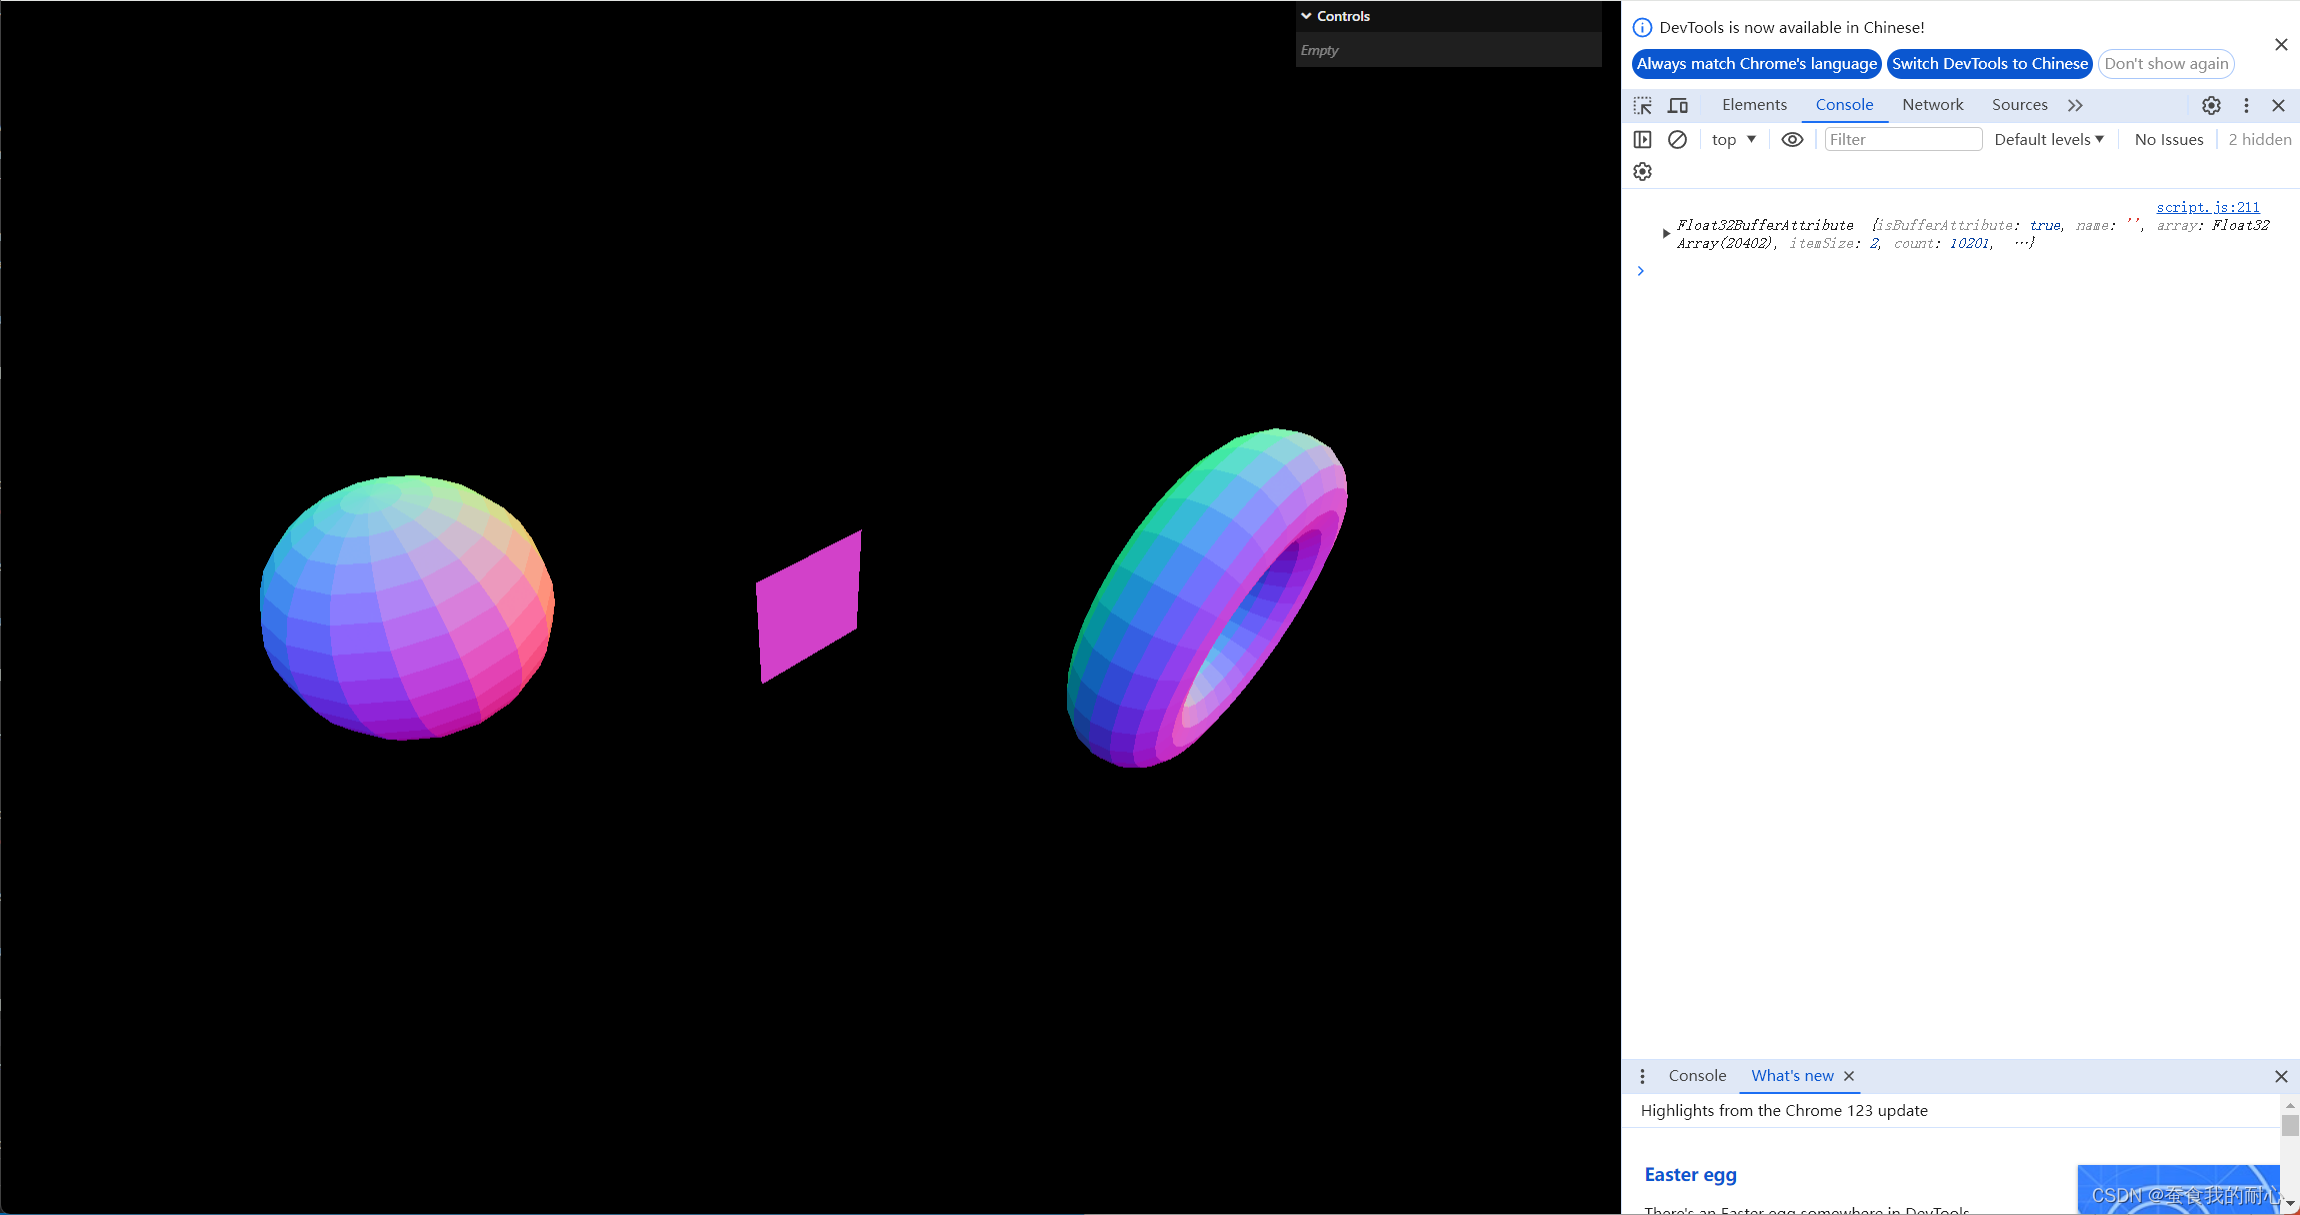
对比一下啊没有设置平面阴影,很明显几何体表面的颜色是无阴影的!
1.3.3 MeshMatcapMaterial (网格matcap材质)、
概念:主要是通过法线作为参考来显示颜色,纹理上的正确颜色,放到材质上。因为正确显示颜色,可以在没有灯光的情况下,模拟灯光。
将原本设置的光源注释掉,观察在matcap材质下,在摄像机拉近球体,光源的显示
const material = new THREE.MeshMatcapMaterial()
material.matcap = matcapTextrue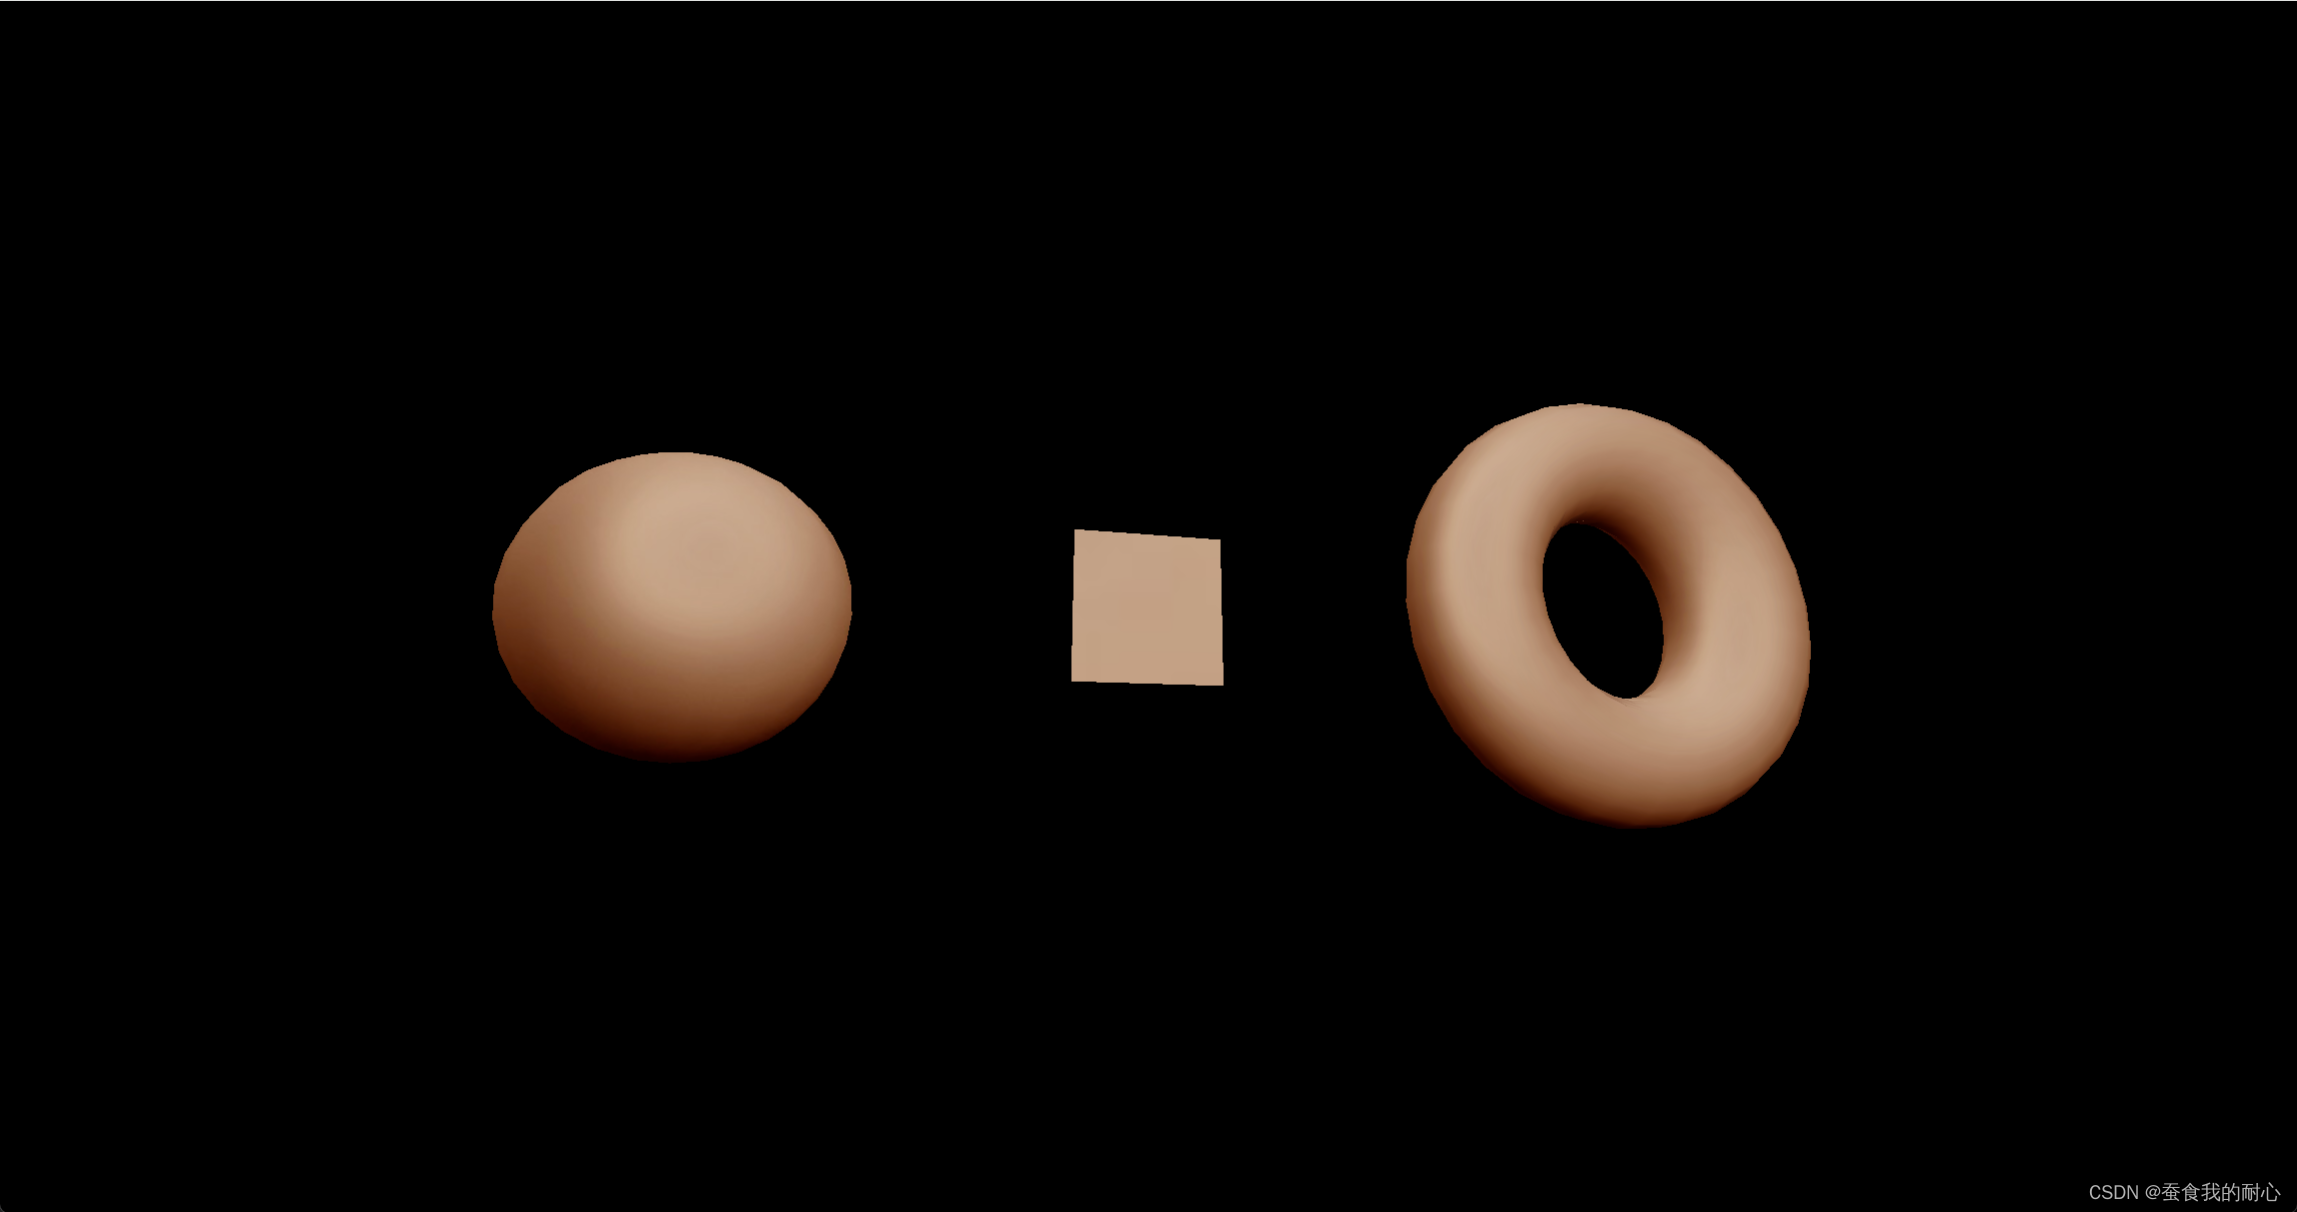
上面可以看到的是,原本图片上的光源,可以说是颜色,原本图片上的颜色信息 ,只是正确的展示出来。
1.3.4 MeshDepthMaterial 网格深度材质
如何工作:简单的将 几何体为白色,若它接近摄像机远近,近时候会是白色,远的时候会是黑色应用场景:雾,无声的山丘效应等 ,光线对深度材料不起作用
在远近时,几何体的展示
const material = new THREE.MeshDepthMaterial()
1.3.5 MeshLambertMaterial 网格木制材质 对光源有反应
关于灯光,由于下面的材质需要灯光 ,先加入两盏灯光
new THREE.AmbientLight() // 颜色,强度 是指 环境光
new THREE.PointLight() // 颜色,强度 是指 点光源
const ambientLight = new THREE.AmbientLight('#ffffff',0.5)
scene.add(ambientLight)

const pointLight = new THREE.PointLight('#ffffff',0.5)
pointLight.position.x = 2
pointLight.position.y = 2
pointLight.position.y = 2
scene.add(pointLight)
此时已经设置好环境光和点光源
const material = new THREE.MeshLambertMaterial() // 此时若关闭光源 会一片漆黑

可以看到反射出红色的光,
当然已经设置光源,想要设置反射光颜色和材料光泽等
其中shininess:材料光泽平等; specular:高光
需要在设置好材料之后 设置其属性
material.shininess = 100;
material.specular = new THREE.Color('#ff0000')
1.3.6 MeshPhongMaterial 网格织物材质
可以看到光的反射,切模糊的线条等问题消失 但是性能不如上一个
1.3.7 MeshToonMaterial 网格卡通材质
颜色极具变化 ,可以通过渐变贴图实现颜色平滑过渡
const material = new THREE.MeshToonMaterial()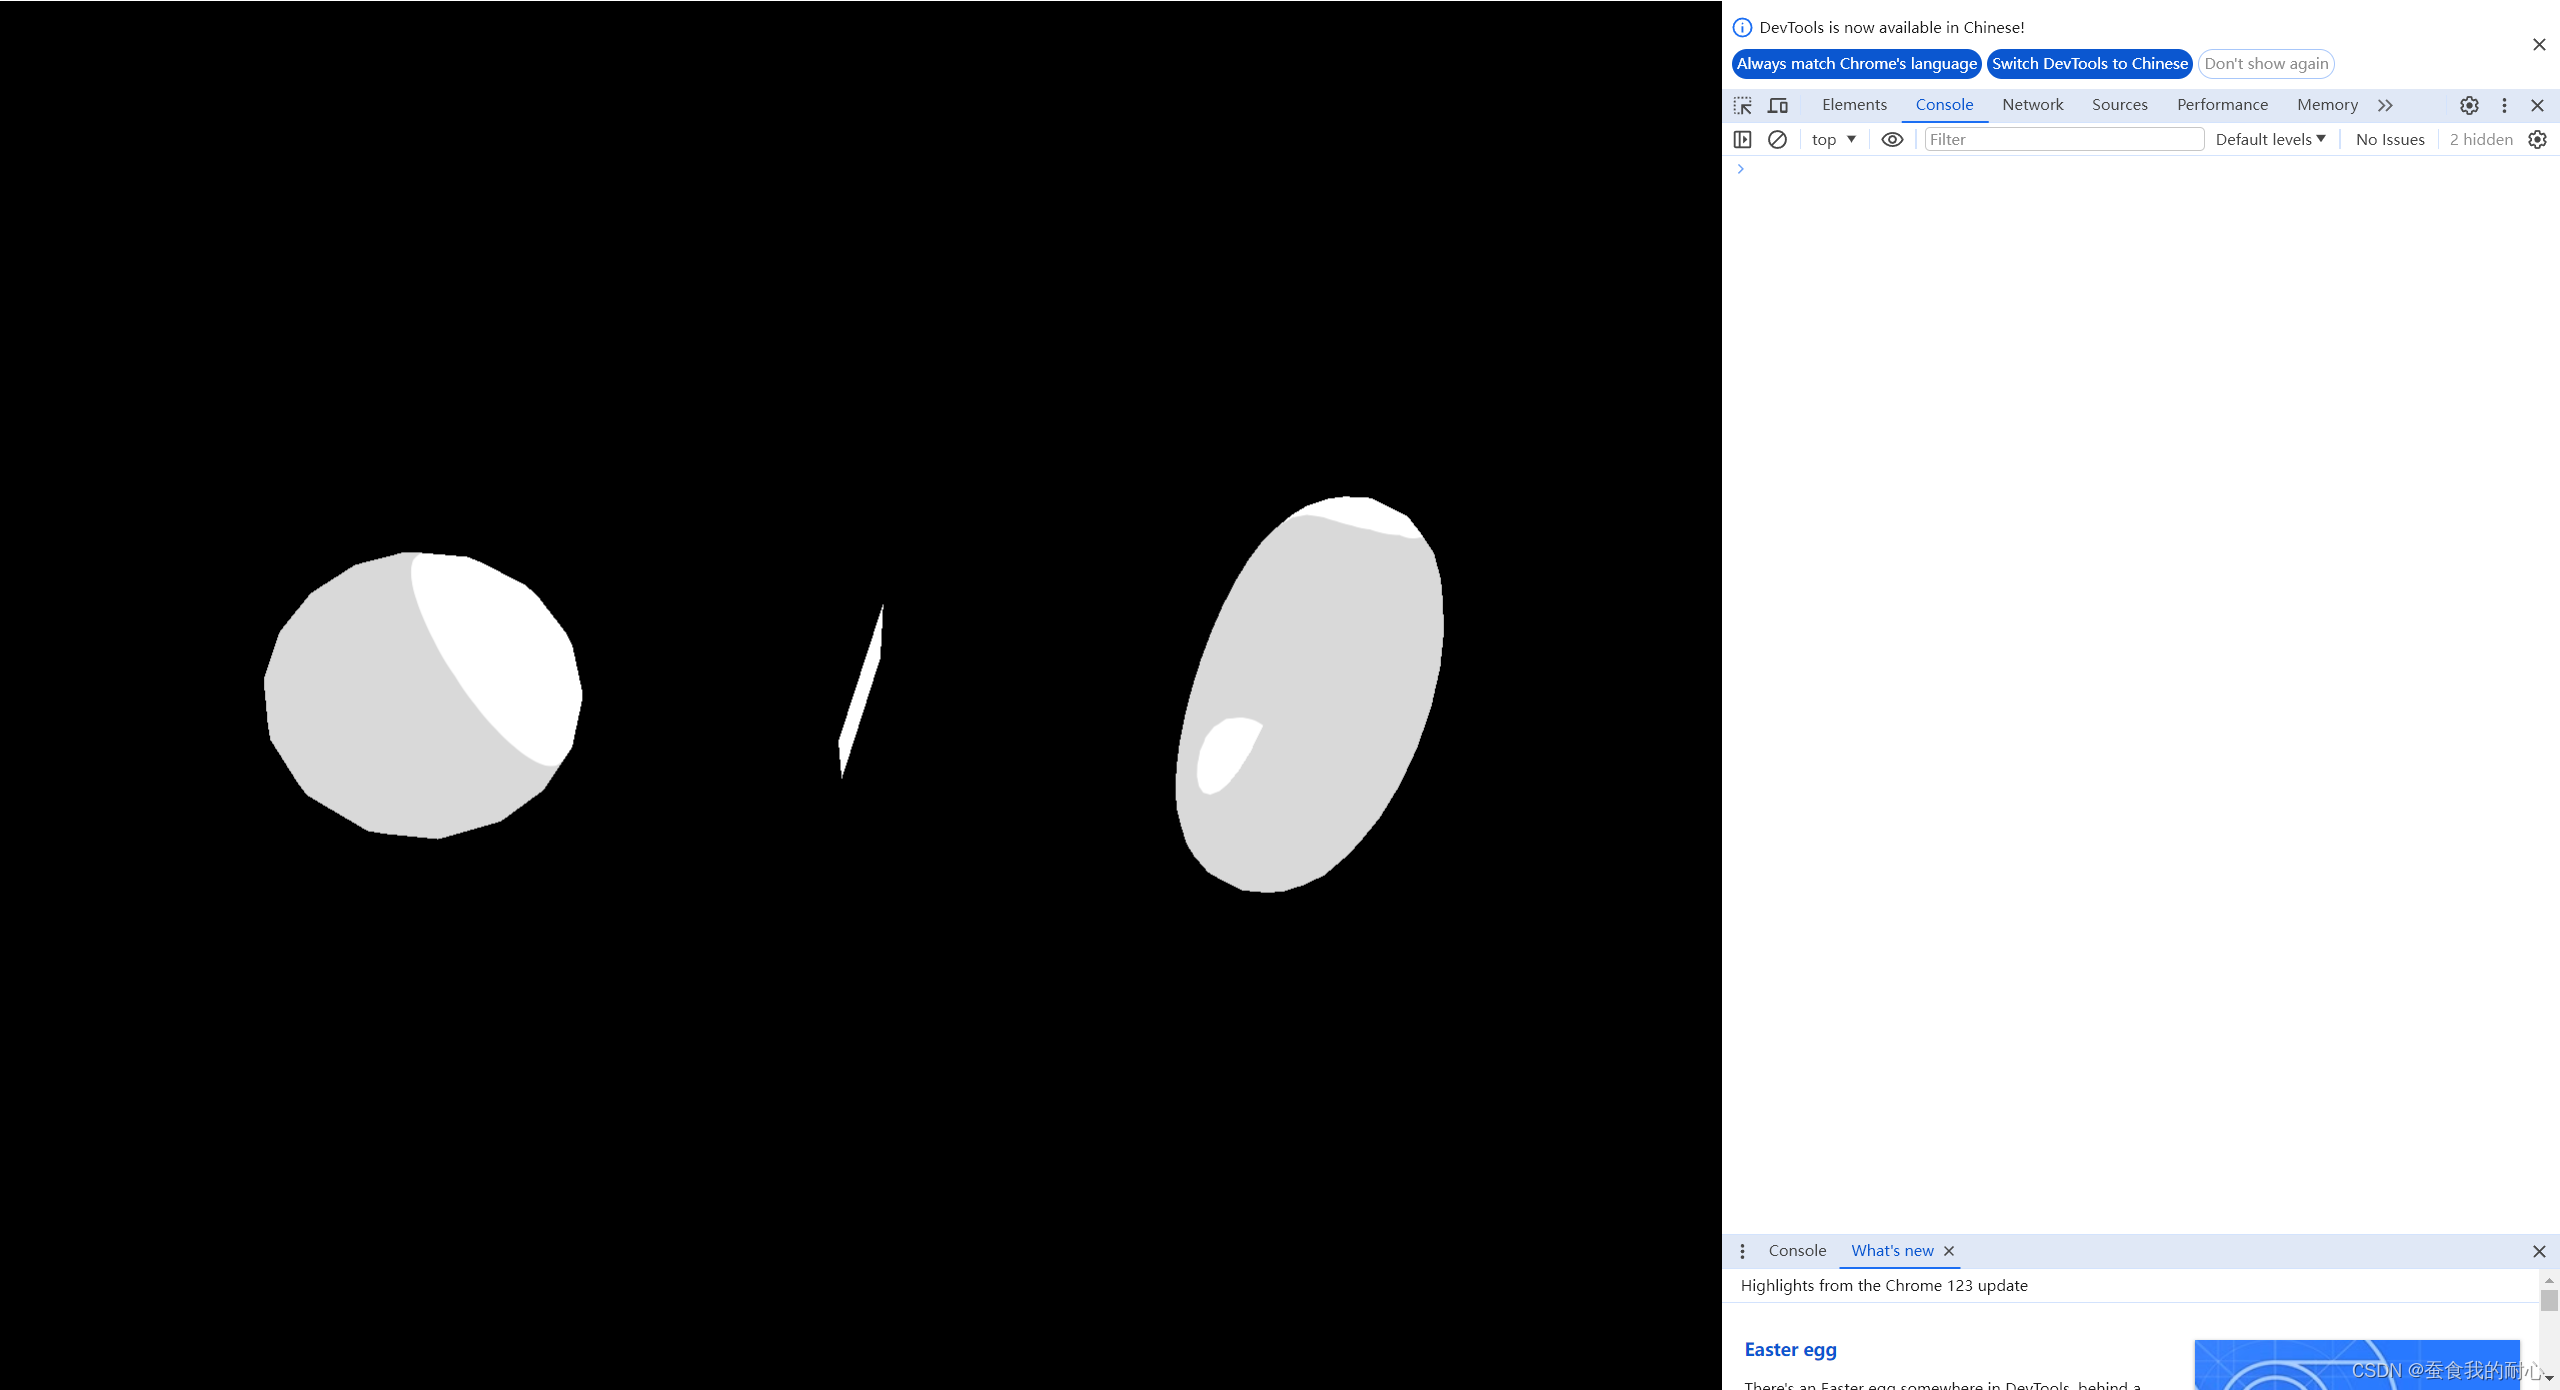
// 加上这个,失去卡通色,原因MIP拉伸导致 ;防止发生,在纹理中使用过滤器,同时禁用MIP
material.gradientMap = gradientTexture
1.3.8 MeshStandarMaterial 网格标准材质
比Phong更好的算法和参数,如:粗糙度和金属度 遵顼PBR原则
metalness : 金属度
roughness : 粗糙度
const material = new THREE.MeshStandardMaterial()
material.metalness = 0.5
material.roughness = 0.5
material.map = doorColorTexture
material.aoMap = doorAmbientOcclusionTexture
material.aoMapIntensity = 1 // aoMapIntensity 环境光强度
material.displacementMap = doorHeightTexture // 使用了置换贴图 和 门高纹理
material.displacementScale = 0.05  // 位移比例
material.metalnessMap = doorMetalnessTexture  // 金属度的贴图
material.rounghMap = doorRoughnessTexture  // 金属度的贴图
material.normalMap = doorNormalTexture  // 法线贴图
material.normalScale.set(0.5,0.5) // 可以设置更多的细节
其中aoMap,aoMapINtensity,可以看到在阴影处的痕迹
displacementMap是属于门高贴图,配合displacementScale 位移比例实现平面门 有凹凸
同时可以使用金属度贴图 rounghMap属性 增加细节

使用法线贴图增加纹理 normalMap属性 material.normalScale.set(0.5,0.5)设置更多细节
 因为 左右两边拉伸呢
// 此时用到 alphaMap  , 需要设置transparent = true
material.transparent = true
material.alphaMap = doorAlphaTexture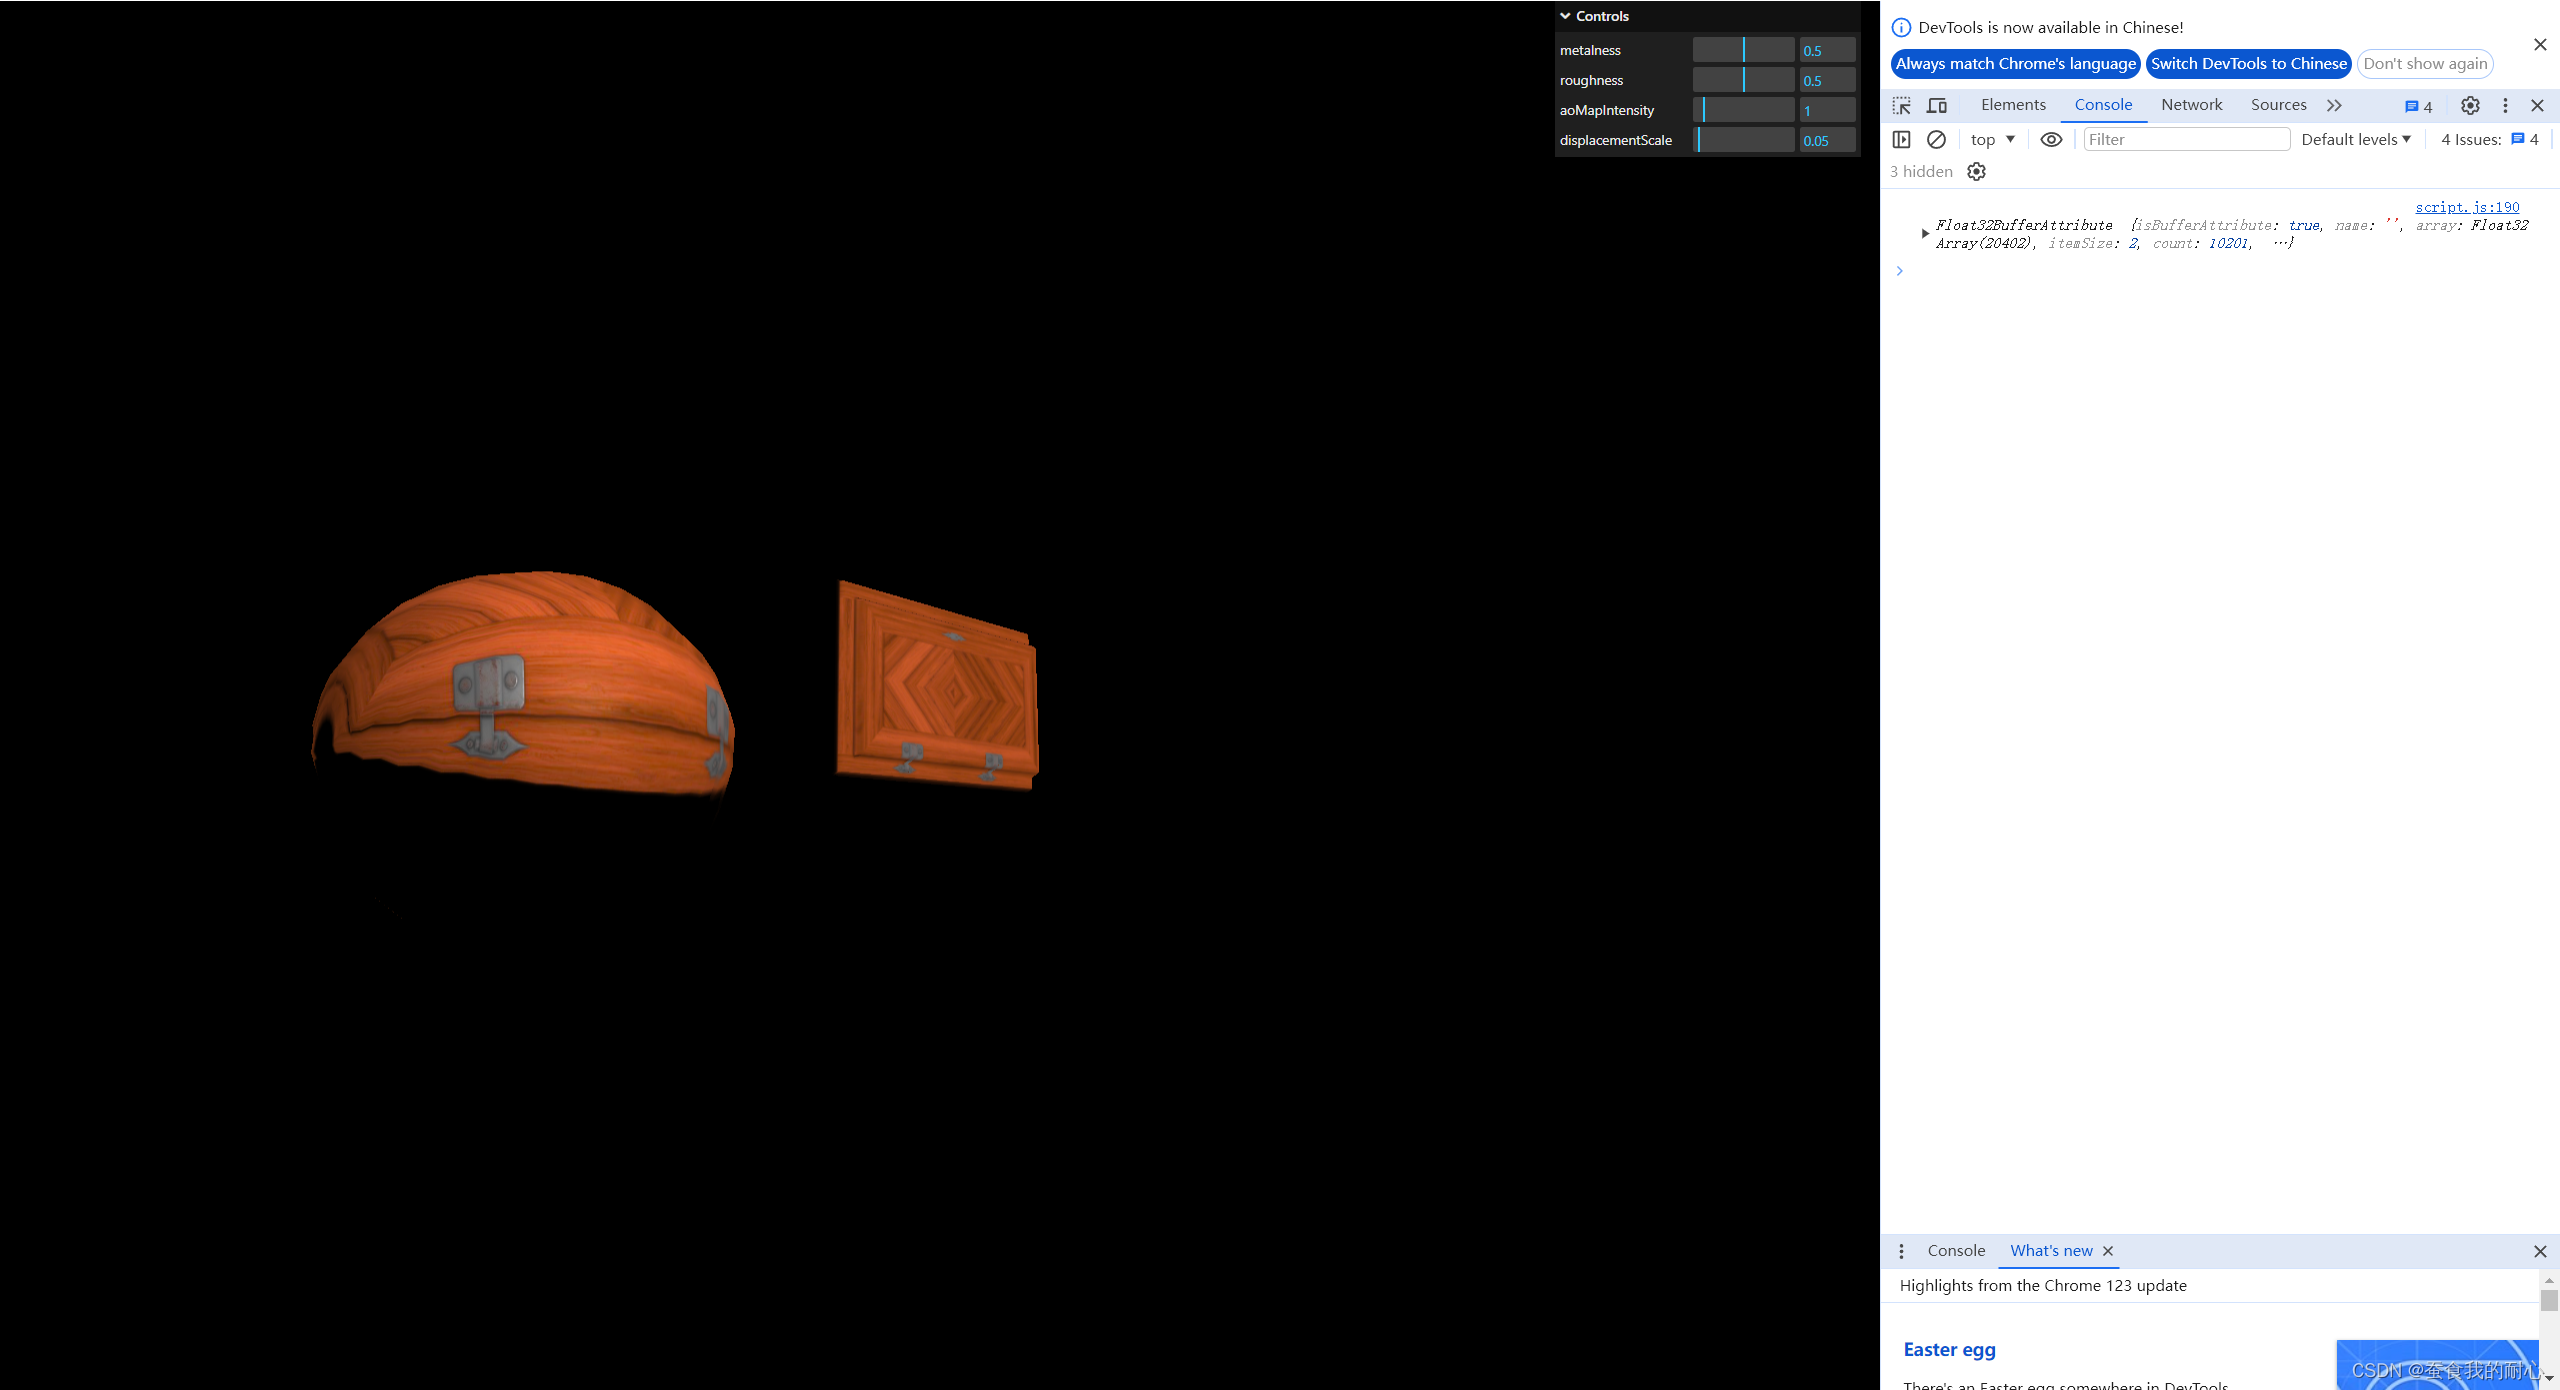
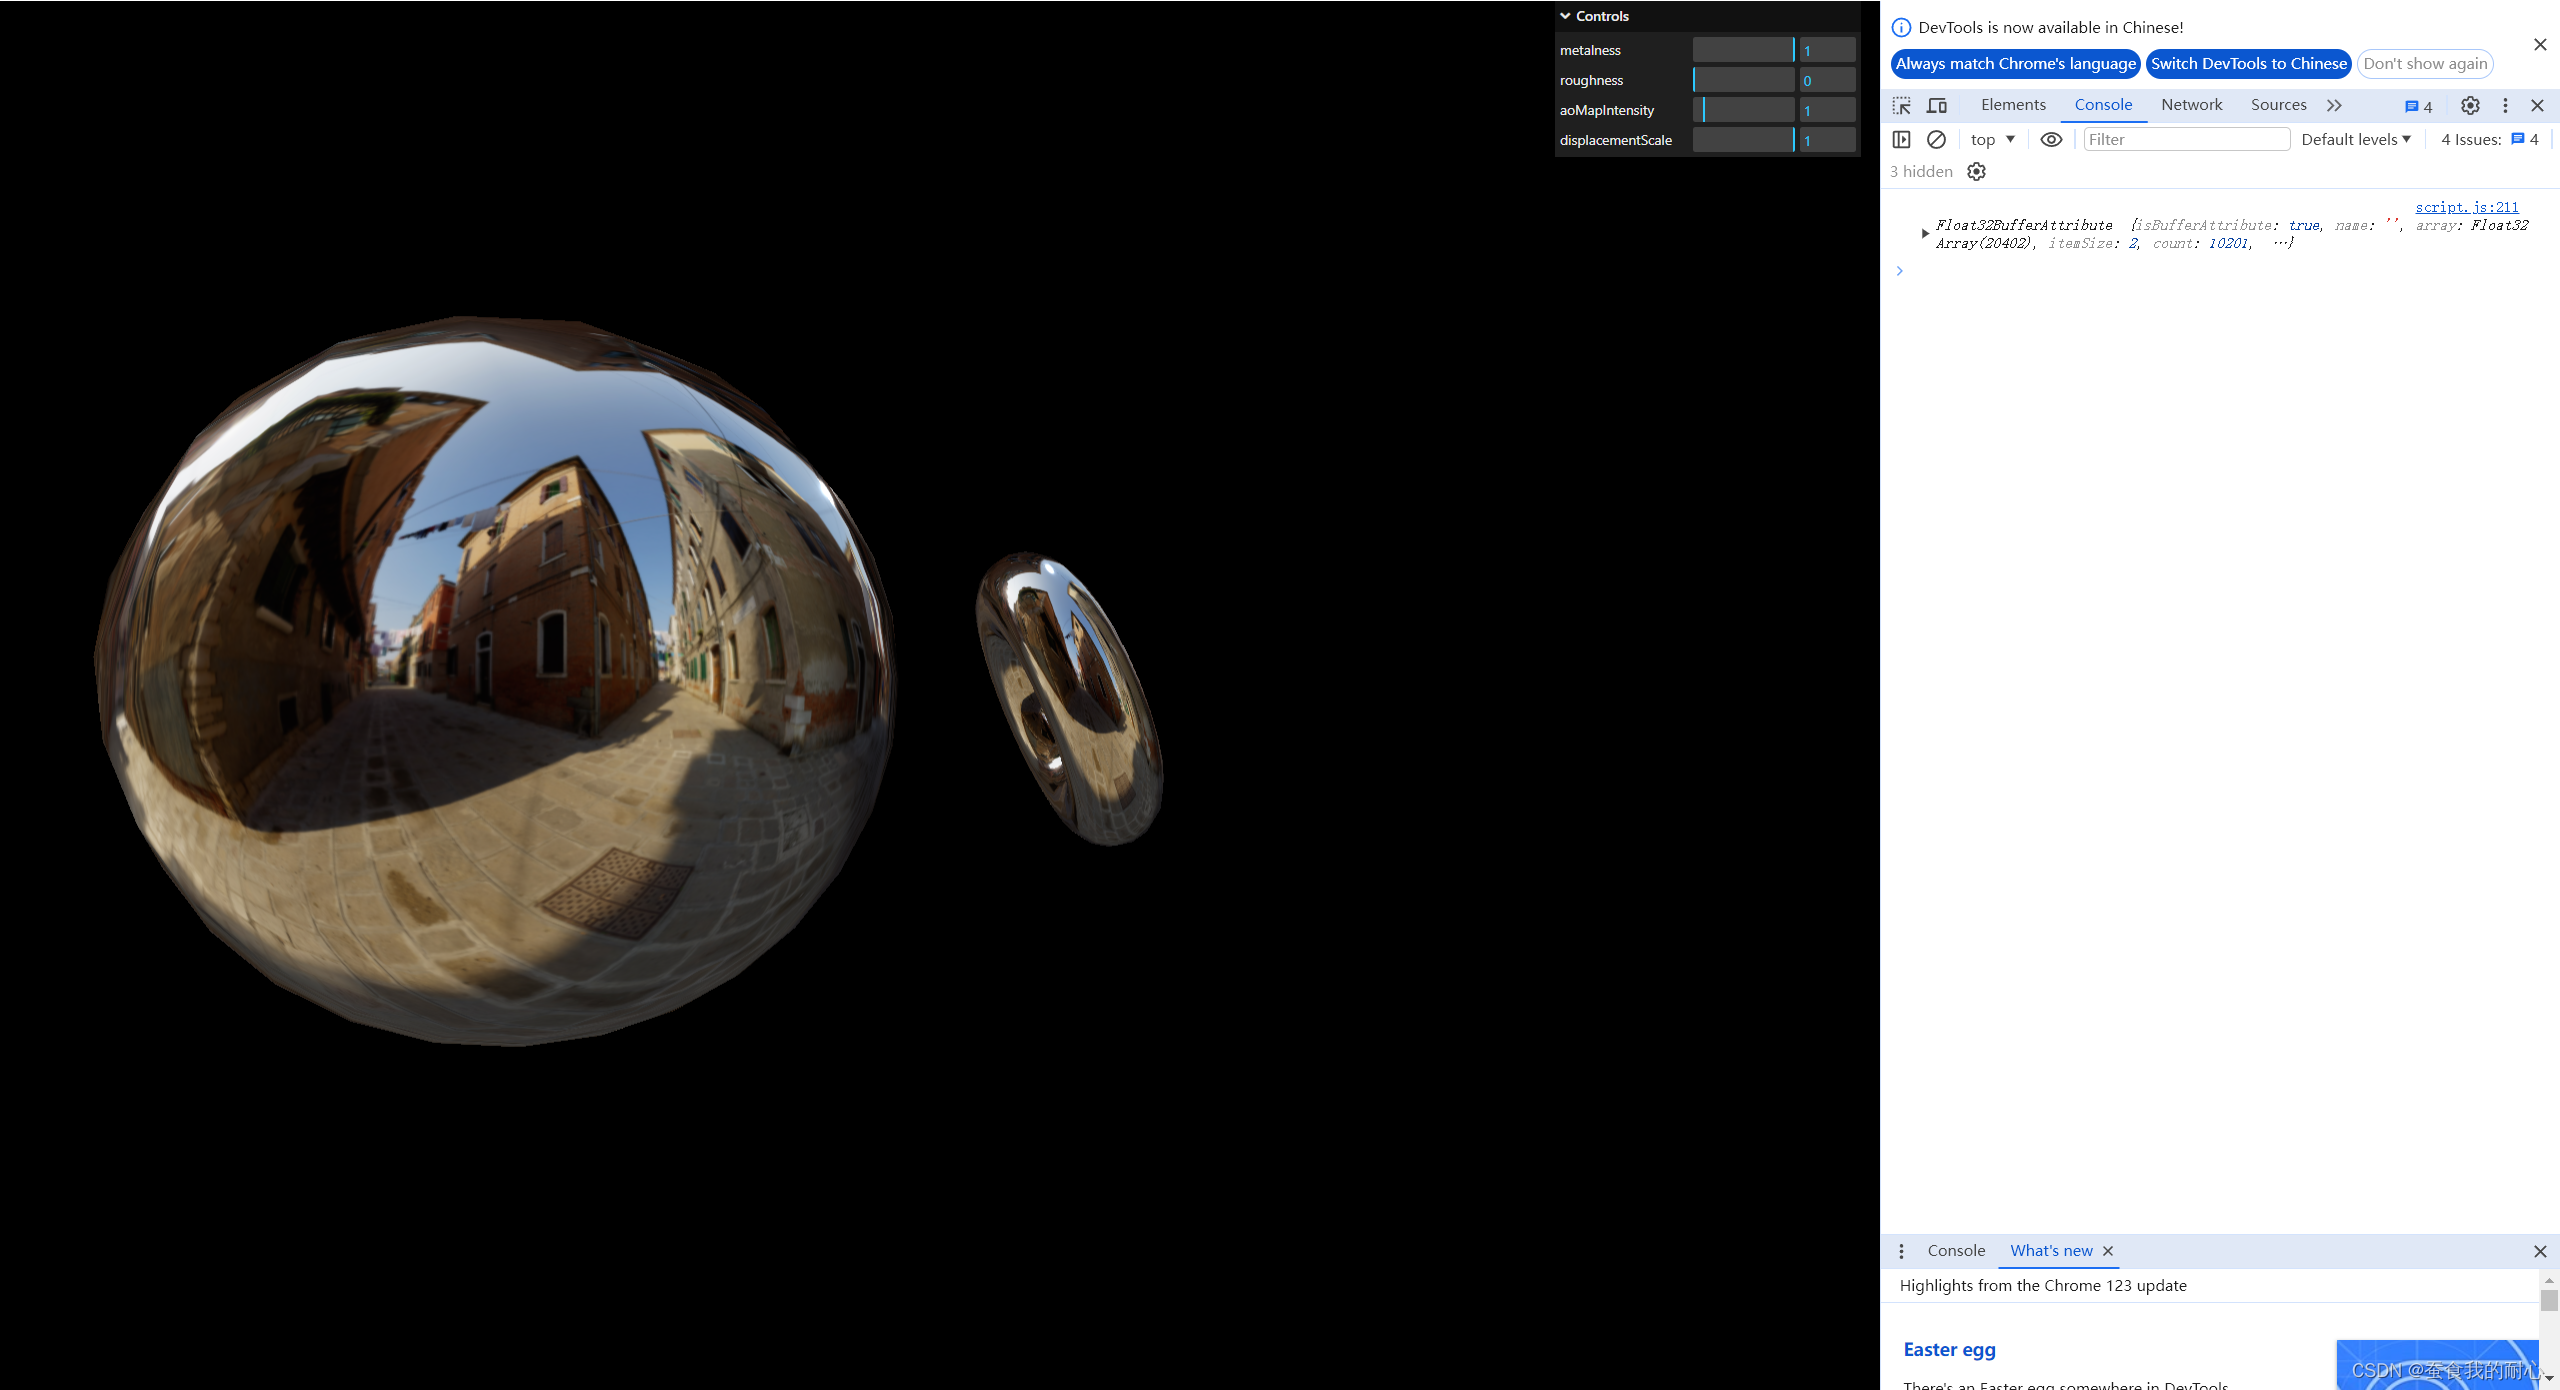
1.3.8 环境贴图
const material = new THREE.MeshStandardMaterial()
material.metalness = 0.5
material.roughness = 0.5
material.envMap = environmentMapTexture
//环境贴图 参数 :左右 上下 前后 立方体纹理加载器
const environmentMapTexture = cubeTextureLoader.load([
'/textures/environmentMaps/0/px.jpg',
'/textures/environmentMaps/0/nx.jpg',
'/textures/environmentMaps/0/py.jpg',
'/textures/environmentMaps/0/ny.jpg',
'/textures/environmentMaps/0/pz.jpg',
'/textures/environmentMaps/0/nz.jpg',
]) 
总结
迷迷糊糊,迷迷糊糊 哈哈哈!


 被折叠的 条评论
为什么被折叠?
被折叠的 条评论
为什么被折叠?
 到【灌水乐园】发言


