


 本文详细介绍了如何在MacOS环境下使用Xcode搭建OpenCV的编译环境,包括创建工程、配置路径、添加动态链接库及解决摄像头权限问题,并提供了一个测试程序示例。
利用xcode在mac os下搭建opencv编译环境
step1:
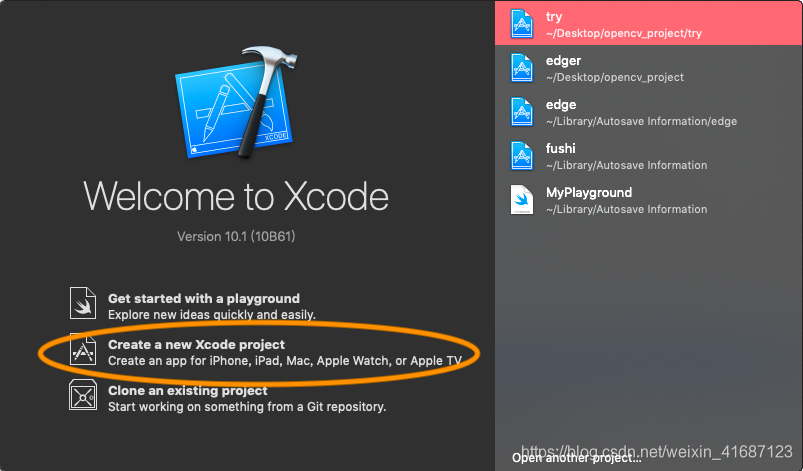 新建一个xcode工程- >选择command line tool ->命名你的工程并选择语言为c++
step2
点击工程->Building Settings->搜索Searching Paths
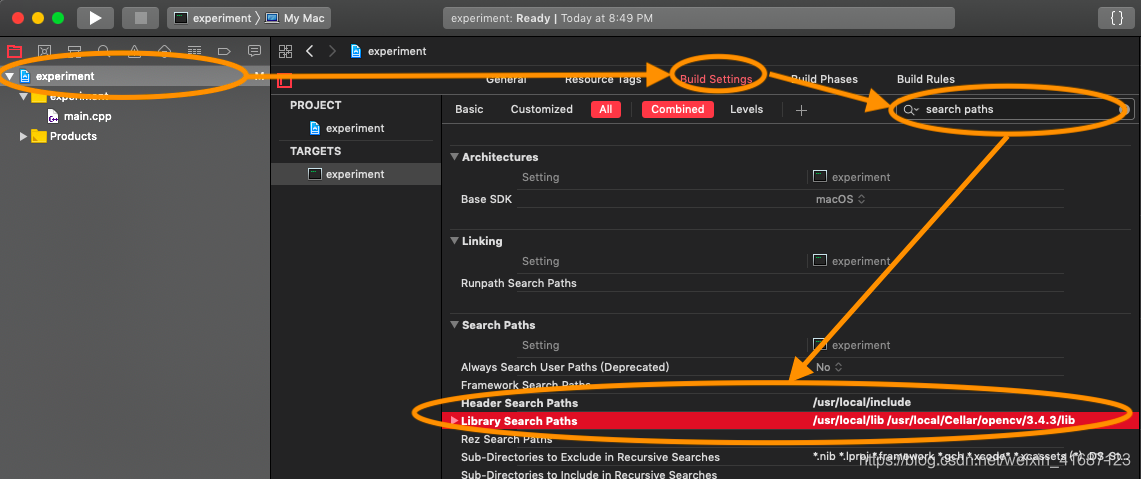
在 Header Searching Path 后填写:/usr/local/include
在 Library Searching Path 后填写:/usr/local/lib /usr/local/Cellar/opencv/3.4.3/lib#
step3
配置工作目录(方便使用相对路径):
Product -> Scheme -> Edit Scheme -> Options -> Working Directory -> Use custom working directory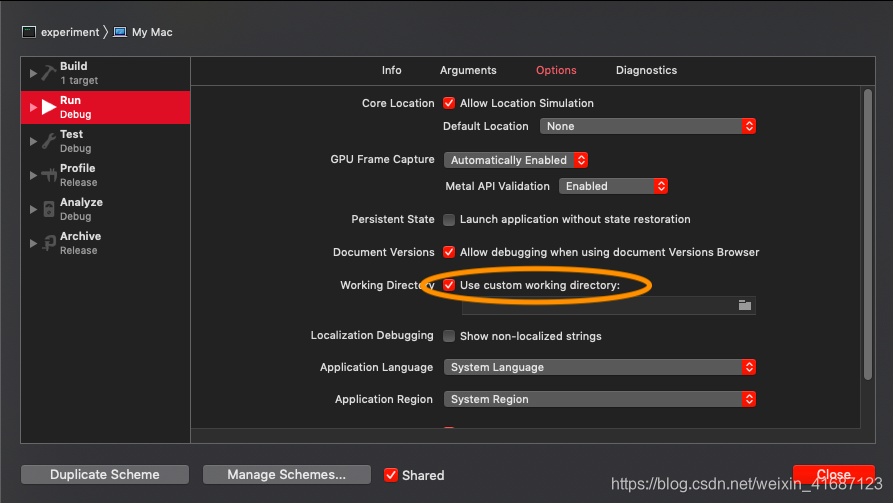
step4
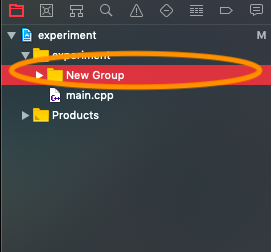
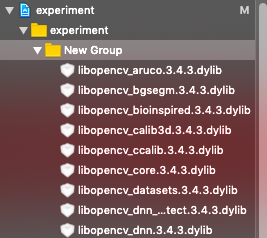
在工程目录下新建一个group->点击桌面shift+command+g进入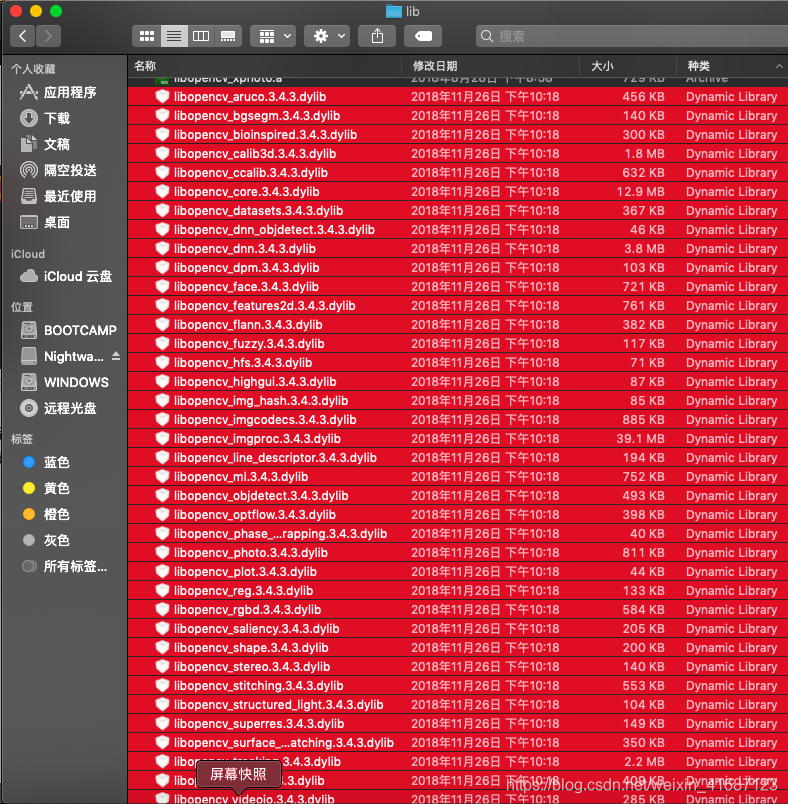 文件夹全选其中的.dylib文件拖入新建的group
step5
若工程涉及调用mac自带的摄像头请进行如下操作(因为新版本macos的隐私权限问题)
http://www.pianshen.com/article/406868866/
按照里面的方法制作一个info.plist开启摄像头权限

进入/用户/xueruixiang/Library/Developer/Xcode/DerivedData/工程名/build/Products/Debug,将做好的info.plist放进去
就可以访问mac的摄像头啦!!!
附上测试程序
#include <iostream>
#include <opencv2/core/core.hpp>
#include <opencv2/highgui/highgui.hpp>
#include <opencv2/opencv.hpp>
using namespace std;
using namespace cv;
IplImage* doCanny(IplImage* image_input,
                  double lowThresh,
                  double highThresh,
                  double aperture)
{
    if(image_input->nChannels != 1)
        return (0);
    IplImage* image_output = cvCreateImage(cvGetSize(image_input),image_input->depth,image_input->nChannels);
cvCanny(image_input,image_output,lowThresh,highThresh,aperture;
    return(image_output);
}
int main(int argc, char* argv[])
{
    cvNamedWindow("Camera" , CV_WINDOW_AUTOSIZE );

    CvCapture* capture = cvCreateCameraCapture(CV_CAP_ANY);

    assert(capture != NULL);

    IplImage *frame = 0;
    frame = cvQueryFrame(capture);

    IplImage *frame_edge = cvCreateImage(cvGetSize(frame),
                                         IPL_DEPTH_8U,
                                         1);
    while(1)
    {
        frame = cvQueryFrame(capture);
        if(!frame) break;

        cvConvertImage(frame,frame_edge,0);
        frame = cvCloneImage(frame_edge);

        frame_edge = doCanny(frame_edge,70,90,3);

        cvShowImage("Camera",frame_edge);
        char c = cvWaitKey(15);
        if(c == 27)  break;
    }
    cvReleaseCapture(&capture);
    cvReleaseImage( &frame_edge );
    cvReleaseImage( &frame);
    return (int)0;
}
运行后就可以看到摄像头采集的图像canny边缘检测后的结果了。


 556
556

 被折叠的 条评论
为什么被折叠?
被折叠的 条评论
为什么被折叠?
 到【灌水乐园】发言


