


 本文介绍了计算机视觉中颜色空间的概念,包括RGB、YUV和HSV等常见颜色模型。RGB是最常用的,由红、绿、蓝三种颜色组成。YUV在某些应用中能更好地分离亮度和色度信息。HSV则更符合人类对颜色的感知,由色调、饱和度和明度构成。文中还提到了YUV中的Y通道与灰度图的关联,以及HSV色彩空间在图像处理中的优势。
原图

RGB TO GRAY
import cv2
gray_img=cv2.imread('try.jpg',cv2.IMREAD_GRAYSCALE)
cv2.imshow('gray',gray_img)
cv2.waitKey()
import cv2
gray_img=cv2.imread('try.jpg')
gray_img=cv2.cvtColor(gray_img,cv2.COLOR_BGR2GRAY)
cv2.imshow('gray',gray_img)
cv2.waitKey()
颜色空间
In computer vision and image processing, color space refers to a specific way of
organizing colors. A color space is actually a combination of two things: a color model
and a mapping function.
There are many different color spaces that are useful. Some of the more popular color
spaces are RGB, YUV, HSV, Lab, and so on.
RGB: It’s probably the most popular color space. It stands for Red, Green, and Blue.
In this color space, each color is represented as a weighted combination of red, green,
and blue. So every pixel value is represented as a tuple of three numbers
corresponding to red, green, and blue. Each value ranges between 0 and 255.
YUV: Even though RGB is good for many purposes, it tends to be very limited for
many real life applications. People started thinking about different methods to
separate the intensity information from the color information. Hence, they came up
with the YUV color space. Y refers to the luminance or intensity, and U/V channels
represent color information. This works well in many applications because the human
visual system perceives intensity information very differently from color information.
HSV: As it turned out, even YUV was still not good enough for some of the
applications. So people started thinking about how humans perceive color and they
came up with the HSV color space. HSV stands for Hue, Saturation, and Value. This
is a cylindrical system where we separate three of the most primary properties of
colors and represent them using different channels. This is closely related to how the
human visual system understands color. This gives us a lot of flexibility as to how we
can handle images
1.YUV
import cv2
yuv_img=cv2.imread('try.jpg')
yuv_img=cv2.cvtColor(yuv_img,cv2.COLOR_BGR2YUV)
cv2.imshow('yuv',yuv_img)
cv2.waitKey()
三通道分离
import cv2
yuv_img=cv2.imread('try.jpg')
yuv_img=cv2.cvtColor(yuv_img,cv2.COLOR_BGR2YUV)
cv2.imshow('yuv',yuv_img)
cv2.imshow('Y channel', yuv_img[:, :, 0])
cv2.imshow('U channel', yuv_img[:, :, 1])
cv2.imshow('V channel', yuv_img[:, :, 2])
cv2.waitKey()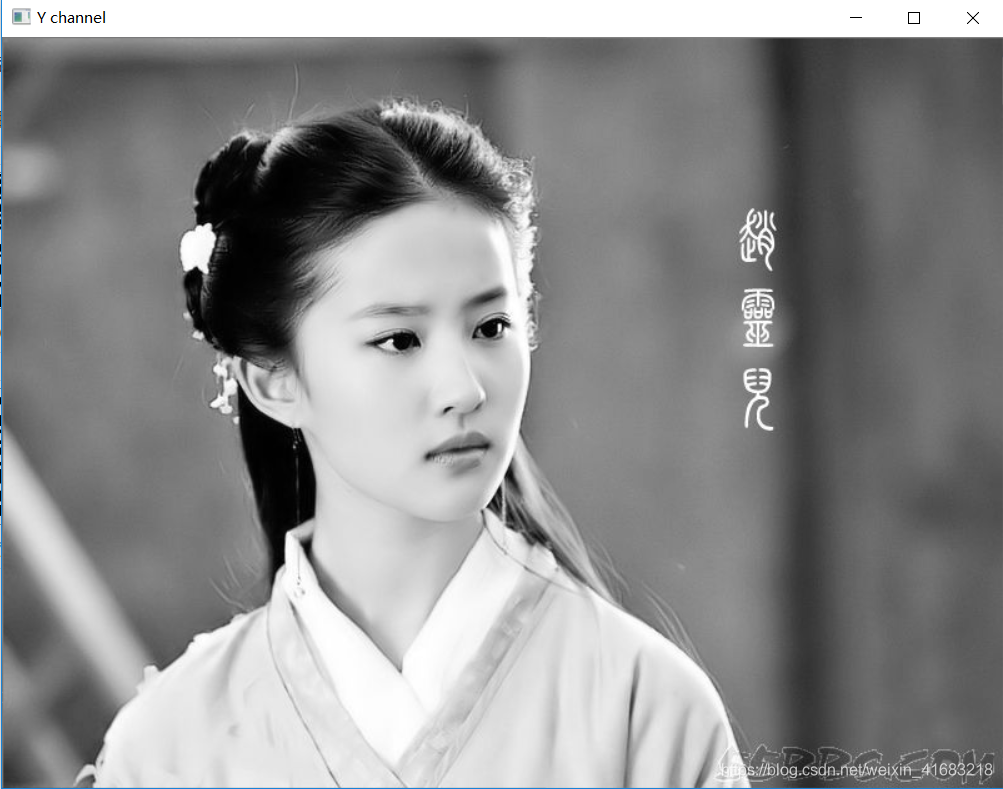
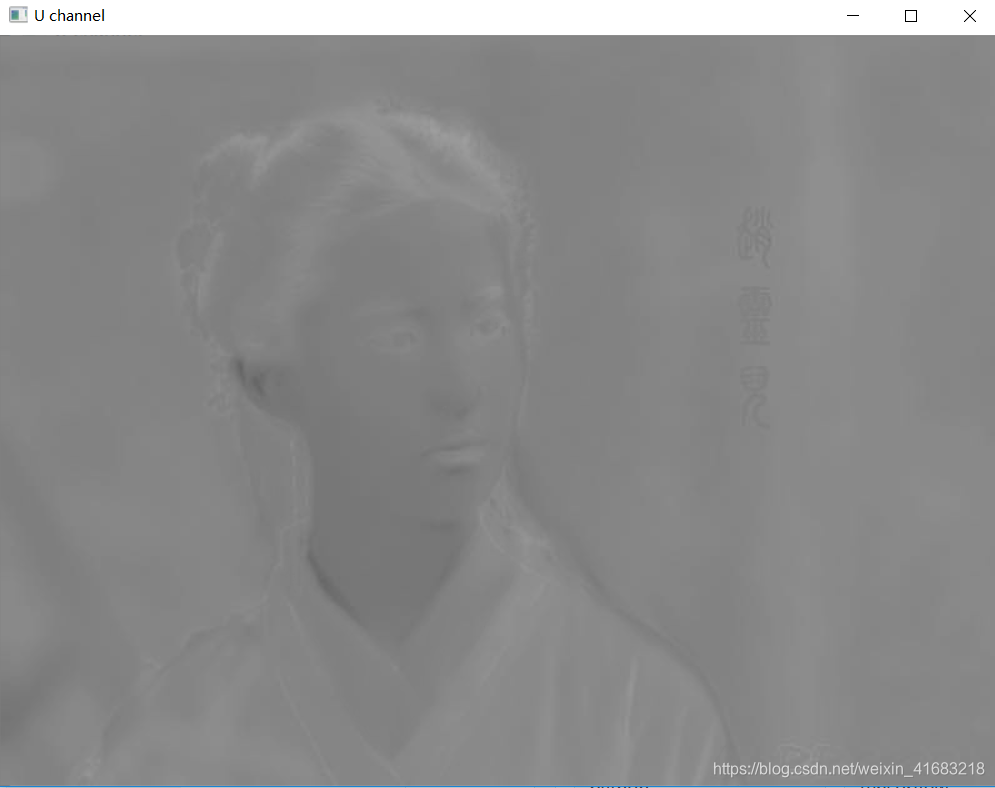
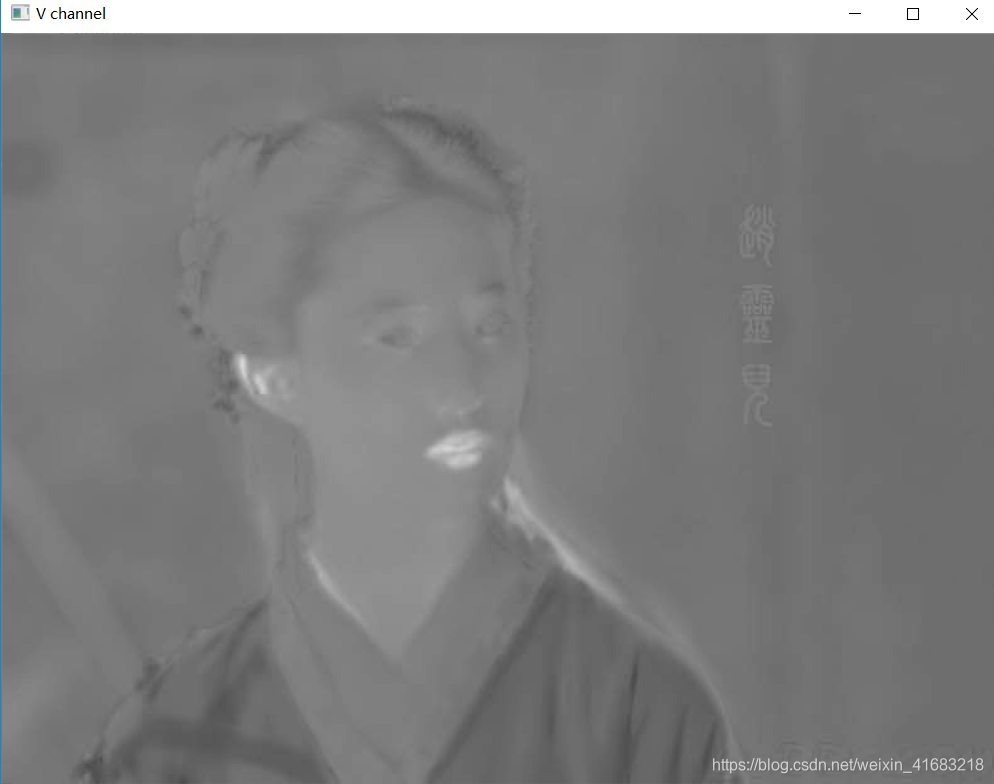
As we can see here, the Y channel is the same as the grayscale image. It represents the
intensity values. The U and V channels represent the color information
2.HSV
import cv2
img=cv2.imread('try.jpg')
img=cv2.cvtColor(img,cv2.COLOR_BGR2HSV)
cv2.imshow('HSV',img)
cv2.imshow('h channel', img[:, :, 0])
cv2.imshow('s channel', img[:, :, 1])
cv2.imshow('v channel', img[:, :, 2])
cv2.waitKey()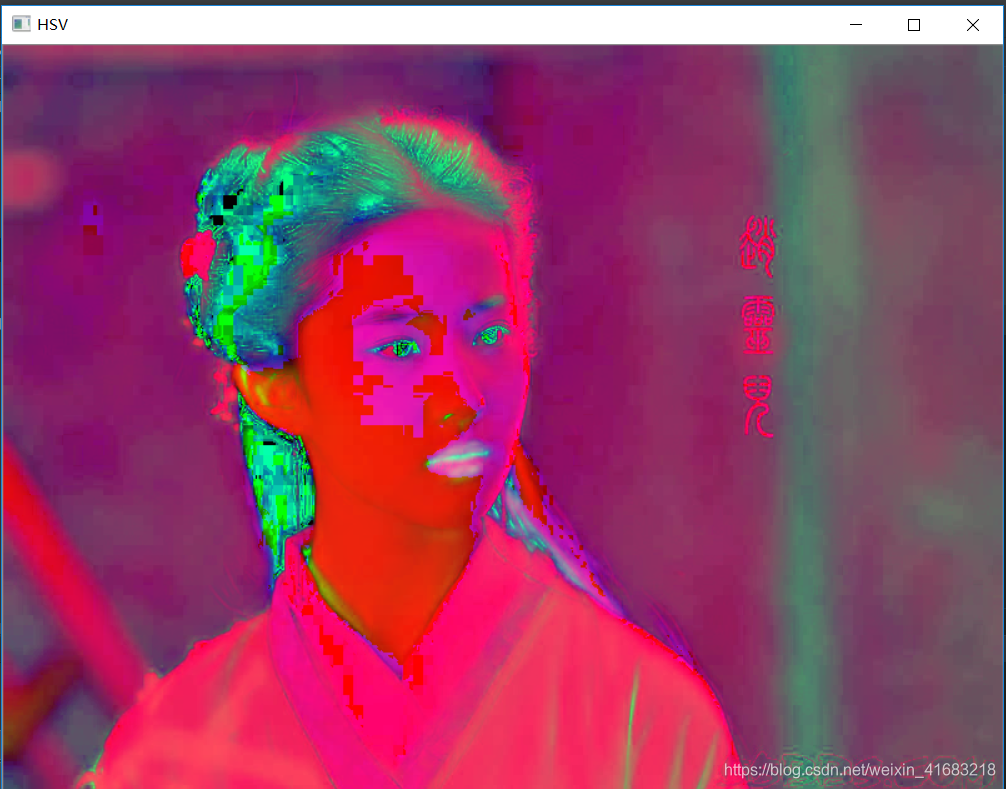
PS:imread()读取出来的图像时BGR格式,并不是RGB格式。
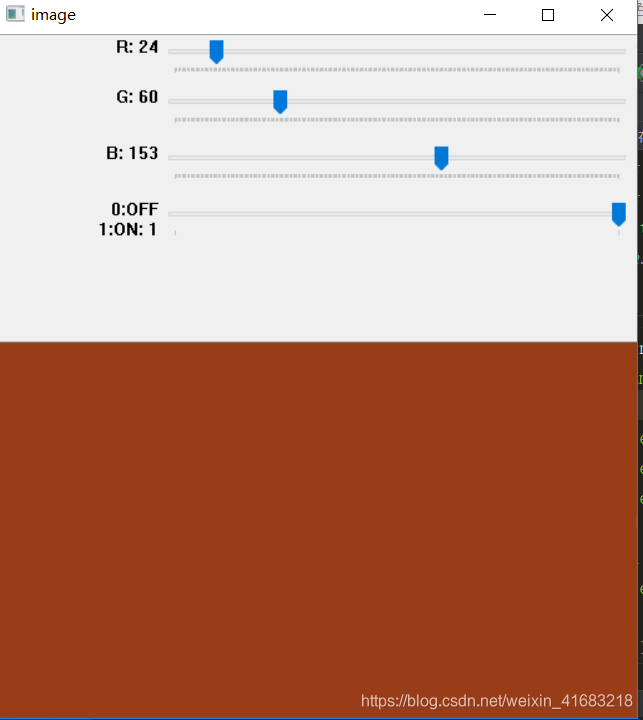
3.用滑动条做调色板
import cv2
import numpy as np
def nothing(x):
    pass

#创建一个黑色图像
img = np.zeros((300,512,3),np.uint8)
cv2.namedWindow('image')

cv2.createTrackbar('R','image',0,255,nothing)
cv2.createTrackbar('G','image',0,255,nothing)
cv2.createTrackbar('B','image',0,255,nothing)

switch = '0:OFF\n1:ON'
cv2.createTrackbar(switch,'image',0,1,nothing)

while(1):
    cv2.imshow('image',img)
    k=cv2.waitKey(1)
    if k == ord('q'):#按q键退出
        break

    r = cv2.getTrackbarPos('R','image')
    g = cv2.getTrackbarPos('G', 'image')
    b = cv2.getTrackbarPos('B', 'image')
    s = cv2.getTrackbarPos(switch, 'image')

    if s == 0:
        img[:]=0
    else:
        img[:]=[r,g,b]
cv2.destroyAllWindows()参考:https://www.kancloud.cn/aollo/aolloopencv/262762
4.二维卷积--低通滤波器--模糊
import cv2
import numpy as np

img=cv2.imread('try.jpg')
# rows,cols = img.shape[:2]

kernel_identity = np.array([[0,0,0],
                            [0,1,0],
                            [0,0,0]])
kernel_3x3=np.ones((3,3),dtype=np.float32)/9.0
kernel_5x5=np.ones((5,5),dtype=np.float32)/25.0
kernel_7x7=np.ones((7,7),dtype=np.float32)/49.0
cv2.imshow('original',img)

output=cv2.filter2D(img,ddepth=-1,kernel=kernel_identity)
cv2.imshow('kernel_identity',output)

output=cv2.filter2D(img,ddepth=-1,kernel=kernel_3x3)
cv2.imshow('3x3',output)

output=cv2.filter2D(img,ddepth=-1,kernel=kernel_5x5)
cv2.imshow('5x5',output)

output=cv2.filter2D(img,ddepth=-1,kernel=kernel_7x7)
cv2.imshow('7x7',output)

cv2.waitKey(0)
5.以上低通滤波可以用cv2.blur(src,ksize)代替
import cv2
img=cv2.imread('try.jpg',cv2.IMREAD_COLOR)
output = cv2.blur(img,(3,3))
cv2.namedWindow('blur',cv2.WINDOW_GUI_EXPANDED)
cv2.imshow('blur',output)
cv2.waitKey()


 1915
1915

 被折叠的 条评论
为什么被折叠?
被折叠的 条评论
为什么被折叠?
 到【灌水乐园】发言


