


 本文介绍了Fluentd + ELasticsearch + Kibana日志分析系统的搭建过程。包括安装docker和docker-compose、创建yml文件、准备fluentd镜像、启动容器等步骤,还说明了如何访问产生日志以及在Kibana中确定日志,给出了相关配置文件内容和操作命令。
Fluentd + ELasticsearch + Kibana 日志分析系统
1.系统搭建
准备工作:
1.安装docker和docker-compose
2.创建yml文件,文件内容如下:
文件包含了四个服务,web服务,fluentd,elasticsearch,kibana.
version: '2'
services:
  web:  #服务名
    image: httpd #镜像
    ports:   #端口
      - "80:80"
    links:   #连接集群内服务fluentd
      - fluentd
    logging:  #配置日志服务
      driver: "fluentd"
      options:
        fluentd-address: localhost:24224
        tag: httpd.access

  fluentd:
    build: ./fluentd  #通过build方式获取镜像
    volumes:   #挂载一个目录
      - ./fluentd/conf:/fluentd/etc
    links:
      - "elasticsearch"
    ports:
      - "24224:24224"
      - "24224:24224/udp"

  elasticsearch:
    image: docker.elastic.co/elasticsearch/elasticsearch-oss:6.1.4
    expose:   #指定暴露端口
      - 9200
    ports:
      - "9200:9200"

  kibana:
    image: docker.elastic.co/kibana/kibana-oss:6.1.4
    links:
      - "elasticsearch"
    ports:
      - "5601:5601"
3.用Config和Plugin准备fluentd镜像
yml文件当前路径创建目录fluentd,进入fluentd目录创建目录conf和Dockerfile.
3.1Dockerfile文件内容如下
# fluentd/Dockerfile
FROM fluent/fluentd:v0.12-debian
RUN ["gem", "install", "fluent-plugin-elasticsearch", "--no-rdoc", "--no-ri", "--version", "1.9.7"]
# 安装 fluent-plugin-elasticsearch 插件
3.2创建fluent.conf文件
进入conf目录创建fluent.conf文件内容如下:
#fluentd/conf/fluent.conf
<source>
  @type forward
  port 24224
  bind 0.0.0.0
</source>
<match *.**>
  @type copy
  <store>
    @type elasticsearch
    host elasticsearch
    port 9200
    logstash_format true
    logstash_prefix fluentd
    logstash_dateformat %Y%m%d
    include_tag_key true
    type_name access_log
    tag_key @log_name
    flush_interval 1s
  </store>
  <store>
    @type stdout
  </store>
</match>
fluent.conf文件解释
Fluentd的输入源通过source指令选择和配置输入插件.每个source指令必须包含一个type(类型)参数.
Fluentd的输出目的是通过match指令选择和配置的.每个match指令必须包含一个type(类型)参数.
注:更多fluentd语法:https://docs.fluentd.org/v0.12/articles/config-file
4.启动容器
在yml文件当前路径执行命令:
$ docker-compose up
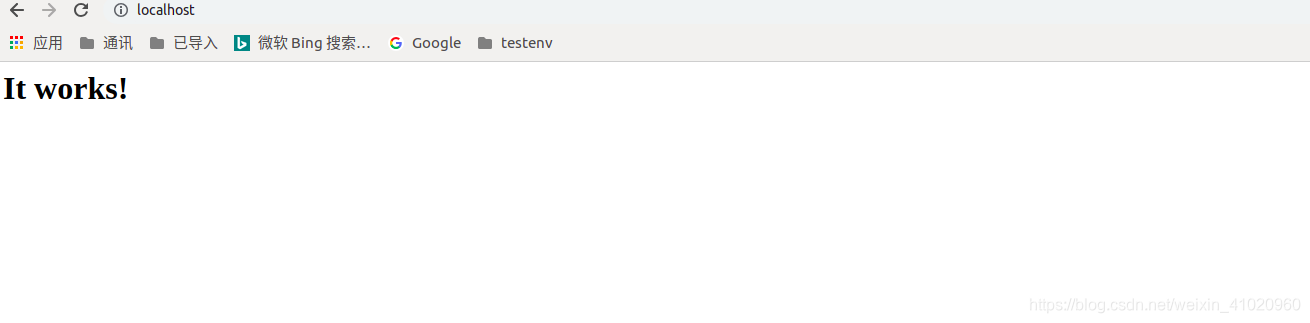
5.访问http://localhost:80/产生日志
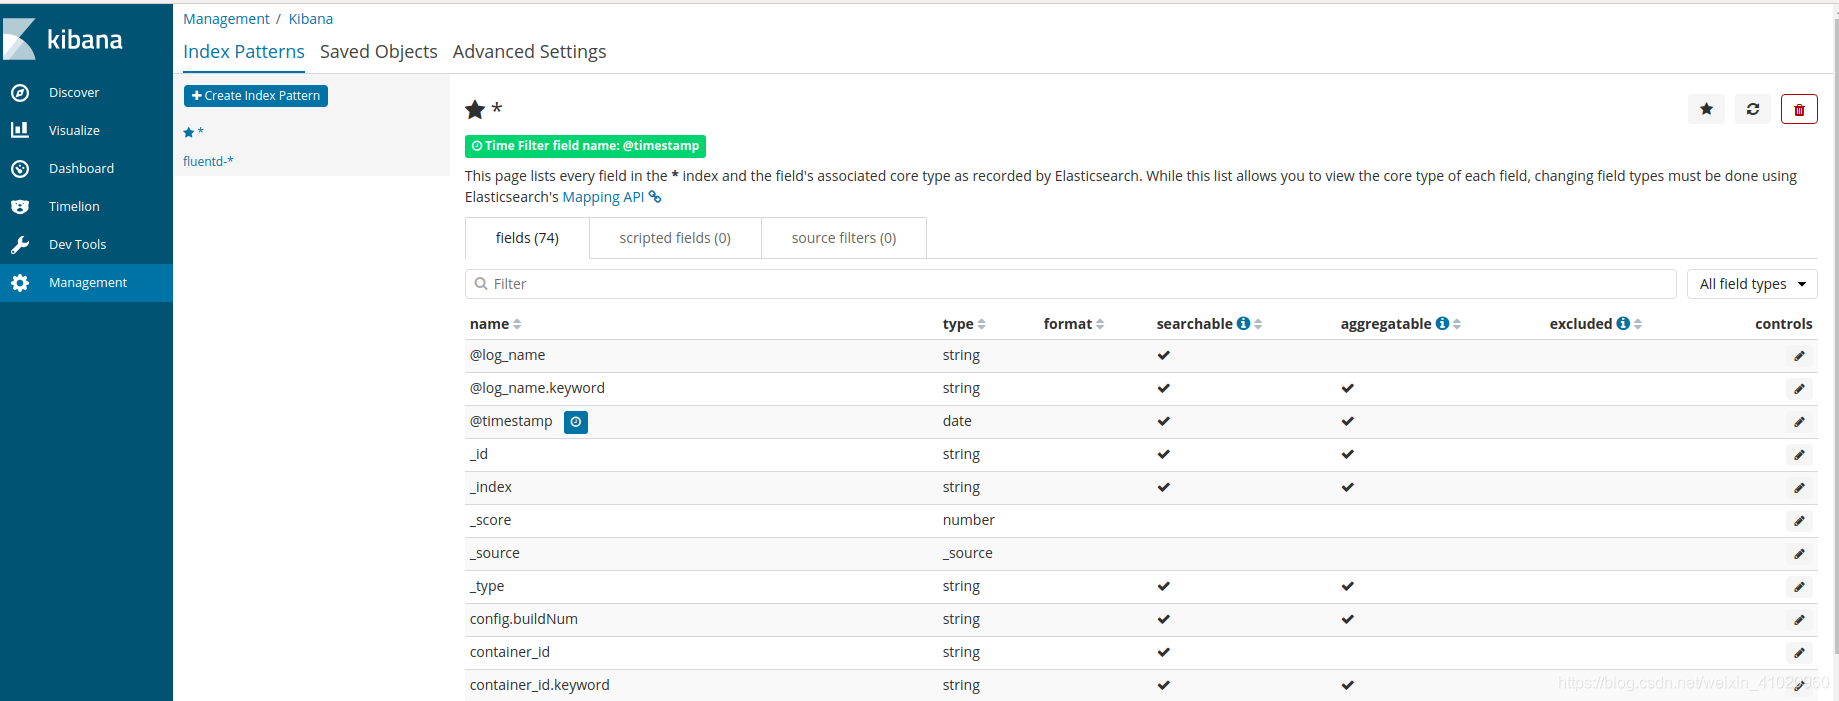
6.确定日志来自Kibana
访问http://localhost:5061设置index,创建fluentd-*索引.
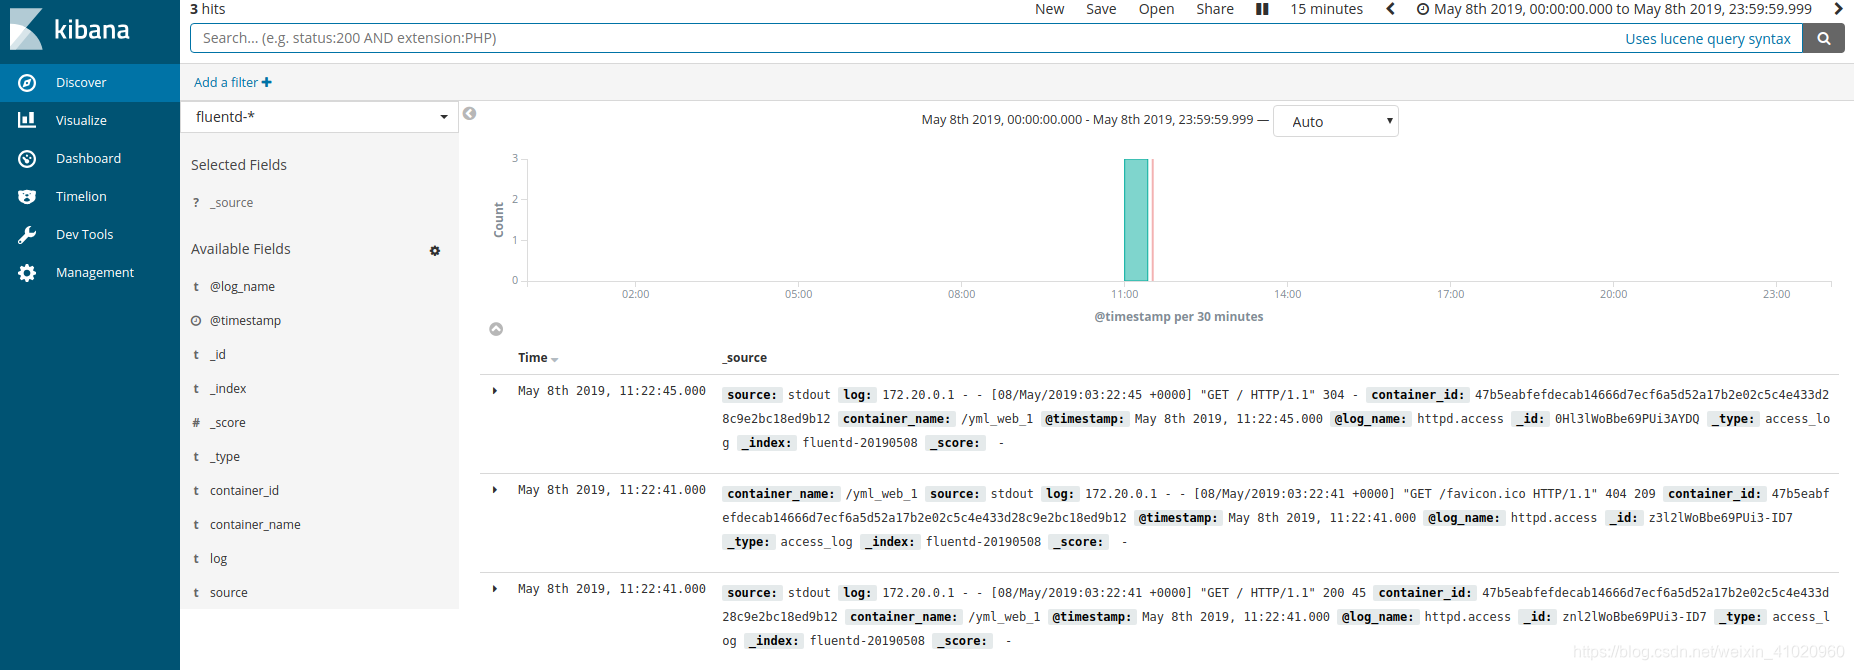
显示结果:


 1万+
1万+

 被折叠的 条评论
为什么被折叠?
被折叠的 条评论
为什么被折叠?
 到【灌水乐园】发言


