


 本文介绍如何使用 Neural Doodle 进行图像风格迁移,包括 Docker 部署、命令行操作及 fast-neural-doodle 的快速迁移流程。通过调整迭代次数等参数,改善迁移效果。
论文地址:https://arxiv.org/abs/1603.01768
# 采用docker形式进行,
$ docker pull alexjc/neural-doodle:gpu
# 然后克隆仓库,
$ git clone https://github.com/alexjc/neural-doodle.git
# 接下来用alias对命令进行简化,关于alias命令的用法,见:http://man.linuxde.net/alias
$ cd neural-doodle
$ alias doodle=" sudo nvidia-docker run -v $(pwd)/samples:/nd/samples -v $(pwd)/frames:/nd/frames -it alexjc/neural-doodle:gpu"
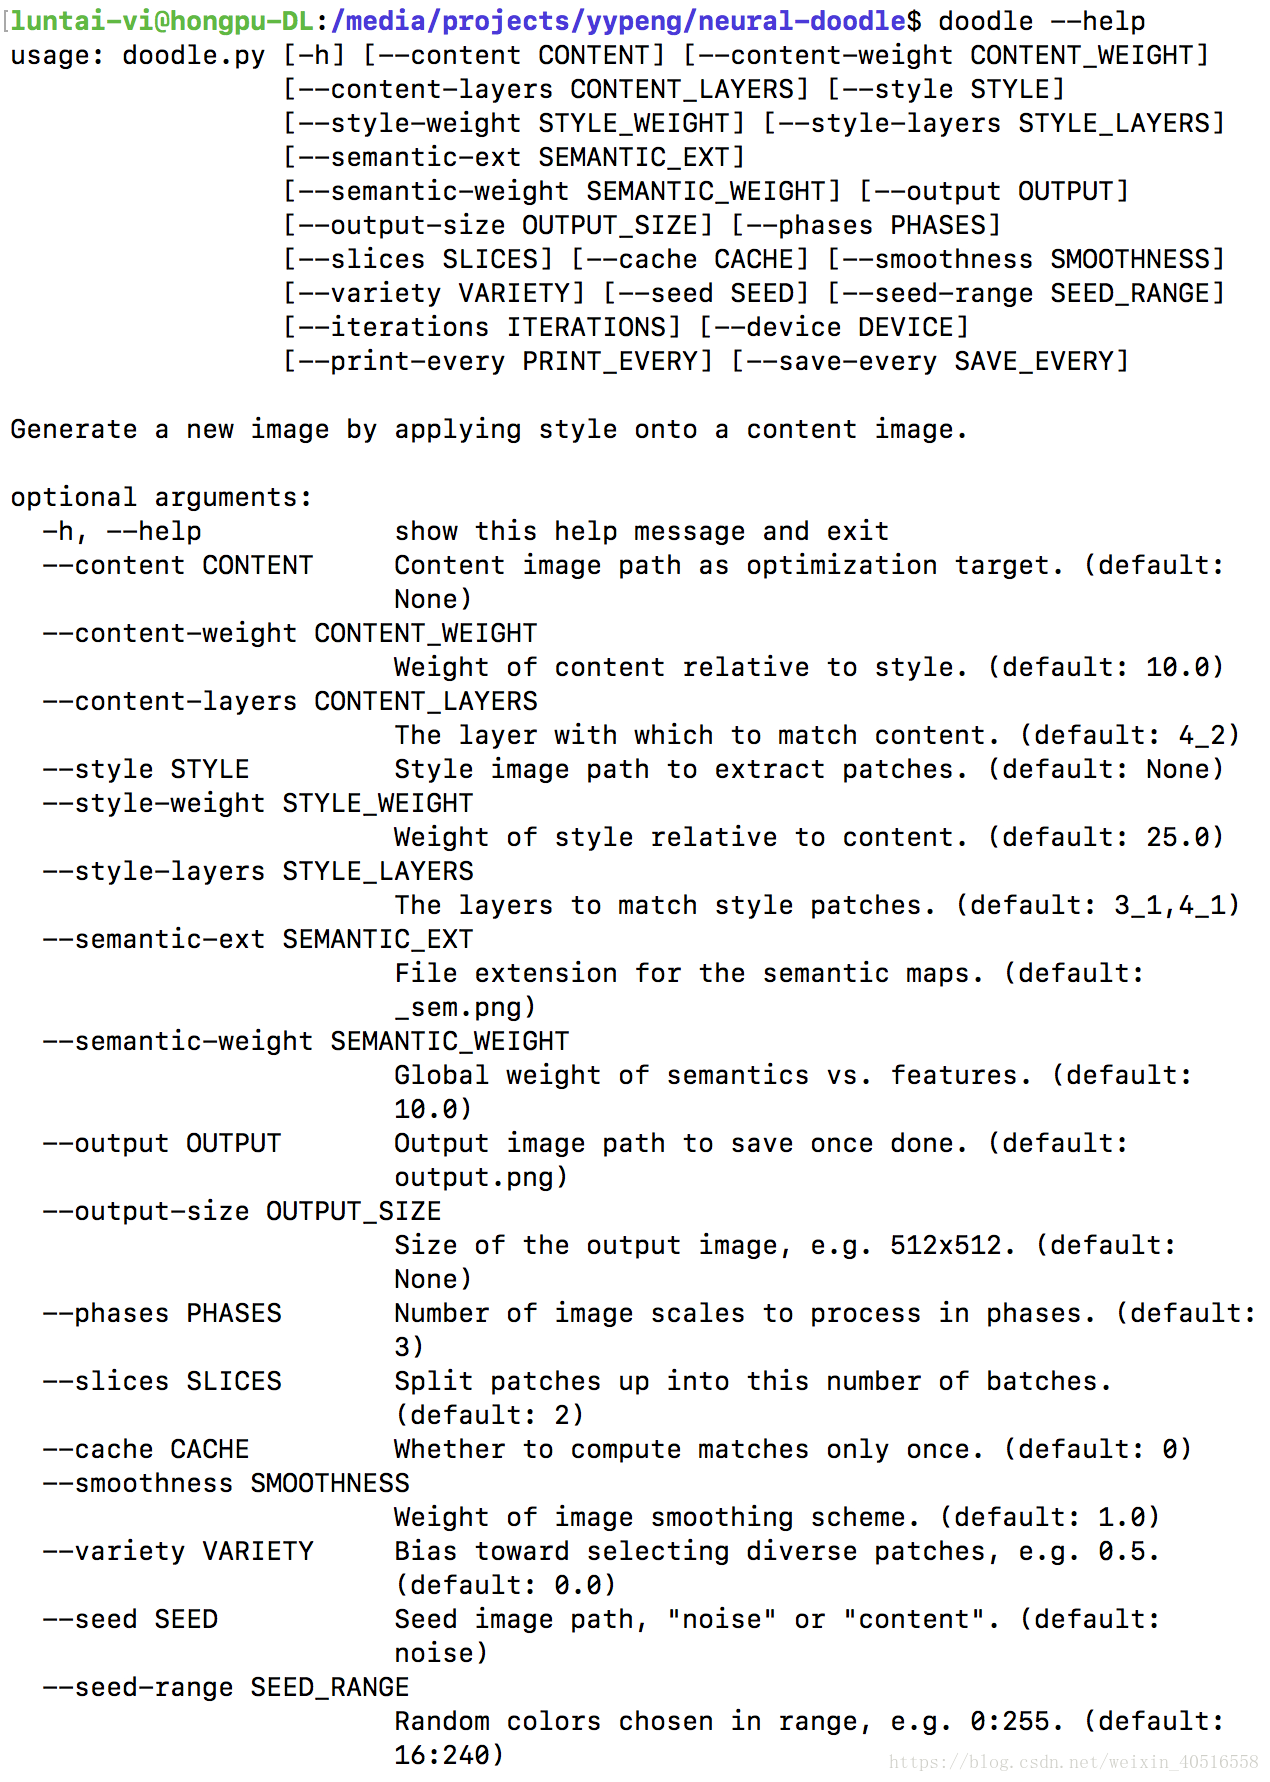
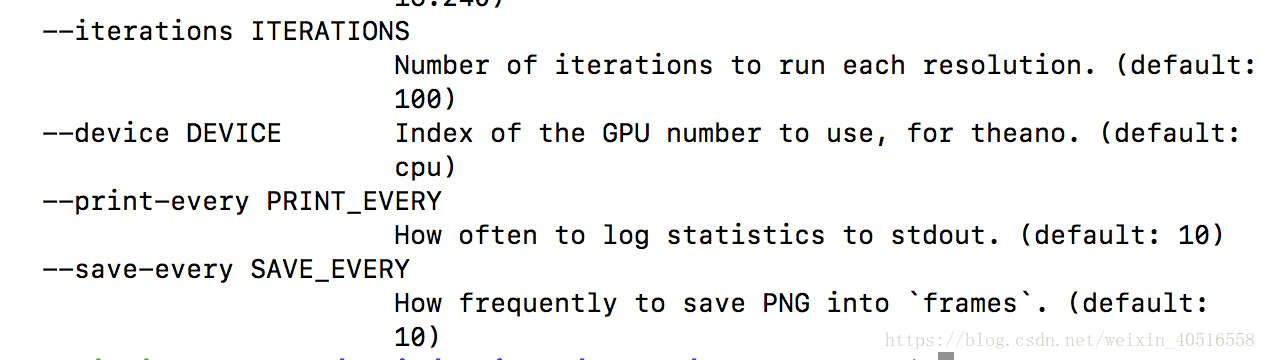
$ doodle --help
输出如下:
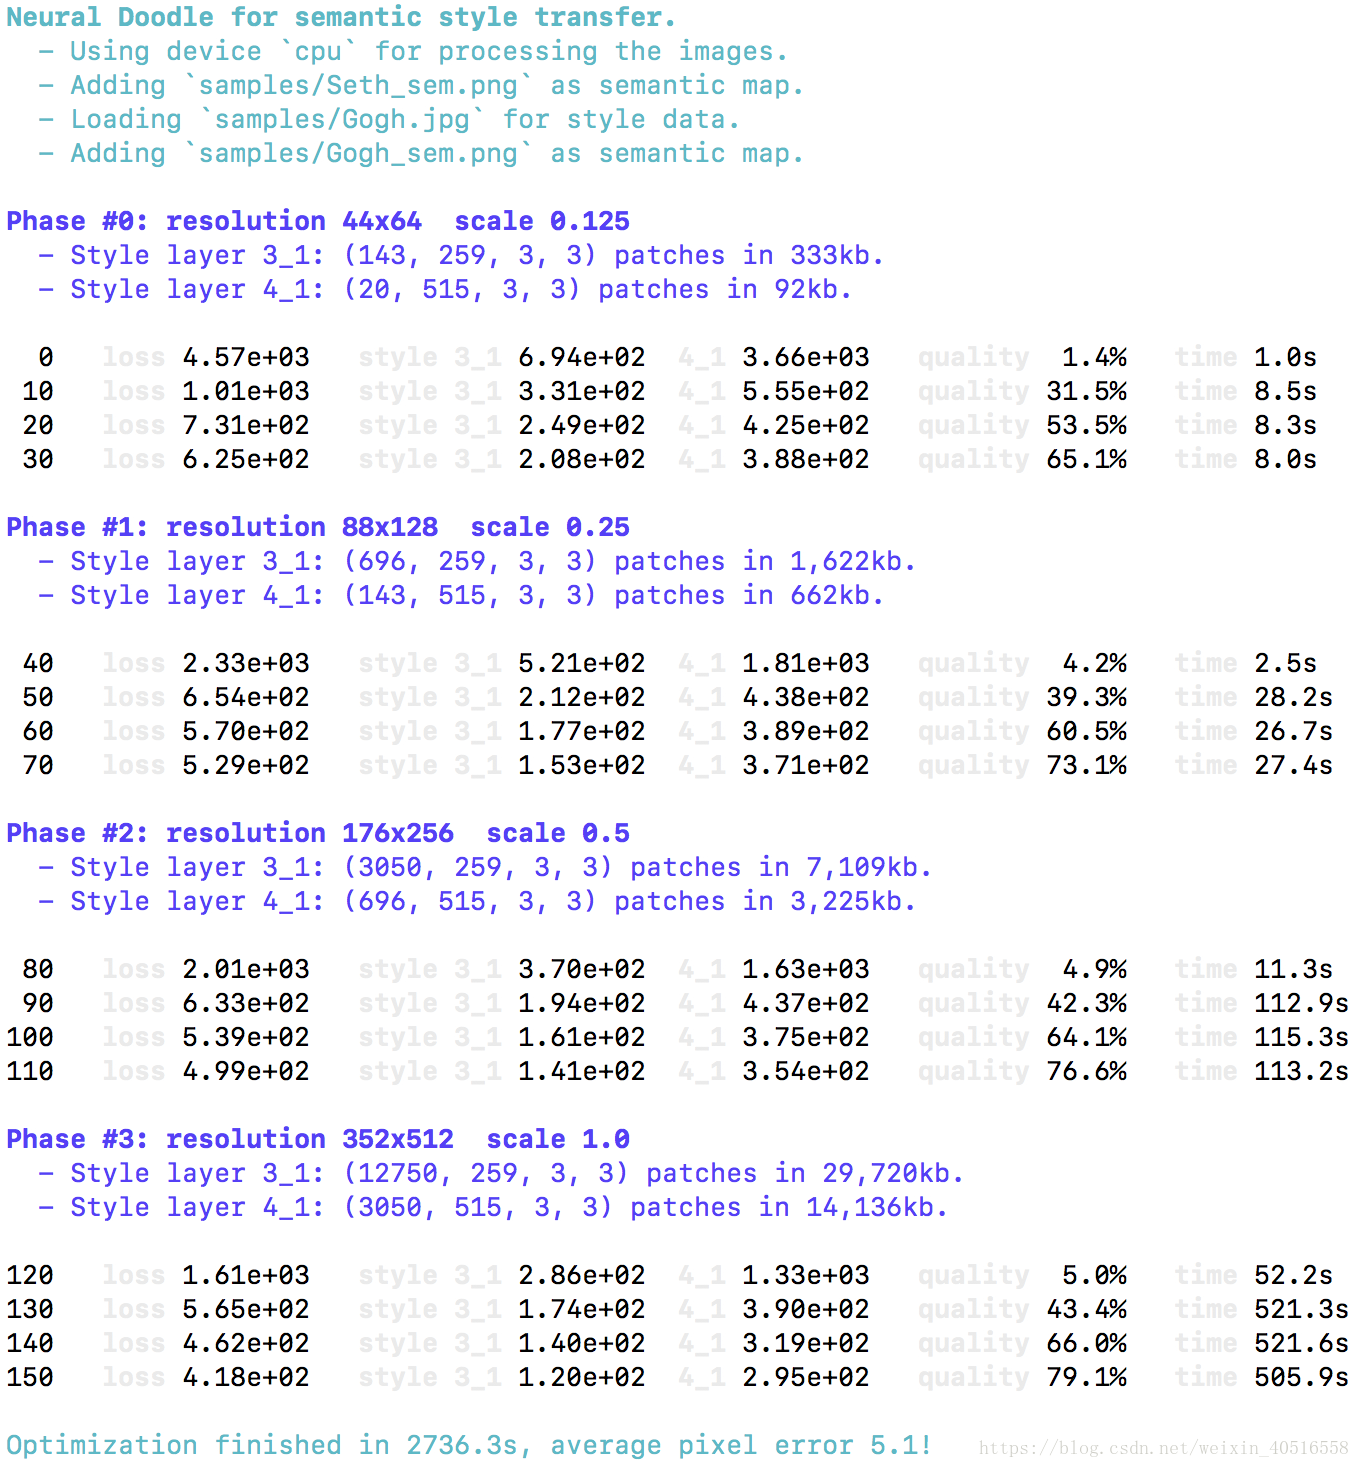
$ doodle --style samples/Gogh.jpg --content samples/Seth.png --output SethAsGogh.png --device=cpu --phases=4 --iterations=40
cpu版本输出如下:
以下分别按两情况进行说明,
1)content with annotations & style with annotations(即有semantic annotations的style-transfer)
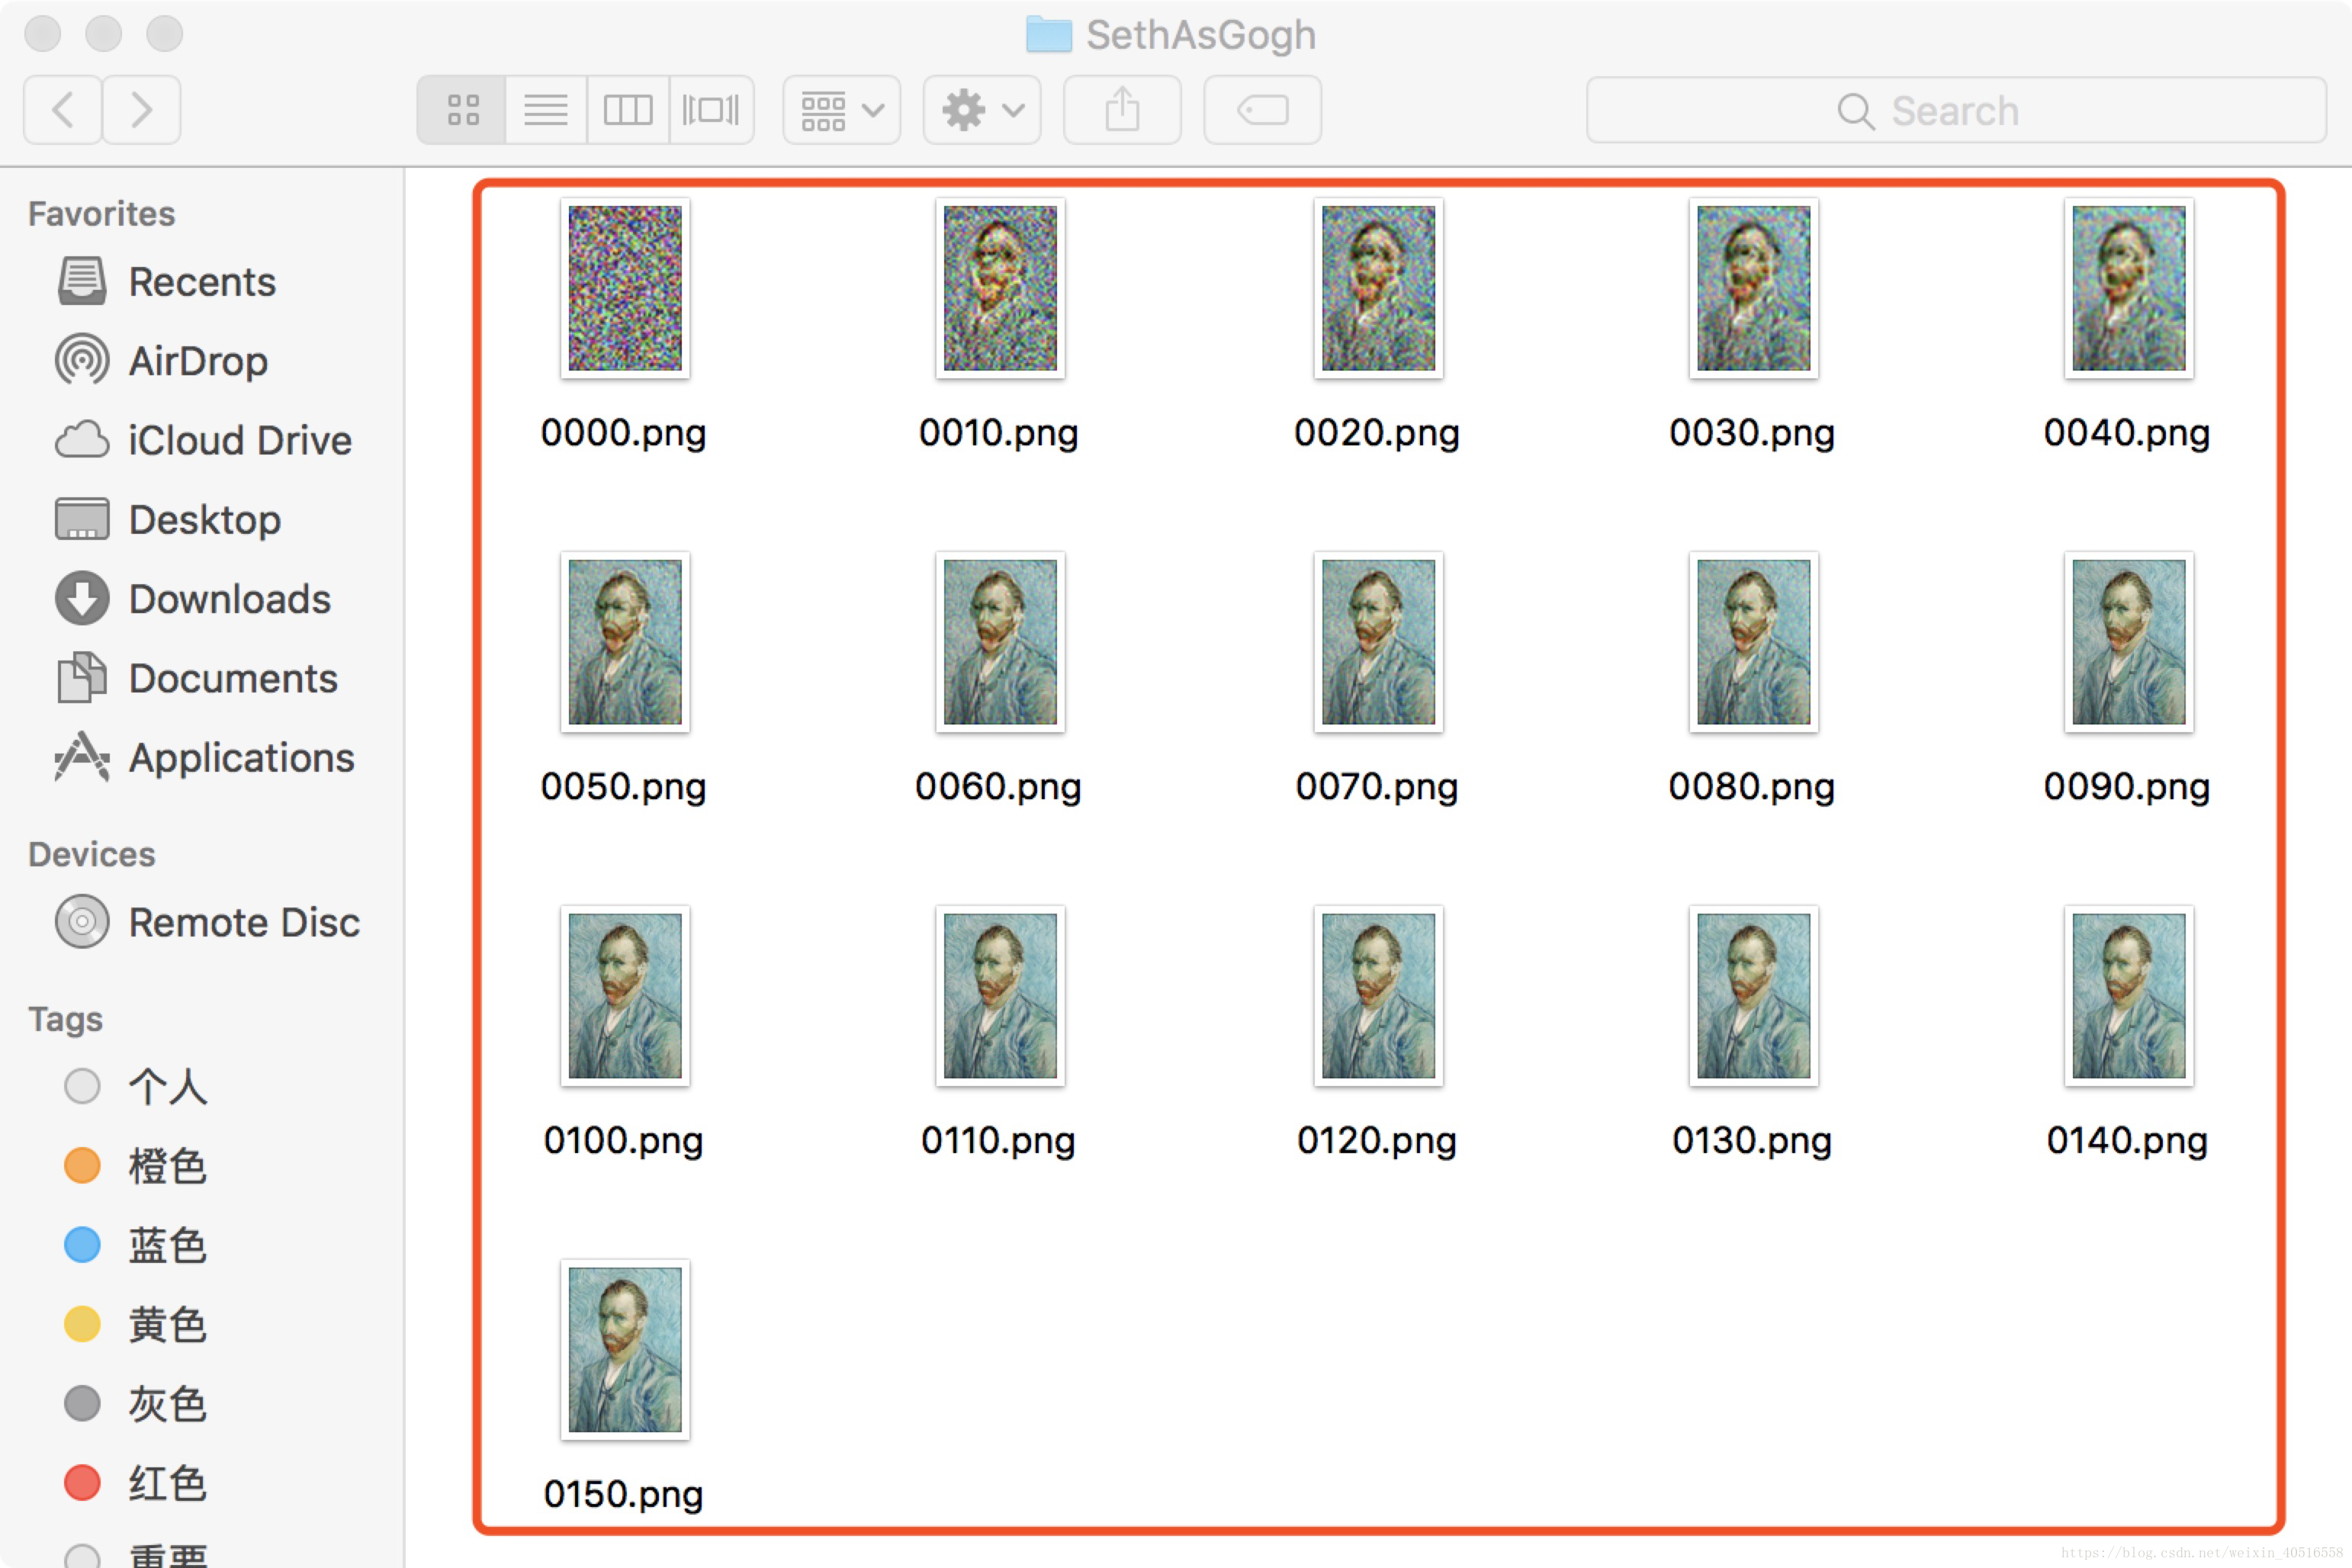
迭代40次的情况下,在frames文件下生成了16张png格式的图片,即每个阶段中的每一步(每迭代10次)生成一张图片,如下:

2) content without annotations & style without annotations(即一般的style-transfer)
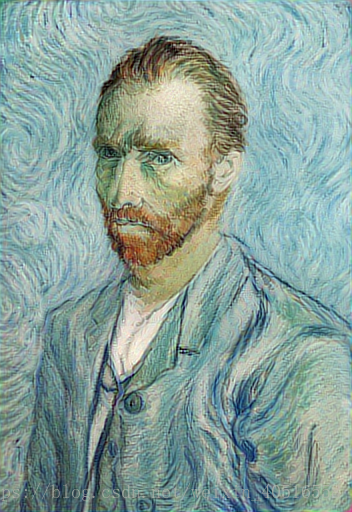
$ doodle --style samples/Seth.jpg --content samples/Gogh.png --output GoghAsSeth.png --device=gpu0 --phases=4 --iterations=80
theano gpu mode下报错,依然使用cpu mode,即
$ doodle --style samples/Seth.jpg --content samples/Gogh.png --output GoghAsSeth.png --device=cpu --phases=4 --iterations=80
效果如下:
图中人物眼睛显然出现了问题。增加迭代次数之后,即
$ doodle --style samples/Seth.jpg --content samples/Gogh.png --output GoghAsSeth.png --device=cpu --phases=4 --iterations=160
效果如下:
fast-neural-doodle
第一步,建立dockerfile
fast版本的一个Dockerfile:
# Start with CUDA Torch dependencies 2
FROM kaixhin/cuda-torch:8.0
MAINTAINER Kai Arulkumaran <design@kaixhin.com>
# Restore Torch7 installation script
RUN sed -i 's/path_to_nvcc=$(which no_nvcc)/path_to_nvcc=$(which nvcc)/g' install.sh
# Install packages
RUN apt-get -y install \
python \
build-essential \
python2.7-dev \
python-pip \
git \
libhdf5-dev \
libprotobuf-dev \
protobuf-compiler \
software-properties-common
RUN pip install numpy \
scipy \
h5py \
sklearn
# Install CUDA libraries
RUN luarocks install cutorch && \
luarocks install cunn && \
luarocks install cudnn && \
luarocks install loadcaffe
# Install torch-hdf5
RUN git clone https://github.com/deepmind/torch-hdf5 /root/torch-hdf5
WORKDIR /root/torch-hdf5
RUN luarocks make hdf5-0-0.rockspe
根据以上dockerfile新build了一个docker,名字叫做hongpu/cuda-torch:v1.0,即
$ sudo docker build -t hongpu/cuda-torch:v1.0 .
$ git clone https://github.com/DmitryUlyanov/fast-neural-doodle.git
$ vi run.sh
在sh文件中,写入以下命令
sudo nvidia-docker run -v /media/projects/yypeng/fast-neural-doodle:/root/fast-neural-doodle \
-it hongpu/cuda-torch:v1.0 /bin/bash -c "cd /root/fast-neural-doodle/ && \
python get_mask_hdf5.py --n_colors=4 --style_image=data/Renoir/style.png --style_mask=data/Renoir/style_mask.png --target_mask=data/Renoir/target_mask.png && \
th fast_neural_doodle.lua -masks_hdf5 masks.hdf5"
# 下载模型文件
$ cd data/pretrained && bash download_models.sh && cd ../..
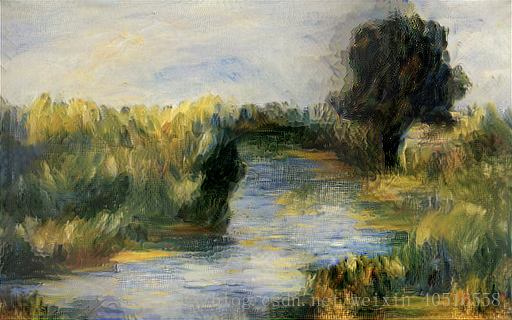
保存好sh文件后,可以bash run.sh直接运行命令,输出图片会放在fast-neural-doodle文件下,每迭代50次保存一张图片,一共迭代1k次。输出如下:
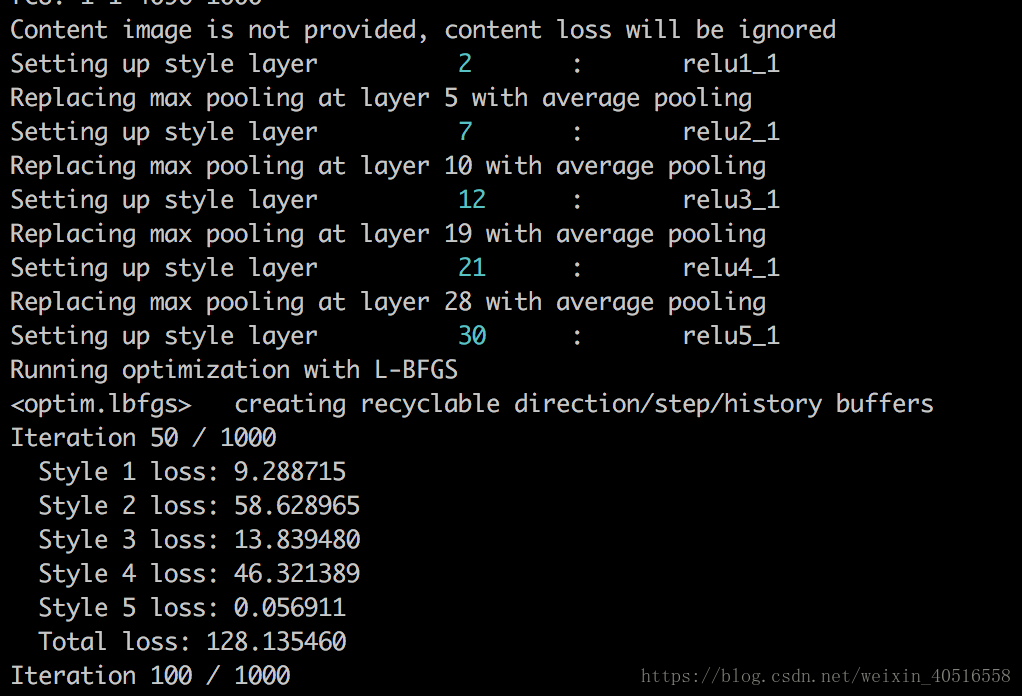
基本思路是先同时为style和content,用给定的annotations生成mask,mask用k-means生成,分为四类。随后根据style和content及其masks(以hdf5文件形式保存),进行fast neural doodle transfer,输出结果。结果的最后一张图如下:


 456
456

 被折叠的 条评论
为什么被折叠?
被折叠的 条评论
为什么被折叠?
 到【灌水乐园】发言


