void ImageViewWindow::initControl()
{
	//场景
	m_scene = new QGraphicsScene(QRect(0, 0, 876, 368), this);
	//图片信息
	m_imgMapInfolst << QMap<QString, QString>{
		{ "zIndex"  , "1"   },
		{ "width"   , "120" },
		{ "height"  , "150" },
		{ "top"     , "71"  },
		{ "left"    , "134" },
		{ "opacity" , "0.6" }
	};
	m_imgMapInfolst << QMap<QString, QString>{
		{ "zIndex", "2"   },
		{ "width", "130" },
		{ "height", "170" },
		{ "top", "61" },
		{ "left", "0" },
		{ "opacity", "0.7" }
	};
	m_imgMapInfolst << QMap<QString, QString>{
		{ "zIndex", "3"   },
		{ "width", "170" },
		{ "height", "218" },
		{ "top", "37" },
		{ "left", "110" },
		{ "opacity", "0.8" }
	};
	m_imgMapInfolst << QMap<QString, QString>{
		{ "zIndex", "4"   },
		{ "width", "224" },
		{ "height", "288" },
		{ "top", "0" },
		{ "left", "262" },
		{ "opacity", "1" }
	};
	m_imgMapInfolst << QMap<QString, QString>{
		{ "zIndex", "3"   },
		{ "width", "170" },
		{ "height", "218" },
		{ "top", "37" },
		{ "left", "468" },
		{ "opacity", "0.8" }
	};
	m_imgMapInfolst << QMap<QString, QString>{
		{ "zIndex", "2"   },
		{ "width", "130" },
		{ "height", "170" },
		{ "top", "61" },
		{ "left", "620" },
		{ "opacity", "0.7" }
	};
	m_imgMapInfolst << QMap<QString, QString>{
		{ "zIndex", "1"   },
		{ "width", "120" },
		{ "height", "150" },
		{ "top", "71" },
		{ "left", "496" },
		{ "opacity", "0.6" }
	};

	//场景中添加图片元素
	for (int index = 0; index < m_imgMapInfolst.size(); index++)
	{
		const auto imageInfoMap = m_imgMapInfolst[index];
		const QString&& centerImg = QString(":/ImageViewWindow/Resources/%1.jpg").arg(index + 1);
		const QPixmap&& pixmap = QPixmap(centerImg);
		GraphicsPixmap *item = new GraphicsPixmap();
		item->setPixmap(pixmap);
		item->setPixmapSize(QSize(imageInfoMap["width"].toInt(), imageInfoMap["height"].toInt()));
		item->setItemOffset(QPointF(imageInfoMap["left"].toInt() + image_xoffset, imageInfoMap["top"].toInt() + image_yoffset));
		item->setZValue(imageInfoMap["zIndex"].toInt());
		item->setOpacity(imageInfoMap["opacity"].toFloat());
		m_items << item;
		m_scene->addItem(item);
	}

	//left button
	GraphicsPixmap *leftBtn = new GraphicsPixmap();
	leftBtn->setCursor(QCursor(Qt::PointingHandCursor));
	leftBtn->setPixmap(QPixmap(":/ImageViewWindow/Resources/Wblog_left.png"));
	leftBtn->setItemOffset(QPointF(12, image_yoffset + 124));
	leftBtn->setZValue(5);
	m_scene->addItem(leftBtn);
	connect(leftBtn, SIGNAL(clicked()), this, SLOT(onLeftBtnClicked()));
	//right button
	GraphicsPixmap *rightBtn = new GraphicsPixmap();
	rightBtn->setCursor(QCursor(Qt::PointingHandCursor));
	rightBtn->setPixmap(QPixmap(":/ImageViewWindow/Resources/Wblog_right.png"));
	rightBtn->setItemOffset(QPointF(836, image_yoffset + 124));
	rightBtn->setZValue(5);
	m_scene->addItem(rightBtn);
	connect(rightBtn, SIGNAL(clicked()), this, SLOT(onRightBtnClicked()));

	//视图
	GraphicsView *view = new GraphicsView(m_scene);
	view->setFrameShape(QFrame::NoFrame);
	view->setParent(this);
	view->setViewportUpdateMode(QGraphicsView::BoundingRectViewportUpdate);
	view->setBackgroundBrush(QColor(46, 46, 46));
	view->setCacheMode(QGraphicsView::CacheBackground);
	view->setRenderHints(QPainter::Antialiasing | QPainter::SmoothPixmapTransform);
	ui.viewlayout->addWidget(view);

	//动画: 大小,位置
	m_group = new QParallelAnimationGroup;
	for (int i = 0; i < m_items.count(); ++i) {
		QPropertyAnimation *anim = new QPropertyAnimation(m_items[i], "itemoffset");
		QPropertyAnimation *anims = new QPropertyAnimation(m_items[i], "itemsize");
		m_animationMap.insert(m_items[i], anim);
		m_animationsMap.insert(m_items[i], anims);
		anim->setDuration(1000);
		anims->setDuration(1000);
		anim->setEasingCurve(QEasingCurve::OutQuad);
		anims->setEasingCurve(QEasingCurve::OutQuad);
		m_group->addAnimation(anim);
		m_group->addAnimation(anims);
	}
	//定时切换图片
	m_timer = new QTimer(this);
	m_timer->setInterval(2000);
	connect(m_timer, &QTimer::timeout, [this](){
		nextPlay();
	});
	connect(m_group, &QParallelAnimationGroup::finished, [this](){
		m_isStart = false;
		m_timer->start();
	});
	m_timer->start();
}

void ImageViewWindow::onLeftBtnClicked()
{
	//鼠标点击的时候,先暂停定时器预览
	m_timer->stop();
	//上一张
	lastPlay();
}

void ImageViewWindow::onRightBtnClicked()
{
	//鼠标点击的时候,先暂停定时器预览
	m_timer->stop();
	//下一张
	nextPlay();
}

void ImageViewWindow::play()
{
	for (int index = 0; index < m_imgMapInfolst.size(); index++)
	{
		const auto item = m_items[index];
		QPropertyAnimation *anim = m_animationMap.value(item);
		QPropertyAnimation *anims = m_animationsMap.value(item);
		const auto imageInfoMap = m_imgMapInfolst[index];
		item->setZValue(imageInfoMap["zIndex"].toInt());
		item->setOpacity(imageInfoMap["opacity"].toFloat());
		QPointF pointf(imageInfoMap["left"].toInt() + image_xoffset, imageInfoMap["top"].toInt() + image_yoffset);
		const QString&& centerImg = QString(":/ImageViewWindow/Resources/%1.jpg").arg(index + 1);
		anim->setStartValue(item->itemoffset());
		anims->setStartValue(item->pixsize());
		anim->setEndValue(pointf);
		anims->setEndValue(QSize(imageInfoMap["width"].toInt(), imageInfoMap["height"].toInt()));
	}
	m_isStart = true;
}


void ImageViewWindow::nextPlay()
{
	m_group->stop();
	auto firstItem = m_items.takeAt(0);
	m_items << firstItem;
	play();
	m_group->start();
}

void ImageViewWindow::lastPlay()
{
	m_group->stop();
	auto lastItem = m_items.takeAt(m_items.size() - 1);
	m_items.prepend(lastItem);
	play();
	m_group->start();
}


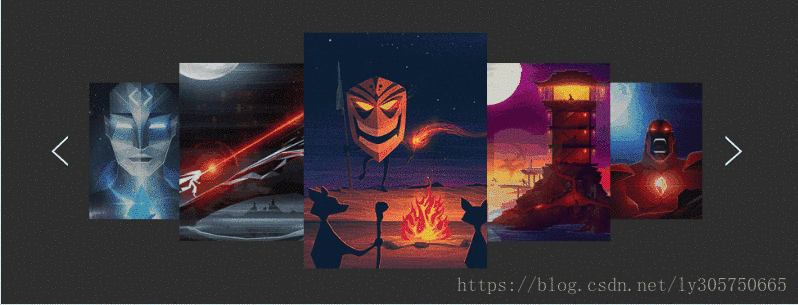
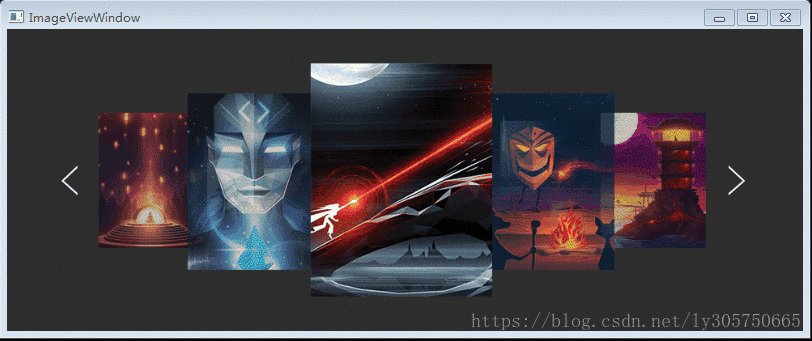
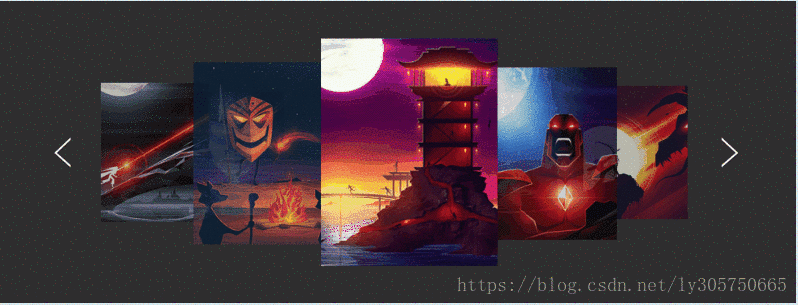
 该博客介绍了如何在VB6中使用Qt库创建一个3D图片预览功能,包括自定义时间间隔滚动图片、鼠标点击切换图片以及窗口大小自适应的实现。核心代码部分展示了关键的编程逻辑。


 被折叠的 条评论
为什么被折叠?
被折叠的 条评论
为什么被折叠?
 到【灌水乐园】发言


