


原文大佬文章入口:OpenEuler22.03源码编译安装nginx1.24.0![]() https://www.cnblogs.com/boyliupan/p/17934108.html
https://www.cnblogs.com/boyliupan/p/17934108.html
以下步骤是个人项目部署示例,仅当个人笔记记录。
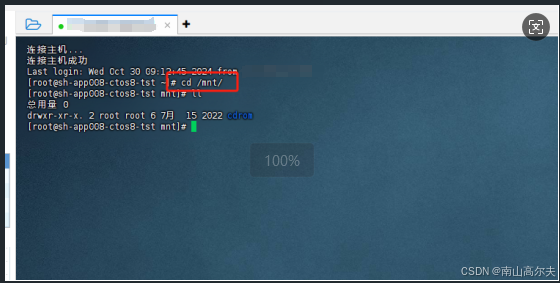
1、以下面为例,部署在 /mnt 文件夹下
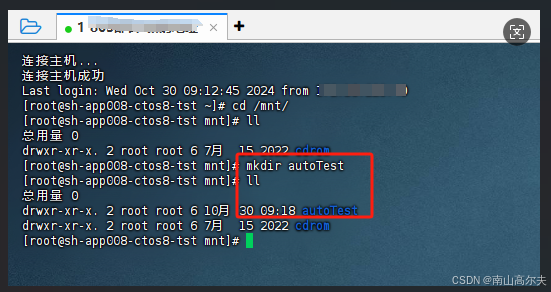
2、创建autoTest文件夹
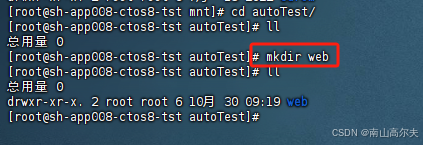
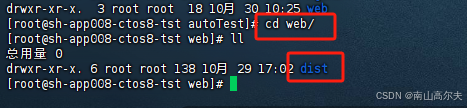
3、在autoTest文件夹下创建web文件夹
4、安装nginx
参考文档:OpenEuler22.03源码编译安装nginx1.24.0![]() https://www.cnblogs.com/boyliupan/p/17934108.html
https://www.cnblogs.com/boyliupan/p/17934108.html
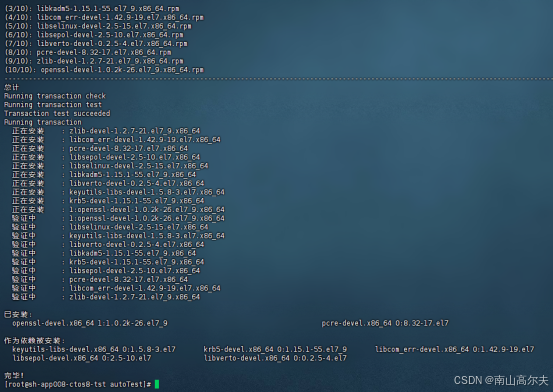
4.1、# 安装必要依赖
yum -y install tar gcc make pcre pcre-devel zlib zlib-devel openssl openssl-devel![]()
4.2、# 创建nginx安装文件夹
mkdir nginx
4.3、# 下载nginx源码包 (下载到了/autoTest下)
wget https://nginx.org/download/nginx-1.24.0.tar.gz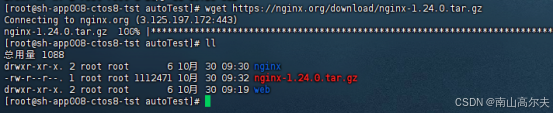
4.4、# 解压源码包
tar -zxvf nginx-1.24.0.tar.gz 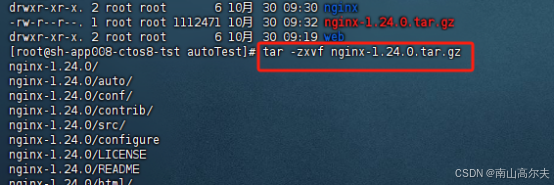
4.5、# 安装nginx
cd nginux-1.24.0;4.6、# 配置nginx安装路径及安装模块
./configure --prefix=/mnt/autoTest/nginx --with-http_stub_status_module --with-http_v2_module --with-http_sub_module --with-http_gzip_static_module --with-pcre4.7、# 编译&&安装
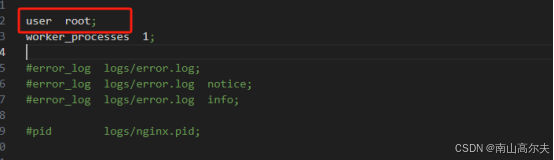
make && make install4.8、修改nginx运行用户为root:移除user nobody 前的“#”,修改noby为root
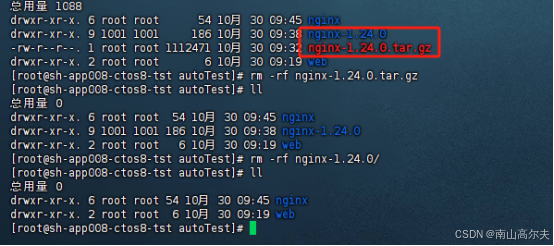
5、上述操作都成功后,可以删除这两个文件夹
6、将打包后的前端web代码放在web目录下
7、启动nginx【 ./sbin/nginx 】
![]()
8、nginx.conf配置可以查看 /mnt/autoTest/nginx/conf/nginx.conf 文件


 被折叠的 条评论
为什么被折叠?
被折叠的 条评论
为什么被折叠?
 到【灌水乐园】发言


