


实验环境:centos6.5
防火墙需要关闭
下载源码包
wget http://archive.apache.org/dist/apr/apr-util-1.5.2.tar.gz
wget http://archive.apache.org/dist/apr/apr-1.5.2.tar.gz
wget http://mirror.bit.edu.cn/apache/httpd/httpd-2.4.33.tar.gz
wget http://jaist.dl.sourceforge.net/project/pcre/pcre/8.10/pcre-8.10.zip
系统自带工具全部卸载
[root@localhost ~]# rpm -e apr --nodeps
[root@localhost ~]# rpm -e apr-util --nodeps
[root@localhost ~]# rpm -e httpd --nodeps
卸载pcre工具的时候先备份cd /lib64/目录下的libpcre.so.0
[root@localhost lib64]# cp libpcre.so.0 /root
卸载pcre
[root@localhost ~]# rpm -e pcre --nodeps
解压缩apr
[root@localhost ~]# tar xf apr-1.5.2.tar.gz
进入apr-1.5.2目录下开始编译
[root@localhost apr-1.5.2]# ./configure --prefix=/usr/local/apr
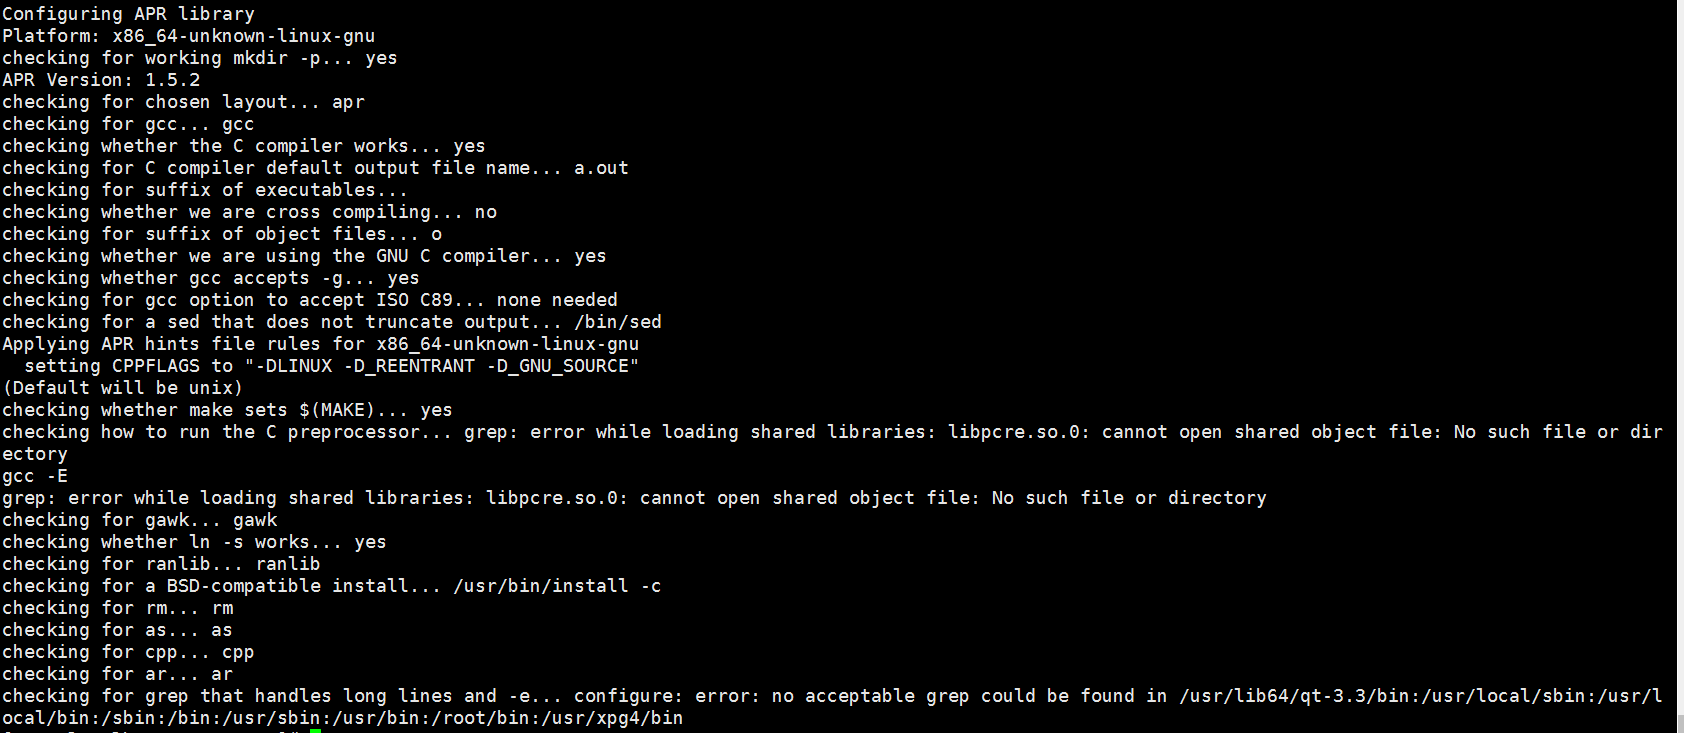
用yum解决一些依赖关系
[root@localhost apr-1.5.2]# yum -y install pcre-devel
[root@localhost apr-1.5.2]# yum -y install gcc make tar libtool pcre pcre-devel zlib zlib-devel openssl openssl-devel expat-devel
[root@localhost apr-1.5.2]# yum -y install libtool-ltdl-devel
解决依赖关系在执行编译
[root@localhost apr-1.5.2]# ./configure --prefix=/usr/local/apr
报错解决办法
vim ./configure
编辑 configure文件,查找 $RM "$cfgfile" 这个地方,用#注释掉,然会报错。把RM='$RM'改为RM='$RM -f'。
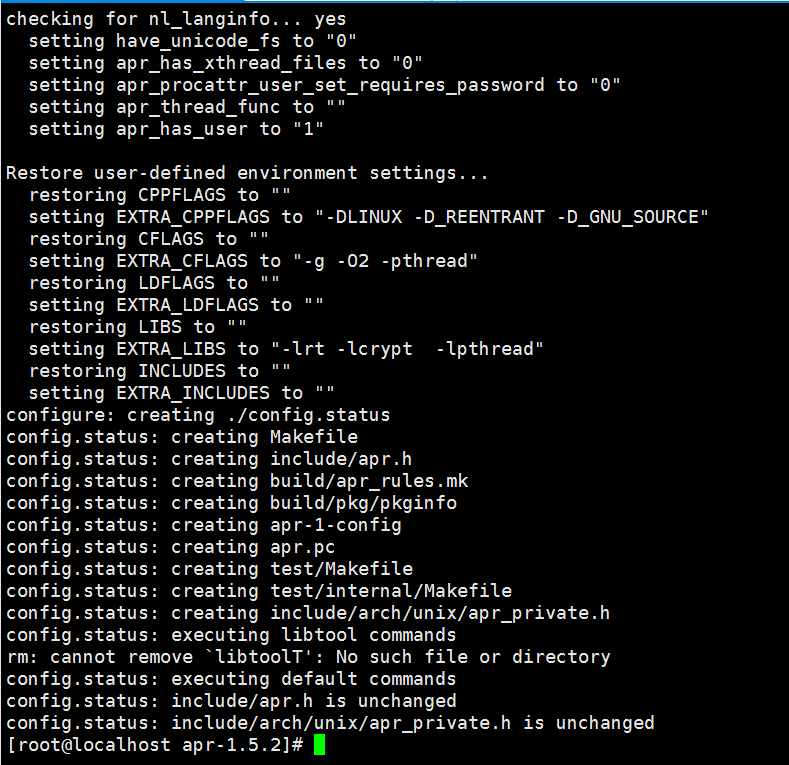
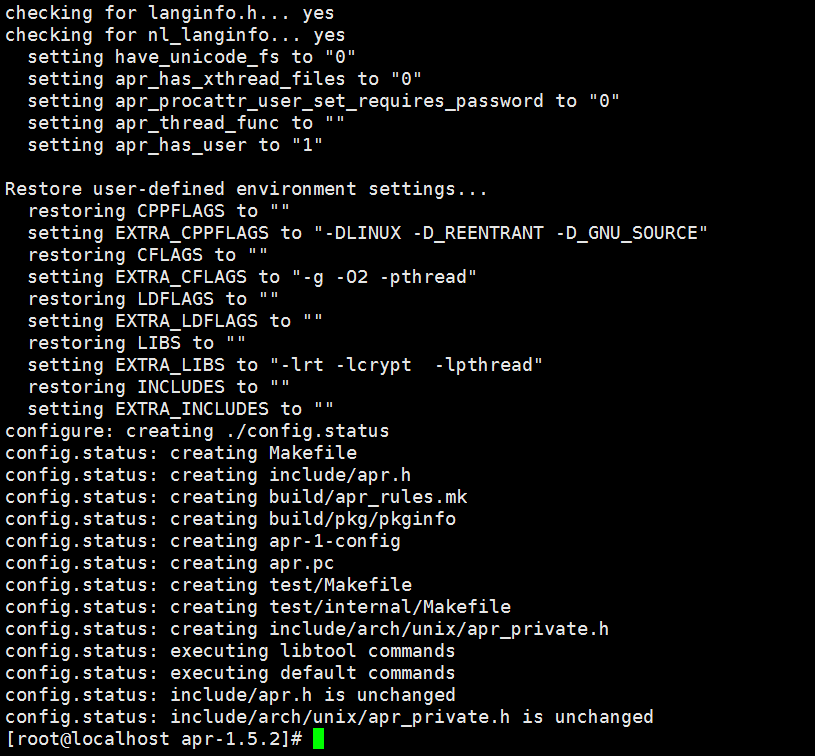
上面软件包都已经解决在执行一次编译
[root@localhost apr-1.5.2]# ./configure --prefix=/usr/local/apr
成功编译图如下:
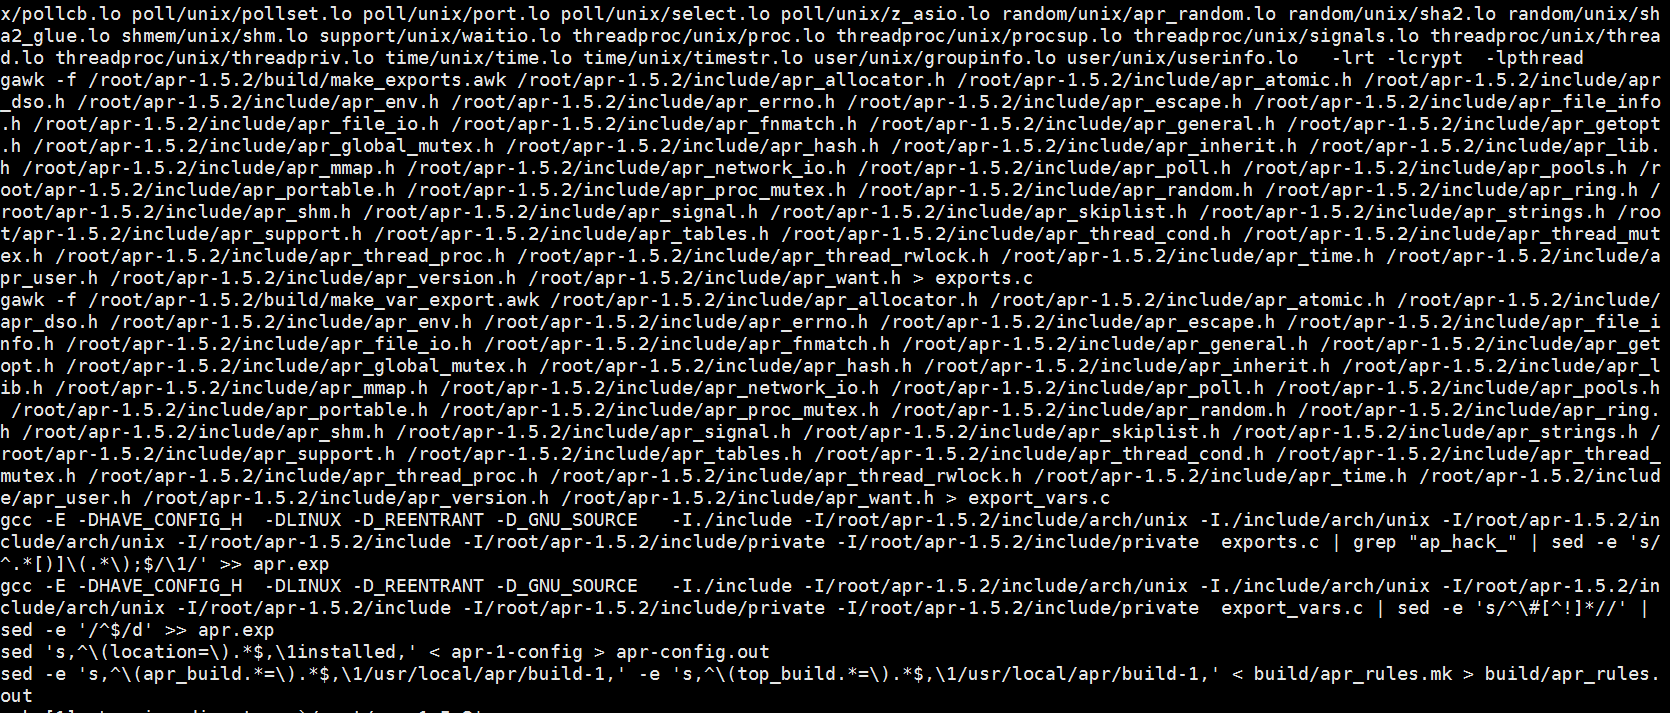
编译安装
[root@localhost apr-1.5.2]# make
成功图如下
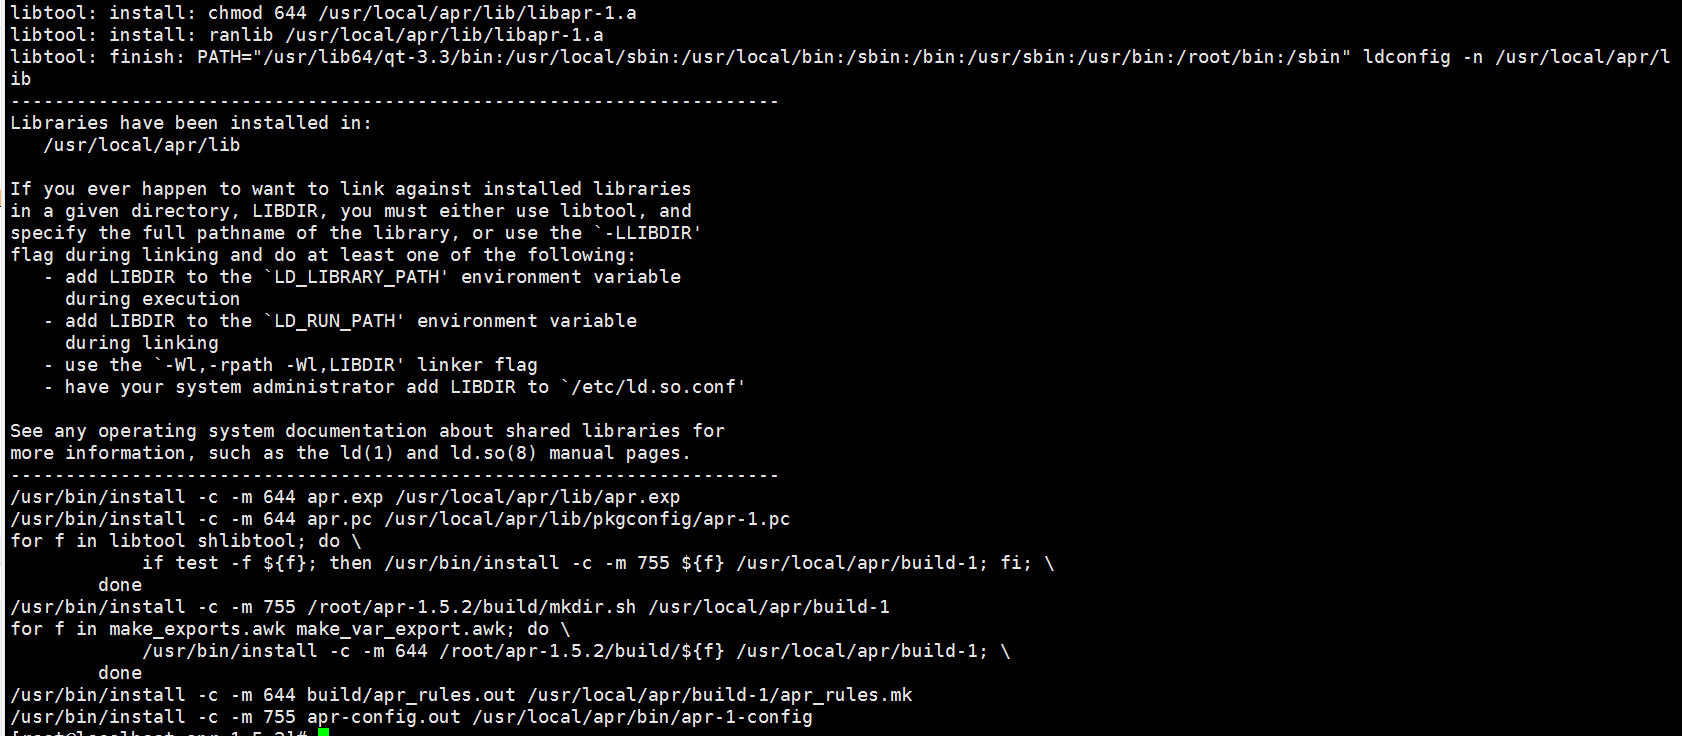
[root@localhost apr-1.5.2]# make install
成功安装图如下:
编译安装apr-util
[root@localhost ~]# tar xf apr-util-1.5.2.tar.gz
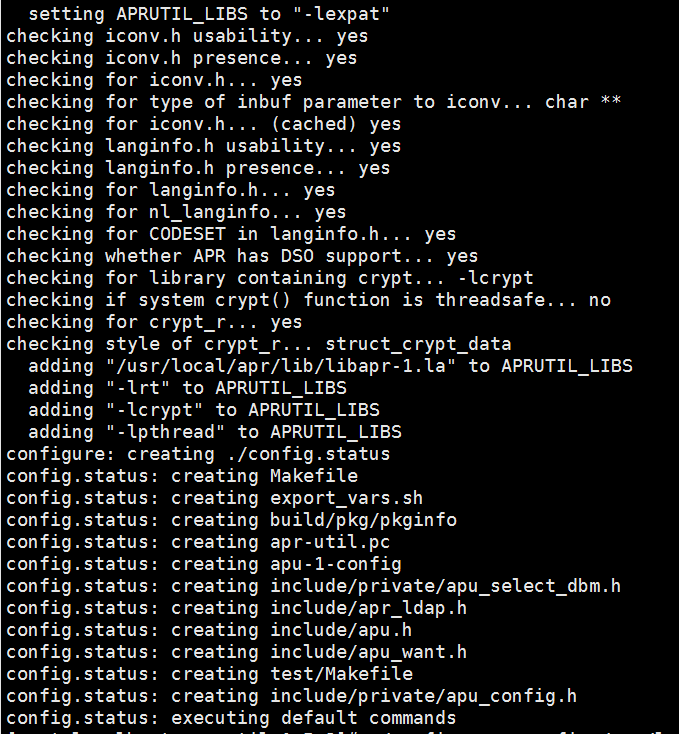
[root@localhost apr-util-1.5.2]# ./configure --prefix=/usr/local/apr-util --with-apr=/usr/local/apr/bin/apr-1-config
成功图如下:
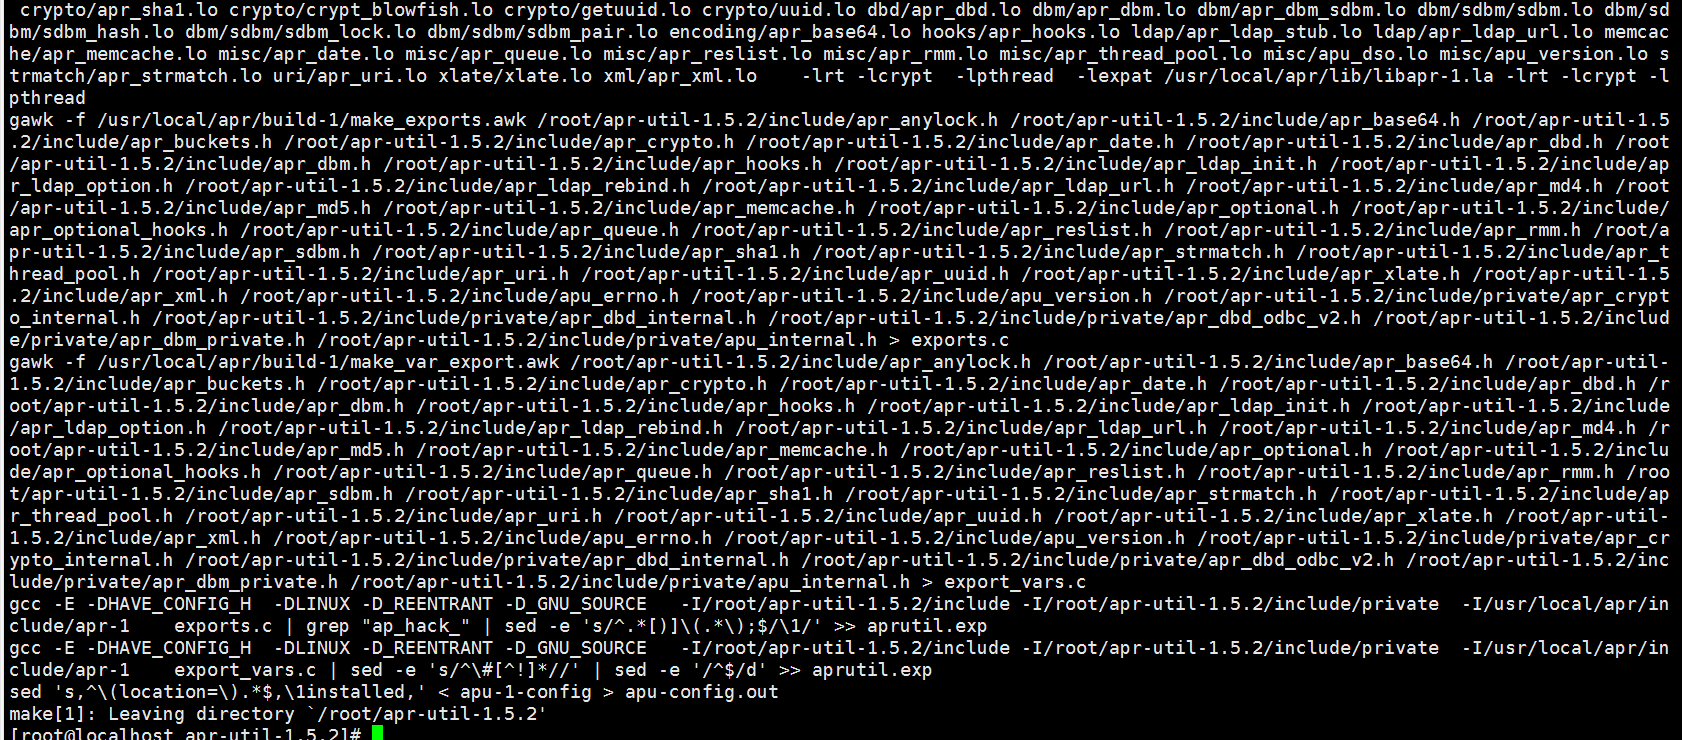
[root@localhost apr-util-1.5.2]# make
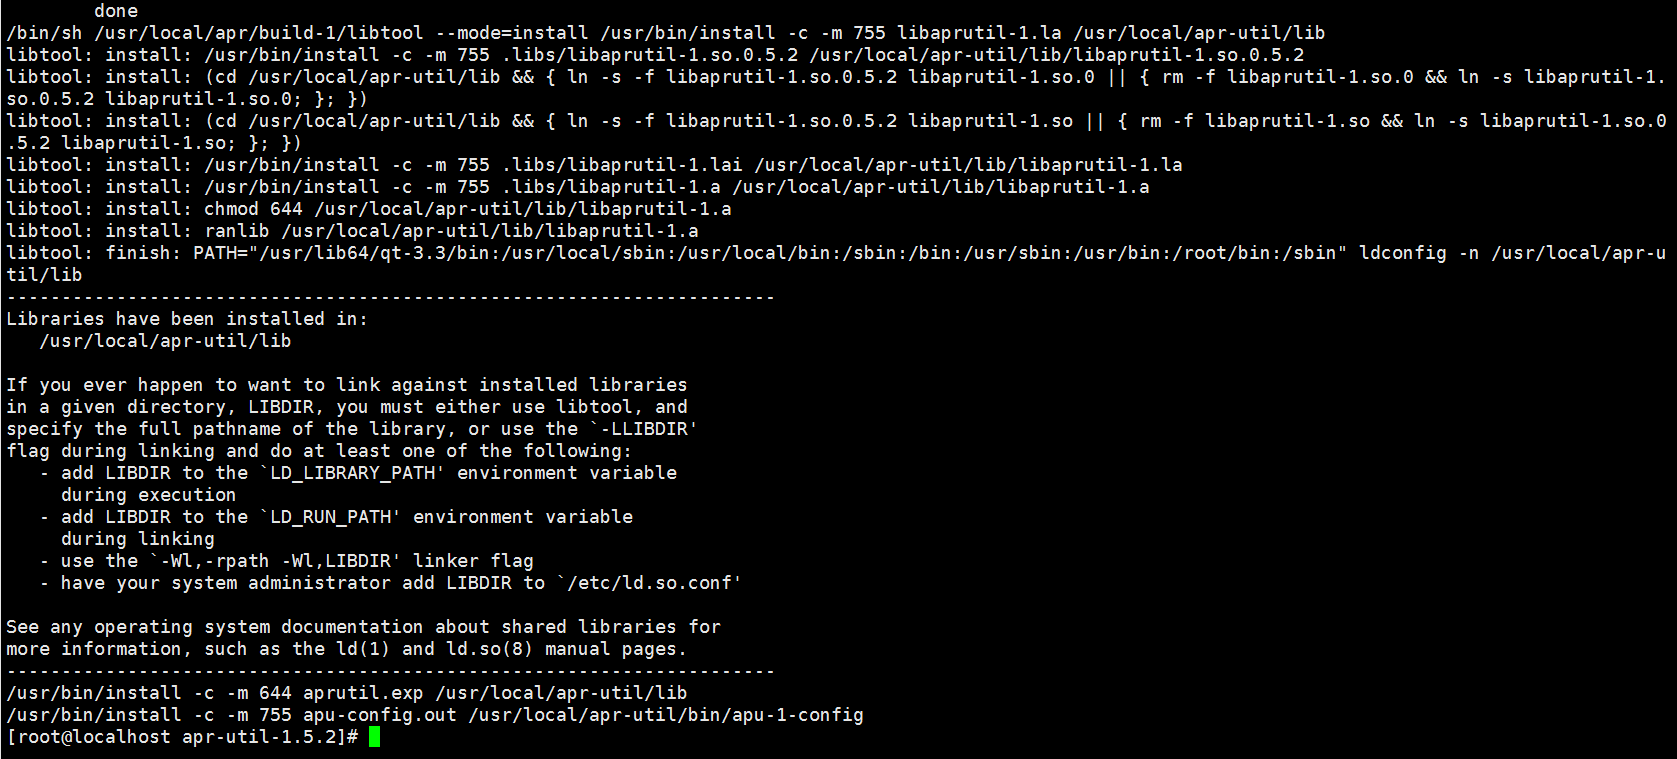
[root@localhost apr-util-1.5.2]# make install
解压安装pcre
[root@localhost ~]# unzip -o pcre-8.10.zip
[root@localhost ~]# cd pcre-8.10
[root@localhost pcre-8.10]# ./configure --prefix=/usr/local/pcre --enable-utf8

[root@localhost pcre-8.10]# make
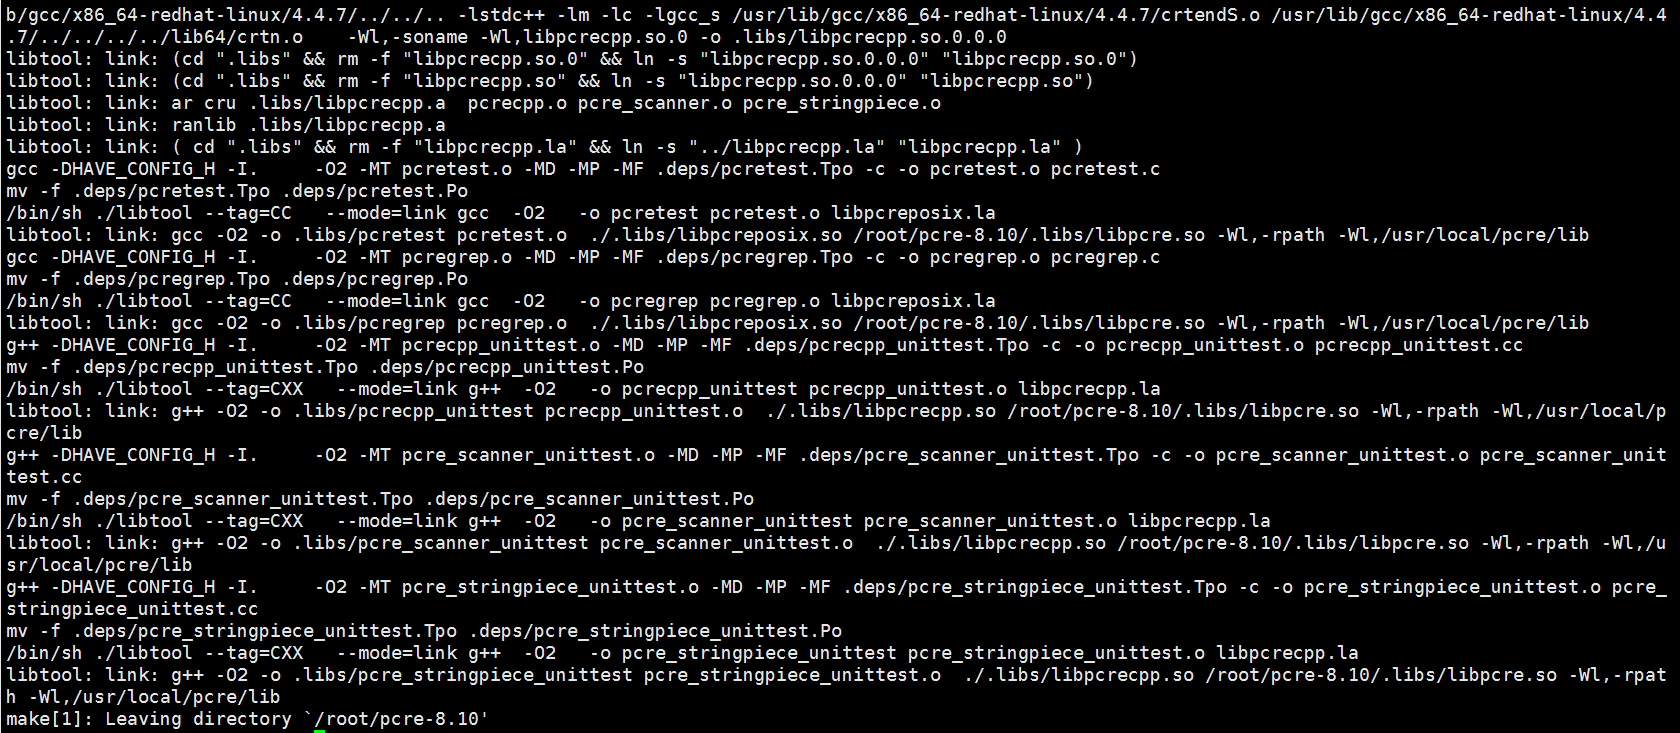
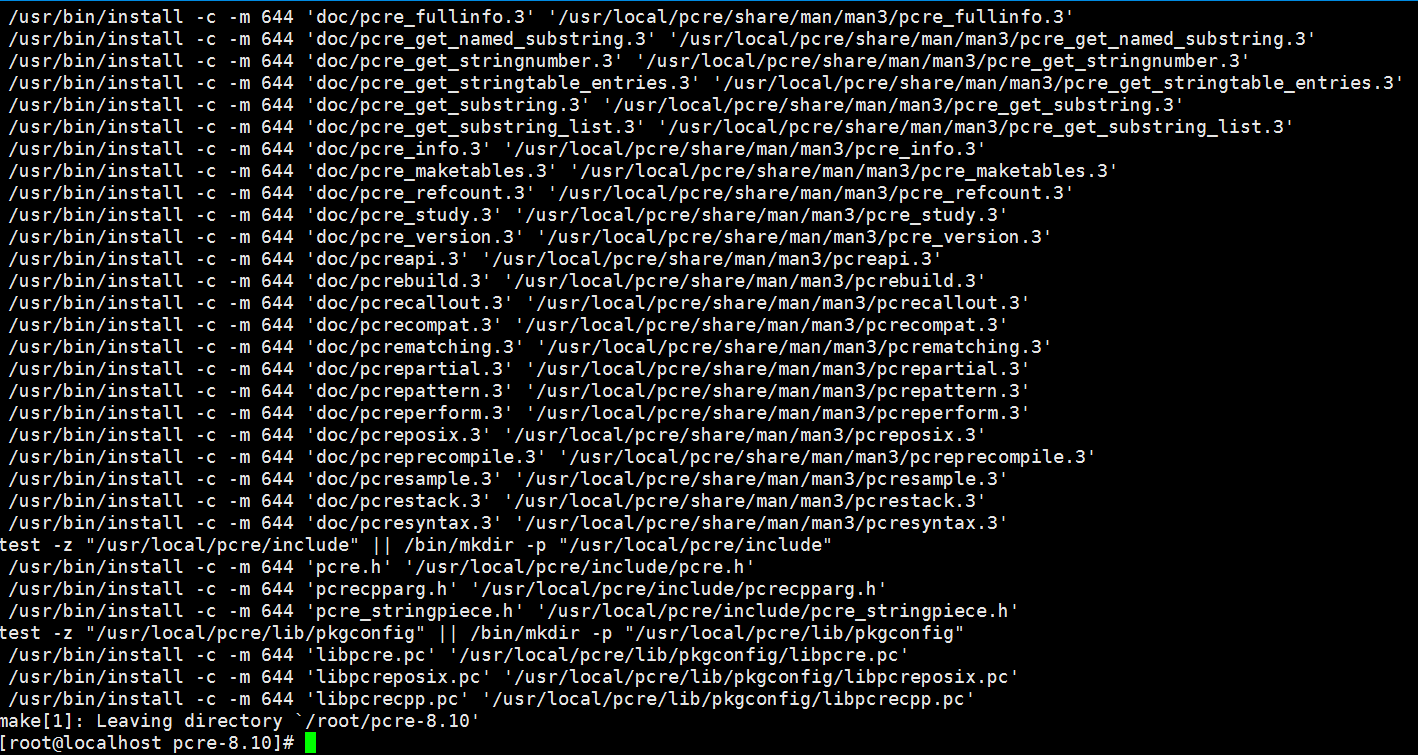
[root@localhost pcre-8.10]# make install
编译安装/usr/local/目录下会有刚才安装的工具目录
[root@localhost local]# ls
apr apr-util bin etc games include lib lib64 libexec pcre sbin share src
编译安装httpd源码包
[root@localhost ~]# tar xf httpd-2.4.33.tar.gz
[root@localhost ~]# cd httpd-2.4.33
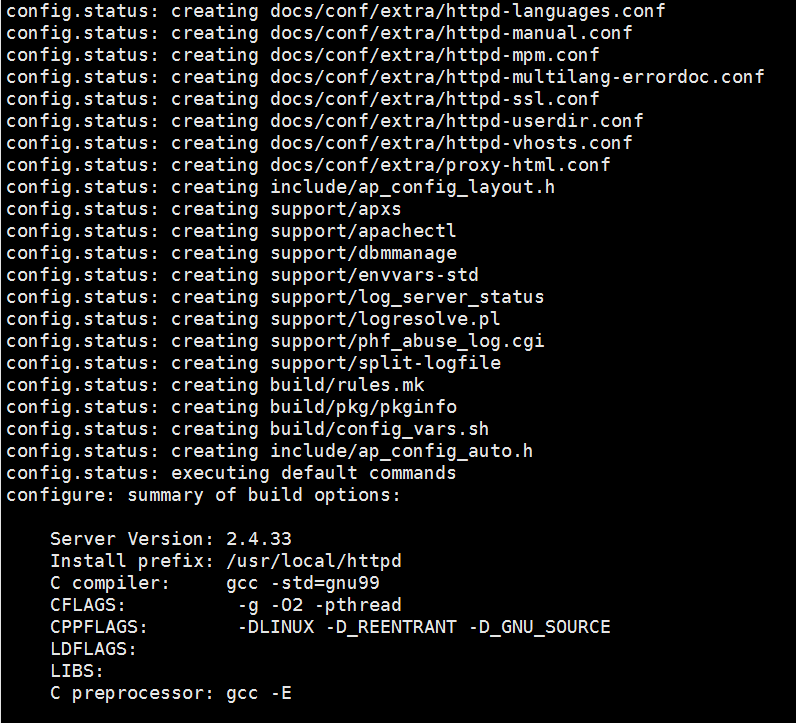
[root@localhost httpd-2.4.33]# ./configure --prefix=/usr/local/httpd --enable-rewrite --enable-so --enable-headers --enable-expires --with-mpm=worker --enable-modules=most --enable-deflate --with-apr=/usr/local/apr --with-apr-util=/usr/local/apr-util --with-pcre=/usr/local/pcre
安装成功图如下:
[root@localhost httpd-2.4.33]# make
[root@localhost httpd-2.4.33]# make install
解释编译Apache的参数:
--enable-so // 允许运行时加载DSO模块
--enable-ssl // 启用https, 此项需要先安装openssl-devel包,我们需要使用yum安装
--enable-cgi // 允许使用cgi脚本
--enable-deflate //支持网页压缩
--enable-expires //支持网页缓存
--enable-rewrite // 支持URL重写机制
--enable-modules=most // 支持动态启用模块,most表示常用,all表示所有,以后自行到 httpd.conf 中决定是否开启模块
--enable-mpms-shared=all // 表示以共享方式启用哪些MPM模块(prefork、worker、event),all表示所有的
--with-mpm=prefork // 默认启用模块:prefork,worker,event
--with-zlib // 依赖zlib,用于支持压缩功能,我们已经使用yum安装了,
--with-pcre // 依赖的pcre
--with-apr // 依赖的apr
--with-apr-util // 依赖的apr-util
编译安装/usr/local/目录下会有刚才安装的工具目录
[root@localhost local]# ls
apr apr-util bin etc games httpd include lib lib64 libexec pcre sbin share src
添加软链接
[root@localhost ~]# ln -s /usr/local/httpd/bin/* /usr/local/bin/
[root@localhost ~]# ll /usr/local/bin/ | grep ^l
lrwxrwxrwx. 1 root root 23 7月 6 11:03 ab -> /usr/local/httpd/bin/ab
lrwxrwxrwx. 1 root root 30 7月 6 11:03 apachectl -> /usr/local/httpd/bin/apachectl
lrwxrwxrwx. 1 root root 25 7月 6 11:03 apxs -> /usr/local/httpd/bin/apxs
lrwxrwxrwx. 1 root root 29 7月 6 11:03 checkgid -> /usr/local/httpd/bin/checkgid
lrwxrwxrwx. 1 root root 30 7月 6 11:03 dbmmanage -> /usr/local/httpd/bin/dbmmanage
lrwxrwxrwx. 1 root root 28 7月 6 11:03 envvars -> /usr/local/httpd/bin/envvars
lrwxrwxrwx. 1 root root 32 7月 6 11:03 envvars-std -> /usr/local/httpd/bin/envvars-std
lrwxrwxrwx. 1 root root 32 7月 6 11:03 fcgistarter -> /usr/local/httpd/bin/fcgistarter
lrwxrwxrwx. 1 root root 33 7月 6 11:03 htcacheclean -> /usr/local/httpd/bin/htcacheclean
lrwxrwxrwx. 1 root root 26 7月 6 11:03 htdbm -> /usr/local/httpd/bin/htdbm
lrwxrwxrwx. 1 root root 29 7月 6 11:03 htdigest -> /usr/local/httpd/bin/htdigest
lrwxrwxrwx. 1 root root 29 7月 6 11:03 htpasswd -> /usr/local/httpd/bin/htpasswd
lrwxrwxrwx. 1 root root 26 7月 6 11:03 httpd -> /usr/local/httpd/bin/httpd
lrwxrwxrwx. 1 root root 30 7月 6 11:03 httxt2dbm -> /usr/local/httpd/bin/httxt2dbm
lrwxrwxrwx. 1 root root 31 7月 6 11:03 logresolve -> /usr/local/httpd/bin/logresolve
lrwxrwxrwx. 1 root root 31 7月 6 11:03 rotatelogs -> /usr/local/httpd/bin/rotatelogs
备份/usr/local/httpd/bin/apachectl
[root@localhost ~]# cp /usr/local/httpd/bin/apachectl /etc/init.d/httpd
添加权限
[root@localhost ~]# chmod +x /etc/init.d/httpd
写入脚本里启动
[root@localhost ~]# sed -i -e '1a#chkconfig: 35 85 21 n#description: Startup script for the Apache HTTP Server' /etc/init.d/httpd
查看写入没有
[root@localhost ~]# sed -n '1,3p' /etc/init.d/httpd
#!/bin/sh
#chkconfig: 35 85 21
#description: Startup script for the Apache HTTP Server
添加httpd系统服务
[root@localhost ~]# chkconfig --add httpd
[root@localhost ~]# chkconfig --list httpd
httpd 0:关闭 1:关闭 2:关闭 3:启用 4:关闭 5:启用 6:关闭
进入目录/usr/local/httpd/conf/
[root@localhost ~]# cd /usr/local/httpd/conf/
[root@localhost conf]#
备份
[root@localhost conf]# cp httpd.conf httpd.conf.origin
查询ServerName www.example.com:80在哪一行
[root@localhost conf]# awk '/#ServerName/{print NR,$0}' httpd.conf
194 #ServerName www.example.com:80
ServerName www.example.com:80前面去掉#号
[root@localhost conf]# sed -i -e '194 s/#//;s/example/amber/' httpd.conf
[root@localhost conf]# sed -n '194p' httpd.conf
ServerName www.amber.com:80
检测语法
[root@localhost conf]# apachectl -t
Syntax OK
[root@localhost conf]# httpd -t
Syntax OK
启动httpd服务
[root@localhost conf]# /etc/init.d/httpd start
[root@localhost conf]# netstat -anpt |grep :80
tcp 0 0 :::80 :::* LISTEN 17654/httpd
测试httpd


 374
374

 被折叠的 条评论
为什么被折叠?
被折叠的 条评论
为什么被折叠?
 到【灌水乐园】发言


