


 该博客详细介绍了如何使用SpringBoot实现数据库的增删改查操作,包括创建SpringBoot项目、设置数据库连接、定义Model、Mapper和Controller,以及展示前端页面交互。通过实例展示了新增、查询、修改和删除数据的完整流程。
项目git地址 https://gitee.com/wangchiCode/springboot_crud_demo.git
先看最终实现效果:
分割线=====================================
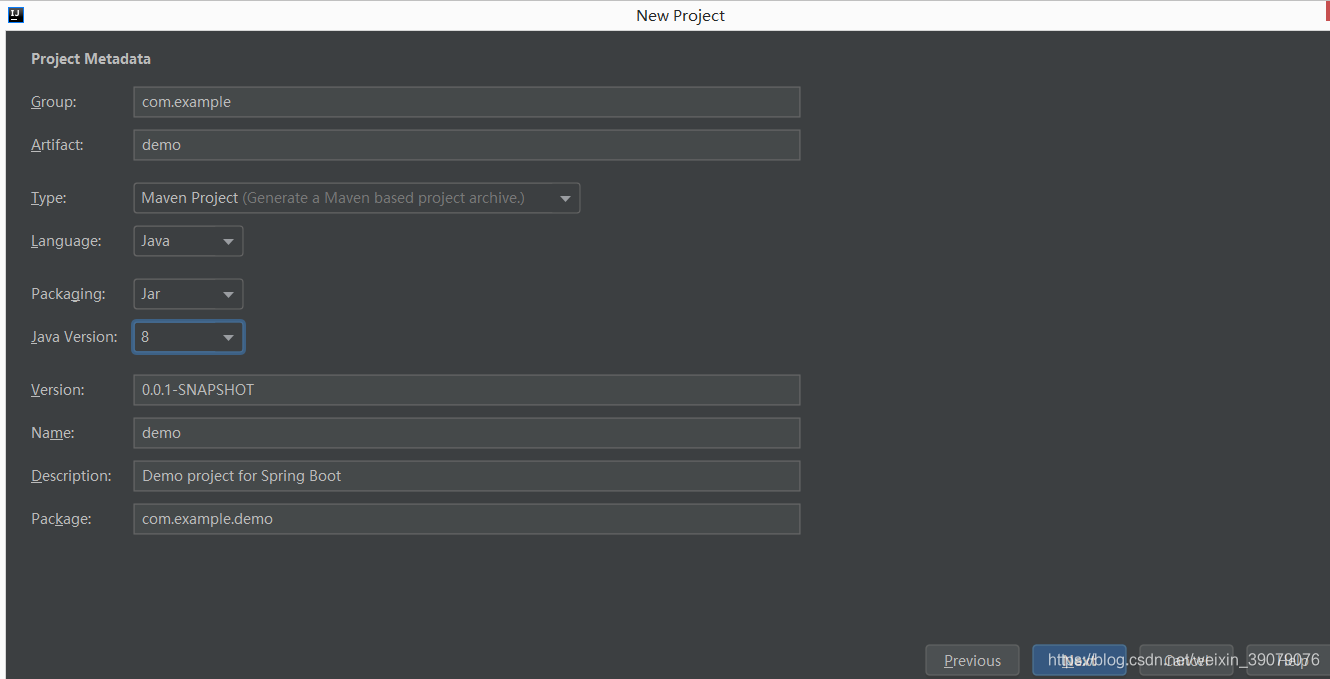
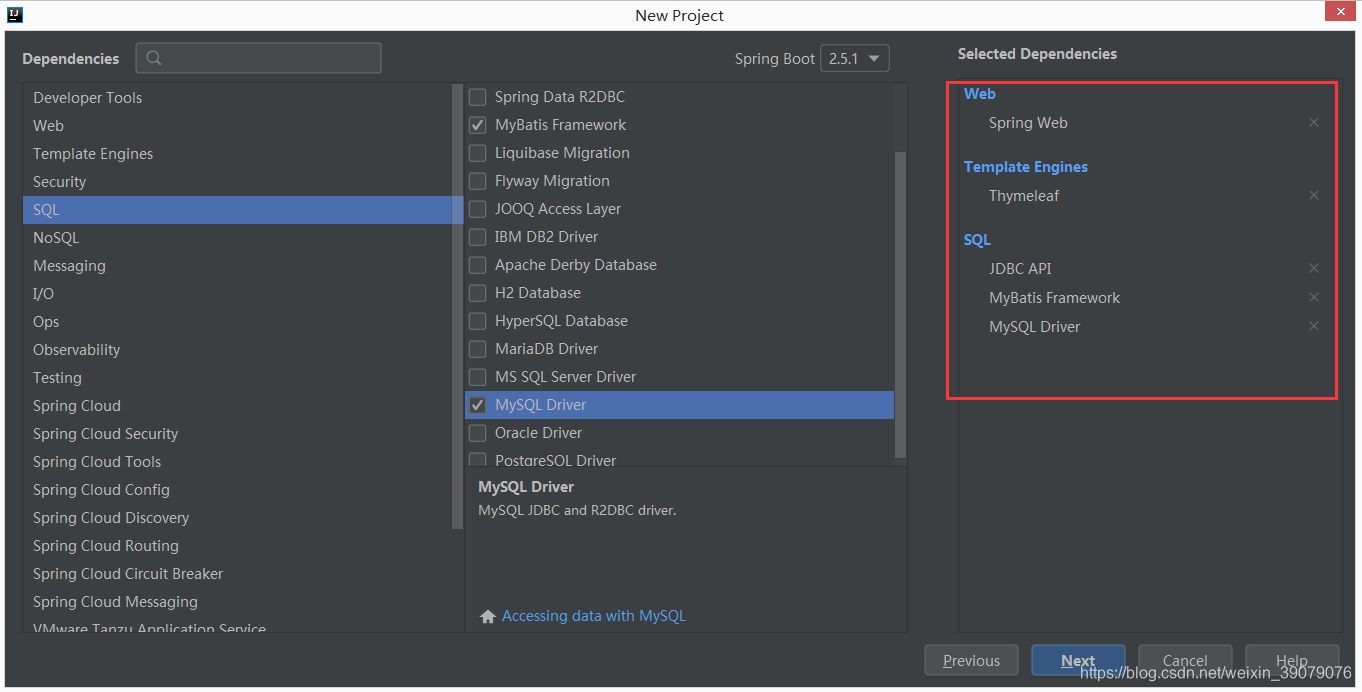
一、创建springboot项目
环境准备:
maven3.5+idea2019+mysql5.6+jdk1.8
1、idea2019创建springboot项目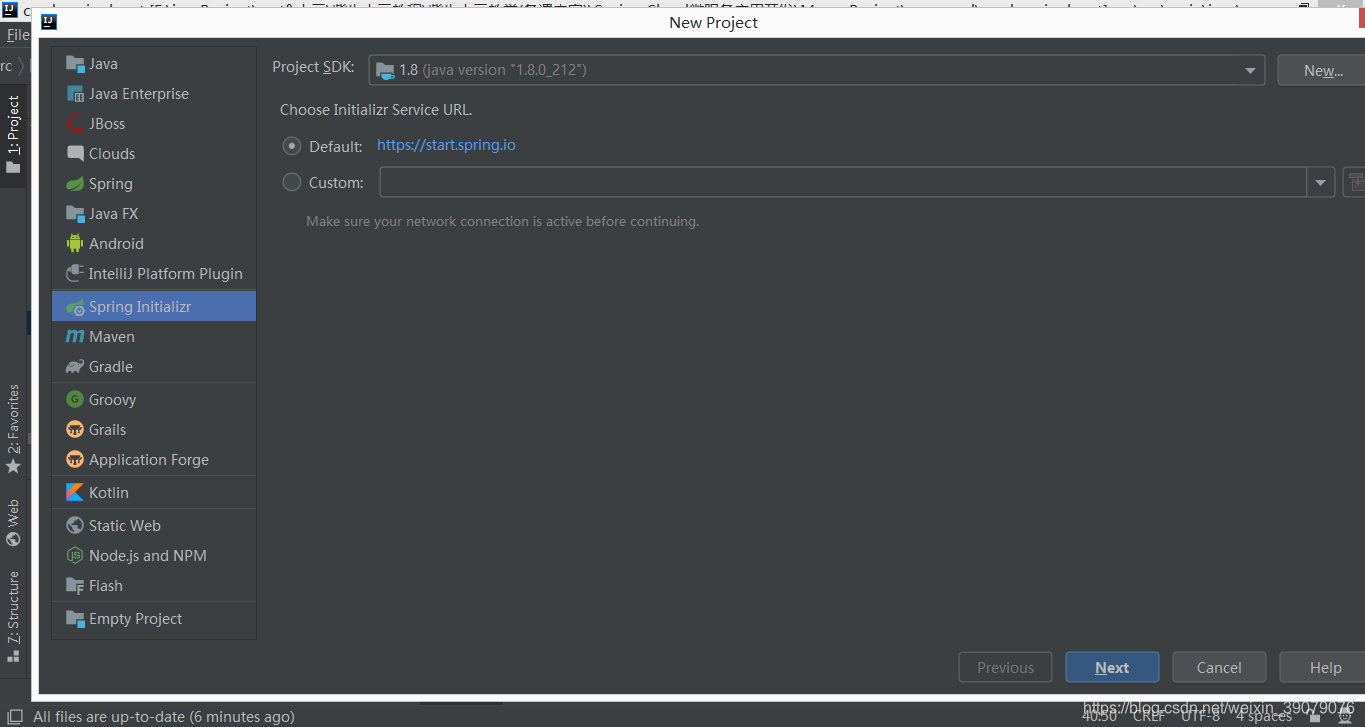
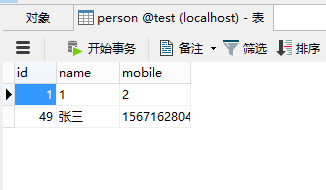
二、创建数据库
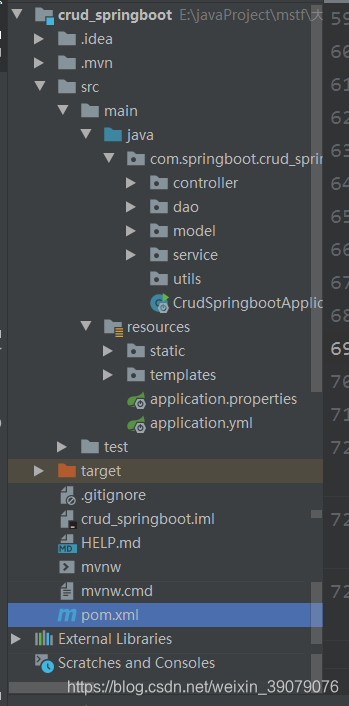
三、实现增删改查
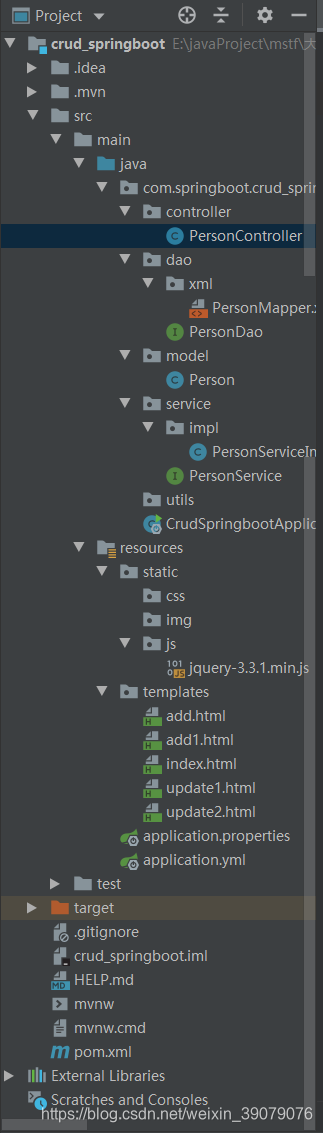
项目结构:
连接数据库配置:
application.yml:
server:
  port: 8080

spring:
  datasource:
    driver-class-name: com.mysql.jdbc.Driver
    url: jdbc:mysql://127.0.0.1:3306/test
    username: root
    password: 123456

mybatis:
  mapper-locations: classpath*:com/springboot/crud_springboot/dao/xml/*.xml
 <build>
<!--        idea默认扫描resources里面的mapper文件
加这些是为了让他把java包下的mapper文件也扫描以下-->
        <resources>
            <resource>
                <directory>src/main/java</directory>
                <includes>
                    <include>**/*.xml</include>
                </includes>
            </resource>
        </resources>

        <plugins>
            <plugin>
                <groupId>org.springframework.boot</groupId>
                <artifactId>spring-boot-maven-plugin</artifactId>
            </plugin>
        </plugins>
    </build>
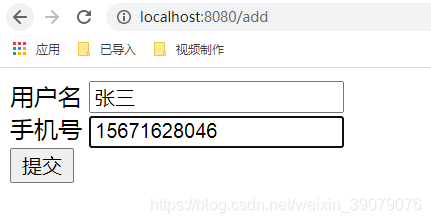
1、新增
页面add.html:
<!DOCTYPE html>
<html lang="en">

<head>
    <meta charset="UTF-8">
    <title>Title</title>
    <script src="js/jquery-3.3.1.min.js"></script>
</head>
<body>
<form id="addForm" action="" method="post">
    <div>
        <label>用户名</label>
        <input type="text" name="name">
    </div>
    <div>
        <label>手机号</label>
        <input type="text" name="mobile">
    </div>
</form>
<div>
    <button onclick="add()">提交</button>
</div>

<script>

    function add() {
        var data = $("#addForm").serialize(); //参数较多用这种序列化的方式比较方便
        console.log(data);
        $.ajax({
            type: "post",
            url: "newp",
            // async: true, //默认缺省为true表示异步
            data: data,
            // dataType: "json",
            success: function (val) {
                console.log(val);
                document.write(val);
            }

        })
    }
</script>

</body>
</html>
后台:
model:
package com.springboot.crud_springboot.model;

/**
 * @Author:wangchi
 * @Date: 2021/6/18  15:02
 */
public class Person {
    private int id;
    private String name;
    private String mobile;

    public Person(String name, String mobile) {
        this.name = name;
        this.mobile = mobile;
    }

    public int getId() {
        return id;
    }

    public void setId(int id) {
        this.id = id;
    }

    public String getName() {
        return name;
    }

    public void setName(String name) {
        this.name = name;
    }

    public String getMobile() {
        return mobile;
    }

    public void setMobile(String mobile) {
        this.mobile = mobile;
    }


}
dao:
PersonDao:
/*
    增加
    {p} 要新增的Person实例
     */
    void newp(Person p);
PersonMapper.xml
<?xml version="1.0" encoding="UTF-8" ?>
<!DOCTYPE mapper PUBLIC "-//mybatis.org//DTD Mapper 3.0//EN"
        "http://mybatis.org/dtd/mybatis-3-mapper.dtd" >

<mapper namespace="com.springboot.crud_springboot.dao.PersonDao">
    <!--    新增-->
    <insert id="newp">
        insert into person(name,mobile) values(#{name},#{mobile})
    </insert>

</mapper>
service层:略(基本无具体业务)
controller:
//新增
    @RequestMapping(value = "/newp", method = RequestMethod.POST)
    public String newp(Person person) {
        personService.newp(new Person(person.getName(), person.getMobile()));
        System.out.println("新增成功");
        return "redirect:/getAll";
    }
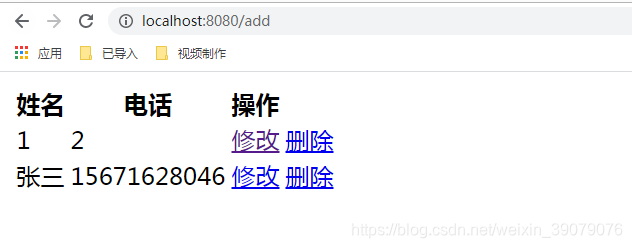
2、查询
dao:
xml
<!--    查询所有-->
    <select id="getAll" resultType="com.springboot.crud_springboot.model.Person">
    select *from person
    </select>
controller层:
//查询所有
    @RequestMapping(value = "/getAll")
    public String getAll(Model model) {
        List<Person> personList = personService.getAll();
        System.out.println("===查询成功");
        model.addAttribute("personList", personList);
        model.addAttribute("code","0");
        return "index";
    }
页面index.html:
<!DOCTYPE html>
<html lang="en">
<!-- 使用thymeleaf需引入 -->
<html xmlns:th="http://www.thymeleaf.org">
<head>
    <meta charset="UTF-8">
    <title>Title</title>
</head>
<body>
<div>
    <table>
        <tr>
            <th>姓名</th>
            <th>电话</th>
            <th>操作</th>
        </tr>
        <!-- 通过th命令使用一些操作 -->
        <!-- 通过${} 使用变量 -->
        <tr th:each="item:${personList}">
            <td th:text="${item.name}"></td>
            <td th:text="${item.mobile}"></td>
            <td><a th:href="@{'updatePerson?uid='+${item.id}}">修改</a></td>
            <td><a th:href="@{'deletePerson?did='+${item.id}}">删除</a></td>
        </tr>
    </table>
</div>
</body>
</html>
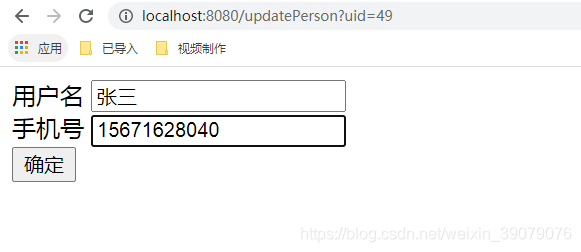
3、修改
dao:
xml
<!--    修改第一步,对当前选中的单条记录进行查询-->
    <select id="getPersonByID" resultType="com.springboot.crud_springboot.model.Person">
        select *from person where id=#{id}
    </select>
controller:
//修改第一步,对当前选中的单条记录进行查询
    @RequestMapping(value = "/updatePerson")
    public String getPersonByID(int uid,Model model) {
        Person person=personService.getPersonByID(uid);
        model.addAttribute("person",person);
        return "update2";
    }
页面update2.html:
<!DOCTYPE html>
<html lang="en">
<!-- 使用thymeleaf需引入 -->
<html xmlns:th="http://www.thymeleaf.org">
<head>
    <meta charset="UTF-8">
    <title>Title</title>
</head>
<body>
<form id="addForm" action="update1" method="post">
<!--    隐藏域传值-->
    <div>
        <input type="hidden" id="id" name="id" th:value="${person.id}">
    </div>
    <div>
        <label>用户名</label>
        <input type="text" id="name" name="name" th:value="${person.name}">
    </div>
    <div>
        <label>手机号</label>
        <input type="text" th:value="${person.mobile}" id="mobile" name="mobile">
    </div>
    <div>
        <button type="submit">确定</button>
    </div>
</form>


</body>
</html>
controller层:
//修改第二步:真做修改
    @RequestMapping(value = "/update1",method = RequestMethod.POST)
    public String update(Person person){
        personService.update(person);
        System.out.println("成功修改");
        return "redirect:/getAll";
    }
4、删除
controller层:
//删除
    @RequestMapping("/deletePerson")
    public String delete(int did){
        personService.delete(did);
        return "redirect:/getAll";
    }
最后附上完整项目截图!!!


 5490
5490

 被折叠的 条评论
为什么被折叠?
被折叠的 条评论
为什么被折叠?
 到【灌水乐园】发言


