


 本文介绍了如何在VSCode中设置ESP32 CAM项目,通过下载esp32组件,修改CMakeLists.txt文件,将源码更改为C++,配置工程并编译下载。完成这些步骤后,连接ESP32-Camera的WiFi,在浏览器输入192.168.4.1,点击'start stream'按钮即可查看摄像头视频。
1、书接上回,建立工程后,开始搭建摄像头例程
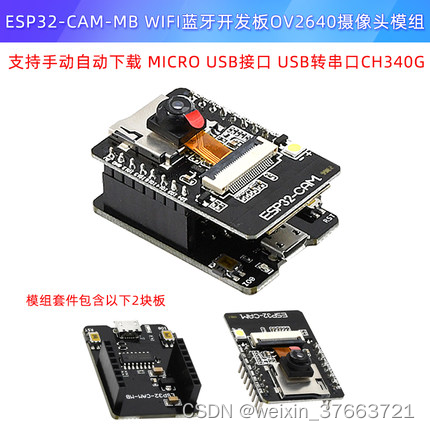
使用这个板子测试,官方的板子。BOARD_ESP32CAM_AITHINKER
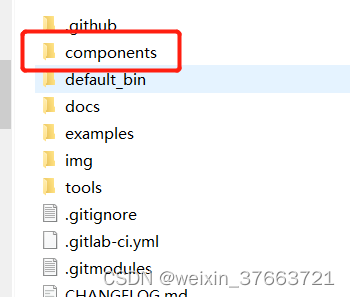
1、下载esp32组件:
csdn链接:https://download.youkuaiyun.com/download/weixin_37663721/85981142
github:https://github.com/espressif/esp-who
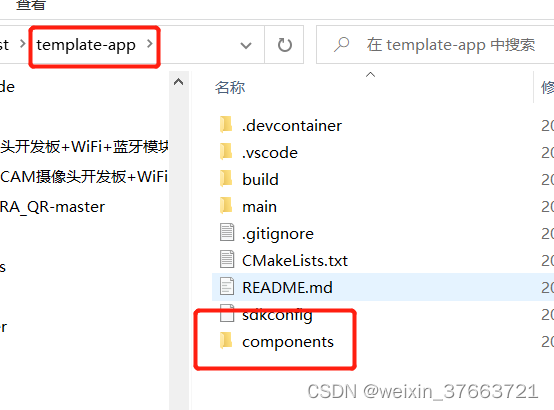
2、把下面的文件拷贝到新建的工程里面,template-app是新建的工程
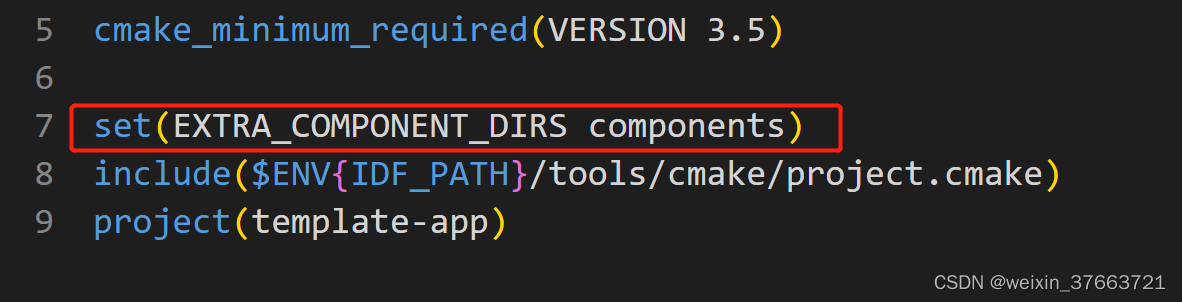
3、更改template-app/CMakeLists.txt,添加如下内容
set(EXTRA_COMPONENT_DIRS components)
4、重命名template-app/main/main.c为main.cpp

5、更改template-app/main/CMakeLists.txt,把main.c更改为main.cpp

6、复制以下代码到template-app/main/main.cpp
#include <esp_log.h>
#include <esp_system.h>
#include <nvs_flash.h>
#include <sys/param.h>
#include <string.h>

#include "app_wifi.h"
#include "app_httpd.hpp"
#include "app_mdns.h"

#include "freertos/FreeRTOS.h"
#include "freertos/task.h"
#include "freertos/queue.h"
#include "freertos/semphr.h"

// support IDF 5.x
#ifndef portTICK_RATE_MS
#define portTICK_RATE_MS portTICK_PERIOD_MS
#endif

#include "esp_camera.h"

#define BOARD_ESP32CAM_AITHINKER 1

// WROVER-KIT PIN Map
#ifdef BOARD_WROVER_KIT

#define CAM_PIN_PWDN -1  //power down is not used
#define CAM_PIN_RESET -1 //software reset will be performed
#define CAM_PIN_XCLK 21
#define CAM_PIN_SIOD 26
#define CAM_PIN_SIOC 27

#define CAM_PIN_D7 35
#define CAM_PIN_D6 34
#define CAM_PIN_D5 39
#define CAM_PIN_D4 36
#define CAM_PIN_D3 19
#define CAM_PIN_D2 18
#define CAM_PIN_D1 5
#define CAM_PIN_D0 4
#define CAM_PIN_VSYNC 25
#define CAM_PIN_HREF 23
#define CAM_PIN_PCLK 22

#endif

// ESP32Cam (AiThinker) PIN Map
#ifdef BOARD_ESP32CAM_AITHINKER

#define CAM_PIN_PWDN 32
#define CAM_PIN_RESET -1 //software reset will be performed
#define CAM_PIN_XCLK 0
#define CAM_PIN_SIOD 26
#define CAM_PIN_SIOC 27

#define CAM_PIN_D7 35
#define CAM_PIN_D6 34
#define CAM_PIN_D5 39
#define CAM_PIN_D4 36
#define CAM_PIN_D3 21
#define CAM_PIN_D2 19
#define CAM_PIN_D1 18
#define CAM_PIN_D0 5
#define CAM_PIN_VSYNC 25
#define CAM_PIN_HREF 23
#define CAM_PIN_PCLK 22

#endif

static const char *TAG = "example:take_picture";

static camera_config_t camera_config = {
    .pin_pwdn = CAM_PIN_PWDN,
    .pin_reset = CAM_PIN_RESET,
    .pin_xclk = CAM_PIN_XCLK,
    .pin_sscb_sda = CAM_PIN_SIOD,
    .pin_sscb_scl = CAM_PIN_SIOC,

    .pin_d7 = CAM_PIN_D7,
    .pin_d6 = CAM_PIN_D6,
    .pin_d5 = CAM_PIN_D5,
    .pin_d4 = CAM_PIN_D4,
    .pin_d3 = CAM_PIN_D3,
    .pin_d2 = CAM_PIN_D2,
    .pin_d1 = CAM_PIN_D1,
    .pin_d0 = CAM_PIN_D0,
    .pin_vsync = CAM_PIN_VSYNC,
    .pin_href = CAM_PIN_HREF,
    .pin_pclk = CAM_PIN_PCLK,

    //XCLK 20MHz or 10MHz for OV2640 double FPS (Experimental)
    .xclk_freq_hz = 20000000,
    .ledc_timer = LEDC_TIMER_0,
    .ledc_channel = LEDC_CHANNEL_0,

    .pixel_format = PIXFORMAT_RGB565, //YUV422,GRAYSCALE,RGB565,JPEG
    .frame_size = FRAMESIZE_QVGA,    //QQVGA-UXGA Do not use sizes above QVGA when not JPEG

    .jpeg_quality = 12, //0-63 lower number means higher quality
    .fb_count = 1,       //if more than one, i2s runs in continuous mode. Use only with JPEG
    .grab_mode = CAMERA_GRAB_WHEN_EMPTY,
};

static esp_err_t init_camera()
{
    //initialize the camera
    esp_err_t err = esp_camera_init(&camera_config);
    if (err != ESP_OK)
    {
        ESP_LOGE(TAG, "Camera Init Failed");
        return err;
    }

    return ESP_OK;
}

static QueueHandle_t xQueueAIFrame = NULL;

extern "C" void app_main()
{
    camera_fb_t *frame = NULL;

    if(ESP_OK != init_camera()) {
        return;
    }
    app_wifi_main();
    app_mdns_main();
    xQueueAIFrame = xQueueCreate(2, sizeof(camera_fb_t *));
    register_httpd(xQueueAIFrame, NULL, true);

     while (true)
    {
        frame = esp_camera_fb_get();
        if (frame)
        {
            xQueueSend(xQueueAIFrame, &frame, portMAX_DELAY);
            ESP_LOGI(TAG, "Picture taken! Its size was: %zu bytes", frame->len);
        }

    }
}
7、使用esp-idf输入命令:idf.py menuconfig打开Psarm
idf.py menuconfig
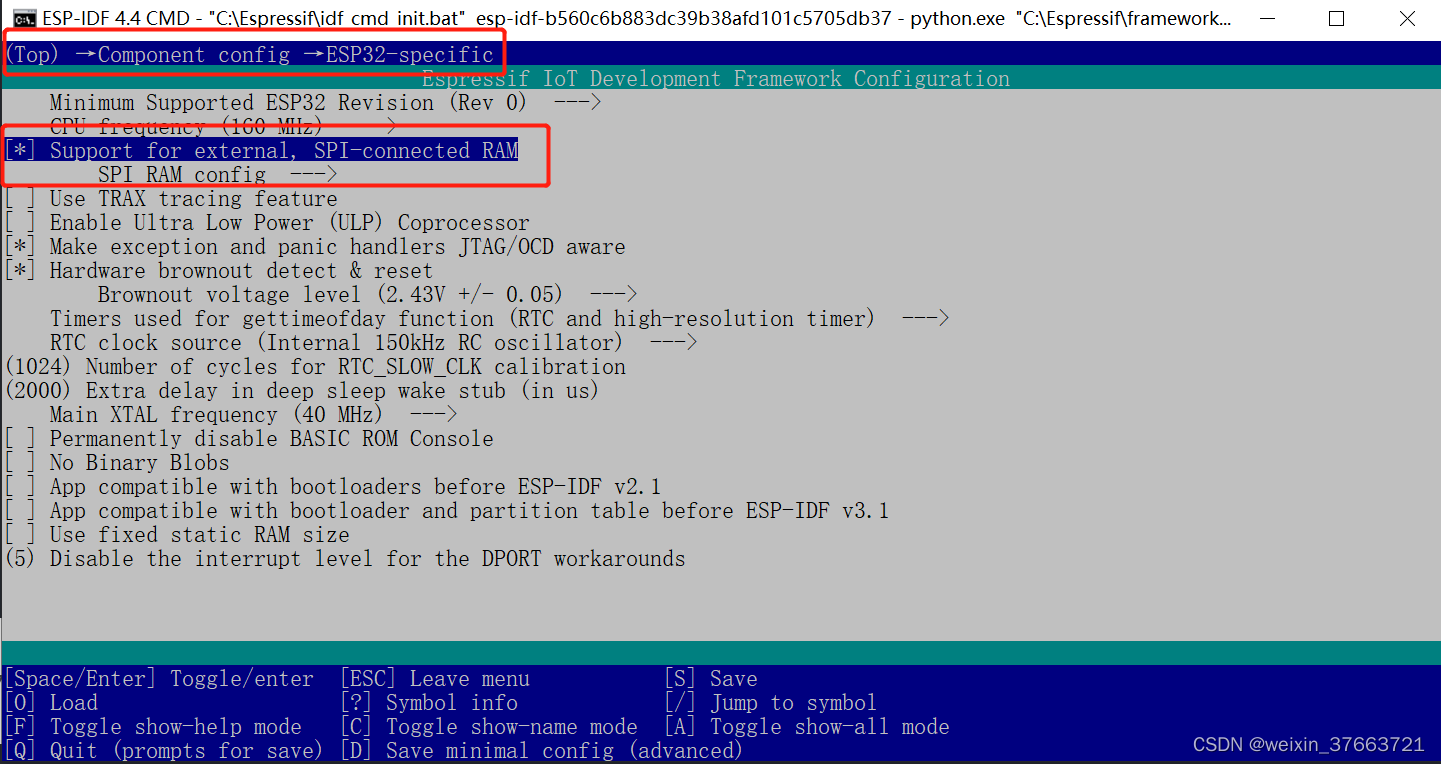
路径第一个红色框框,打开第二个红外框框选项,上下箭头移动,空格选择,q推出,y确认
8、编译、下载、和打开监视器(按照步骤操作应该不会出错)
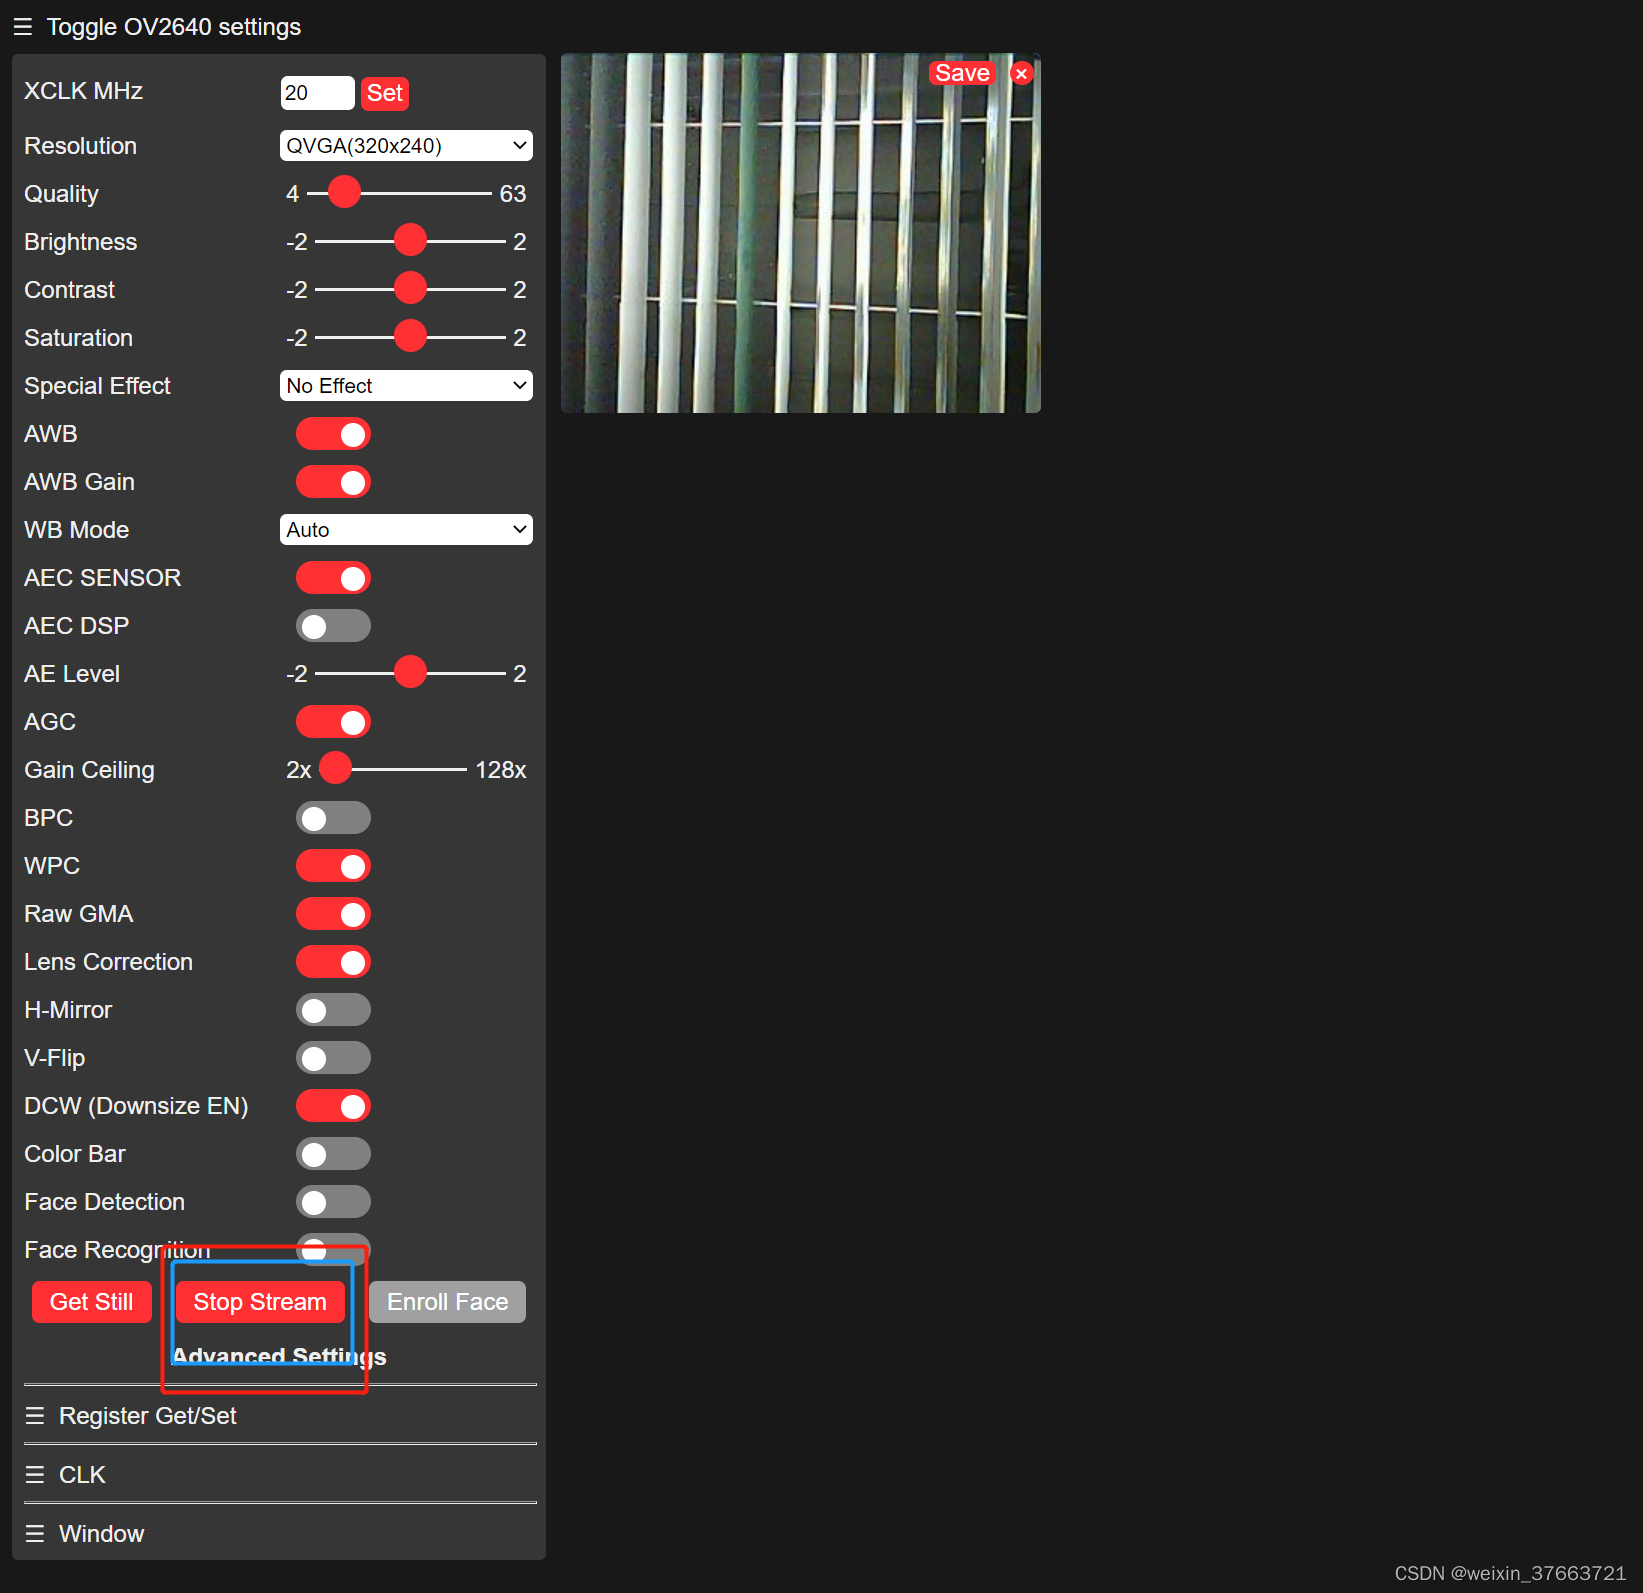
看到终端输出以下就成功了,连接ESP32-Camera的WiFi,浏览器中输入192.168.4.1,即可看到以下图像,看到视频需要点击我框选的按钮 start stream(在底部)。


 4094
4094

 被折叠的 条评论
为什么被折叠?
被折叠的 条评论
为什么被折叠?
 到【灌水乐园】发言


