


Ewebeditor使用说明:
一、部署方式:
1 把eWebEditor文件夹整体拷贝到项目路径中也就是说放到webroot下面
2 Style.xml和Button.xml配置文件放到项目的WEB-INF下
3 dom4j.jar、jspsmartupload.jar、jaxen-beta.jar 三个jar包放到项目的WEB-INF/lib 下面 或者导入这些包
4 net.jar 放到WEB-INF/lib下 或者 将net里面的源代码放到 src下面
5 定义一个隐藏文本输入域content
6 调用文本编辑器指向调用路径 id=content 表示编辑器里面开始显示的内容是从隐藏文本输入域content中得到的。
src="/admin/webeditor/eWebEditor.jsp?id=content&style=standard"
frameborder="0" scrolling="no" width="550" height="350">
7 将编辑器的内容赋值给隐藏文本输入域content
function subchk()
{
document.form1.content.value= window.content_html.getHTML();
}
8 提交表单时触发这个函数
日历编辑
1 引入三个js文件
calendar.js
date.js
pickDate.js
2 在调用控件里面加上 焦点时间onFocus="setday(this)"
实例代码:
String path = request.getContextPath();
String basePath = request.getScheme()+"://"+request.getServerName()+":"+request.getServerPort()+path+"/";
%>
My JSP 'index.jsp' starting pagesrc="admin/webeditor/eWebEditor.jsp?id=args&style=standard"
frameborder="0" scrolling="no" width="95%" height="250">
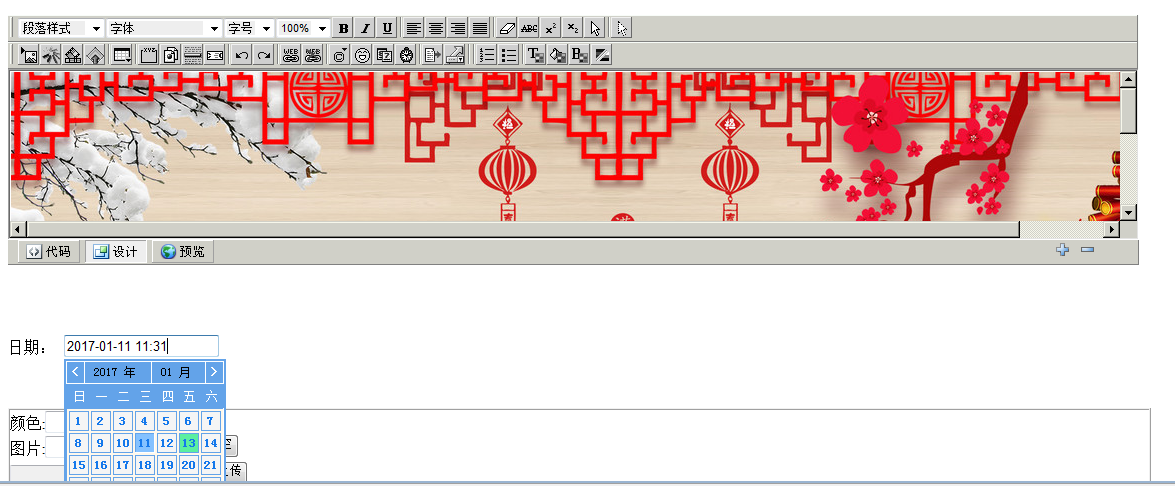
日期:
颜色: 图片: 图片(小): |
效果图


 被折叠的 条评论
为什么被折叠?
被折叠的 条评论
为什么被折叠?
 到【灌水乐园】发言


