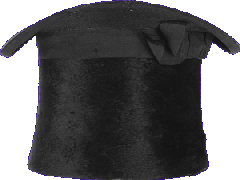
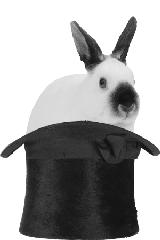
我们首先建立一个非常简单的应用程序,然后再添加一点 DOM 魔法
<html>
<head>
<title>Magic Hat</title>
<script language="javascript">
function showRabbit()
{
var hatImage=document.getElementById("topHat");
var newImage=document.createElement("img");
newImage.setAttribute("src","rabbit-hat.gif");
var imgParent=hatImage.parentNode;
imgParent.insertBefore(newImage,hatImage);
imgParent.removeChild(hatImage);
}
</script>
</head>
<body>
<h1 align="center">Welcome to the DOM Magic Shop!</h1>
<form name="magic-hat" >
<p align="center">
<img src="topHat.gif" id="topHat" />
<br /><br />
<input id="hocusPocus" type="button" value="Hocus Pocus!" onClick="showRabbit();" />
</p>
</form>
</body>
</html>
原始图片
替换图片:
更加简单的方法:
imgParent.insertBefore(newImage,hatImage);
imgParent.removeChild(hatImage);
改为:imgParent.replaceChild(newImage,hatImage); 即可
其实第二种方法还不算给力啦!还有一种更加给力方法:
var newImage=document.createElement("img");
newImage.setAttribute("src","rabbit-hat.gif");
var imgParent=hatImage.parentNode;
imgParent.insertBefore(newImage,hatImage);
imgParent.removeChild(hatImage);
改为:hatImage.setAttribute("src","rabbit-hat.gif");
解析:图片元素很大程度上是由其 src 属性控制的,改变src的地址即可,简单吧
然后把兔子收回去是一样的!好玩吧!


 本文介绍了如何在HTML页面中使用DOM操作实现图片元素的替换,包括原始图片的替换和图片收回到替换过程的简化方法。


 被折叠的 条评论
为什么被折叠?


