从源码安装的步骤
https://docs.ansible.com/ansible/latest/installation_guide/intro_installation.html
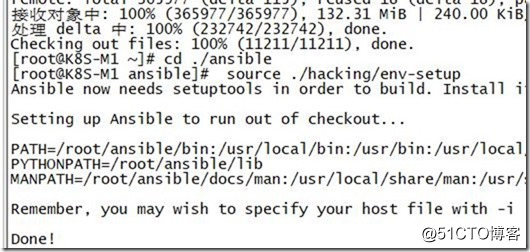
$ git clone git://github.com/ansible/ansible.git --recursive
$ cd ./ansible
source ./hacking/env-setup
yum install -y epel-release wget
yum install -y python-setuptools
sudo easy_install pip
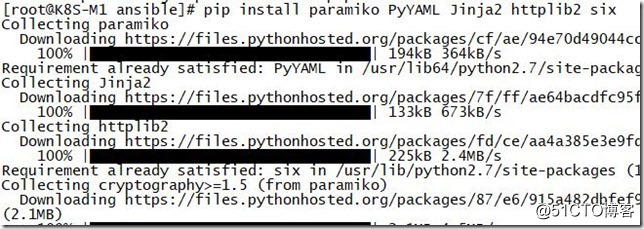
pip install paramiko PyYAML Jinja2 httplib2 six
验证下文件
git pull --rebase
git submodule update --init --recursive
从yum安装
yum install -y epel
yum install -y ansible
我是先看到二进制源码安装的,没想到yum这么粗暴,如果您跟着我的笔记做过源代码安装,那么恭喜你,你玩过2种安装方式鸟
host中添加本机,然后测试下
echo "127.0.0.1" > ~/ansible_hosts
export ANSIBLE_HOSTS=~/ansible_hosts
建立主机列表
cat << EOF > /etc/ansible/hosts
[k8s]
192.168.10.151
192.168.10.152
192.168.10.153
192.168.10.154
EOF
免密码登录
ssh-keygen
ssh-copy-id root@192.168.10.151
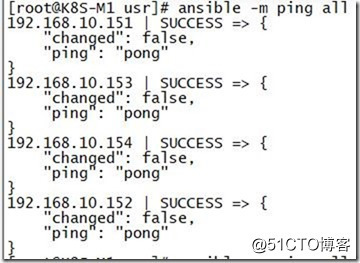
测试下主机连接
ansible -m ping all
ansible常用的13个模块
copy模块
file模块
cron模块
group模块
user模块
yum模块
service模块
script模块
ping模块
command模块
raw模块
get_url模块
synchronize模块
copy模块:
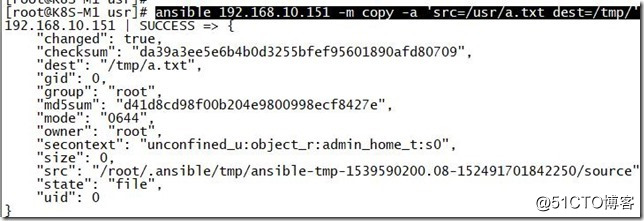
把主控端/root目录下的a.sh文件拷贝到到指定节点上
ansible 192.168.10.151 -m copy -a 'src=/usr/a.txt dest=/tmp/'
file模块
更改指定节点上/tmp/t.sh的权限为755,属主和属组为root
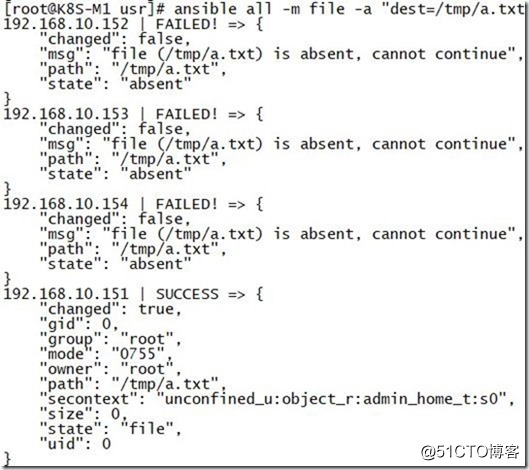
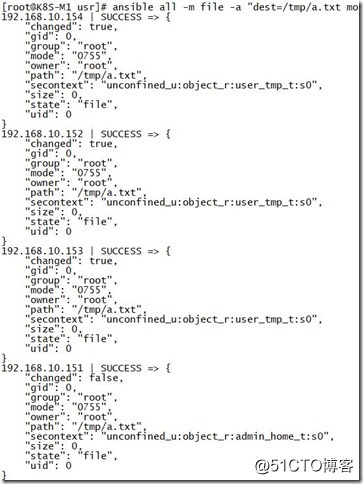
ansible all -m file -a "dest=/tmp/a.txt mode=755 owner=root group=root"
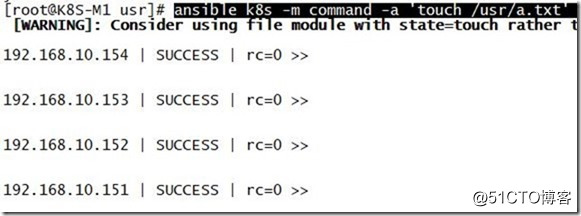
因为只有192.168.10.151有这个文件
ansible k8s -m command -a 'touch /usr/a.txt'
都改了权限了
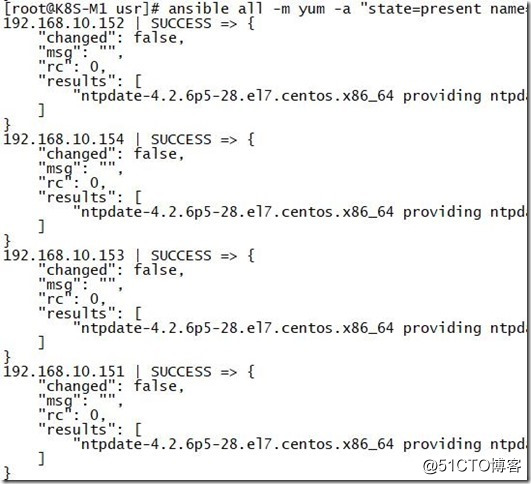
yum模块:
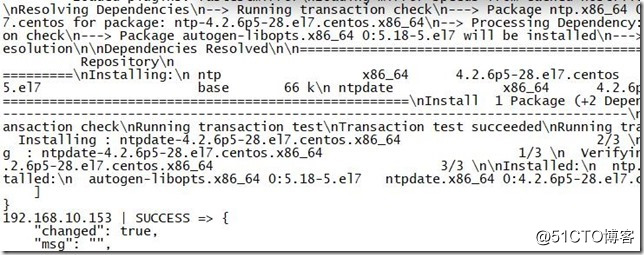
在指定节点上安装 ntp服务
ansible all -m yum -a "state=present name=ntp"
批量同步时间
ansible k8s -m command -a 'ntpdate 0.asia.pool.ntp.org'
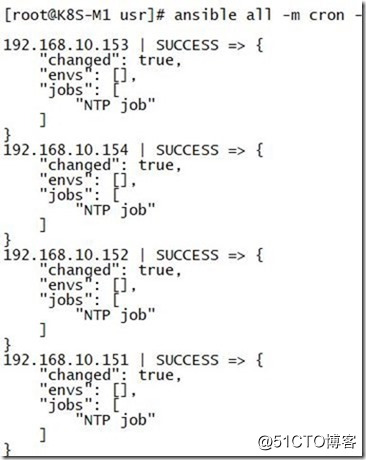
cron模块:
在指定节点上定义一个计划任务,每隔12小时到主控端更新一次时间
ansible all -m cron -a 'name="NTP job" minute=* hour=*/12 day=* month=* weekday=* job="/usr/sbin/ntpdate 133.243.238.243"'
4台主机都有了
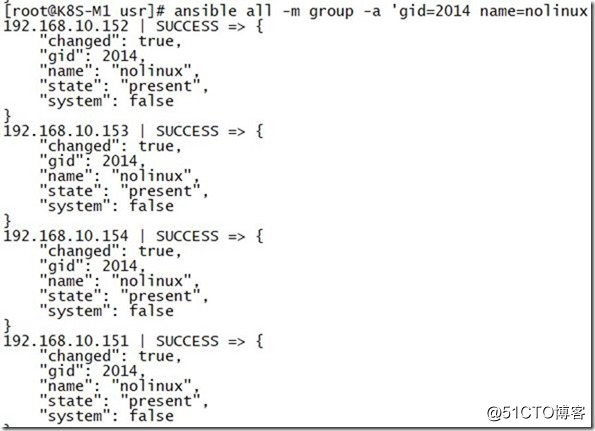
group模块:
在所有节点上创建一个组名为nolinux,gid为2014的组
ansible all -m group -a 'gid=2014 name=nolinux'
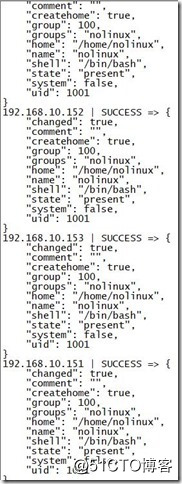
user模块:
在指定节点上创建一个用户名为nolinux,组为nolinux的用户
ansible all -m user -a 'name=nolinux groups=nolinux state=present'
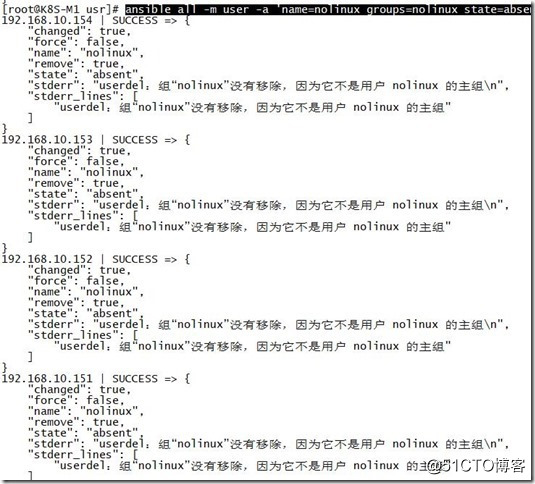
用户删除
ansible all -m user -a 'name=nolinux groups=nolinux state=absent remove=yes'
service模块:
启动指定节点上的 puppet 服务,并让其开机自启动
ansible all -m service -a 'name=ntpdate state=restarted enabled=yes'
script模块:
在指定节点上执行/root/a.sh脚本(该脚本是在ansible控制节点上的)
ansible all -m script -a '/root/a.sh'
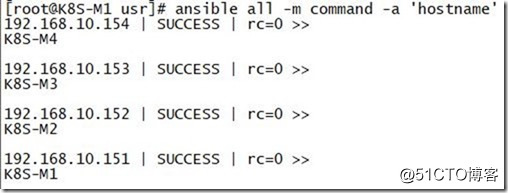
command模块:
在指定节点上运行hostname命令
ansible all -m command -a 'hostname'
get_url模块:
将http://1.1.1.1/favicon.ico文件下载到指定节点的/tmp目录下
ansible 1.1.1.1 -m get_url -a 'url=http://1.1.1.1/favicon.ico dest=/tmp'
sync模块
https://docs.ansible.com/ansible/latest/modules/synchronize_module.html
先确定有没有安装rsync
ansible all -m yum -a "state=present name=rsync"
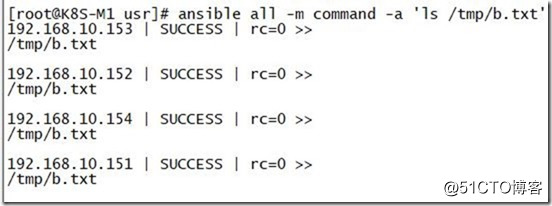
ansible all -m synchronize -a 'src=/usr/b.txt dest=/tmp/ compress=yes'
ansible all -m command -a 'ls /tmp/b.txt'
同步2个目录在多个主机中
touch /tmp/3.txt
ansible all -m synchronize -a 'src=/tmp/ dest=/tmp/ compress=yes'
可以看到其他主机中3.txt已经同步过去了
pip install --upgrade pyls https://pypi.python.org/simple
sudo easy_install pip
ansible all -m ping --ask-pass
设置dns
cat << EOF >> /etc/hosts
192.168.10.151 K8S-M1
192.168.10.152 K8S-M2
192.168.10.153 K8S-M3
192.168.10.154 K8S-M4
EOF


 本文详细介绍了使用Ansible进行自动化运维的全过程,包括从源码和YUM安装Ansible,配置主机列表,实现免密码登录,以及通过Ansible模块如copy、file、cron等进行远程文件操作、服务管理、计划任务设定等高级应用。








 3796
3796

 被折叠的 条评论
为什么被折叠?


