


 本文详细介绍了如何在Linux环境下配置两个基于同一IP地址的不同域名的虚拟主机。通过安装HTTPD服务、编辑配置文件、创建测试文件及重启服务等步骤,实现www1.example.com与www2.example.com两个网站在同一台服务器上的独立运行。
配置虚拟主机:
前提:需要DNS支持,配置DNS可参考chap4 ,
前提:需要DNS支持,配置DNS可参考chap4 ,
这里我的DNS已经配好了。用nslookup解析如下:
[root@stationx conf]# nslookup
> www1.example.com
Server: 192.168.16.129
Address: 192.168.16.129#53
Name: www1.example.com
Address: 192.168.16.129
> www2.example.com
Server: 192.168.16.129
Address: 192.168.16.129#53
Name: www2.example.com
Address: 192.168.16.129
[root@stationx conf]# nslookup
> www1.example.com
Server: 192.168.16.129
Address: 192.168.16.129#53
Name: www1.example.com
Address: 192.168.16.129
> www2.example.com
Server: 192.168.16.129
Address: 192.168.16.129#53
Name: www2.example.com
Address: 192.168.16.129
1、 安装httpd服务基础软件包:
[root@stationx ~]# yum -y install httpd
2、 编辑/etc/httpd/conf/httpd.conf
参考模板,在最后追加:
NameVirtualHost 192.168.16.129:80 #这里一定要填写本机IP地址
<VirtualHost 192.168.16.129:80>
DocumentRoot /var/www/vir1 #这个目录要手动建立,同时还要创建测试文件。
ServerName www1.example.com
</VirtualHost>
DocumentRoot /var/www/vir1 #这个目录要手动建立,同时还要创建测试文件。
ServerName www1.example.com
</VirtualHost>
<VirtualHost 192.168.16.129:80>
DocumentRoot /var/www/vir2 #这个目录要手动建立,同时还要创建测试文件。
ServerName www2.example.com
</VirtualHost>
DocumentRoot /var/www/vir2 #这个目录要手动建立,同时还要创建测试文件。
ServerName www2.example.com
</VirtualHost>
3、 创建站点的测试文件:
[root@stationx ~]# cd /var/www/
[root@stationx www]# mkdir vir1
[root@stationx www]# mkdir vir2
[root@stationx www]# cd vir1
[root@stationx vir1]# vim index.html
[root@stationx vir1]# cd ..
[root@stationx www]# cd vir2/
[root@stationx vir2]# vim index.html
4、 重启httpd服务并测试:
[root@stationx conf]# service httpd restart
[root@stationx conf]# chkconfig httpd on
5、进行测试(在本机或者在客户机上测试,最好在WINDOWS客户机上测试)
测试虚拟主机1

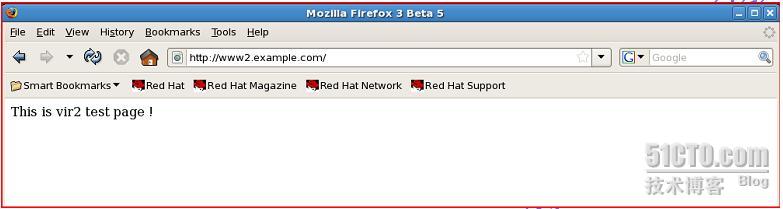
测试虚拟主机2
转载于:https://blog.51cto.com/love2099/187649


 5996
5996

 被折叠的 条评论
为什么被折叠?
被折叠的 条评论
为什么被折叠?
 到【灌水乐园】发言


