


 本文详细介绍虚拟机的配置与管理方法,包括虚拟机的创建、虚拟磁盘映射、虚拟网络编辑等内容,并分享了虚拟机快照及克隆等实用技巧。特别介绍了不同虚拟网络模式的特点与应用场景。
一、文件
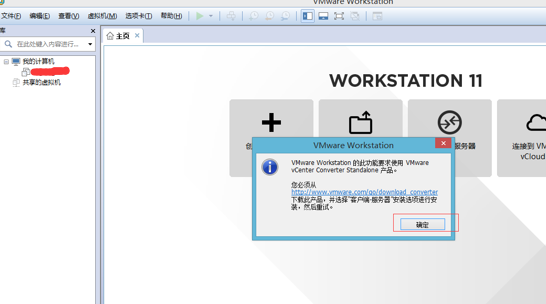
1、虚拟化物理机
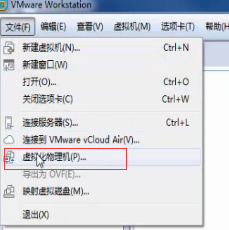
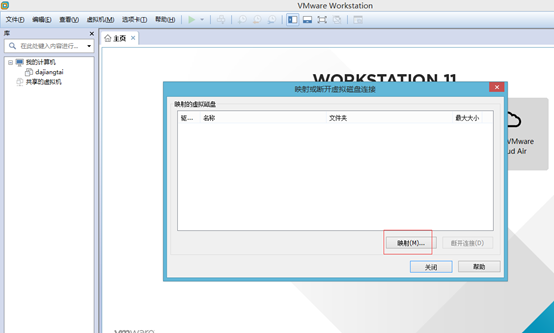
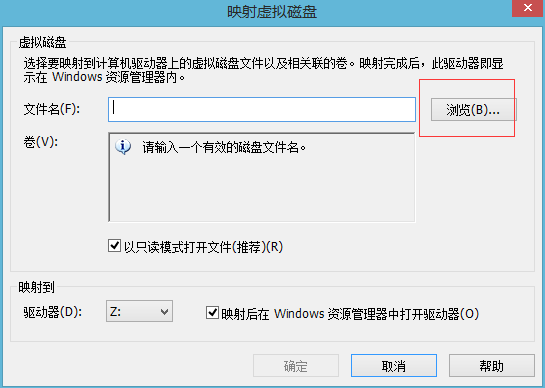
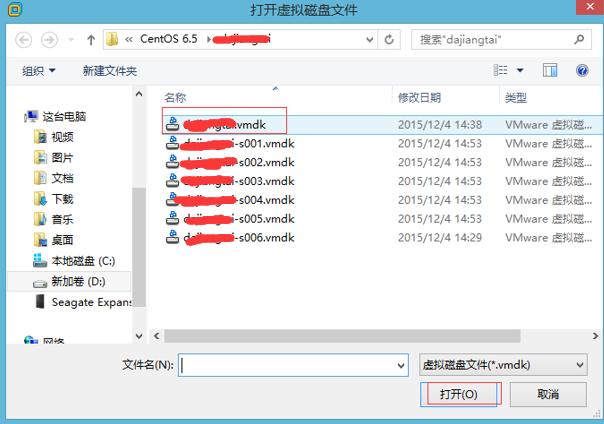
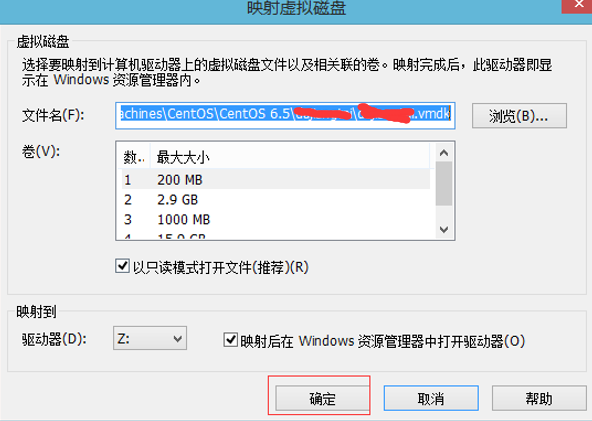
2、映射虚拟磁盘,把虚拟机上的磁盘映射到物理机上
(自己以后再尝试,现在要走一下这个流程)

3、虚拟网络编辑器
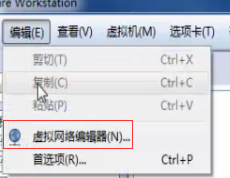
1虚拟网络编辑器
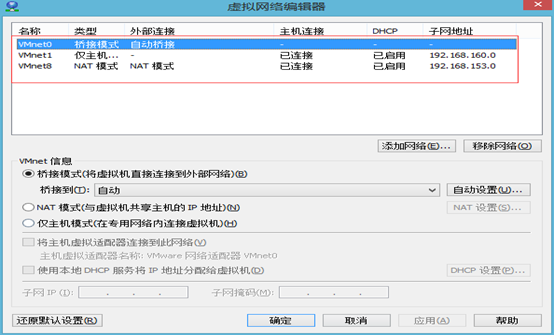
默认的是3个,但自己可以添加更多的,可以19个
VMnet0是桥接模式,VMnet1是仅主机模式,VMnet8是NAT模式。
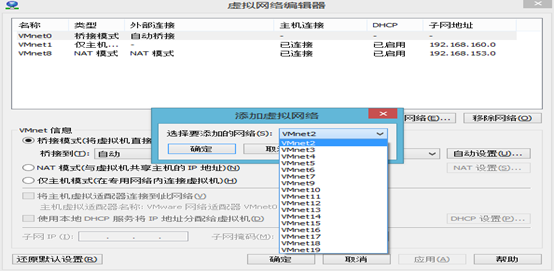
当然,也可以移除网络。
下面,这是经验!!!
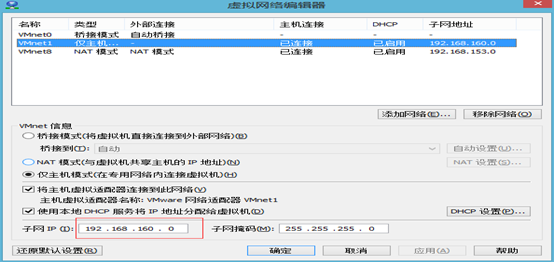
尽量将相应的子网IP进行相应的配置。
如
VMnet1的子网地址是 192.168.160.0 ,则 将相应的子网IP设置为 192.168.10.0

VMnet8的子网地址是 192.168.153.0 ,则 将相应的子网IP设置为 192.168.80.0

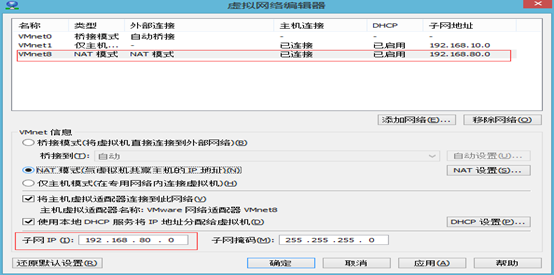
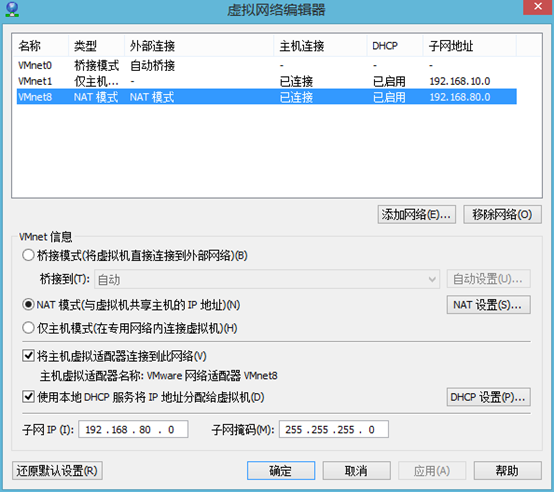
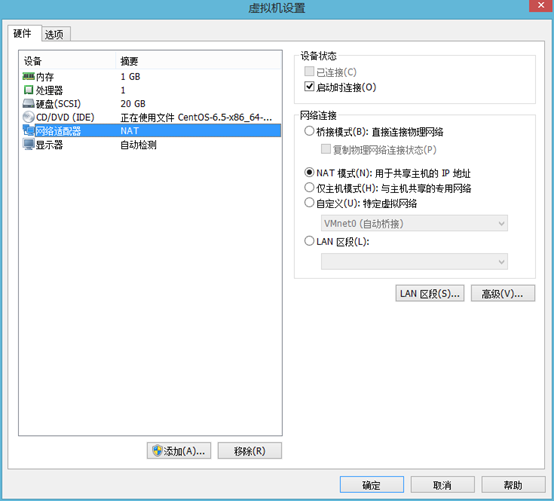
对后面的hadoop集群和spark集群搭建,尽量使用NAT模式。
桥接模式 > NAT模式 > 仅主机模式
NAT模式,类似于我们的路由器,具有端口的映射和转发功能。相当于在真实的物理机上,虚拟化出一款路由器,来管理我们的虚拟机,那么多个虚拟机,就可以通过虚拟的路由器进行相互通信。同样,可以和外部的集群相互通信。这就是NAT模式。
二、首选项
1、输入

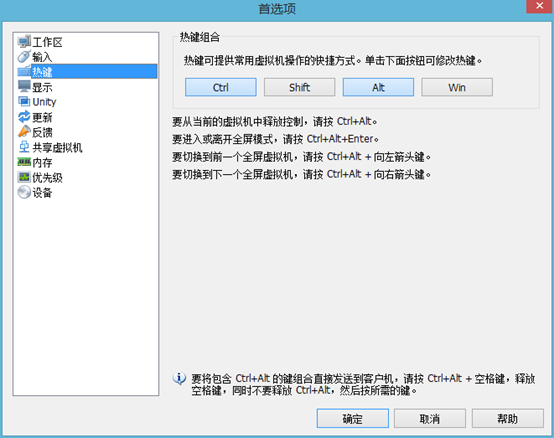
2、热键
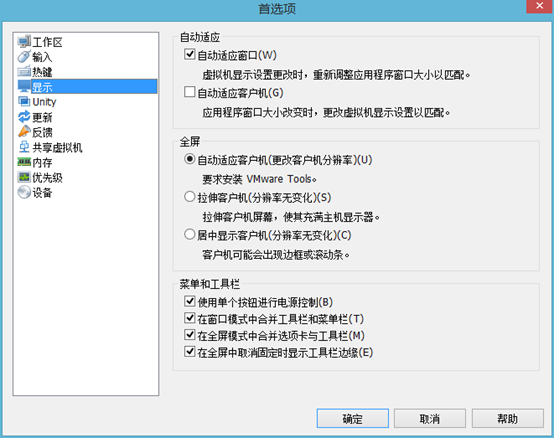
3、显示
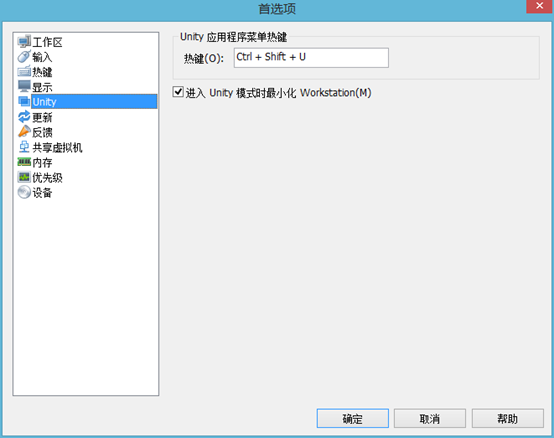
4、Unity
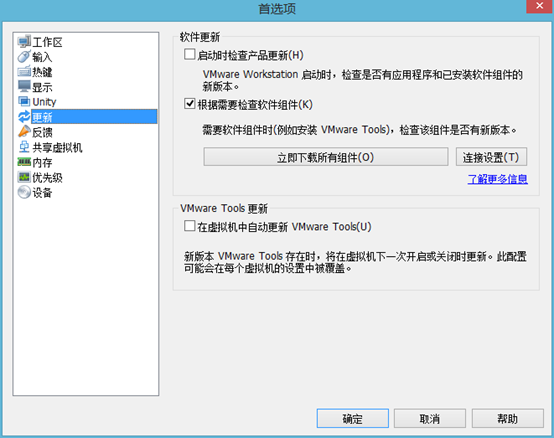
5、更新
6、反馈

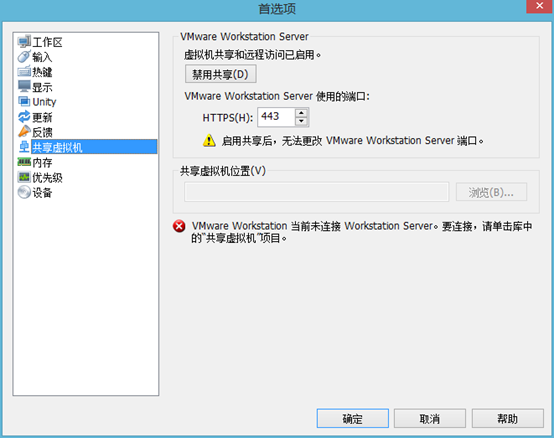
7、共享虚拟机
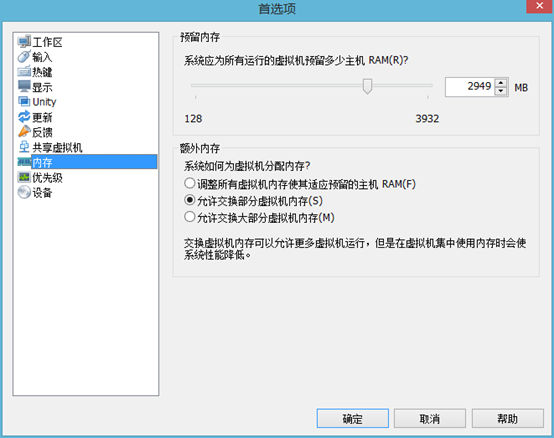
8、内存
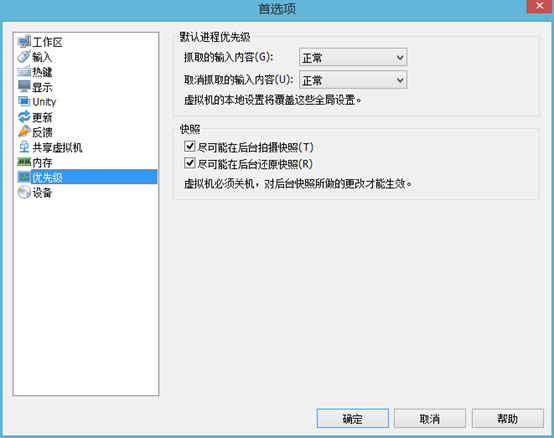
9、优先级
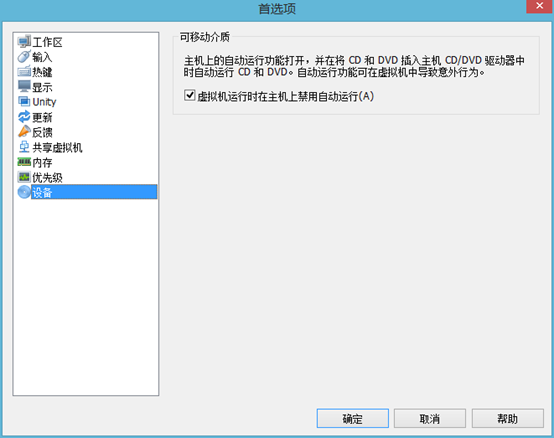
10、设备
三、查看

四、虚拟机
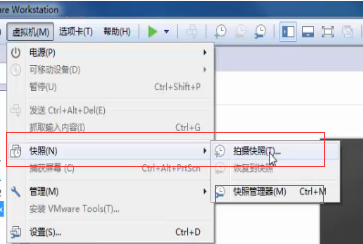
1、快照
何为快照?即为复原功能。
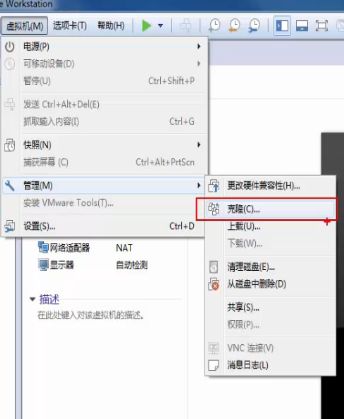
2、克隆
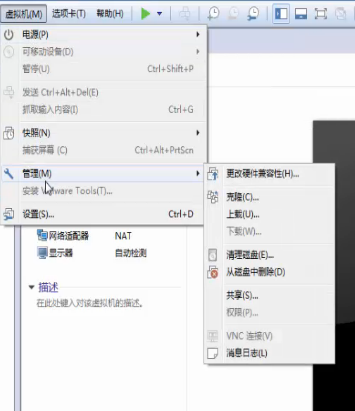
3、从磁盘中删除,这个很重要,自己不要手动删除,一定要在这,从磁盘中删除。

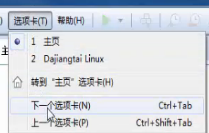
五、选项卡
六、帮助
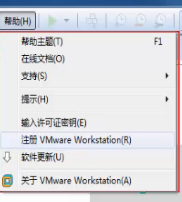
1 、输入许可证密钥
永久激活的密钥:1F04Z-6D111-7Z029-AV0Q4-3AEH8

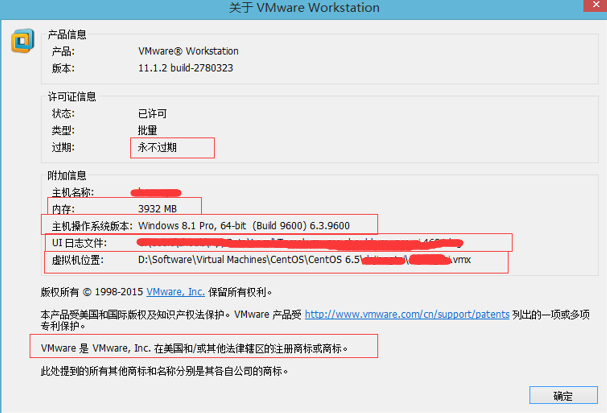
2、关于
七、虚拟机设置
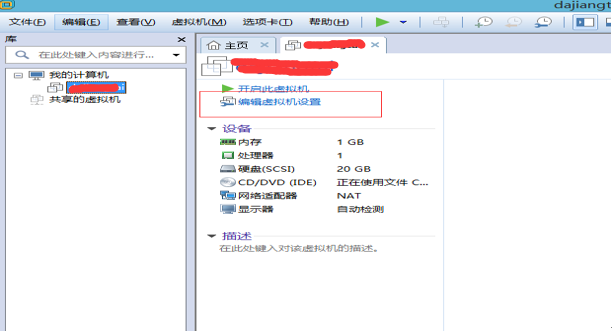
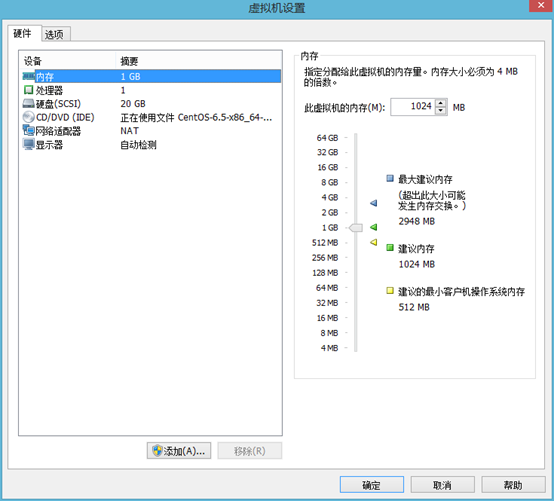
一、虚拟机设置的硬件
1、内存
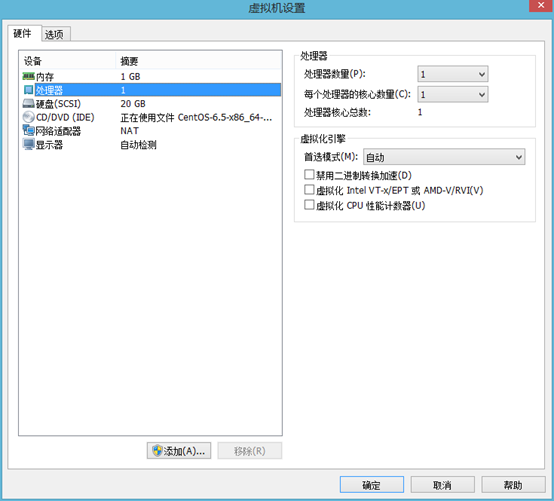
2、处理器
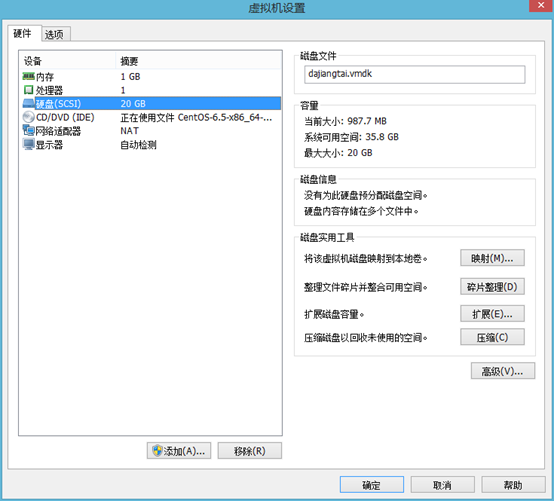
3、磁盘(SCSI)
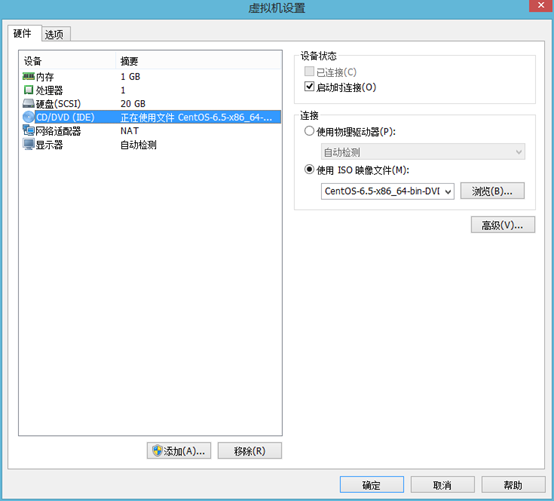
4、CD/DVD(IDE)
5、网络适配器
6、显示器
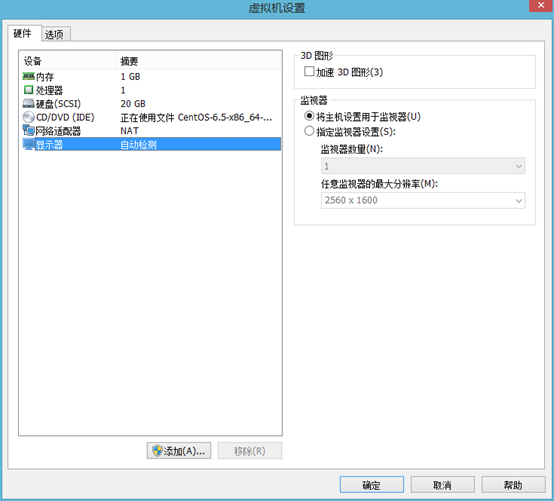
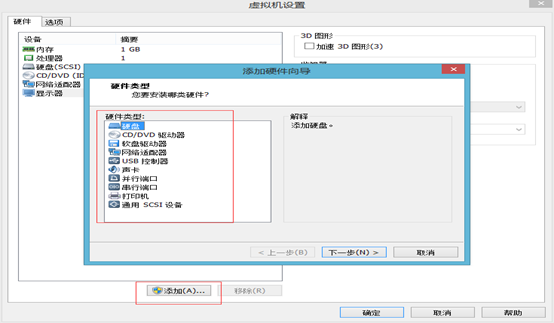
当然,自己也可以添加,也可以移出一些硬件。
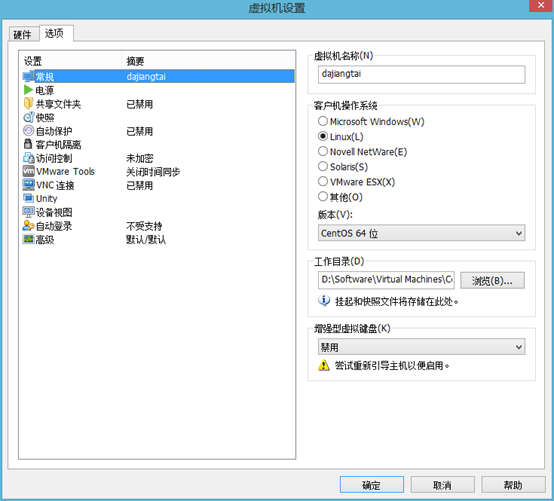
二、虚拟机设置的选项
1、常规
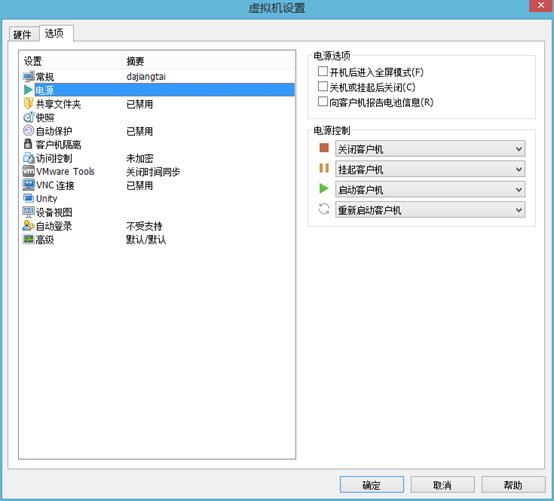
2、电源
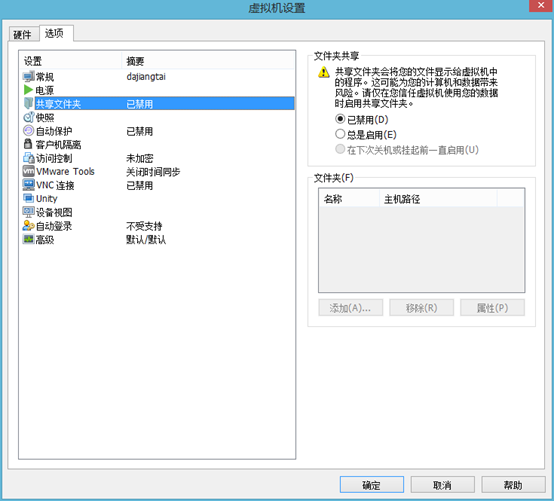
3、共享文件夹
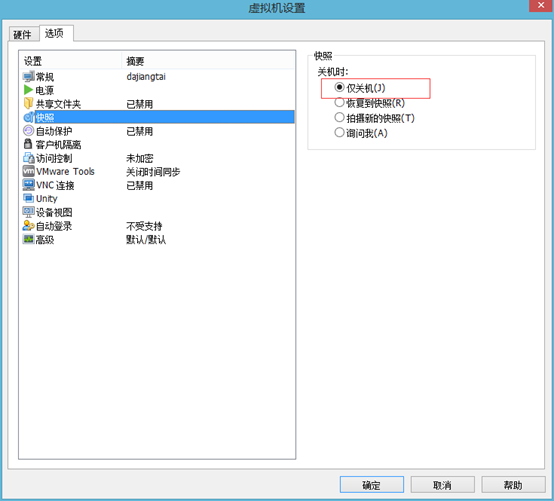
4、快照
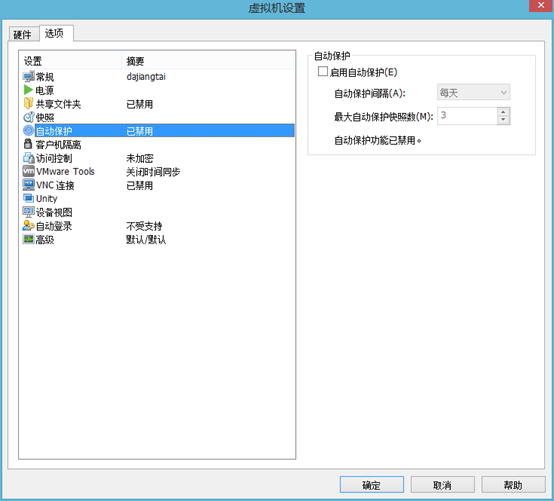
5、自动保护
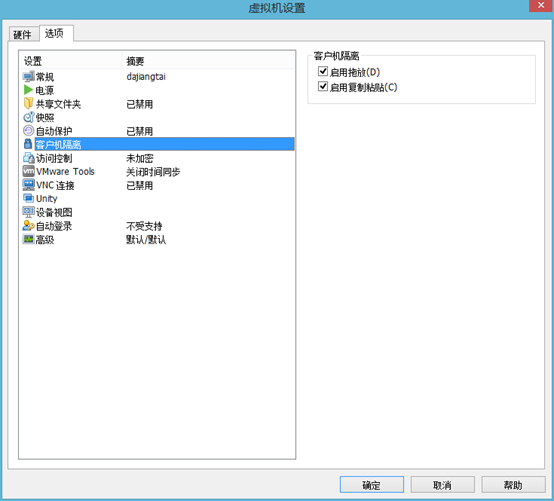
6、客户机隔离
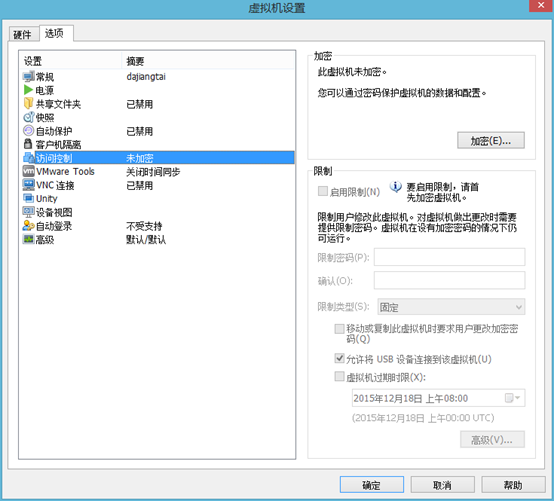
7、访问控制
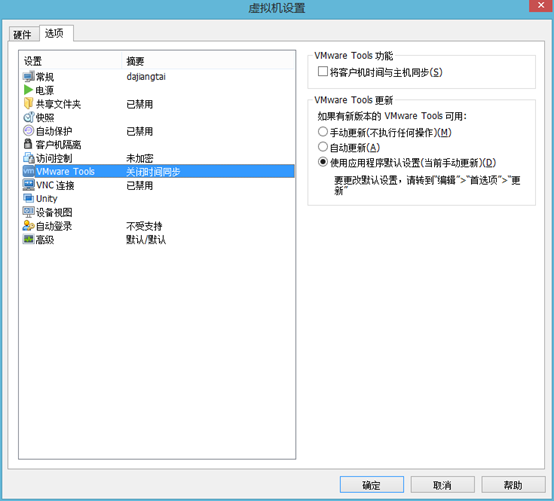
8、VMware Tools
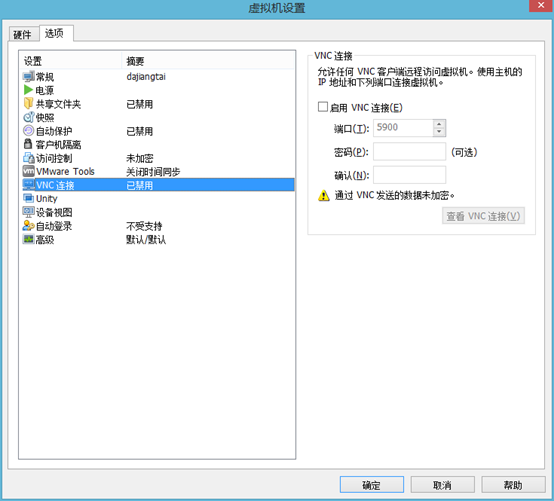
9、VNC连接
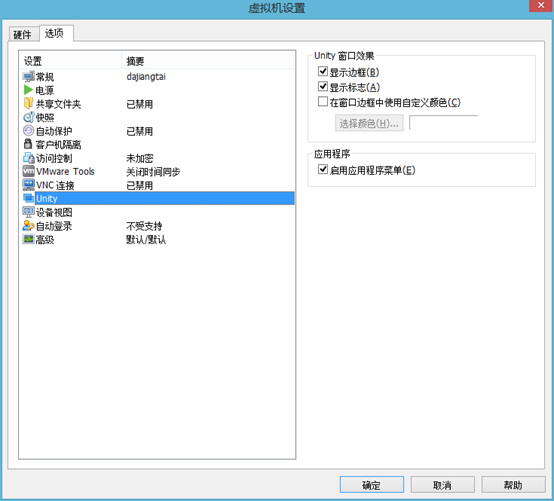
10、Unity
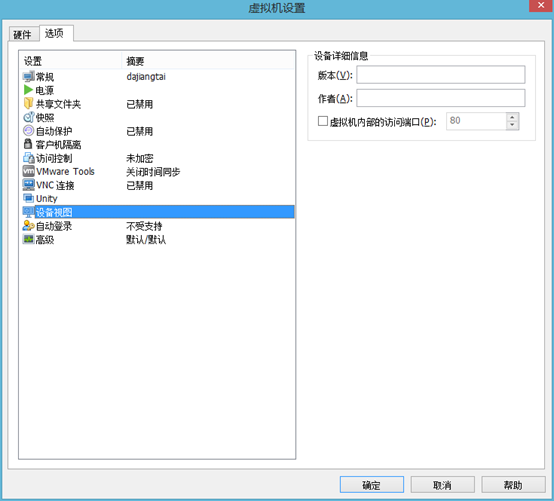
11、设备视图
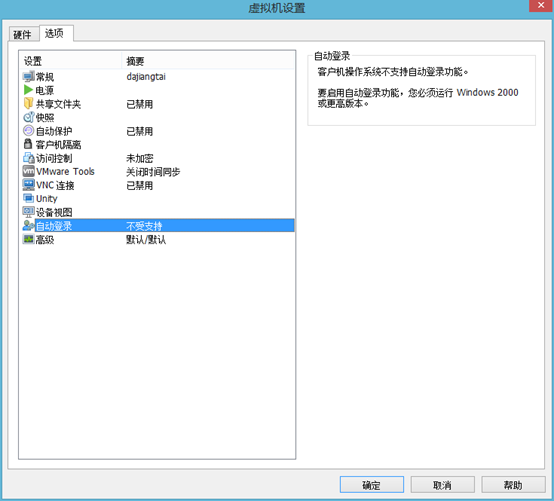
12、自动登录
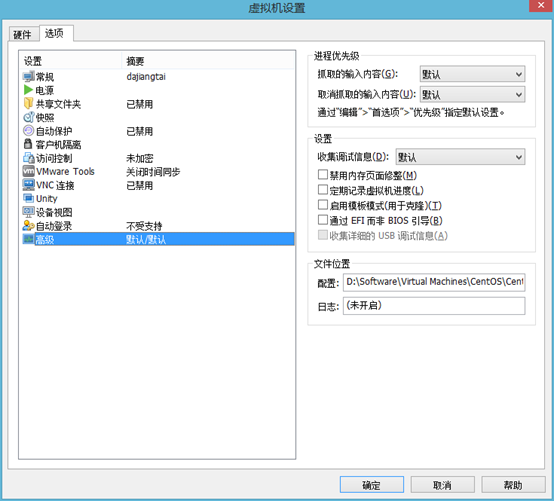
13、高级
over!
本文转自大数据躺过的坑博客园博客,原文链接:http://www.cnblogs.com/zlslch/p/5066375.html,如需转载请自行联系原作者


 1万+
1万+

 被折叠的 条评论
为什么被折叠?
被折叠的 条评论
为什么被折叠?
 到【灌水乐园】发言


