


一、CSS背景控制
可以控制元素的的背景,大概有以下属性
background-color
background-image
background-repeat
background-attachment
background-position
1.控制背景色
例如:
<html>
<head>
<style type="text/css">
body
{
background-color:#b0c4de;
}
</style>
</head>

<body>

<h1>My CSS web page!</h1>
<p>Hello world! This is a W3Schools.com example.</p>

</body>
</html>
效果:
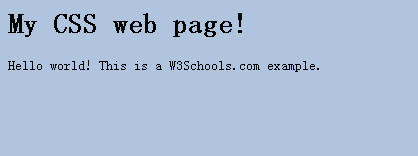
颜色还可以用其他方式表示,如:"red","rgb(255,0,0)","#ff0000"
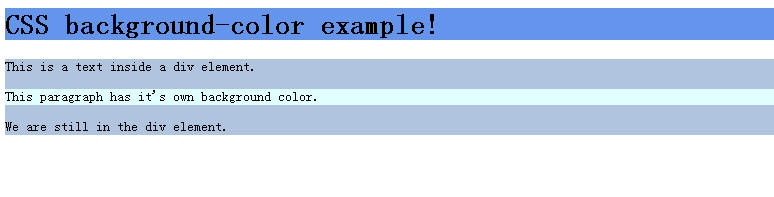
<html>
<head>
<style type="text/css">
h1
{
background-color:#6495ed;
}
p
{
background-color:#e0ffff;
}
div
{
background-color:#b0c4de;
}
</style>
</head>

<body>

<h1>CSS background-color example!</h1>
<div>
This is a text inside a div element.
<p>This paragraph has it's own background color.</p>
We are still in the div element.
</div>

</body>
</html>
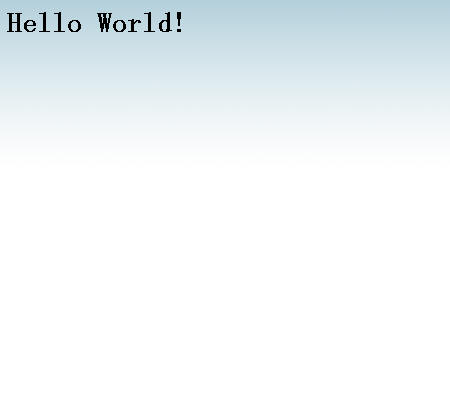
2.控制背景图
<html>
<head>
<style type="text/css">
body {background-image:url('paper.gif')}
</style>
</head>

<body>
<h1>Hello World!</h1>
</body>

</html>
3.背景重复(如何需要在页面上对背景图像进行平铺,可以使用background-repeat属性)
普通效果
<html>
<head>
<style type="text/css">
body
{
background-image:url('gradient2.png');
}
</style>
</head>

<body>
<h1>Hello World!</h1>
</body>

</html>
平铺效果
<html>
<head>
<style type="text/css">
body
{
background-image:url('gradient2.png');
background-repeat:repeat-x;
}
</style>
</head>

<body>
<h1>Hello World!</h1>
</body>

</html>
4.背景定位可以用back-ground-position属性改变图像在背景中的位置。<html>
<head>
<style type="text/css">
body
{
background-image:url('img_tree.png');
background-repeat:no-repeat;
}
</style>
</head>
<body>
<h1>Hello World!</h1>
<p>W3Schools background image example.</p>
<p>The background image is only showing once, but it is disturbing the reader!</p>
</body>
</html>
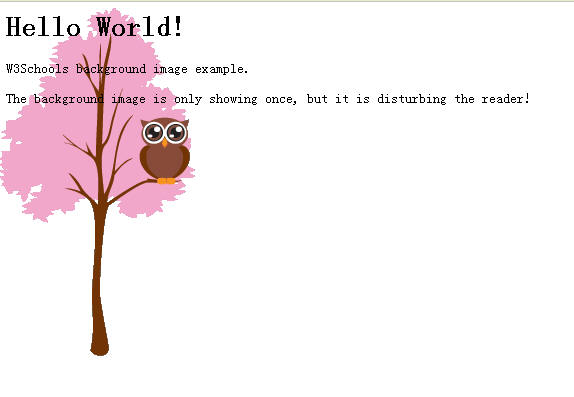
只显示一张图片,如果 去除 background-repeat:no-repeat;
就显示多张图片。图片置顶,靠右简写
<html>
<head>

<style type="text/css">
body
{
background:#ffffff url('img_tree.png') no-repeat top right;
margin-right:200px;
}
</style>

</head>

<body>
<h1>Hello World!</h1>
<p>Now the background image is only show once, and positioned away from the text.</p>
<p>In this example we have also added a margin on the right side, so the background image will never disturb the text.</p>
</body>

</html>


 2126
2126

 被折叠的 条评论
为什么被折叠?
被折叠的 条评论
为什么被折叠?
 到【灌水乐园】发言


