


 本文详细介绍了如何在SpringBoot项目中整合Thymeleaf模板引擎,包括添加依赖、配置属性、创建控制器和HTML页面的过程。通过具体示例,展示了如何在控制器中设置模型属性并在Thymeleaf模板中显示。
1、引入依赖
在maven项目的pom.xml中引入spingboot-boot-starter-thymeleaf依赖,同时为了解决Html严格校验报错的问题,增加nekohtml依赖
<!--thymeleaf模板引擎-->
        <dependency>
            <groupId>org.springframework.boot</groupId>
            <artifactId>spring-boot-starter-thymeleaf</artifactId>
        </dependency>

        <dependency>
            <groupId>net.sourceforge.nekohtml</groupId>
            <artifactId>nekohtml</artifactId>
            <version>1.9.15</version>
        </dependency>
2、配置application.properties
server.port=8080

##取出thymeleaf的html的严格校验
spring.thymeleaf.mode=LEGACYHTML5

##设定thymeleaf文件路径,默认为sc/main/resources/templates
spring.thymeleaf.prefix=classpath:/templates/

##设定静态文件路径,js、css等
spring.mvc.static-path-pattern=/static/**

##是否开启模板缓存,默认true
##建议在开发时关闭模板缓存,不然无法看到实时的页面
spring.thymeleaf.cache=false

##模板编码
spring.thymeleaf.encoding=UTF-8
3、编写demo
(1)Controller控制层
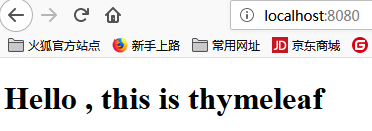
@Controller
public class TestController {

    @RequestMapping("/")
    public String testThymeleaf(ModelMap modelMap){
        modelMap.addAttribute("msg", "Hello , this is thymeleaf");
        return "thymeleaf";
    }
(2)Html页面
<!DOCTYPE html>
<!--解决th报错 -->
<html lang="en" xmlns:th="http://www.w3.org/1999/xhtml">
<head>
    <meta charset="UTF-8">
    <title>thymeleaf</title>
</head>
<body>
    <h1 th:text="${msg}"></h1>
</body>
</html>
访问:http://localhost:8080
 返回顶部
返回顶部


 2500
2500

 被折叠的 条评论
为什么被折叠?
被折叠的 条评论
为什么被折叠?
 到【灌水乐园】发言


