


 本文介绍如何使用 SpringBoot Admin 实现应用的集中管理和监控。包括管理端和服务端的部署步骤、配置文件详解及客户端配置示例。
spring boot admin管理端,
需要部署成独立的应用
pom中添加依赖
<dependency>
            <groupId>de.codecentric</groupId>
            <artifactId>spring-boot-admin-starter-server</artifactId>
        </dependency>
        <dependency>
            <groupId>de.codecentric</groupId>
            <artifactId>spring-boot-admin-server-ui</artifactId>
        </dependency>
appllication.properties:
server.port=8091
spring.boot.admin.url=http://localhost:${server.port}
spring.jackson.serialization.indent_output=true
endpoints.health.sensitive=false
管理端的端口设置为8091, 查看其他应用的状态也是从这个端口访问
应用代码修改:
入口加上 @EnableAdminServer
spring boot admin客户端
即普通的、需要被管理的web应用。
pom依赖
1 <dependency>
2             <groupId>de.codecentric</groupId>
3             <artifactId>spring-boot-admin-starter-client</artifactId>
4         </dependency>
5         <dependency>
6             <groupId>org.springframework.boot</groupId>
7             <artifactId>spring-boot-starter-security</artifactId>
8         </dependency>
application.properties配置:
spring.application.name=XXXX
spring.boot.admin.client.url=http://localhost:8091
##配置项不要加""
management.endpoints.web.exposure.include=*
management.endpoint.health.show-details=always
spring.boot.admin.client.url 指向的是spring-boot-admin-server的地址,示例中是8091
应用代码不需要修改
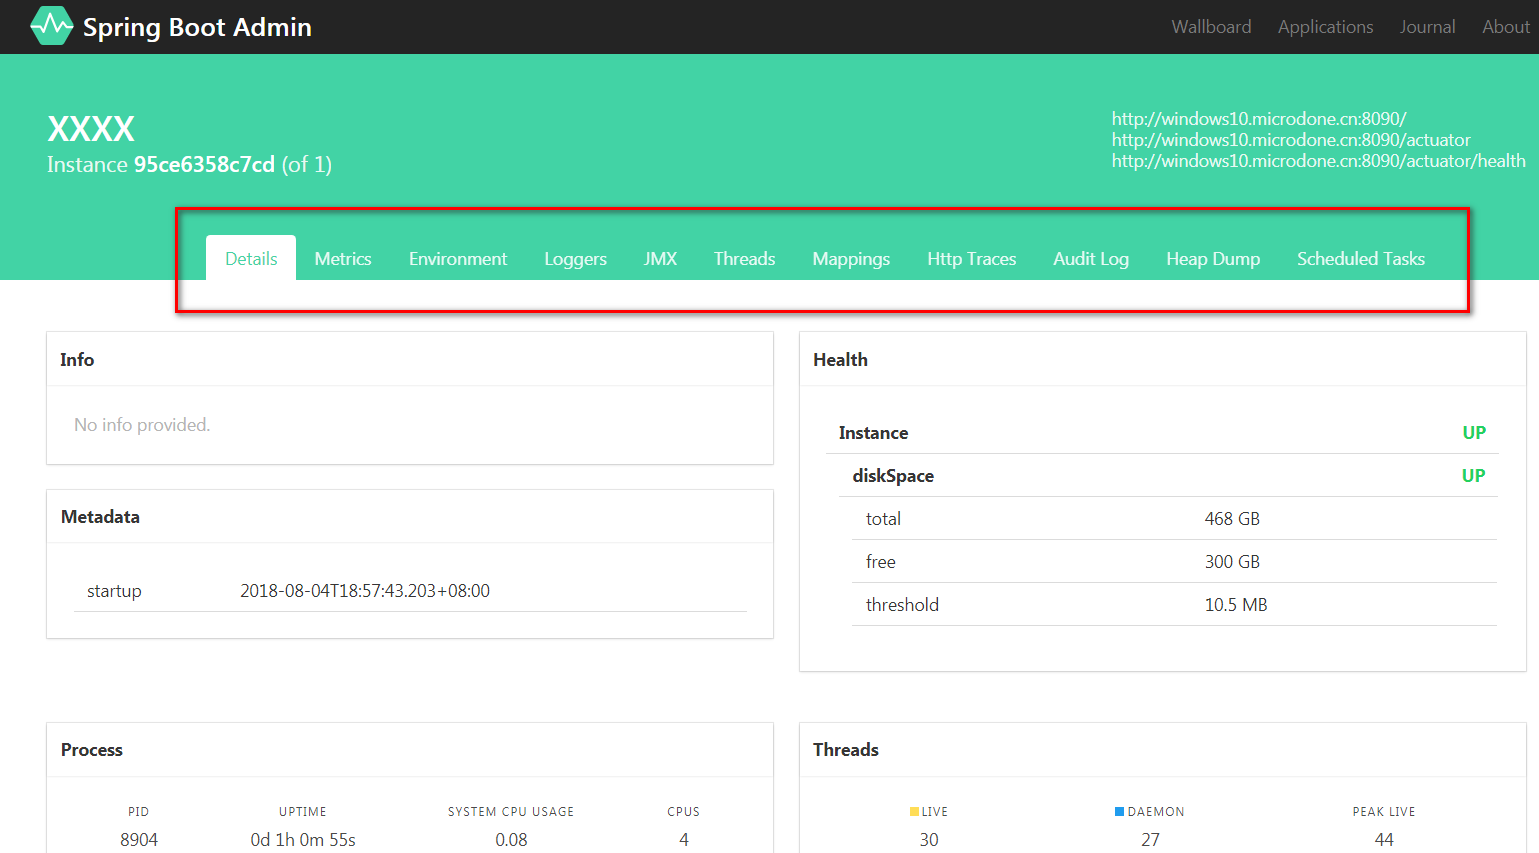
结果图:
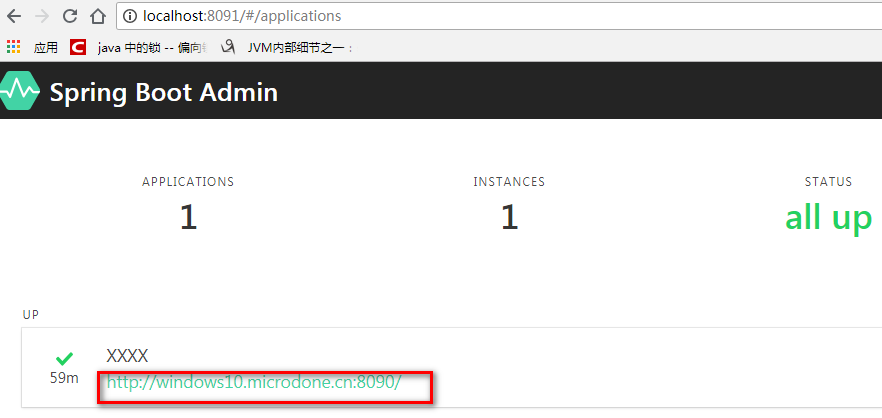
点击查看详情
视频教程-- 在google中搜索 spring boot admin site:youtube.com


 283
283

 被折叠的 条评论
为什么被折叠?
被折叠的 条评论
为什么被折叠?
 到【灌水乐园】发言


