


游民轮播图,如下图示,当红色进度条走满的时候更换图片,同时下方对应的缩略图也变化。点击缩略图也会更换图片的效果。
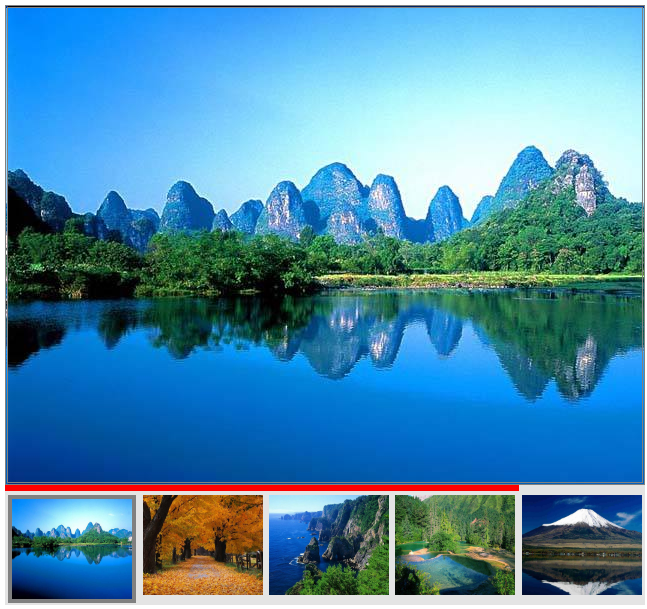
该轮播图为过渡变化,所以不用无缝连接,只需5张图片即可。
首先,大图区域给了div,并设置了背景图片,后期变化全是用背景图片的变换来实现。然后给了缩略图的5张小图。
html代码如下:
 <section class="container" id="container">
        <i id="leftPo"></i>
        <div class="imgs" id="imgs">
        </div>
        <div id="line">
        </div>
        <div class="thumbnail" id="thumbnail">
            <img src="../img/1.jpeg" alt="">
            <img src="../img/2.jpeg" alt="">
            <img src="../img/3.jpeg" alt="">
            <img src="../img/4.jpeg" alt="">
            <img src="../img/5.jpeg" alt="">
        </div>
        <i id="rightPo"></i>
    </section>
css代码如下:
   <style>
        * {
            padding: 0;
            margin: 0;
        }

        .container {
            width: 640px;
            height: 600px;
            margin: 20px auto;
            position: relative;
            overflow: hidden;
            background-color: rgb(228, 228, 228);
        }

        .imgs {
            width: 640px;
            height: 480px;
            border: 3px double gray;
            box-sizing: border-box;
            background-image: url('../img/1.jpeg');
            transition: all linear .5s;
        }

        #leftPo {
            display: inline-block;
            width: 30px;
            height: 30px;
            background-image: url('../img/left.png');
            position: absolute;
            top: 225px;
            left: 20px;
            z-index: 2;
            cursor: pointer;
            opacity: 0;
            transition: all linear .5s
        }

        #rightPo {
            display: inline-block;
            width: 30px;
            height: 30px;
            background-image: url('../img/right_03.png');
            position: absolute;
            top: 225px;
            right: 20px;
            z-index: 2;
            cursor: pointer;
            opacity: 0;
            transition: all linear .2s
        }

        #line {
            width: 640px;
            border-bottom: 6px solid red;
            position: absolute;
            left: -640px;
        }

        .thumbnail {
            width: 100%;
            display: flex;
            justify-content: space-around;
            margin-top: 10px;
        }

        .thumbnail>img {
            width: 120px;
            height: 100px;
            cursor: pointer;
        }
    </style>
然后,将所有图片都装进数组里存放起来,之后通过索引调用图片即可。
js代码如下:
        let line = document.getElementById('line');
            let imgArr = ['../img/1.jpeg', '../img/2.jpeg', '../img/3.jpeg', '../img/4.jpeg', '../img/5.jpeg'];
            let imgs = document.getElementById('imgs');
            let leftPo = document.getElementById('leftPo');
            let rightPo = document.getElementById('rightPo');
            let thumbnail = document.getElementById('thumbnail');
            let thumbnails = document.getElementsByTagName('IMG');
            // 第一张图片的缩略图初始化
            thumbnails[0].style.border = "4px solid gray";
            // stopTimerLine表示红线的定时器,stopTimerAll表示整体动画的定时器,index表示缩略图的索引。
            let stopTimerLine, stopTimerAll, index = 0;
            // 红线移动调用函数  同时在这个函数里要设置return lineMove,即返回本身函数,不然就只能执行一次
            let lineMove = function () {
                stopTimerLine = setInterval(function () {
                    if (line.offsetLeft < 0) {
                        line.style.left = line.offsetLeft + 2 + 'px';
                    } else {
                        clearInterval(stopTimerLine);
                    }
                }, 10);
                rightPo.onclick();
                return lineMove;
            }
            // 改变图片,改变缩略图样式,同时红线恢复初始位置
            let changeStyle = function (index) {
                imgs.style.backgroundImage = `url('../img/${index}.jpeg')`;
                for (let j = 0; j < thumbnails.length; j++) {
                    if (thumbnails[j].style.border != '') {
                        thumbnails[j].style.border = '';
                        break;
                    }
                }
                thumbnails[index - 1].style.border = "4px solid gray";
                line.style.left = -640 + 'px';
            }
            // 右箭头按钮点击更换图片
            rightPo.onclick = function () {
                if (index == 5) {
                    index = 1;
                } else {
                    index++;
                }
                changeStyle(index);

            }
            // 左箭头按钮点击更换图片
            leftPo.onclick = function () {
                if (index == 0 || index == 1) {
                    index = 5;
                } else {
                    index--;
                }
                changeStyle(index);
            }
            // 缩略图点击更换图片
            thumbnail.onclick = function (event) {
                for (let i = 0; i < thumbnails.length; i++) {
                    if (thumbnails[i] == event.target)
                        index = i + 1;
                }
                changeStyle(index);
            }
            // 鼠标移入图片框就显示左右箭头,移出时隐藏
            container.onmousemove = function () {
                leftPo.style.opacity = '0.8';
                rightPo.style.opacity = '0.8';
            }
            container.onmouseout = function () {
                leftPo.style.opacity = '0';
                rightPo.style.opacity = '0';
            }
            // 红线移动判断图片的改变   在此计时器中 用lineMove()先调用一次函数(同时在这个函数里要设置return lineMove,即返回本身函数,不然就只能执行一次),这样就刷新页面即执行一次
            let imgMove = function () {
                clearInterval(stopTimerAll);
                stopTimerAll = setInterval(lineMove(), 5000);
            }
            imgMove();
这里有一个小技巧,一般情况下设置setinterval的定时器,当我们刷新页面的时,会等待1个间隔时间后才开始运动。那么该如何解决?这里我在设置定时器时,直接先调用了一次函数,即 stopTimerAll = setInterval(lineMove(), 5000); 这样刷新页面立即调用,不用等待。
不过这样也存在一个问题,就是这样写就该函数就只能调用一次了,所以我在lineMove这个函数里的最后面加了一个return lineMove;即返回函数本身,这样在第一次调用之后,就会返回这个函数到定时器里,之后就可以不断的调用了。


 1246
1246

 被折叠的 条评论
为什么被折叠?
被折叠的 条评论
为什么被折叠?
 到【灌水乐园】发言


