


 本文详细介绍了Angular应用中路由模块的配置方法,包括不同路径对应组件的设置,以及使用RouterModule进行模块化管理的具体实现。
1.Routes 路由模块


 1 import { NgModule }             from '@angular/core';
 2 import { RouterModule, Routes } from '@angular/router';
 3
 4 import { DashboardComponent }   from './dashboard.component';
 5 import { HeroesComponent }      from './heroes.component';
 6 import { HeroDetailComponent }  from './hero-detail.component';
 7
 8 const routes: Routes = [
 9   { path: '', redirectTo: '/dashboard', pathMatch: 'full' },
10   { path: 'dashboard',  component: DashboardComponent },
11   { path: 'detail/:id', component: HeroDetailComponent },
12   { path: 'heroes',     component: HeroesComponent }
13 ];
14
15 @NgModule({
16   imports: [ RouterModule.forRoot(routes) ],
17   exports: [ RouterModule ]
18 })
19 export class AppRoutingModule {}
2.路由模块还是蛮绕的,看了2天
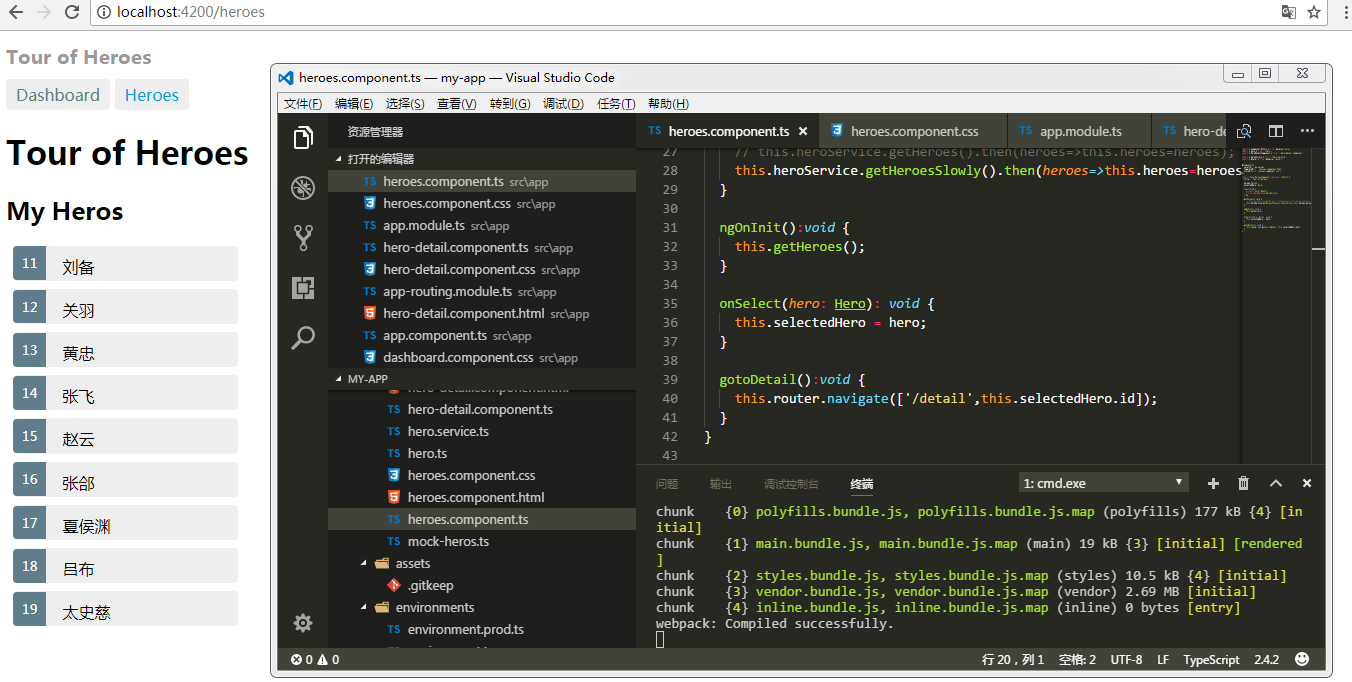
3.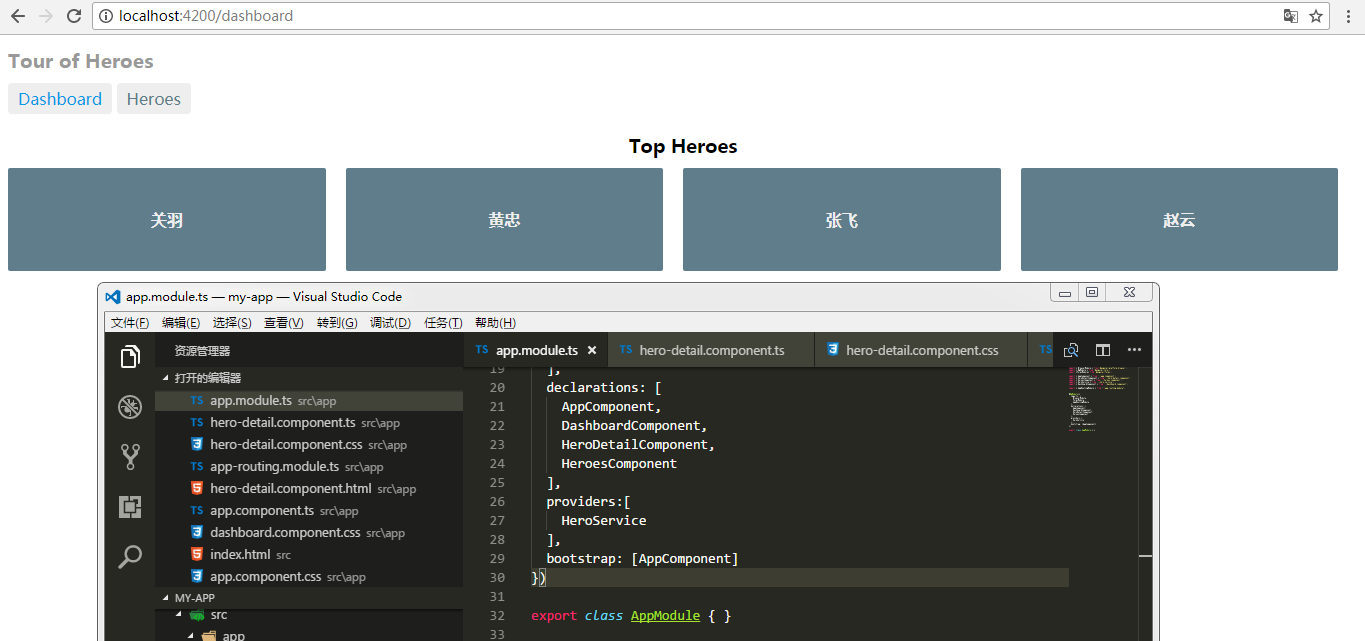
4.哇哈哈截图留念


 131
131

 被折叠的 条评论
为什么被折叠?
被折叠的 条评论
为什么被折叠?
 到【灌水乐园】发言


