


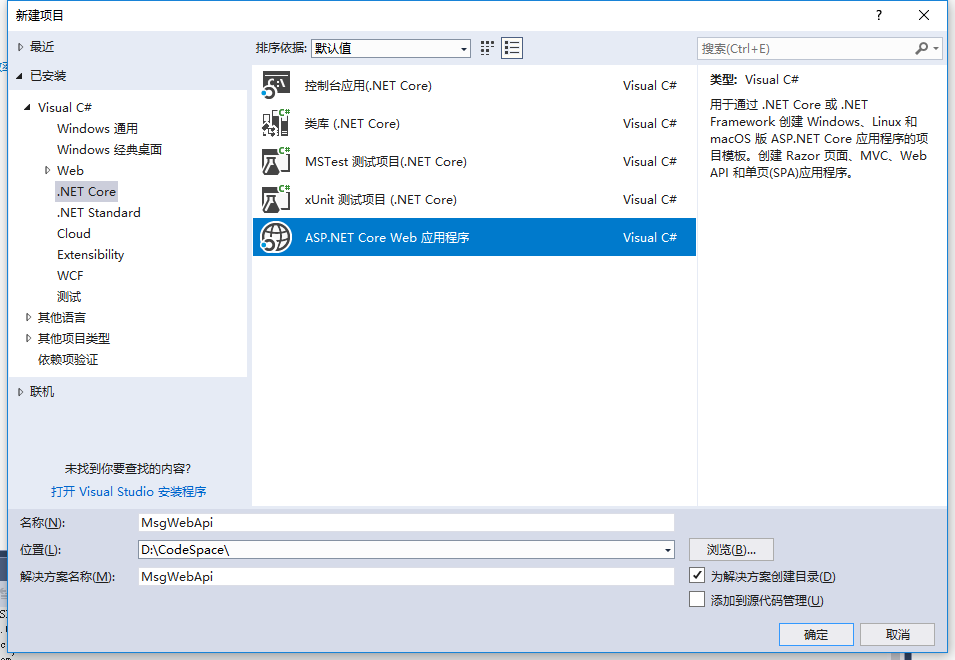
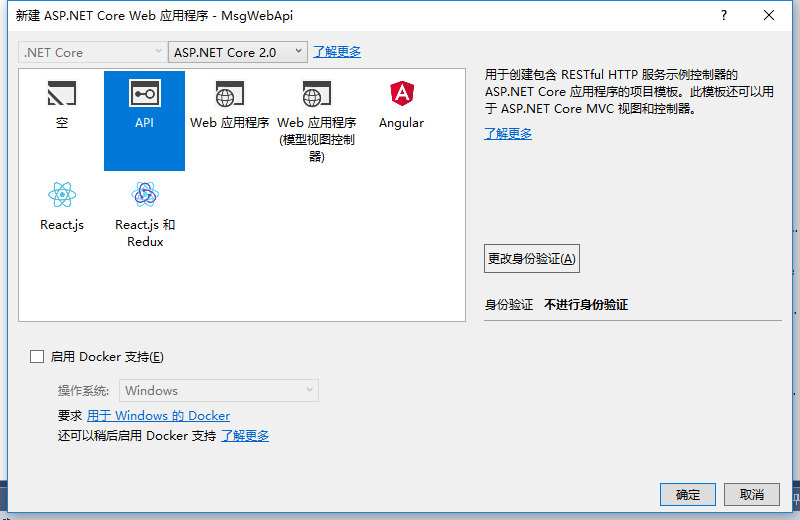
创建一个webapi项目
修改launchSettings.json
将launchSettings.json中的IIS启动删掉。别问我为啥 原因就是IISEXPRESS有时候需要我手动重启。我嫌麻烦。
删除后的代码就 变成了这个样子
{
  "profiles": {
    "MsgWebApi": {
      "commandName": "Project",
      "launchBrowser": true,
      "launchUrl": "api/values",
      "environmentVariables": {
        "ASPNETCORE_ENVIRONMENT": "Development"
      },
      "applicationUrl": "http://localhost:62827/"
    }
  }
}
F6运行一下,修复一下DLL和看看有没有错误
为Web Api添加Swagger帮助页面
完全依照官方文档安装swagger即可: https://docs.microsoft.com/en-us/aspnet/core/tutorials/web-api-help-pages-using-swagger?tabs=visual-studio
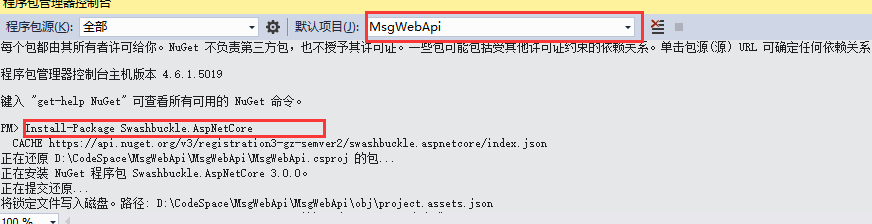
这部分就写了。写一个通过nuget安装的方法。
Install-Package Swashbuckle.AspNetCore
如下图
在Startup的ConfigureServices注册并配置Swagger, 然后在StartUp的Configure方法使用Swagger中间件:
        public void ConfigureServices(IServiceCollection services)
        {
            services.AddMvc();

            services.AddSwaggerGen(c =>
             {
                 c.SwaggerDoc("v1", new Info { Title = "My API", Version = "v1" });
             });
        }

        // This method gets called by the runtime. Use this method to configure the HTTP request pipeline.
        public void Configure(IApplicationBuilder app, IHostingEnvironment env)
        {
            if (env.IsDevelopment())
            {
                app.UseDeveloperExceptionPage();
            }

            // Enable middleware to serve generated Swagger as a JSON endpoint.
            app.UseSwagger();

            // Enable middleware to serve swagger-ui (HTML, JS, CSS, etc.), specifying the Swagger JSON endpoint.
            app.UseSwaggerUI(c =>
            {
                c.SwaggerEndpoint("/swagger/v1/swagger.json", "My API V1");
            });


            app.UseMvc();
        }
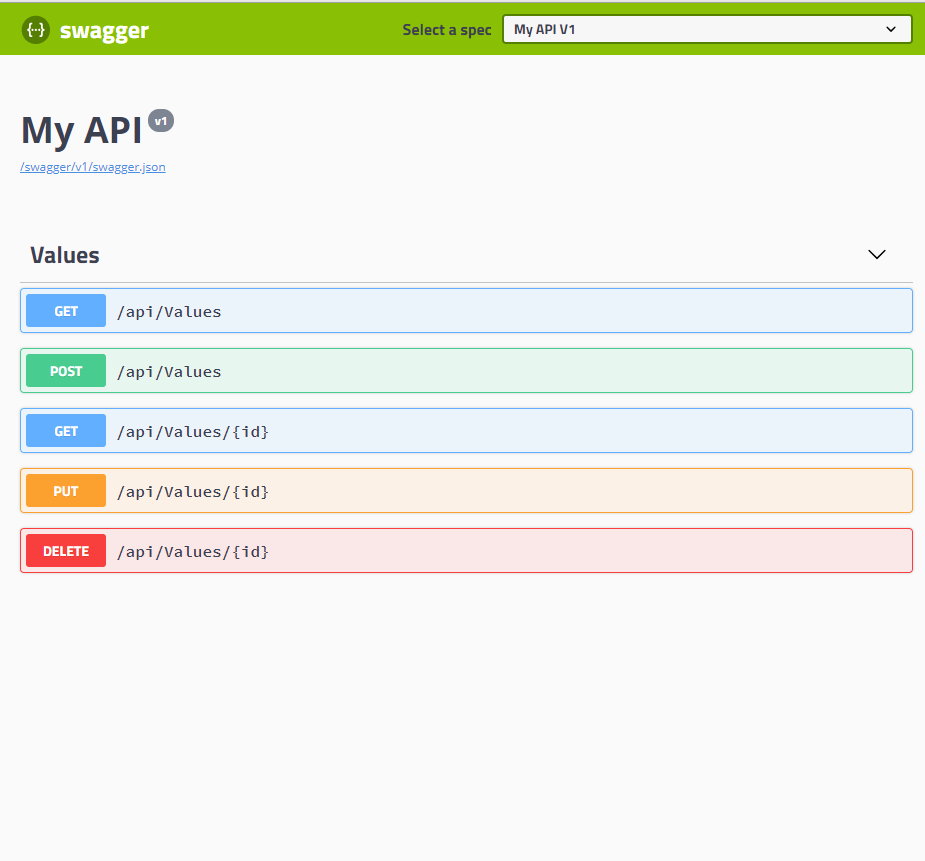
好了 。第一次运行F5跑起来吧。
http://localhost:62827/swagger/index.html 访问地址是:url地址+swagger+index.html看不懂的话。就看不懂吧。
运行效果如下。
后续
.net core qq群:136724480


 6392
6392

 被折叠的 条评论
为什么被折叠?
被折叠的 条评论
为什么被折叠?
 到【灌水乐园】发言


