


 本文介绍如何使用scikit-image库中的adapt_rgb decorator对彩色图像进行滤波处理,包括对rgb通道分别处理和转换为hsv模型处理两种方式,并通过代码示例展示应用过程。
一般的滤波器都是针对灰度图像的,scikit-image 库提供了针对彩色图像滤波的decorator:adapt_rgb,adapt_rgb 提供两种形式的滤波,一种是对rgb三个通道分别进行处理,另外一种方式是将rgb转为hsv颜色模型,然后针对v通道进行处理,最后再转回rgb颜色模型。
针对模式一,称为 each_channel
@adapt_rgb(each_channel)
def sobel_each(image):
    return filters.sobel(image)
模式二称为 hsv_value
@adapt_rgb(hsv_value)
def sobel_hsv(image):
    return filters.sobel(image)
利用上述两种模式,可以对彩色图像滤波,下面是完整的用例代码;
from skimage import data
from skimage.exposure import rescale_intensity
import matplotlib.pyplot as plt
from skimage.color.adapt_rgb import adapt_rgb, each_channel, hsv_value
from skimage import filters
@adapt_rgb(each_channel)
def sobel_each(image):
return filters.sobel(image)
@adapt_rgb(hsv_value)
def sobel_hsv(image):
return filters.sobel(image)
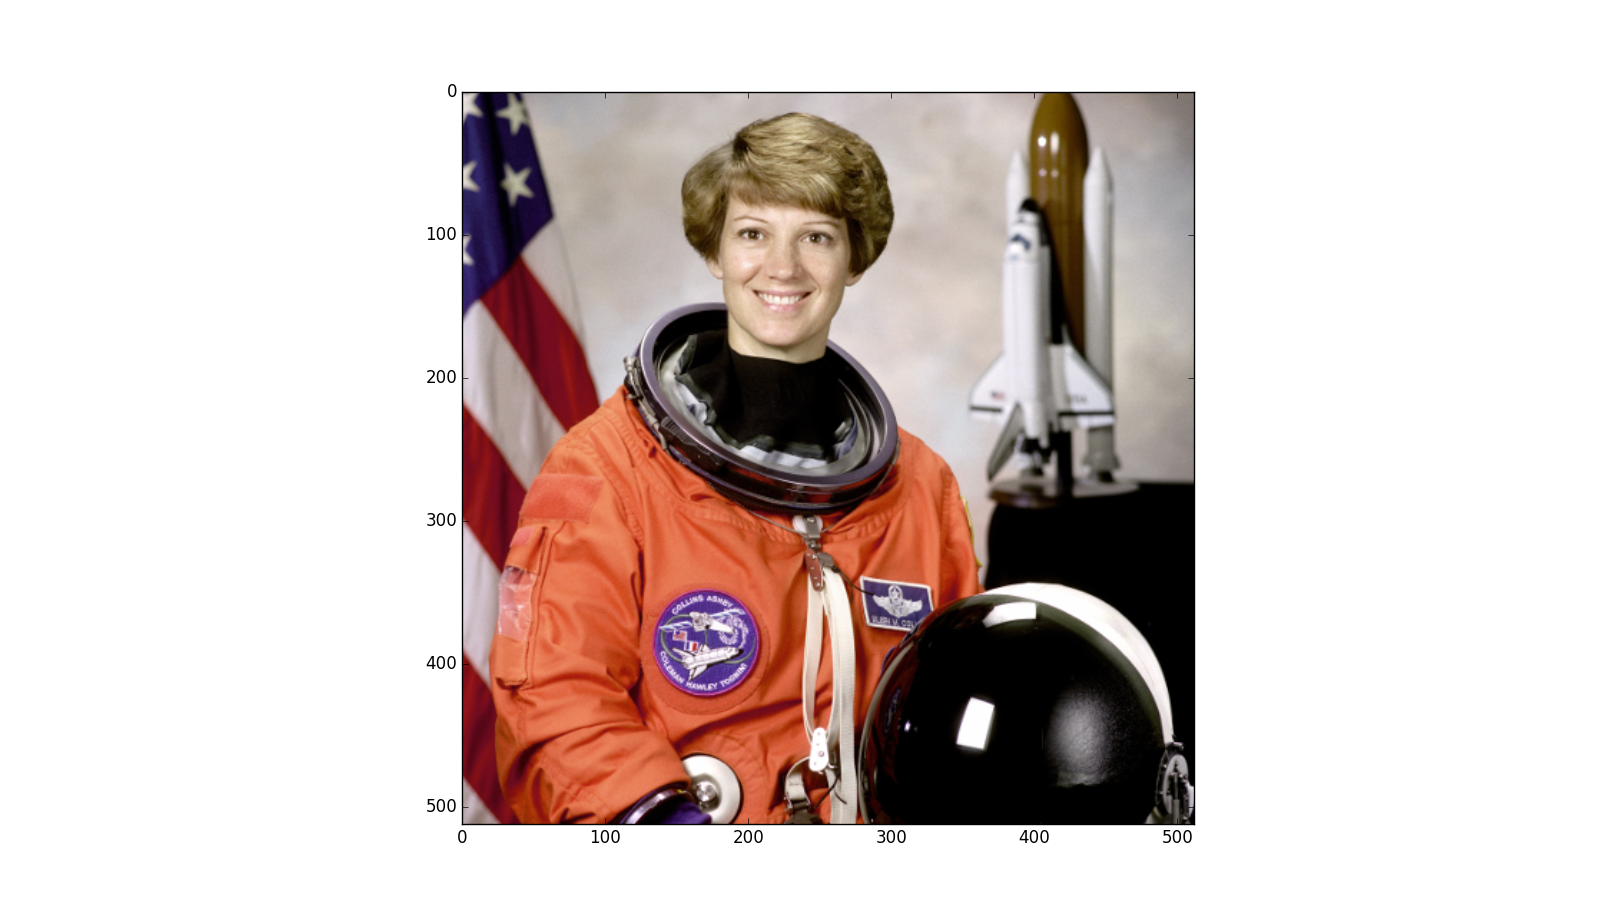
image = data.astronaut()
# display the original image
plt.imshow(image)
fig = plt.figure(figsize=(16, 9))
ax_each = fig.add_subplot(121, adjustable='box-forced')
ax_hsv = fig.add_subplot(122, sharex=ax_each, sharey=ax_each, adjustable='box-forced')
# We use 1 - sobel_each(image)
# but this will not work if image is not normalized
ax_each.imshow(rescale_intensity(1 - sobel_each(image)))
ax_each.set_xticks([]), ax_each.set_yticks([])
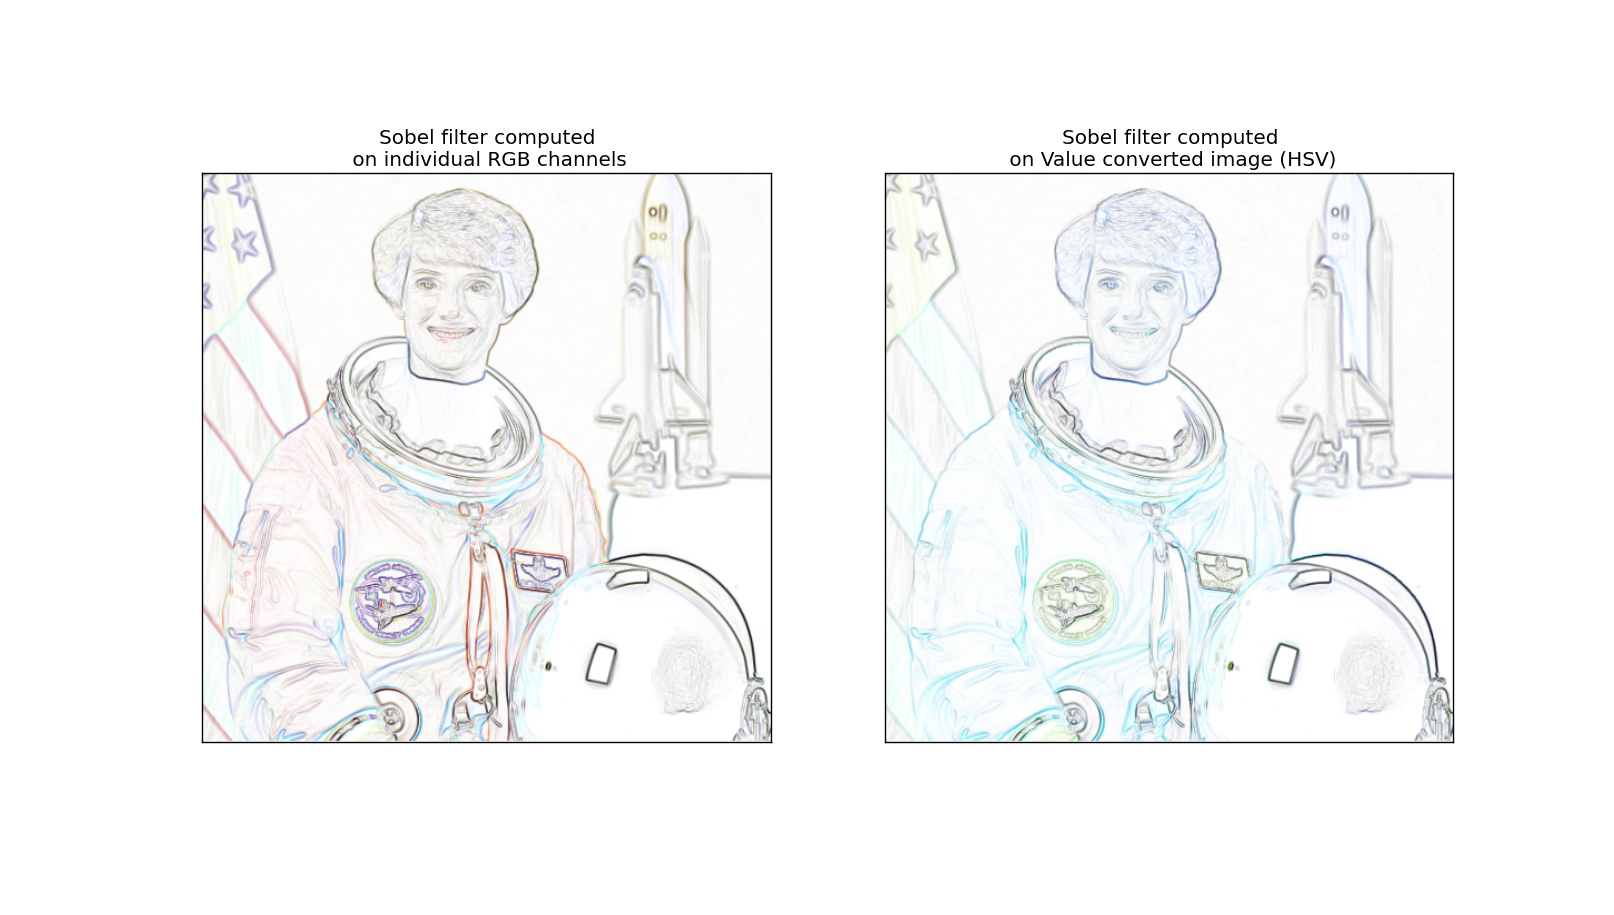
ax_each.set_title("Sobel filter computed\n on individual RGB channels")
# We use 1 - sobel_hsv(image) but this will not work if image is not normalized
ax_hsv.imshow(rescale_intensity(1 - sobel_hsv(image)))
ax_hsv.set_xticks([]), ax_hsv.set_yticks([])
ax_hsv.set_title("Sobel filter computed\n on Value converted image (HSV)")
plt.show()参考来源: http://scikit-image.org/docs/dev/auto_examples/
原图:
效果图:


 678
678

 被折叠的 条评论
为什么被折叠?
被折叠的 条评论
为什么被折叠?
 到【灌水乐园】发言


