


 该教程详细介绍了如何在IDEA中搭建SpringBoot、SpringMVC和Mybatis结合Mysql的项目。从创建项目、修改项目结构、配置数据库、创建Mapper接口及XML配置,到实现数据插入接口和调用接口,每个步骤都有清晰说明。
最详细,最易懂,一步一步执行搭建的框架~
话不多说,直接开始搭建吧~
目录
一、创建项目
二、修改结构以及创建具体内容
三、连接数据库,使用mybatis,以写上传用户信息的接口为例。
四、调用接口,上传数据
一、创建项目
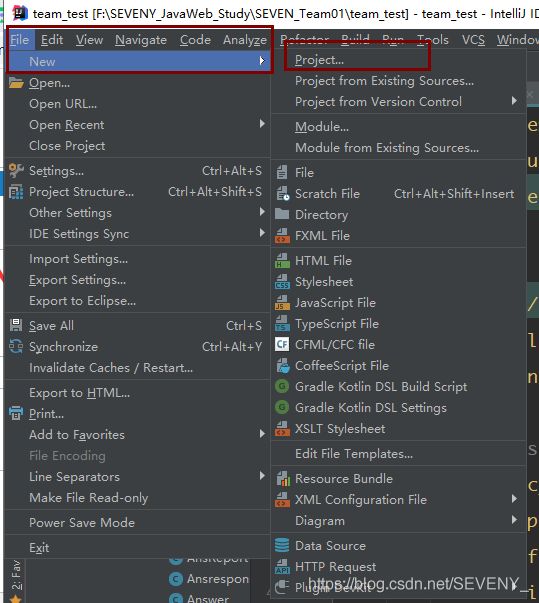
1.点击创建新项目
2.选择Spring Initializr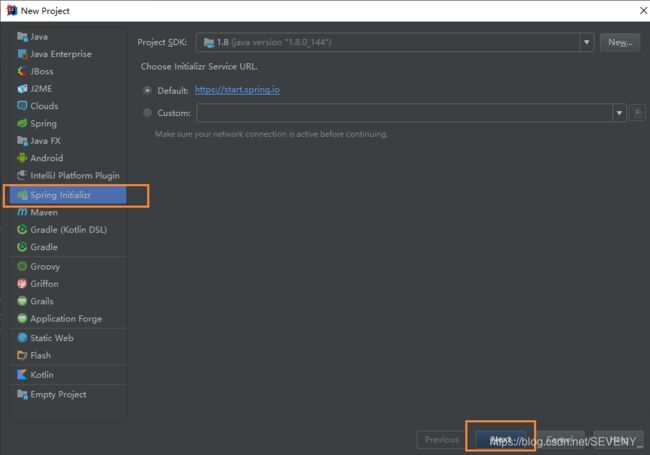
3.填写好项目的相关信息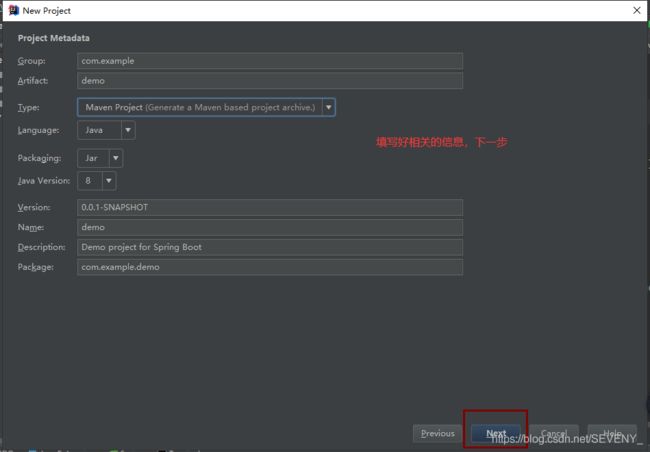
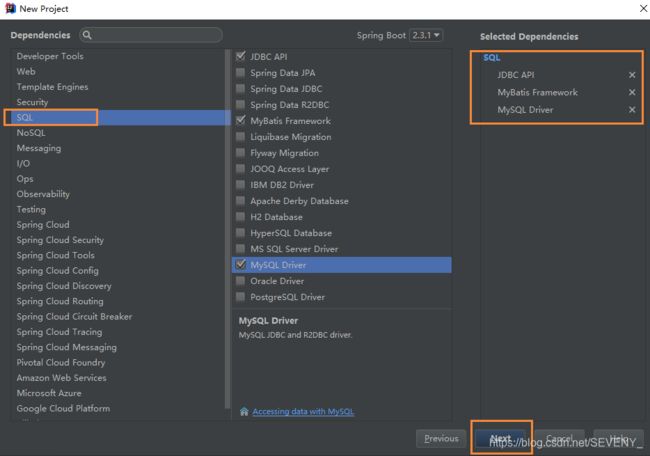
4.选择用到的依赖(也可以后期在pom.xml中添加)
5.选择项目存放位置和设置项目名称
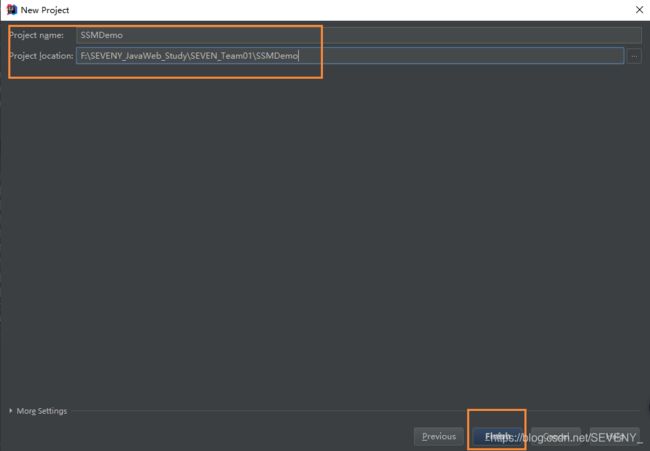
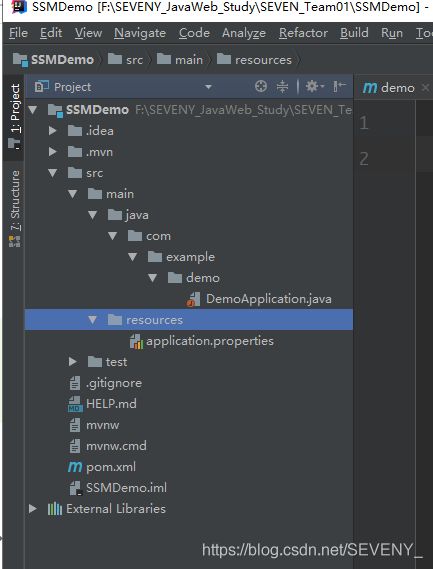
6.创建成功后项目的初步结构
7.pom.xml中依赖(添加了一点)
4.0.0
org.springframework.boot
spring-boot-starter-parent
2.3.1.RELEASE
com.example
demo
0.0.1-SNAPSHOT
demo
Demo project for Spring Boot
1.8
org.springframework.boot
spring-boot-starter-jdbc
org.mybatis.spring.boot
mybatis-spring-boot-starter
2.1.3
mysql
mysql-connector-java
runtime
org.springframework.boot
spring-boot-starter-test
test
org.junit.vintage
junit-vintage-engine
com.alibaba
fastjson
1.2.35
org.springframework.boot
spring-boot-starter-web
2.3.1.RELEASE
org.springframework.boot
spring-boot-maven-plugin
src/main/
**/*.xml
src/main/resources
**/*.*
二、修改结构以及创建具体内容
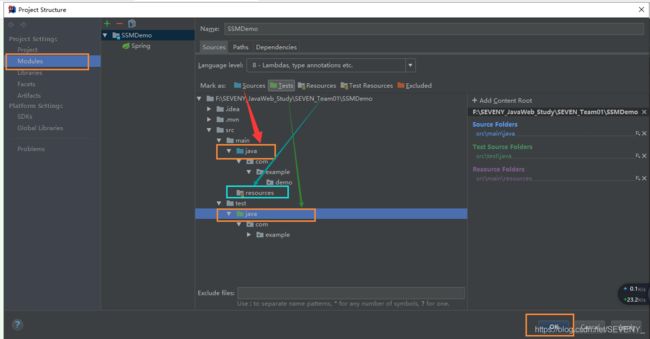
1.点击File --> Project Structure..

2.将main中java文件设为Sources,resources设为Resources,test中java设为Tests。
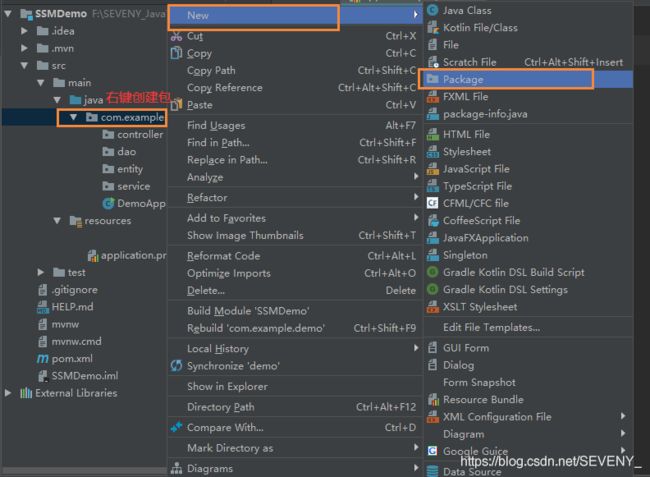
3.创建controller、service、dao、entity包
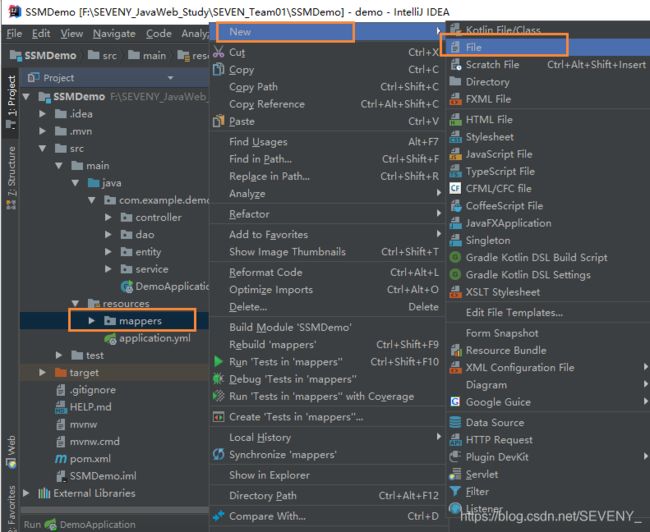
4.在resources中创建mappers文件来存放mapper.xml配置文件
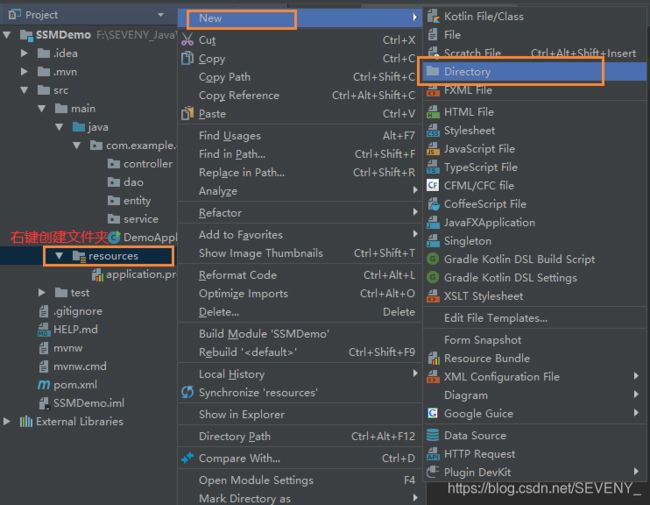
5.创建mapper.xml配置文件:右键 --> New --> File
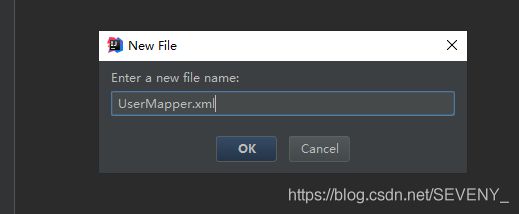
6.填入配置文件名称 例如:UserMapper.xml
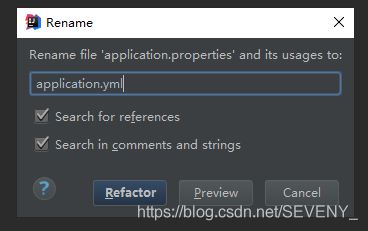
8.默认的springboot配置文件application是.properties格式,我习惯用.yml格式,所以修改一下
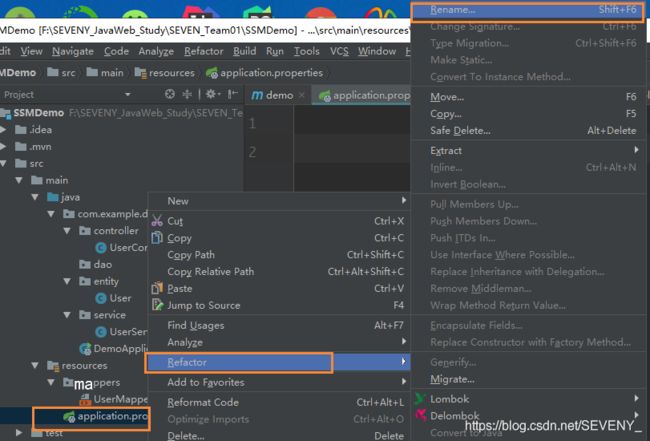
9.将properties替换为yml
10.配置application.yml
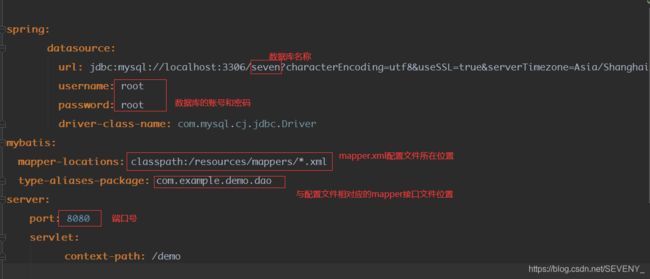
spring:
datasource:
url: jdbc:mysql://localhost:3306/seven?characterEncoding=utf8&useSSL=true&serverTimezone=Asia/Shanghai
username: root
password: root
driver-class-name: com.mysql.cj.jdbc.Driver
mybatis:
mapper-locations: classpath:/resources/mappers/*.xml
type-aliases-package: com.example.demo.dao
server:
port: 8080
servlet:
context-path: /demo
11. 配置DemoApplication运行文件
package com.example.demo;
import org.mybatis.spring.annotation.MapperScan;
import org.springframework.boot.SpringApplication;
import org.springframework.boot.autoconfigure.SpringBootApplication;
@SpringBootApplication
@MapperScan("com.example.demo.dao")
//加上这句,运行项目时候要去扫描mybatis的接口文件
public class DemoApplication {
public static void main(String[] args) {
SpringApplication.run(DemoApplication.class, args);
}
}
三、连接数据库,使用mybatis,以写上传用户信息的接口为例。
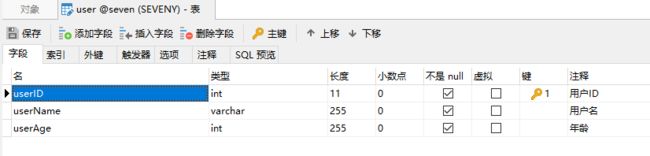
1.数据库中创建user表。
2.entity包中创建User实体类
package com.example.demo.entity;
public class User {
private int userID; //用户ID
private String userName; //用户名
private int userAge; //用户年龄
public User() {
}
public User(int userID, String userName, int userAge) {
this.userID = userID;
this.userName = userName;
this.userAge = userAge;
}
public int getUserID() {
return userID;
}
public void setUserID(int userID) {
this.userID = userID;
}
public String getUserName() {
return userName;
}
public void setUserName(String userName) {
this.userName = userName;
}
public int getUserAge() {
return userAge;
}
public void setUserAge(int userAge) {
this.userAge = userAge;
}
@Override
public String toString() {
return "User{" +
"userID=" + userID +
", userName='" + userName + '\'' +
", userAge=" + userAge +
'}';
}
}
3.配置文件UserMapper.xml中
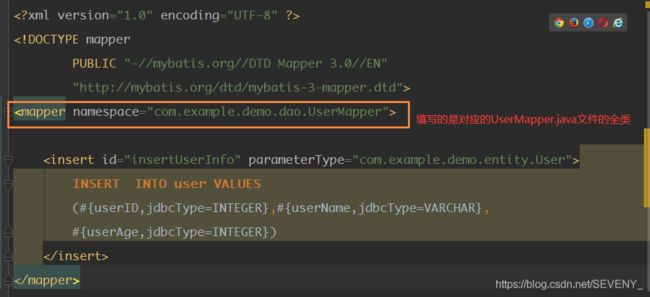
INSERT INTO user VALUES
(#{userID,jdbcType=INTEGER},#{userName,jdbcType=VARCHAR},
#{userAge,jdbcType=INTEGER})
4.dao包中的UserMapper
package com.example.demo.dao;
import com.example.demo.entity.User;
public interface UserMapper {
int insertUserInfo(User user);
}
5.service中的UserService
package com.example.demo.service;
import com.example.demo.dao.UserMapper;
import com.example.demo.entity.User;
import org.springframework.beans.factory.annotation.Autowired;
import org.springframework.stereotype.Service;
@Service
public class UserService {
@Autowired(required = false)
private UserMapper userMapper;
public int AddUserInfo(int ID,String name,int age) {
User user = new User();
user.setUserID(ID);
user.setUserName(name);
user.setUserAge(age);
int res = userMapper.insertUserInfo(user);
if(res>0)return 1; //上传成功
else return 0; //上传失败
}
}
6.controller中的UserController
package com.example.demo.controller;
import com.example.demo.service.UserService;
import org.springframework.beans.factory.annotation.Autowired;
import org.springframework.stereotype.Controller;
import org.springframework.web.bind.annotation.*;
@Controller
public class UserController {
@Autowired
private UserService userService;
//上传用户信息
@GetMapping("/AddUserInfo")
@ResponseBody
public int AddUserInfo(@RequestParam("userID")int userID,
@RequestParam("userName")String userName,
@RequestParam("userAge")int userAge){
int res = userService.AddUserInfo(userID,userName,userAge);
return res;
}
}
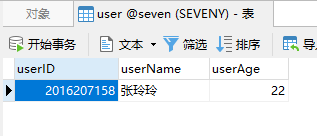
四、调用接口,上传数据
http://localhost:8080/demo/AddUserInfo?userID=2016207158&userName=张玲玲&userAge=22

查看数据库user表中,数据也插入了。


 1万+
1万+

 被折叠的 条评论
为什么被折叠?
被折叠的 条评论
为什么被折叠?
 到【灌水乐园】发言


