


先从mysql官方网站下载tar包,浏览器下载速度慢的话可以使用迅雷下载。
https://www.mysql.com/downloads/
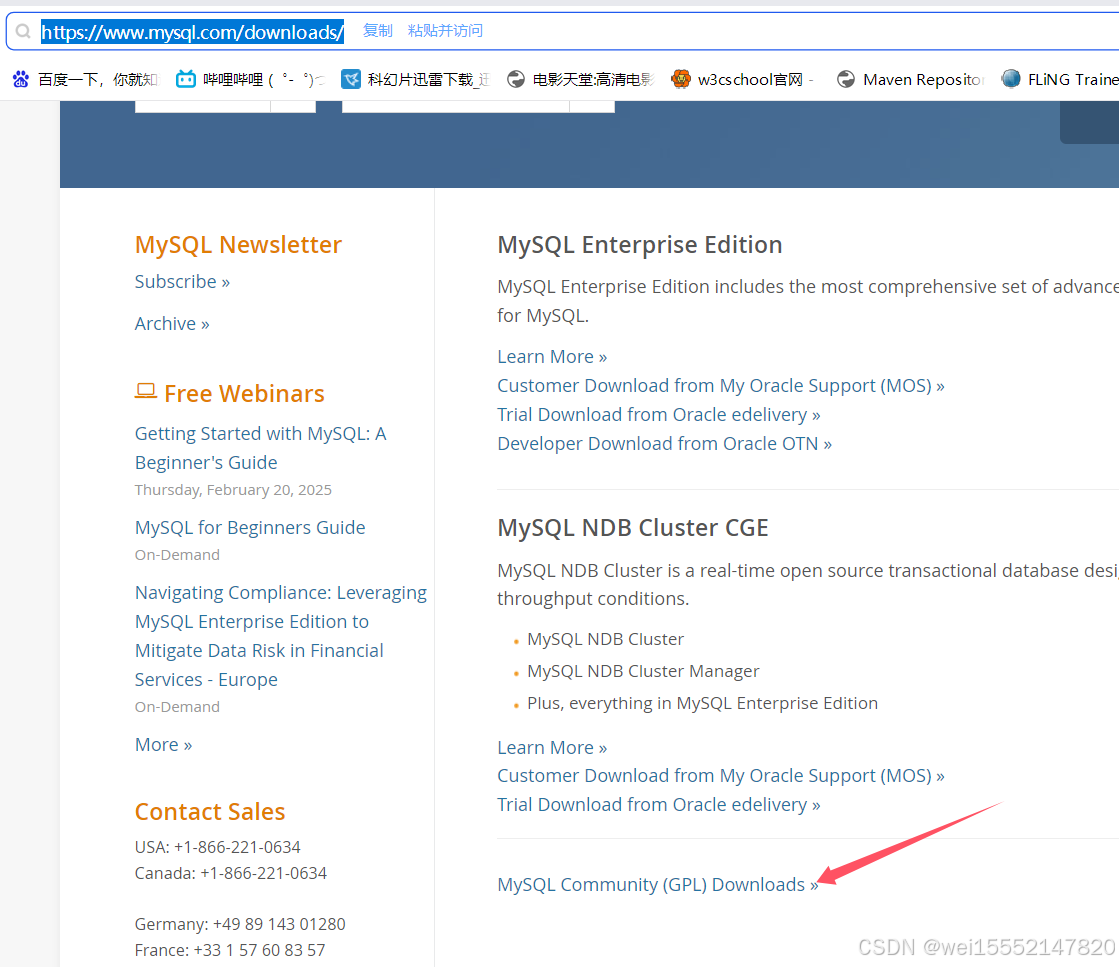
centos7选择这个
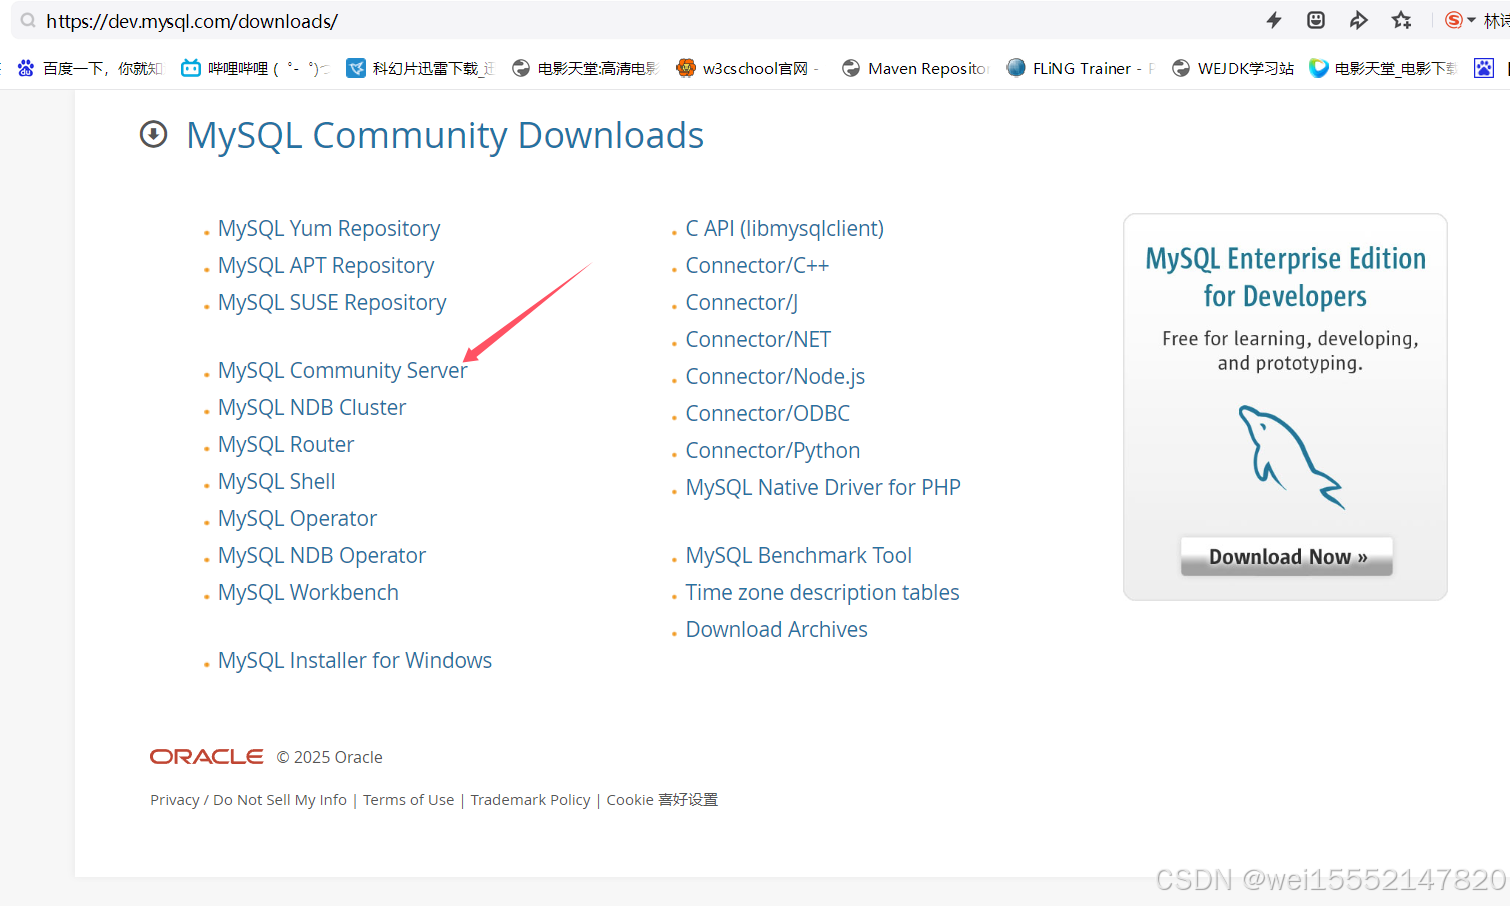
用的是电脑,选择这个
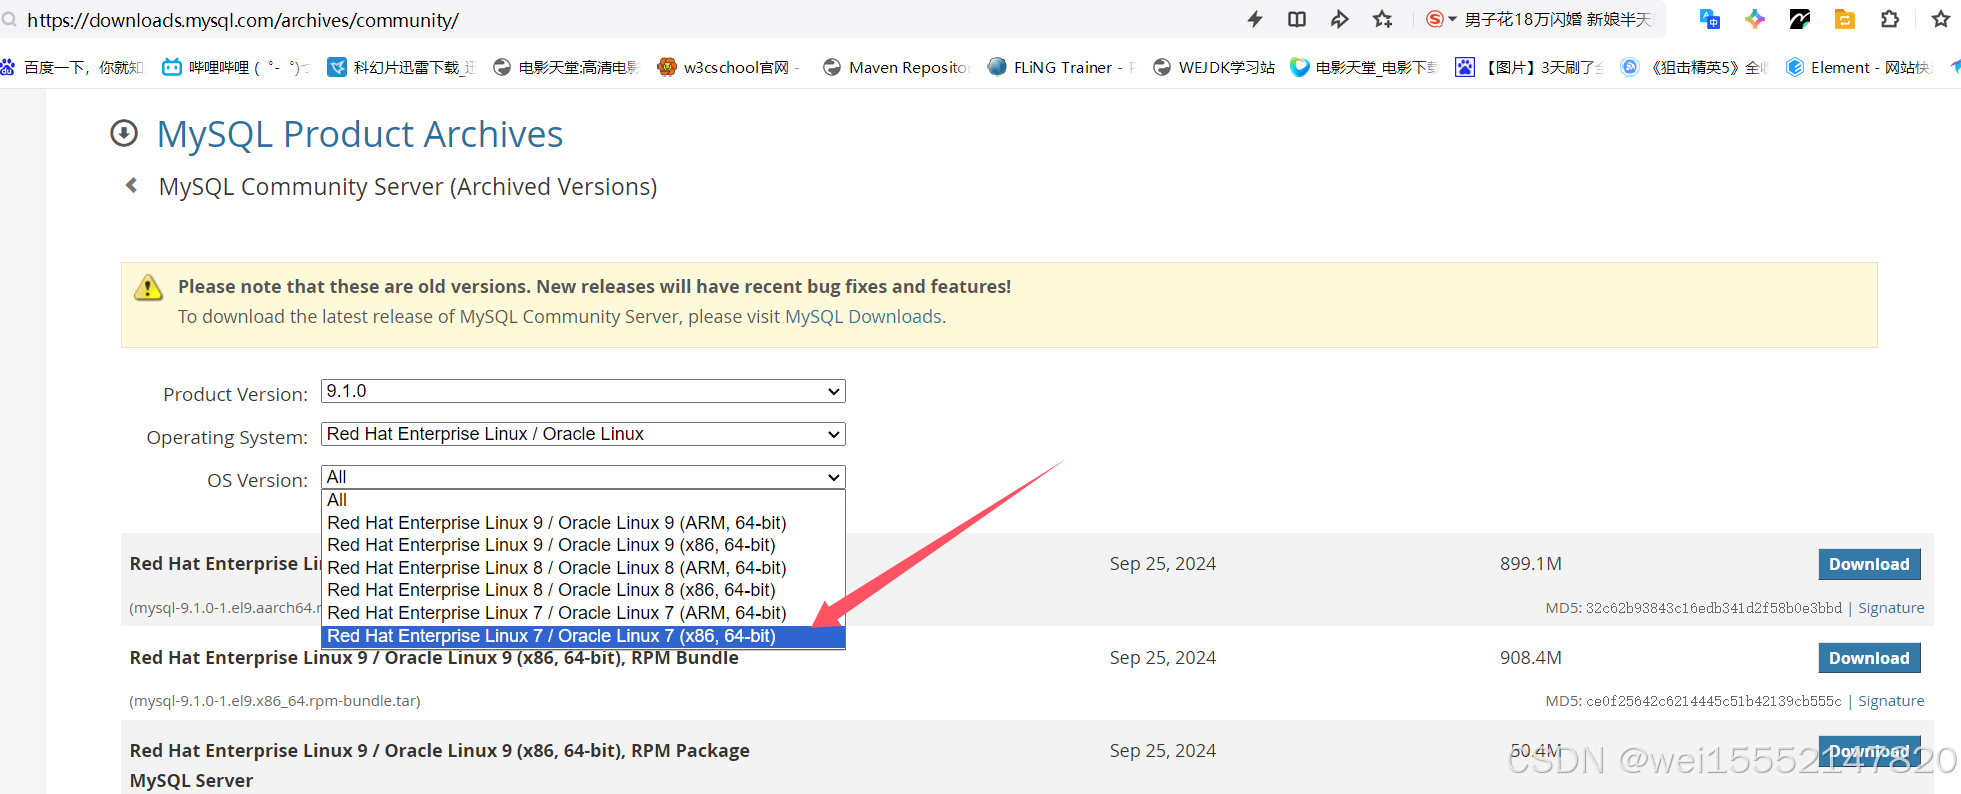
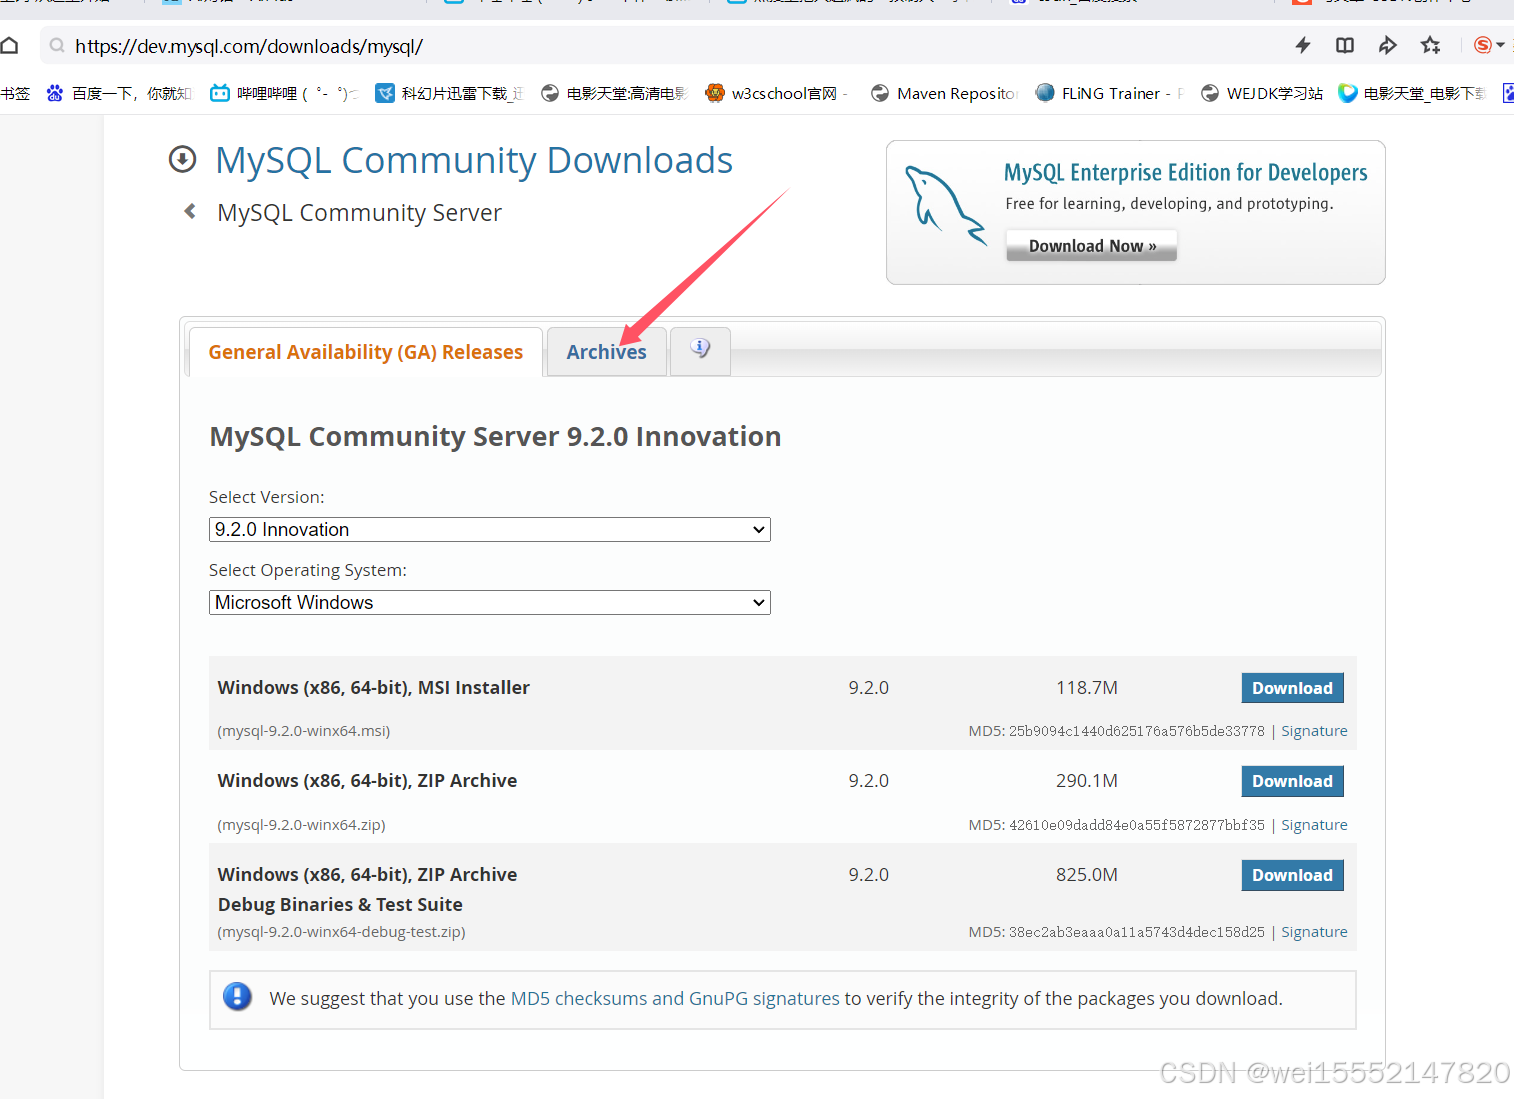
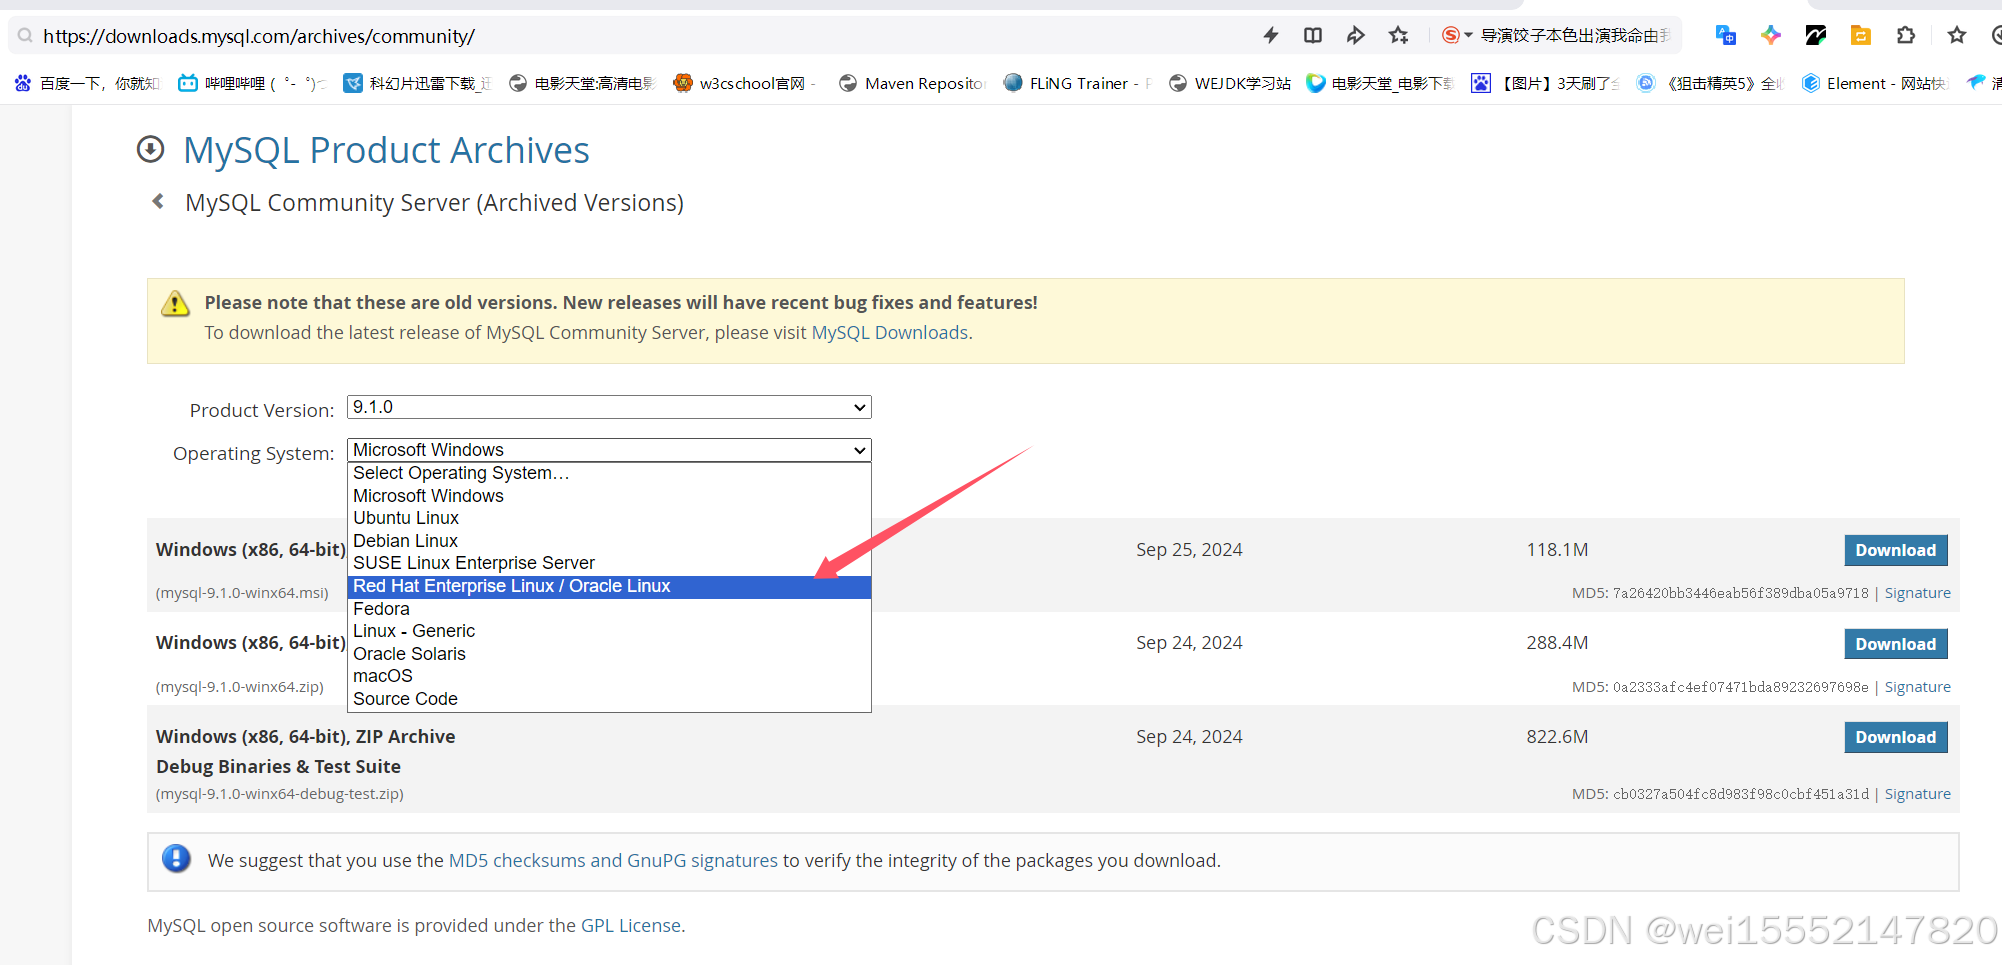
点击下载这个包。注意如果下载的版本不一样安装步骤可能会有所变化,因为软件一直在更新。不放心的话可以直接安装我这个版本,比较新了。

下载完之后使用xftp软件将这个tar包上传到centos7中
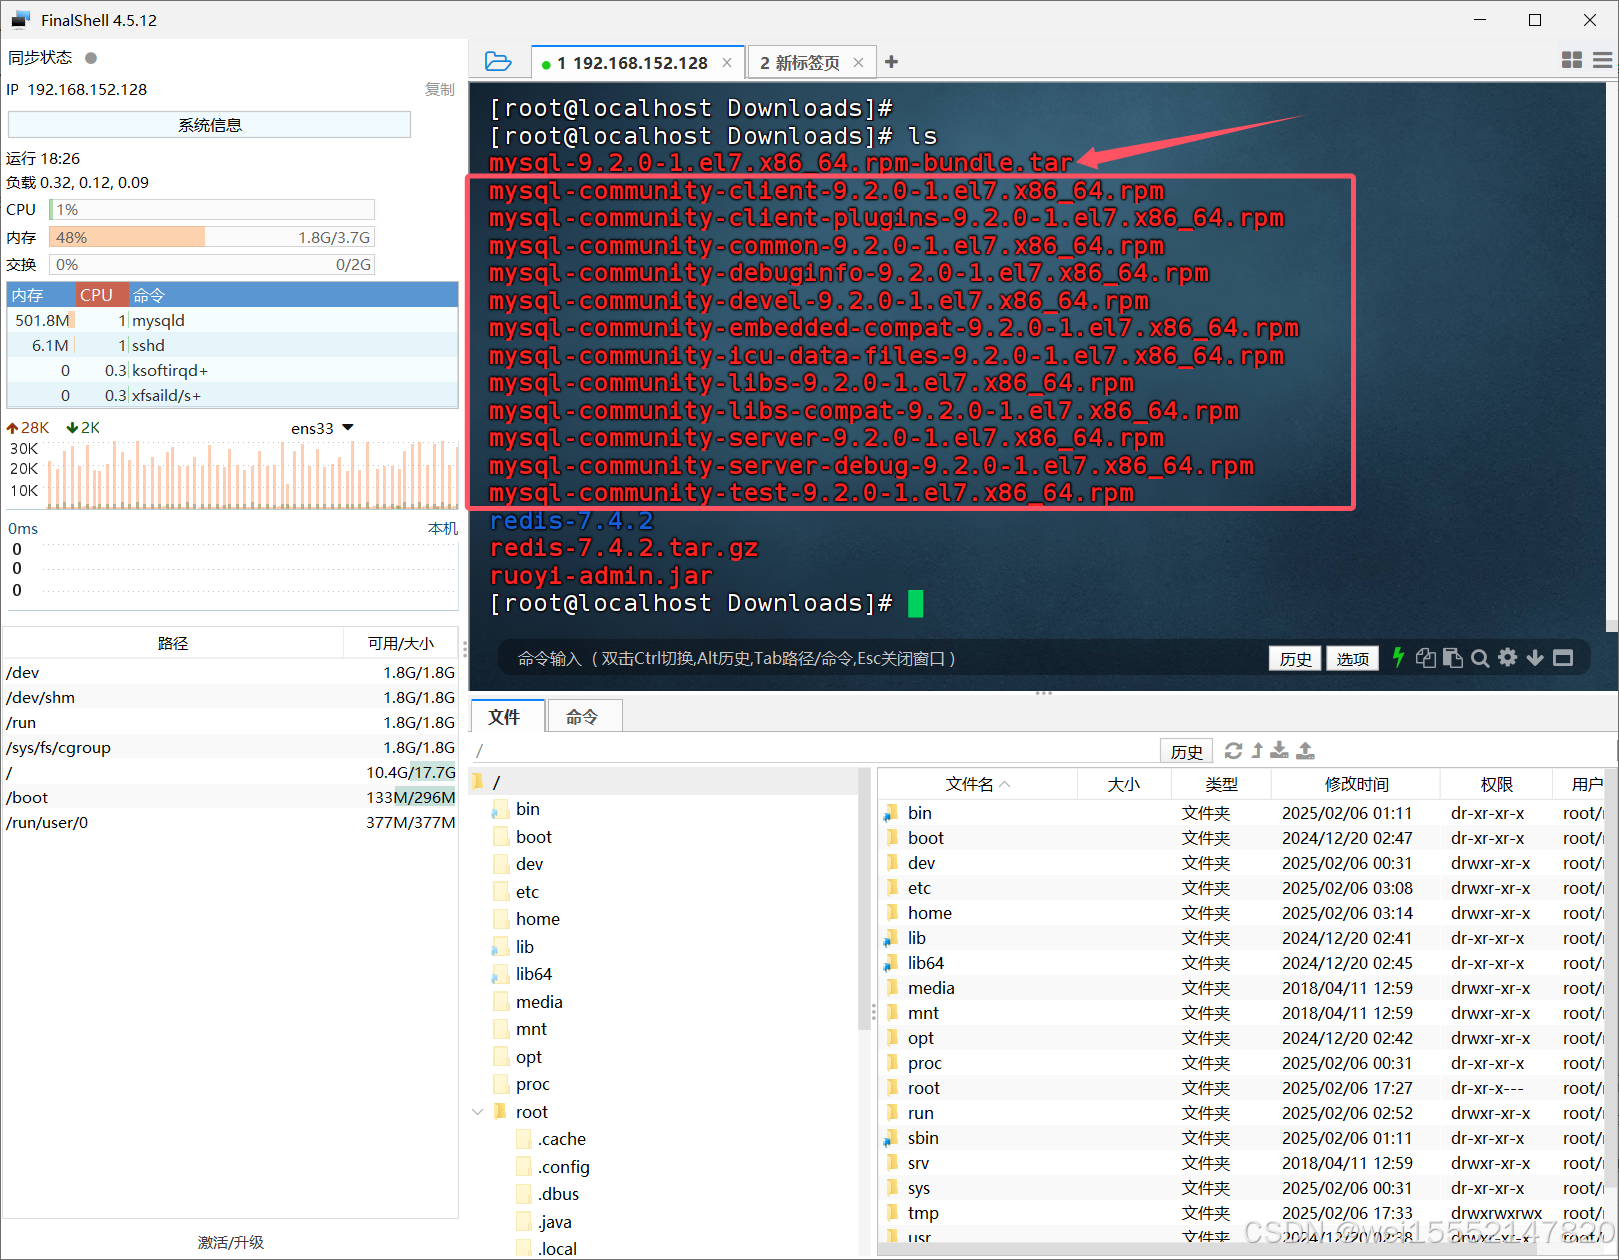
箭头是那个tar包,下面红矩形里面的就是解压之后的全部文件
我的centos7是everything也就是全量版本的里面的东西比较全面所以选的这个版本。
[root@localhost ~]# ll
total 8
-rw-------. 1 root root 2997 Dec 19 10:47 anaconda-ks.cfg
drwxr-xr-x. 2 root root 6 Dec 19 10:49 Desktop
drwxr-xr-x. 2 root root 6 Dec 19 10:49 Documents
drwxr-xr-x. 2 root root 53 Feb 5 08:53 Downloads
drwxr-xr-x. 2 root root 6 Dec 19 10:49 Music
-rw-------. 1 root root 2109 Dec 19 10:47 original-ks.cfg
drwxr-xr-x. 2 root root 6 Dec 19 10:49 Pictures
drwxr-xr-x. 2 root root 6 Dec 19 10:49 Public
drwxr-xr-x. 2 root root 6 Dec 19 10:49 Templates
drwxr-xr-x. 2 root root 6 Dec 19 10:49 Videos
[root@localhost ~]#
[root@localhost ~]#
[root@localhost ~]# cd downloads
bash: cd: downloads: No such file or directory
我上传到root下面的Downloads文件夹下面了,大家可以自己创建文件夹放到自己的文件夹下面
[root@localhost ~]# cd Downloads/
[root@localhost Downloads]# ls
这个就是上传的tar包
mysql-9.2.0-1.el7.x86_64.rpm-bundle.tar
[root@localhost Downloads]#
[root@localhost Downloads]#
使用这个命令对tar包进行解压缩,解压缩之后先删除mariadb数据库,删除完mariadb数据库之后按照下面的安装顺序安装即可(必须按照安装顺序来,包和包之间存在依赖关系)
[root@localhost Downloads]# tar xvf mysql-9.2.0-1.el7.x86_64.rpm-bundle.tar
mysql-community-client-9.2.0-1.el7.x86_64.rpm
mysql-community-client-plugins-9.2.0-1.el7.x86_64.rpm
mysql-community-common-9.2.0-1.el7.x86_64.rpm
mysql-community-debuginfo-9.2.0-1.el7.x86_64.rpm
mysql-community-devel-9.2.0-1.el7.x86_64.rpm
mysql-community-embedded-compat-9.2.0-1.el7.x86_64.rpm
mysql-community-icu-data-files-9.2.0-1.el7.x86_64.rpm
mysql-community-libs-9.2.0-1.el7.x86_64.rpm
mysql-community-libs-compat-9.2.0-1.el7.x86_64.rpm
mysql-community-server-9.2.0-1.el7.x86_64.rpm
mysql-community-server-debug-9.2.0-1.el7.x86_64.rpm
mysql-community-test-9.2.0-1.el7.x86_64.rpm
安装之前先把centos7自带的mariadb数据库给删除掉,这个数据库和mysql有冲突,先往下面找删除这个数据库的步骤,有完整步骤显示
[root@localhost Downloads]# rpm -qa|gerp mariadb
bash: gerp: command not found...
Similar command is: 'grep'
[root@localhost Downloads]# cd /
[root@localhost /]# ls
bin dev home lib64 mnt proc run srv tmp var
boot etc lib media opt root sbin sys usr
[root@localhost /]#
[root@localhost /]#
[root@localhost /]# rpm -qa|gerp mariadb
bash: gerp: command not found...
Similar command is: 'grep'
[root@localhost /]# rpm -qa|gerp mariadb
bash: gerp: command not found...
Similar command is: 'grep'
[root@localhost /]# ls
bin dev home lib64 mnt proc run srv tmp var
boot etc lib media opt root sbin sys usr
[root@localhost /]#
[root@localhost /]#
[root@localhost /]# cd home
[root@localhost home]# ls
wangwei
[root@localhost home]#
[root@localhost home]#
[root@localhost home]# cd wangwei
[root@localhost wangwei]# ls
Desktop Downloads myapp Public Videos
Documents Music Pictures Templates
[root@localhost wangwei]#
[root@localhost wangwei]#
[root@localhost wangwei]# cd Downloads/
[root@localhost Downloads]#
[root@localhost Downloads]# ls
[root@localhost Downloads]#
[root@localhost Downloads]#
[root@localhost Downloads]# cd /
[root@localhost /]#
[root@localhost /]#
[root@localhost /]#
[root@localhost /]# ls
bin dev home lib64 mnt proc run srv tmp var
boot etc lib media opt root sbin sys usr
[root@localhost /]#
[root@localhost /]#
[root@localhost /]# cd root
[root@localhost ~]#
[root@localhost ~]# ls
anaconda-ks.cfg Documents Music Pictures Templates
Desktop Downloads original-ks.cfg Public Videos
[root@localhost ~]#
[root@localhost ~]#
[root@localhost ~]# cd Down
bash: cd: Down: No such file or directory
[root@localhost ~]# cd Downloads/
[root@localhost Downloads]# ls
mysql-9.2.0-1.el7.x86_64.rpm-bundle.tar
mysql-community-client-9.2.0-1.el7.x86_64.rpm
mysql-community-client-plugins-9.2.0-1.el7.x86_64.rpm
mysql-community-common-9.2.0-1.el7.x86_64.rpm
mysql-community-debuginfo-9.2.0-1.el7.x86_64.rpm
mysql-community-devel-9.2.0-1.el7.x86_64.rpm
mysql-community-embedded-compat-9.2.0-1.el7.x86_64.rpm
mysql-community-icu-data-files-9.2.0-1.el7.x86_64.rpm
mysql-community-libs-9.2.0-1.el7.x86_64.rpm
mysql-community-libs-compat-9.2.0-1.el7.x86_64.rpm
mysql-community-server-9.2.0-1.el7.x86_64.rpm
mysql-community-server-debug-9.2.0-1.el7.x86_64.rpm
mysql-community-test-9.2.0-1.el7.x86_64.rpm
[root@localhost Downloads]#
[root@localhost Downloads]#
[root@localhost Downloads]#
安装第一个包
[root@localhost Downloads]# rpm -ivh mysql-community-common-9.2.0-1.el7.x86_64.rpm
warning: mysql-community-common-9.2.0-1.el7.x86_64.rpm: Header V4 RSA/SHA256 Signature, key ID a8d3785c: NOKEY
Preparing... ################################# [100%]
Updating / installing...
1:mysql-community-common-9.2.0-1.el################################# [100%]
安装第二个包
[root@localhost Downloads]# rpm -ivh mysql-community-client-plugins-9.2.0-1.el7.x86_64.rpm
warning: mysql-community-client-plugins-9.2.0-1.el7.x86_64.rpm: Header V4 RSA/SHA256 Signature, key ID a8d3785c: NOKEY
Preparing... ################################# [100%]
Updating / installing...
1:mysql-community-client-plugins-9.################################# [100%]
安装第三个包
[root@localhost Downloads]# rpm -ivh mysql-community-libs-9.2.0-1.el7.x86_64.rpm
warning: mysql-community-libs-9.2.0-1.el7.x86_64.rpm: Header V4 RSA/SHA256 Signature, key ID a8d3785c: NOKEY
error: Failed dependencies:
mariadb-libs is obsoleted by mysql-community-libs-9.2.0-1.el7.x86_64
[root@localhost Downloads]# ^C
[root@localhost Downloads]# cd /
[root@localhost /]#
[root@localhost /]#
========删除mariadb数据库=========
使用这个命令看自己系统里是不是有这个数据库
[root@localhost /]# rpm -qa|grep -i mariadb
有的话就显示这个数据库及其版本
mariadb-libs-5.5.68-1.el7.x86_64
使用这个命令把mariadb数据库给删掉
[root@localhost /]# rpm -e --nodeps mariadb-libs-5.5.68-1.el7.x86_64
再次查看是否存在这个数据库,没有的话就不在显示这个数据库及其版本
[root@localhost /]# rpm -qa|grep -i mariadb
[root@localhost /]# rpm -qa|grep -i mariadb
================================
[root@localhost /]# ls
bin dev home lib64 mnt proc run srv tmp var
boot etc lib media opt root sbin sys usr
[root@localhost /]# cd root
[root@localhost ~]# ls
anaconda-ks.cfg Documents Music Pictures Templates
Desktop Downloads original-ks.cfg Public Videos
[root@localhost ~]# cd Downloads/
[root@localhost Downloads]#
[root@localhost Downloads]#
安装第四个包
[root@localhost Downloads]# rpm -ivh mysql-community-libs-9.2.0-1.el7.x86_64.rpm
warning: mysql-community-libs-9.2.0-1.el7.x86_64.rpm: Header V4 RSA/SHA256 Signature, key ID a8d3785c: NOKEY
Preparing... ################################# [100%]
Updating / installing...
1:mysql-community-libs-9.2.0-1.el7 ################################# [100%]
安装第五个包
[root@localhost Downloads]# rpm -ivh mysql-community-client-9.2.0-1.el7.x86_64.rpm
warning: mysql-community-client-9.2.0-1.el7.x86_64.rpm: Header V4 RSA/SHA256 Signature, key ID a8d3785c: NOKEY
Preparing... ################################# [100%]
Updating / installing...
1:mysql-community-client-9.2.0-1.el################################# [100%]
安装第六个包
[root@localhost Downloads]# rpm -ivh mysql-community-icu-data-files-9.2.0-1.el7.x86_64.rpm
warning: mysql-community-icu-data-files-9.2.0-1.el7.x86_64.rpm: Header V4 RSA/SHA256 Signature, key ID a8d3785c: NOKEY
Preparing... ################################# [100%]
Updating / installing...
1:mysql-community-icu-data-files-9.################################# [100%]
安装第七个包
[root@localhost Downloads]# rpm -ivh mysql-community-server-9.2.0-1.el7.x86_64.rpm
warning: mysql-community-server-9.2.0-1.el7.x86_64.rpm: Header V4 RSA/SHA256 Signature, key ID a8d3785c: NOKEY
Preparing... ################################# [100%]
Updating / installing...
1:mysql-community-server-9.2.0-1.el################################# [100%]
[root@localhost Downloads]#
[root@localhost Downloads]#
[root@localhost Downloads]#
全部安装完之后使用这个命令进行数据库初始化
[root@localhost Downloads]# mysqld --initialize --console
修改数据库文件查看权限
[root@localhost Downloads]# chown -R mysql:mysql /var/lib/mysql/
运行数据库,会在日志中得到一个密码
[root@localhost Downloads]# systemctl start mysqld
查看日志获取密码,这个密码是#No4X6uRd0:3
[root@localhost Downloads]# cat /var/log/mysqld.log|grep localhost
2025-02-05T17:15:12.257019Z 6 [Note] [MY-010454] [Server] A temporary password is generated for root@localhost: #No4X6uRd0:3
[root@localhost Downloads]#
登录mysql数据库
[root@localhost Downloads]# mysql -uroot -p
修改数据库用户root的密码
mysql> ALTER USER 'root'@'localhost' IDENTIFIED BY 'root'
-> ;
Query OK, 0 rows affected (0.08 sec)
mysql> exit
Bye
[root@localhost Downloads]#
[root@localhost Downloads]#
[root@localhost Downloads]# mysql -uroot -p
Enter password:
Welcome to the MySQL monitor. Commands end with ; or \g.
Your MySQL connection id is 10
Server version: 9.2.0 MySQL Community Server - GPL
Copyright (c) 2000, 2025, Oracle and/or its affiliates.
Oracle is a registered trademark of Oracle Corporation and/or its
affiliates. Other names may be trademarks of their respective
owners.
Type 'help;' or '\h' for help. Type '\c' to clear the current input statement.
mysql>
安装完成后,使用dbeaver进行连接的时候可能会出现下面的错误
null, message from server: “Host ‘192.168.10.1‘ is not allowed to connect to this MySQL server“
登录mysql数据库
mysql -u root –p
选择这个库
mysql>use mysql;
执行这个命令,即可将MySQL只允许本地访问改为所有主机都能访问
UPDATE user SET Host='%' WHERE User='root' AND Host='localhost';
FLUSH PRIVILEGES;
使用dbeaver连接的时候,需要从自己的操作系统ping通虚拟机。如果ping不通就检查一下虚拟机防火墙看看是不是被防火墙拦截了,要是防火墙开着就先关掉。下面连接成功了。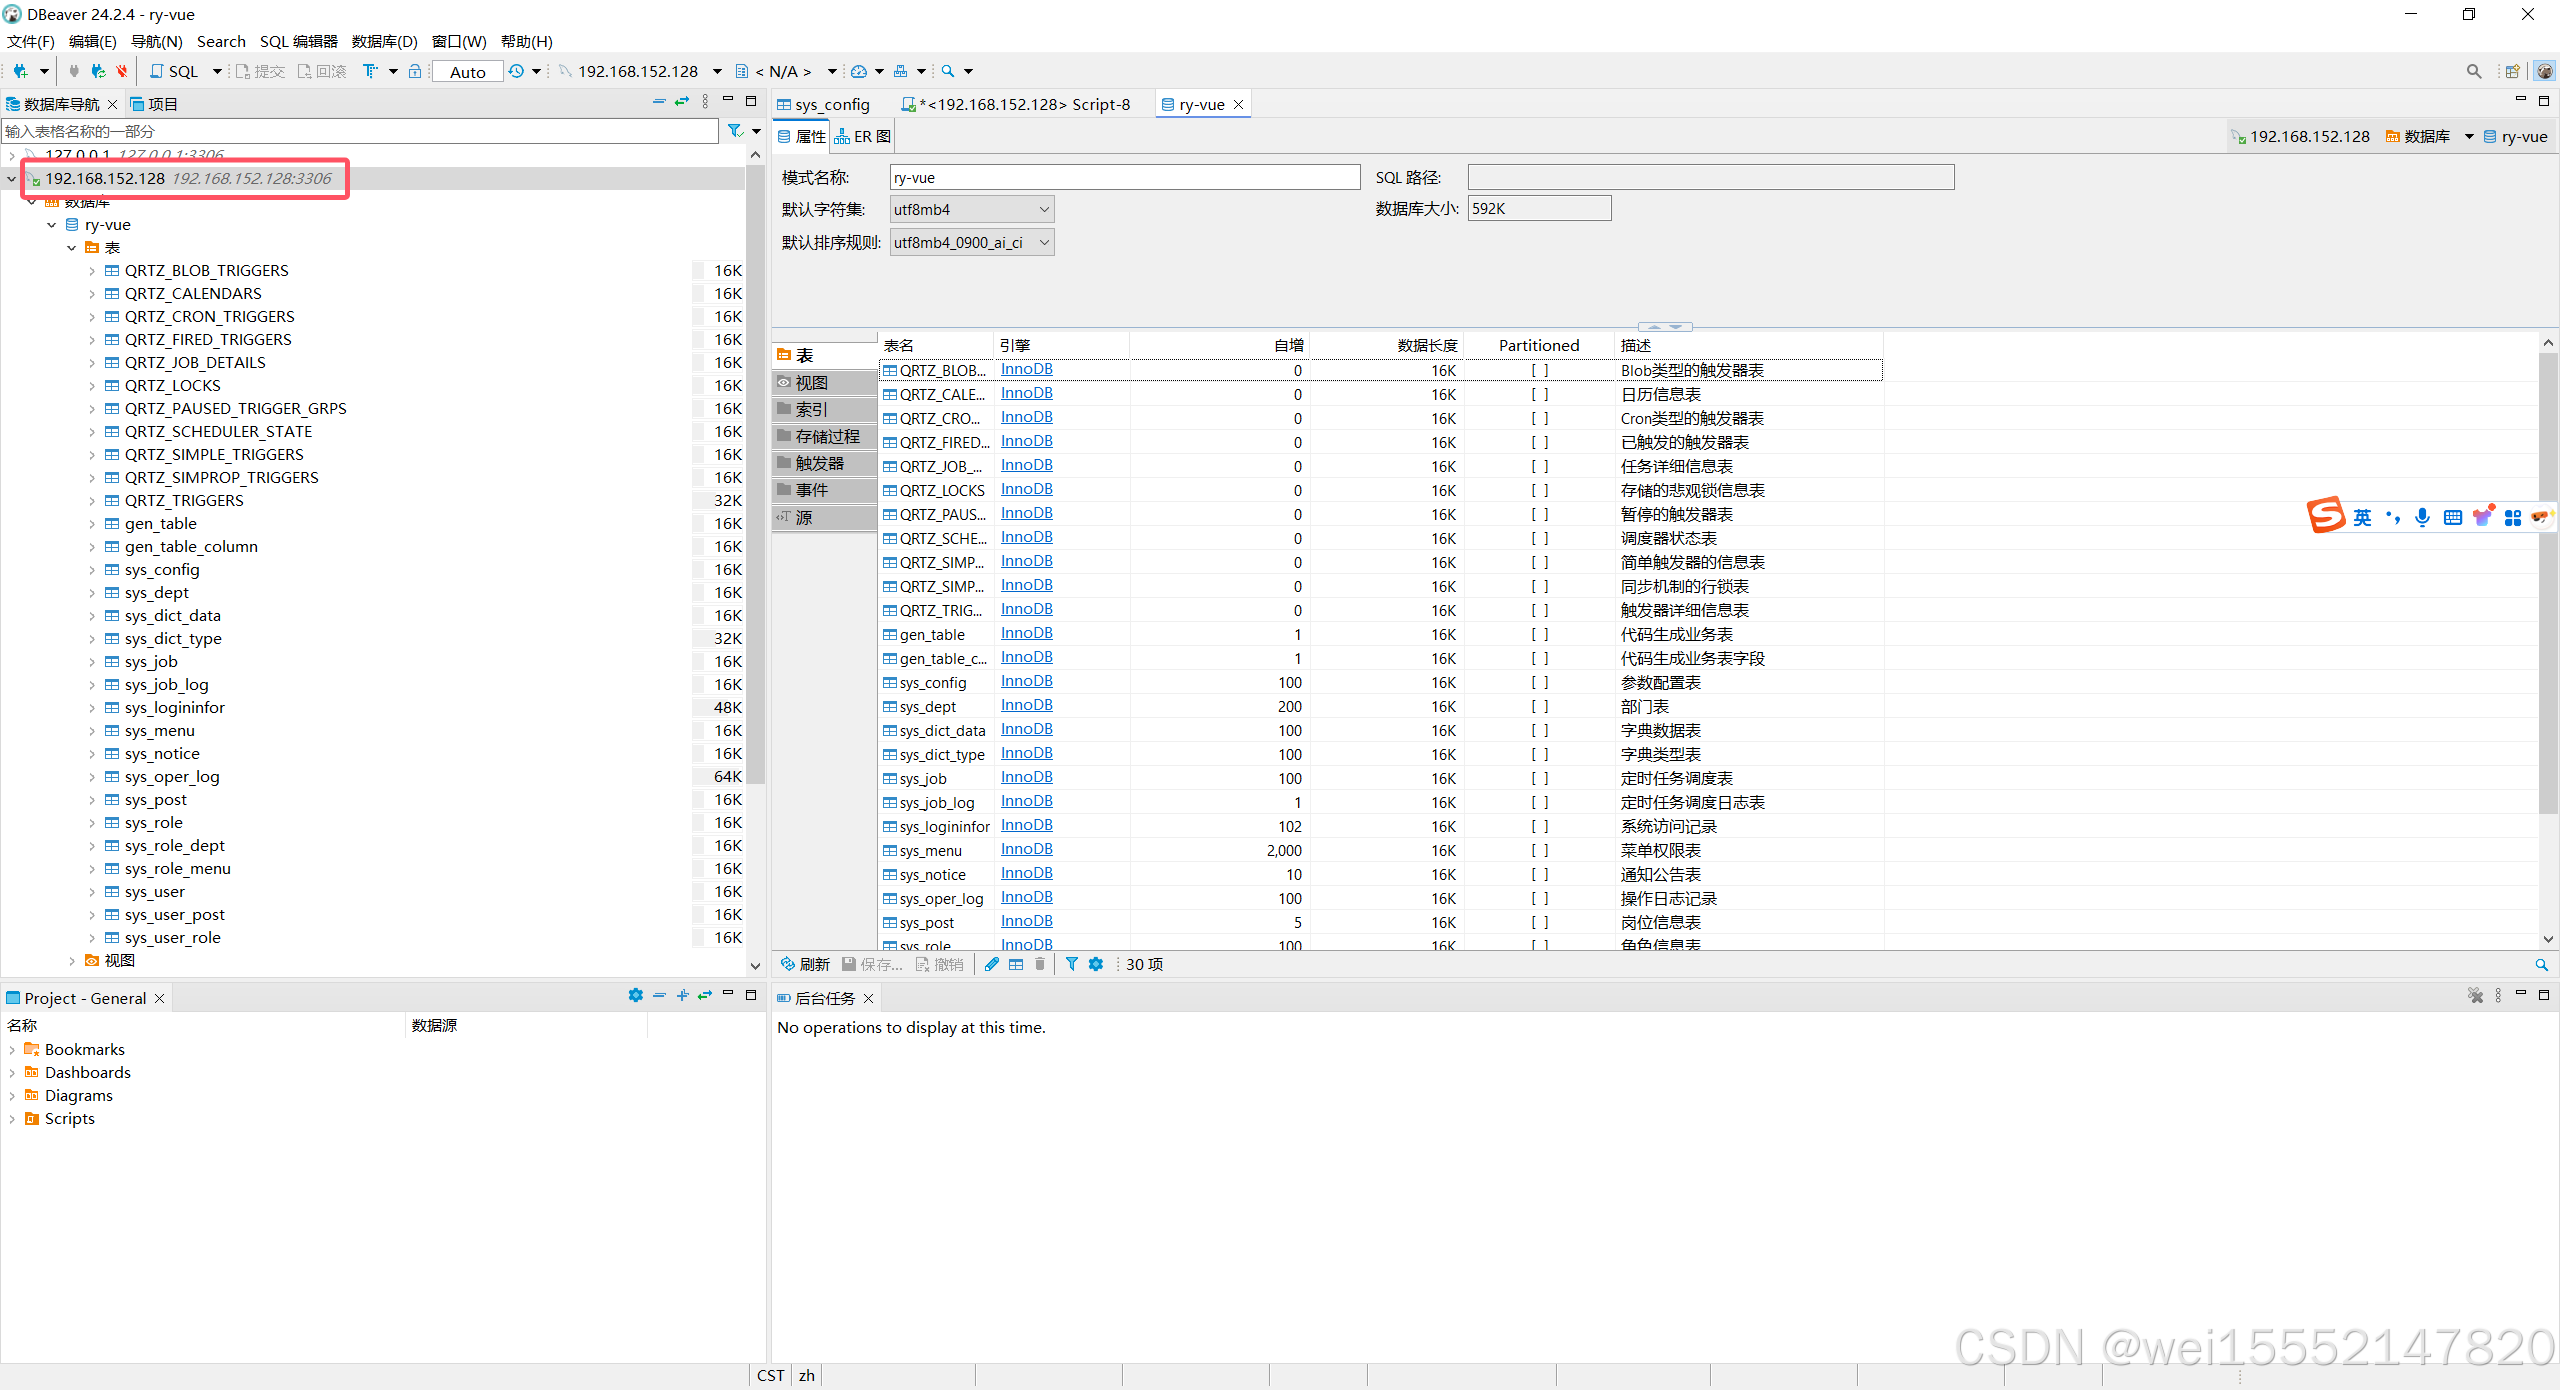
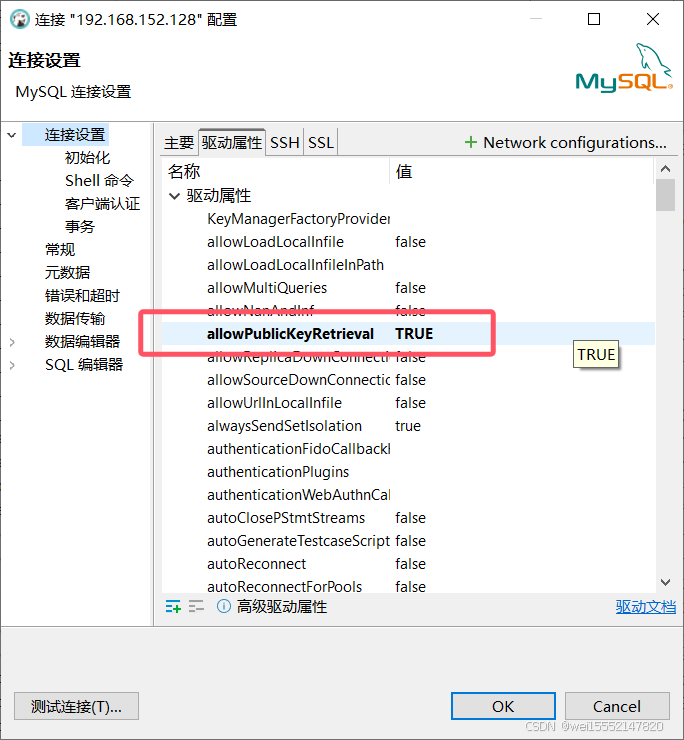
右键连接点击编辑连接如上图,如果有跟上面相关的报错就先把他设置成true试试,我记得当时连接的时候好像有相关的报错来着。


 被折叠的 条评论
为什么被折叠?
被折叠的 条评论
为什么被折叠?
 到【灌水乐园】发言


