Tested on: VS 2010 + Win 7 (64 bit)
(1) Download OpenCV 2.4.2 (link)
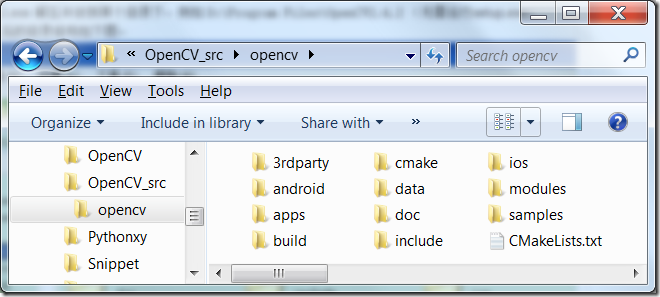
(2) Unzip opencv2.4.2.exe to a directory, take mine for example: E:\OpenCV_src
(3) Download and Install Cmake (for windows platform, win32 installer) since you need compile OpenCV by yourself when using Win 7 (64 bit). (link)
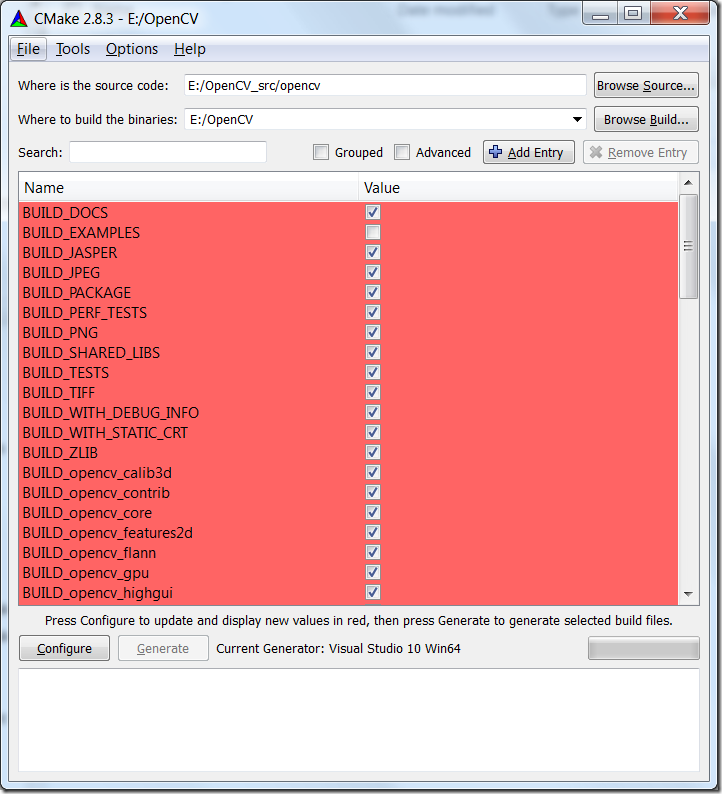
(4) Run cmake-gui.exe. The settings are shown in the figure. Push “Configure” button and select “Vusal Studio”, then Generate.
(5) Find Opencv.sln in E:\OpenCV, then open it with VS 2010.
(6) Solution Explorer – Solution OpenCV, Rught Click, “Rebuild Solution”. If no errors, select “INSTALL” and “Build”.
(7) Set Environment Variables.
Path: E:\OpenCV\install\bin;E:\OpenCV\install\include;E:\OpenCV\install\lib;
TBB: E:\OpenCV_src\opencv\build\common\tbb\intel64\vc10;
At last, test the following codes in Debug mode and x64 platform!
btw, put the image file ppl.jpg in the code folder.
#include "stdafx.h"
#include <opencv2/core/core.hpp>
#include <opencv2/highgui/highgui.hpp>
#pragma comment( lib, "opencv_core242d.lib ")
#pragma comment( lib, "opencv_highgui242d.lib" )
using namespace cv;
int _tmain(int argc, _TCHAR* argv[])
{
namedWindow( "show_image", WINDOW_AUTOSIZE );
Mat src = imread( "ppl.jpg" );
while(1)
{
imshow( "show_image", src );
char c = waitKey(0);
if( 27 == c )
return 0;
}
return 0;
}


 本文详细介绍了如何在Windows 7(64位)环境下,通过CMake和Visual Studio 2010编译OpenCV2.4.2的过程。包括下载源码、安装CMake、配置编译参数、设置环境变量,并提供了一个简单的代码示例进行验证。


 6115
6115

 被折叠的 条评论
为什么被折叠?


