


 本文介绍了如何通过npm安装three.js及其相关插件,如轨道控件、OBJ和MTL文件加载器以及CSS2D渲染器。然后在页面中引入three.js,并编写DEMO创建一个旋转的圆柱体3D模型,展示了初始化相机、场景、几何体、材质和渲染器的基本步骤。
1.下载three.js各种插件
首先利用npm安装three.js,具体操作代码如下:
npm i three利用npm安装轨道控件插件:
npm install three-orbit-controls安装加载.obj和.mtl文件的插件:
npm i --save three-obj-mtl-loader安装渲染器插件:
npm i --save three-css2drender2.在页面中引入three.js并使用
在所调用页面引入的代码为:
import * as Three from 'three'3.DEMO编写测试
<template>
<div>
<div id="container"></div>
</div>
</template>
<script>
import * as Three from "three";
export default {
name: "ThreeTest",
data() {
return {
camera: null,
scene: null,
renderer: null,
mesh: null,
};
},
methods: {
init() {
let container = document.getElementById("container");
this.camera = new Three.PerspectiveCamera(
70,
container.clientWidth / container.clientHeight,
0.01,
1000
);
this.camera.position.z = 0.6;
this.scene = new Three.Scene();
let geometry = new Three.CylinderBufferGeometry(0.2, 0.2, 0.2);
let material = new Three.MeshNormalMaterial();
this.mesh = new Three.Mesh(geometry, material);
this.scene.add(this.mesh);
this.renderer = new Three.WebGLRenderer({ antialias: true });
this.renderer.setSize(container.clientWidth, container.clientHeight);
container.appendChild(this.renderer.domElement);
},
animate() {
requestAnimationFrame(this.animate);
this.mesh.rotation.x += 0.01;
this.mesh.rotation.y += 0.02;
this.renderer.render(this.scene, this.camera);
},
},
mounted() {
this.init();
this.animate();
},
};
</script>
<style scoped>
#container {
height: 400px;
}
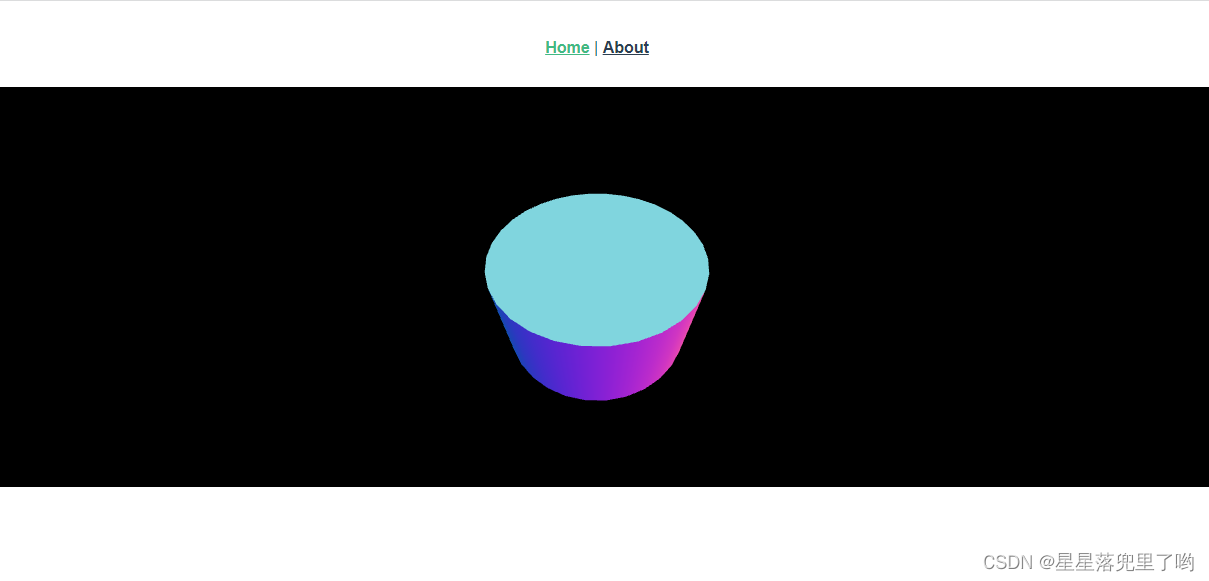
</style>4.最终效果


 190
190

 被折叠的 条评论
为什么被折叠?
被折叠的 条评论
为什么被折叠?
 到【灌水乐园】发言


