


 本文讲述了如何使用Vue3和AntDesignVue库创建列表界面,并展示从后端接口获取的数据。首先选取合适的AntDesignVue列表样式,然后逐步将静态数据替换为通过axios获取的接口数据,对列表样式进行调整,包括栅格布局和 avatar 图标的大小,最终实现动态加载和展示多条列表数据。文章还涉及到了接口的改造,以返回更多数据,以及样式调整,提升列表的视觉效果。
一、前言
昨晚可能是因为更新完文章后,导致过于兴奋睡不着(写代码确实太容易让人兴奋了),结果两点多才睡着,大东北果然还是太冷了。
不知道是不是因为膝盖和脚都是冰凉的,所以才导致很晚才能入睡?
刚眯了一会,大约一个小时吧,感觉不错,接着又想学习了。
二、列表界面展示示例
现在要做的就是把打到页面的数据,带样式,也就是说好看点显示。
之前我们在《Vue3学习(二)之 集成Ant Design Vue》这篇文章中,有提及组件的使用,对于一个前端不是很好(后端也不咋的),本着拿来主义,我们能现成的是最好、最省事的方式了。
直白点说就是,找Ant Design Vue现成的组件,将列表数据按组件样式显示到界面上。
1、挑选自己喜欢的列表样式
从https://2x.antdv.com/components/list-cn中,找到list列表,找到自己喜欢的风格,如下图所示: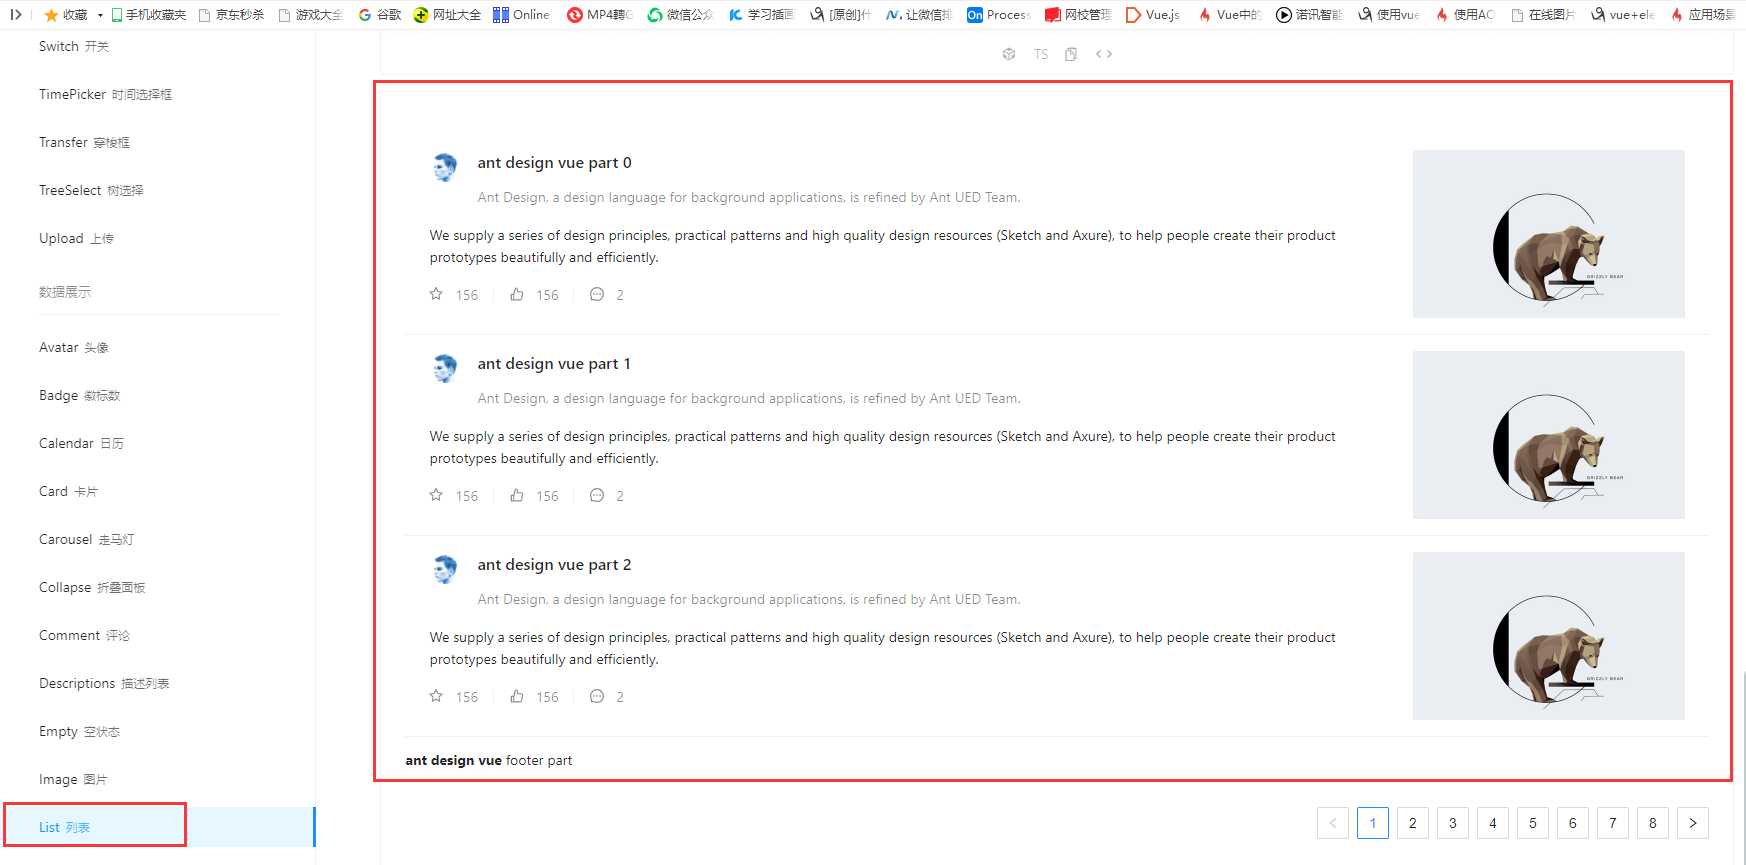
2、进行数据显示
2.1、组件在列表显示
接下来,我们只需要在home里进行修改即可,找到刚才对应组件的位置,把对应代码拷贝到home中,然后在进行修改即可,示例代码如下:
<template>
  <a-layout>
    <a-layout-sider width="200" style="background: #fff">
      <a-menu
          mode="inline"
          v-model:selectedKeys="selectedKeys2"
          v-model:openKeys="openKeys"
          :style="{ height: '100%', borderRight: 0 }"
      >
        <a-sub-menu key="sub1">
          <template #title>
                <span>
                  <user-outlined />
                  subnav 1
                </span>
          </template>
          <a-menu-item key="1">option1</a-menu-item>
          <a-menu-item key="2">option2</a-menu-item>
          <a-menu-item key="3">option3</a-menu-item>
          <a-menu-item key="4">option4</a-menu-item>
        </a-sub-menu>
        <a-sub-menu key="sub2">
          <template #title>
                <span>
                  <laptop-outlined />
                  subnav 2
                </span>
          </template>
          <a-menu-item key="5">option5</a-menu-item>
          <a-menu-item key="6">option6</a-menu-item>
          <a-menu-item key="7">option7</a-menu-item>
          <a-menu-item key="8">option8</a-menu-item>
        </a-sub-menu>
        <a-sub-menu key="sub3">
          <template #title>
                <span>
                  <notification-outlined />
                  subnav 3
                </span>
          </template>
          <a-menu-item key="9">option9</a-menu-item>
          <a-menu-item key="10">option10</a-menu-item>
          <a-menu-item key="11">option11</a-menu-item>
          <a-menu-item key="12">option12</a-menu-item>
        </a-sub-menu>
      </a-menu>
    </a-layout-sider>
    <a-list item-layout="vertical" size="large" :pagination="pagination" :data-source="listData">
      <template #footer>
        <div>
          <b>ant design vue</b>
          footer part
        </div>
      </template>
      <template #renderItem="{ item }">
        <a-list-item key="item.title">
          <template #actions>
          <span v-for="{ type, text } in actions" :key="type">
            <component v-bind:is="type" style="margin-right: 8px" />
            {

   { text }}
          </span>
          </template>
          <template #extra>
            <img
                width="272"
                alt="logo"
                src="https://gw.alipayobjects.com/zos/rmsportal/mqaQswcyDLcXyDKnZfES.png"
            />
          </template>
          <a-list-item-meta :description="item.description">
            <template #title>
              <a :href="item.href">{

   { item.title }}</a>
            </template>
            <template #avatar><a-avatar :src="item.avatar" /></template>
          </a-list-item-meta>
          {

   { item.content }}
        </a-list-item>
      </template>
    </a-list>
  </a-layout>
</template>

<script lang="ts">
import { defineComponent,onMounted,ref,reactive,toRef} from 'vue';
import axios from 'axios';
import { StarOutlined, LikeOutlined, MessageOutlined } from '@ant-design/icons
最低0.47元/天 解锁文章


 448
448

 被折叠的 条评论
为什么被折叠?
被折叠的 条评论
为什么被折叠?
 到【灌水乐园】发言


