


 本文提供了一套详细的步骤来在Linux环境下部署百度Disconf配置管理系统,包括环境搭建、数据库初始化、Tomcat及Nginx配置等关键环节。
Linux环境下部署百度 disconf
1. 下载disconf源码:
https://codeload.github.com/knightliao/disconf/zip/master
然后解压
unzip disconf-master.zip
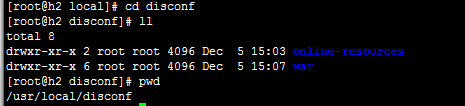
2. 解压完成后,创建两个文件夹online-resources和war
mkdir /usr/local/disconf/online-resources

mkdir /usr/local/disconf/war
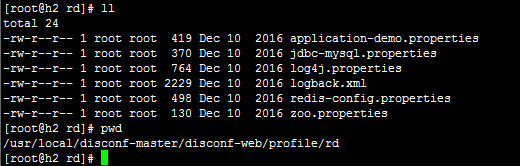
3. 将
disconf-master/disconf-web/profile/rd
目录下的几个文件:
application-demo.properties(邮件配置163)
jdbc-mysql.properties(mysql数据库连接的配置)
redis-config.properties(redis连接的配置)
zoo.properties(zookeeper的配置)
拷贝到刚才的:
/usr/local/disconf/online-resources
目录下。
复制到这个目录下之后,修改
application-demo.properties改成application.properties
之后其他几个文件 redis配置和zk配置就可以按照环境情况实际配置,由于我这redis,和zookeeper事先装好的,就不详细说redis和zk安装过程了
4. 上面解压完disconf-master包之后需要配置环境变量:
sudo vi /etc/profile,在文件的末尾加上
ONLINE_CONFIG_PATH=/usr/local/disconf/online-resources
WAR_ROOT_PATH=/usr/local/disconf/war
export ONLINE_CONFIG_PATH
export WAR_ROOT_PATH
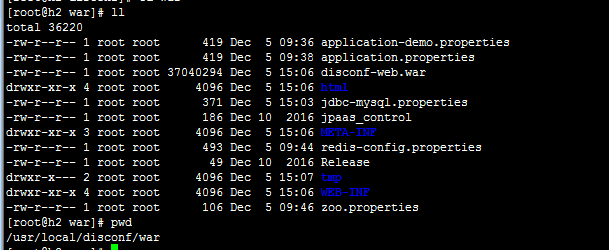
5. 生成war包
cd disconf/disconf-web
sh deploy/deploy.sh
不要使用 mvn clean install 编译会报错
最后会在 online-resources目录下生成war包:
6. 根据readme刷入你的SQL脚本 mysql
按照disconf-master/disconf-web/sql/readme.txt说明
----------------------------
为了方便大家开发,统一了所有SQL,请先后执行:

- 0-init_table.sql        create db,tables
 - 1-init_data.sql         create data
 - 201512/20151225.sql     patch
 - 20160701/20160701.sql   patch
 ----------------------------
刷入脚本:
cd /data/disconf-master/disconf-web/sql/
 mysql -uroot -proot <0-init_table.sql
 mysql -uroot -proot -Ddisconf<1-init_data.sql
 mysql -uroot -proot -Ddisconf<201512/20151225.sql
 mysql -uroot -proot -Ddisconf<20160701/20160701.sql
7. 安装 tomcat 下面是给安装栗子,我实际上是安装的tomcat8
1.下载tomcat7.0.55 http://tomcat.apache.org/download-70.cgi 选择core 中的tar.gz。

2.解压缩  tar -zxvf apache-tomcat-7.0.55.tar.gz
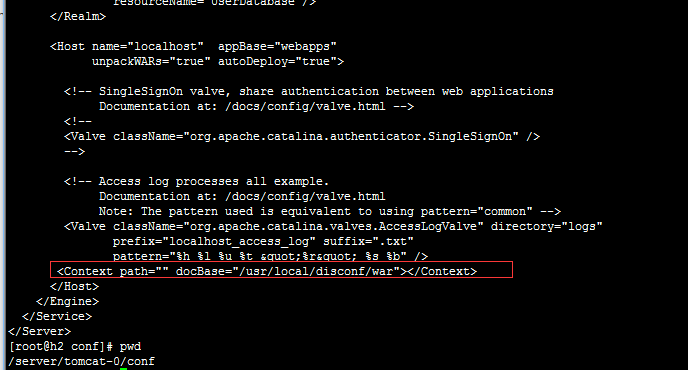
配置tomcat
在tomcat的server.xml  Host节点中加入
<Context path="" docBase="/usr/local/disconf/war"></Context>
8. 安装nginx:
第一步:
rpm -ivh http://nginx.org/packages/centos/6/noarch/RPMS/nginx-release-centos-6-0.el6.ngx.noarch.rpm
第二步:
yum info nginx(查看当前版本可选)
第三步:安装
yum install -y nginx
启动命令:nginx安装目录在/etc/nginx
service nginx start
启动命令    service nginx start
停止命令    service nginx stop
重启命令    service nginx restart
配置 nginx在nginx.conf中http添加:
    upstream disconf {
      server 127.0.0.1:8080;
    }

 server {
     listen   8000;
     server_name localhost;
     access_log logs/disconf_access.log;
     error_log logs/disconf_error.log;

     location / {
         root /usr/local/disconf/war/html;
         if ($query_string) {
             expires max;
         }
     }

     location ~ ^/(api|export) {
         proxy_pass_header Server;
         proxy_set_header Host $http_host;
         proxy_redirect off;
         proxy_set_header X-Real-IP $remote_addr;
         proxy_set_header X-Scheme $scheme;
         proxy_pass http://disconf;
  }
}
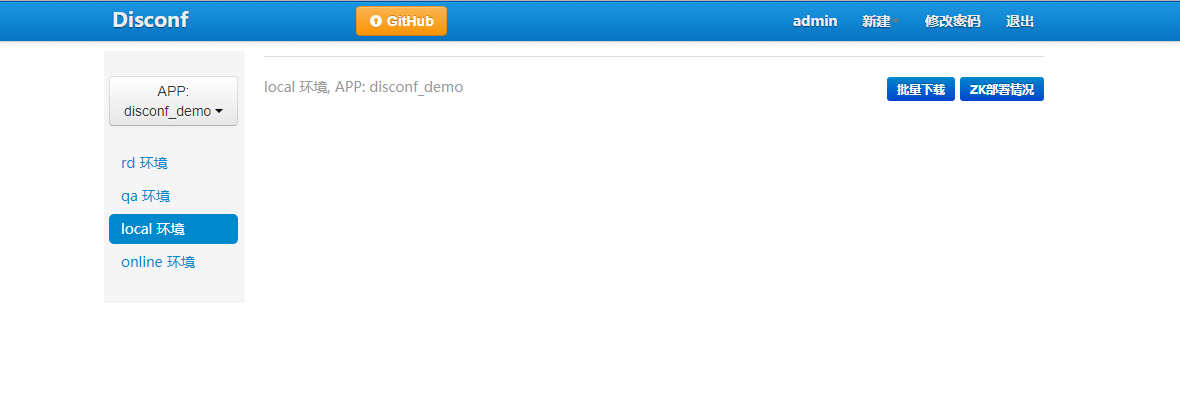
9. 最后需要访问 http://ip:8000
用户名密码 admin admin
目前只是调研,如果好用,会接着更新
至于为什么一定要使用nginx 之前是说如果只使用tomcat 的话,只能返回JSON,需要使用nginx反向代理,具体还在考察,


 3万+
3万+

 被折叠的 条评论
为什么被折叠?
被折叠的 条评论
为什么被折叠?
 到【灌水乐园】发言


