


文章目录
背景
最近通过c++重写Tensorrt推理部分的代码,但重写完还是需要python做一些rosbag的读取操作的代码,打算通过pybind11来将推理部分代码打包好后在python中调用。
1. pybind11 安装
pybind11 文档:https://pybind11.readthedocs.io/en/latest/basics.html
文档中提供了多种安装方式,这里我直接使用pypi进行安装。
pip install pybind11
安装完成后,可以使用python -m pybind11命令来查看头文件以及cmake文件的地址
pybind python -m pybind11
usage: __main__.py [-h] [--version] [--includes] [--cmakedir] [--pkgconfigdir]
options:
  -h --help      show this help message and exit
  --version       Print the version and exit.
  --includes      Include flags for both pybind11 and Python headers.
  --cmakedir      Print the CMake module directory, ideal for setting -Dpybind11_ROOT in CMake.
  --pkgconfigdir  Print the pkgconfig directory, ideal for setting $PKG_CONFIG_PATH.
2. 上手pybind11
1. 简单使用
参照官方教程,完成一个简单的demo
example.cpp
#include <pybind11/pybind11.h>

int add(int i, int j) {
    return i + j;
}

PYBIND11_MODULE(example, m) {
    m.doc() = "pybind11 example plugin"; // optional module docstring

    m.def("add", &add, "A function that adds two numbers");
}
- 参照教程命令编译代码时报错,查阅资料将
python3 -m pybind11 --extension-suffix修改为python3-config --extension-suffix后成功。 - 运行
python3-config --extension-suffix结果为.cpython-310-x86_64-linux-gnu.so
$ c++ -O3 -Wall -shared -std=c++11 -fPIC $(python3 -m pybind11 --includes) example.cpp -o example$(python3 -m pybind11 --extension-suffix)
#报错如下:
usage: __main__.py [-h] [--version] [--includes] [--cmakedir] [--pkgconfigdir]
__main__.py: error: unrecognized arguments: --extension-suffix
#编译成功
c++ -O3 -Wall -shared -std=c++11 -fPIC $(python3 -m pybind11 --includes) example.cpp -o example$(python3-config --extension-suffix)
上面这段长长的命令实际上就是编译为动态链接库的命令,由于pybind11是头文件库,所以只需要指定头文件目录就可以了。
在python中使用 C++ 编译后的库文件
import example
example.add(1, 2)
3
2. 代码分析
PYBIND11_MODULE(example, m) {
    m.doc() = "pybind11 example plugin"; // optional module docstring

    m.def("add", &add, "A function that adds two numbers");
}
作用:
-
PYBIND11_MODULE(example, m)是 pybind11 提供的宏,用于定义一个 Python 扩展模块。- example 是生成的模块名(import 时用的名字)。
m是模块对象,可以用来添加函数、类等。
-
m.doc() = "pybind11 example plugin";
设置模块的文档字符串(可选),在 Python 里可以通过example.__doc__查看。 -
m.def("add", &add, "A function that adds two numbers");
把 C++ 的add函数注册为 Python 的add函数,并添加说明文档。这样在 Python 里可以直接调用example.add(1, 2)。
3. 使用类型提示存根文件
类型提示存根文件指的是 Python 的类型提示存根文件,扩展名为 .pyi。这种文件用于为 C/C++ 扩展模块(如 pybind11 编译的模块)提供类型提示和自动补全,方便在 IDE(如 VS Code、PyCharm)中获得更好的开发体验。
example.pyi
def add(i: int, j: int) -> int:
    """
    两数相加

    参数:
        i (int): 第一个整数
        j (int): 第二个整数

    返回:
        int: 两数之和

    示例:
        example.add(1, 2)  # 返回 3
    """
    ...
- 语法和函数定义一样,不过它使用
...代替函数实现。 - 将 example.pyi 文件放在与example 扩展模块同一目录下,编辑器就能为 example 模块提供类型提示和文档说明,类似opencv一样。
3. 构建动态库
注意
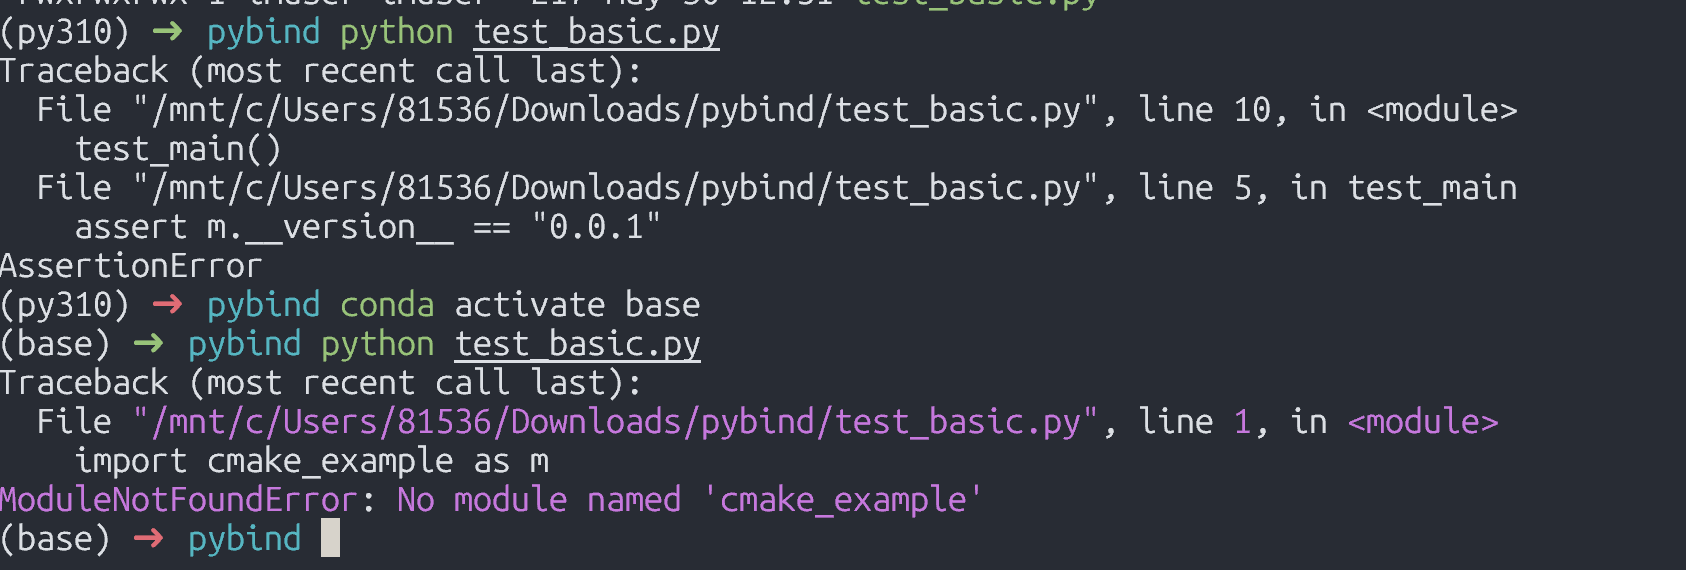
如果编译后的动态库需要在其它环境下使用,必须要确保python版本与编译环境一致,否则会报错找不到该模块。
- 使用python 3.10下编译的库,必须在3.10的环境下才能正常使用。
1. cmake
使用CMake构建.so库比直接调用g++命令更便于依赖管理
通过 python -m pybind11 --cmakedir找到pybind11 cmake文件路径,替换下方的pybind路径。
cmake_minimum_required(VERSION 3.4...3.18)
project(cmake_example)
set(pybind11_DIR pybind路径)
find_package(pybind11 REQUIRED)

pybind11_add_module(cmake_example src/main.cpp)

# EXAMPLE_VERSION_INFO is defined by setup.py and passed into the C++ code as a
# define (VERSION_INFO) here.
target_compile_definitions(cmake_example
                           PRIVATE VERSION_INFO=${EXAMPLE_VERSION_INFO})
2. python build
暂未使用,后续更新 ~
4. 实战
使用c++实现指定模型的推理代码,python通过调用c++提供的接口,加载模型与推理后返回结果。
参考 pybind11绑定c++类:https://pybind11.readthedocs.io/en/latest/classes.html
pybind11扩展代码如下:
#include <pybind11/pybind11.h>
#include <pybind11/stl.h>
#include <pybind11/numpy.h>
#include "Kick.cpp"

namespace py = pybind11;

PYBIND11_MODULE(pytrt, m) {
    py::class_<Logger>(m, "Logger")
        .def(py::init<>());
    py::class_<KickInfer>(m, "KickInfer")
        .def(py::init<const std::string&, Logger*>())
        .def("loadEngine", &KickInfer::loadEngine)
        .def("preprocess", [](KickInfer& self, py::array_t<uint8_t> arr) {
            py::buffer_info info = arr.request();
            int h = info.shape[0];
            int w = info.shape[1];
            int c = info.shape[2];
            cv::Mat img(h, w, CV_8UC3, (void*)info.ptr);
            return self.preprocess(img);
        })
        .def("infer", &KickInfer::infer);
}
CMake代码如下:
cmake_minimum_required(VERSION 3.10)
project(trt_mnist_test)
set(pybind11_DIR /home/conda/envs/py310/lib/python3.10/site-packages/pybind11/share/cmake/pybind11)
set(CMAKE_CXX_STANDARD 17)
find_package(OpenCV REQUIRED)
find_package(CUDA REQUIRED)
find_package(pybind11 REQUIRED)

set(TENSORRT_ROOT /home/trt/TensorRT-8.6.1.6)
include_directories(${TENSORRT_ROOT})
link_directories(/home/trt/TensorRT-8.6.1.6)
pybind11_add_module(pytrt py_kickinfer.cpp BaseInfer.cpp utils.cpp)
target_include_directories(pytrt PRIVATE
    ${OpenCV_INCLUDE_DIRS}
    ${CUDA_INCLUDE_DIRS}
    /usr/include
)
target_link_libraries(pytrt PRIVATE
    ${OpenCV_LIBS}
    nvinfer
    nvonnxparser
    /usr/local/cuda-11.4/lib64/libcudart.so  # 需要使用动态库!!!
)
python代码如下:
import pytrt
import cv2
import numpy as np

# 假设 logger 在 C++ 侧有默认实现,构造时可传 None
engine_file = "kick.engine"
logger = pytrt.Logger()

infer = pytrt.KickInfer(engine_file, logger)
infer.loadEngine()

        # 读取图片
img_path = "test.jpg"
img = cv2.imread(img_path)
input_data = infer.preprocess(img)
# 推理
output_list = infer.infer(input_data)    # output 会被填充为 int 列表(如分类结果)
print("推理结果:", output_list)


 6114
6114

 被折叠的 条评论
为什么被折叠?
被折叠的 条评论
为什么被折叠?
 到【灌水乐园】发言


