


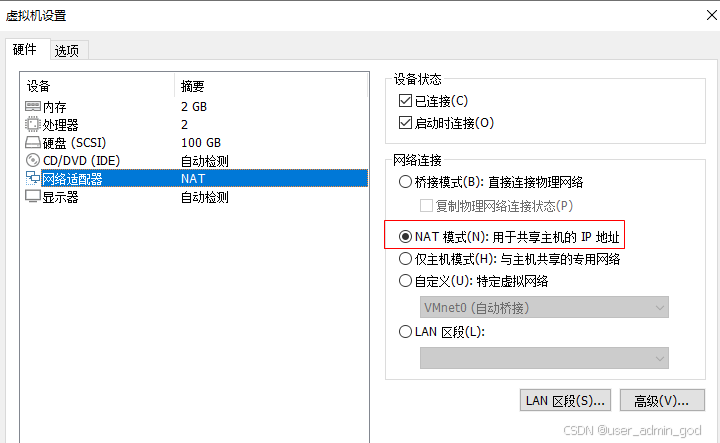
1.设置虚拟机网络适配器 NAT模式
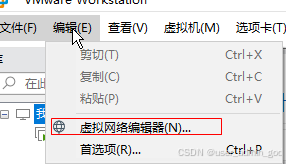
2.设置设置虚拟网络 NAT
这里选择虚拟网络编辑器
这里选择NAT网卡编辑
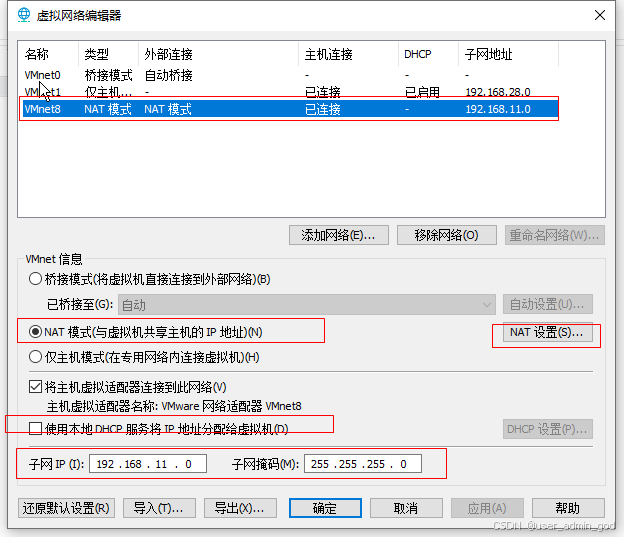
这里设置NAT网关IP

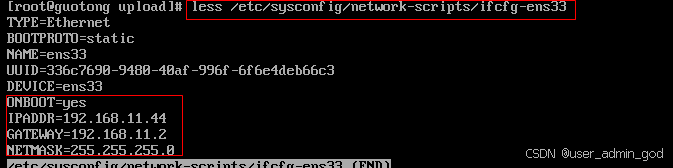
3.启动虚拟机,配置IP和网关地址
TYPE=Ethernet
BOOTPROTO=static
NAME=ens33
UUID=336c7690-9480-40af-996f-6f6e4deb66c3
DEVICE=ens33
ONBOOT=yes
# 虚拟机IP
IPADDR=192.168.11.44
# 虚拟机网关
GATEWAY=192.168.11.2
NETMASK=255.255.255.0
4.设置虚拟机DNS :/etc/resolv.conf

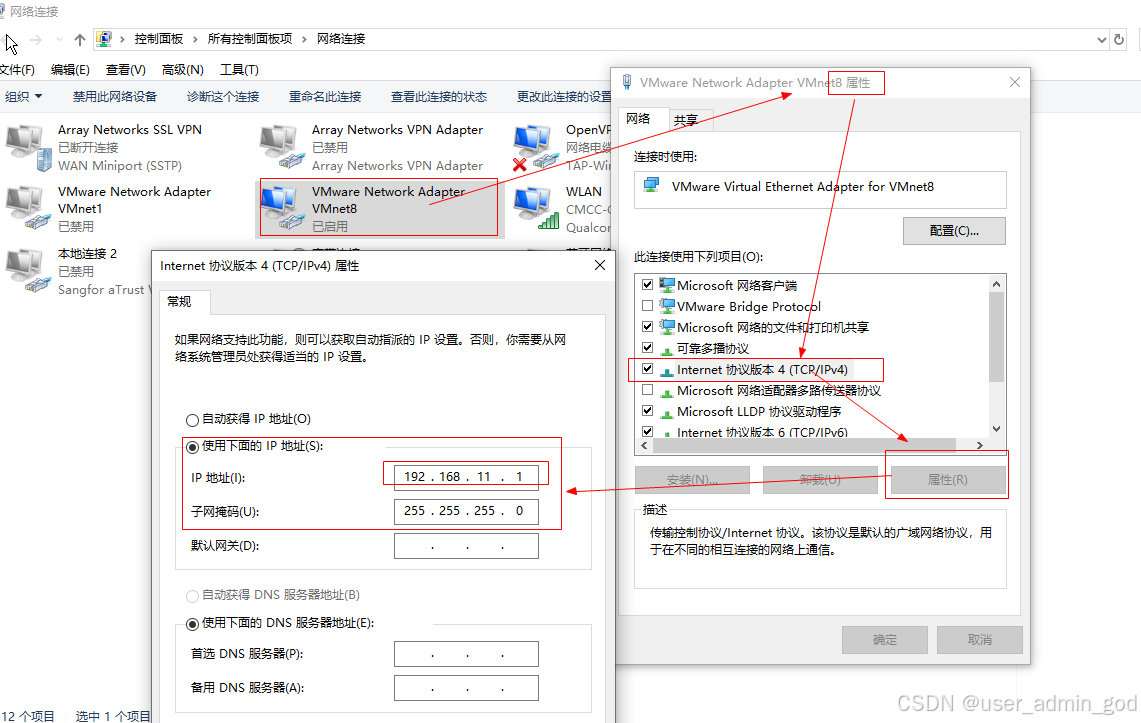
5.关闭虚拟机,设置Window VMware Virtual Ethernet Adapter for VMnet8网卡
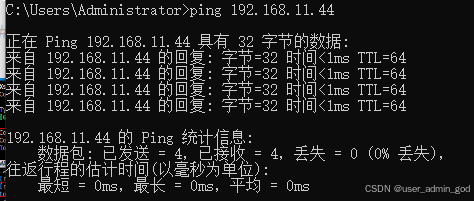
6.启动虚拟机,按住Win+R 输入CMD
ping虚拟机地址 192.168.11.44
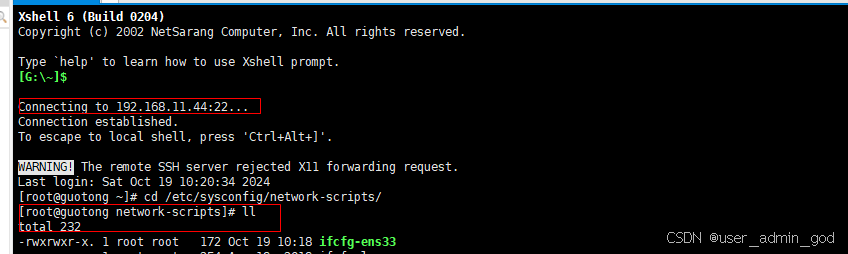
7.Shell工具连接虚拟机
番外使用Hutool的SFTP上传一个文件到虚拟机
 <dependency>
            <groupId>cn.hutool</groupId>
            <artifactId>hutool-all</artifactId>
            <version>5.8.26</version>
        </dependency>
        <dependency>
            <groupId>com.jcraft</groupId>
            <artifactId>jsch</artifactId>
            <version>0.1.53</version>
        </dependency>
        <dependency>
            <groupId>commons-net</groupId>
            <artifactId>commons-net</artifactId>
            <version>3.11.1</version>
        </dependency>
 // 连接SFTP
            Sftp sftp = JschUtil.createSftp("192.168.11.44", 22, "root", "123456");
            //进入远程目录
            String remotePath = "/tmp/upload";
            if (!sftp.exist(remotePath)) {
                sftp.mkdir(remotePath);
            }
            sftp.cd(remotePath);
            //上传本地文件
            sftp.put(filePathLocal, remotePath);
            sftp.close();
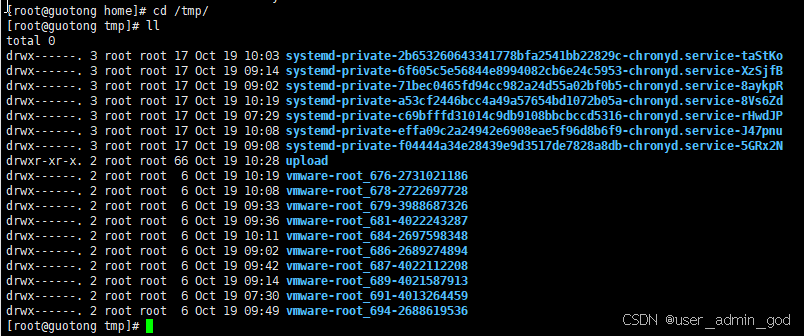
查看虚拟机是否有这个文件了


 4097
4097

 被折叠的 条评论
为什么被折叠?
被折叠的 条评论
为什么被折叠?
 到【灌水乐园】发言


