


文章目录
- 一、JPA
- 二、Spring Boot整合JPA
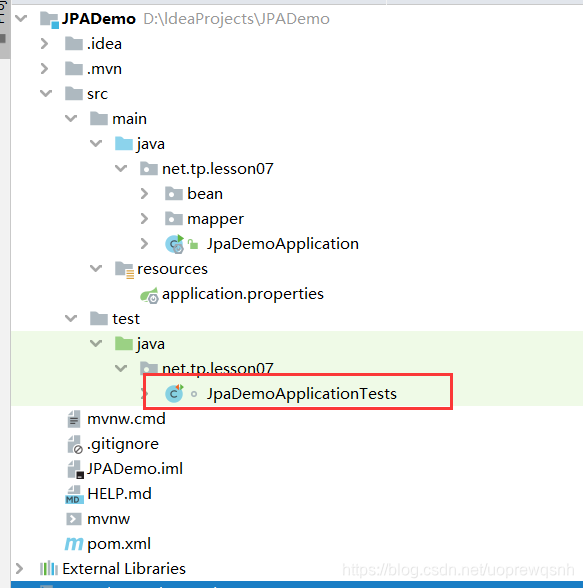
- 1、创建Spring Boot项目JPADemo
- 2、添加项目依赖
- 3、初始化
- 4、在main/java下创建net.tp.lesson07.bean子包
- 5、创建评论实体类Comment
- 6、创建文章实体类Article
- 7、在main/java下创建net.tp.lesson07.mapper子包
- 8、创建自定义JpaRepository接口 - ArticleRepository
- 9、在pom.xml里添加依赖
- 10、在全局配置文件里配置数据源
- 11、在测试类里编写测试方法
- 12、创建测试类testFindById()
- 13、运行查看效果
- 14、创建测试类testSave()
- 15、运行查看效果
- 16、创建测试类testDeleteById()
- 三、利用JPA实现个性化操作
- 四、根据文章编号更新作者
一、JPA
JPA(Java Persistence API)是Sun官方提出的Java持久化规范。它为Java开发人员提供了一种对象/关联映射工具来管理Java应用中的关系数据。他的出现主要是为了简化现有的持久化开发工作和整合ORM技术,结束现在Hibernate,TopLink,JDO等ORM框架各自为营的局面。值得注意的是,JPA是在充分吸收了现有Hibernate,TopLink,JDO等ORM框架的基础上发展而来的,具有易于使用,伸缩性强等优点。从目前的开发社区的反应上看,JPA受到了极大的支持和赞扬,其中就包括了Spring与EJB3.0的开发团队。
Spring Data JPA 是 Spring 基于 ORM 框架、JPA 规范的基础上封装的一套JPA应用框架,可使开发者用极简的代码即可实现对数据的访问和操作。它提供了包括增删改查等在内的常用功能,且易于扩展!学习并使用 Spring Data JPA 可以极大提高开发效率!
二、Spring Boot整合JPA
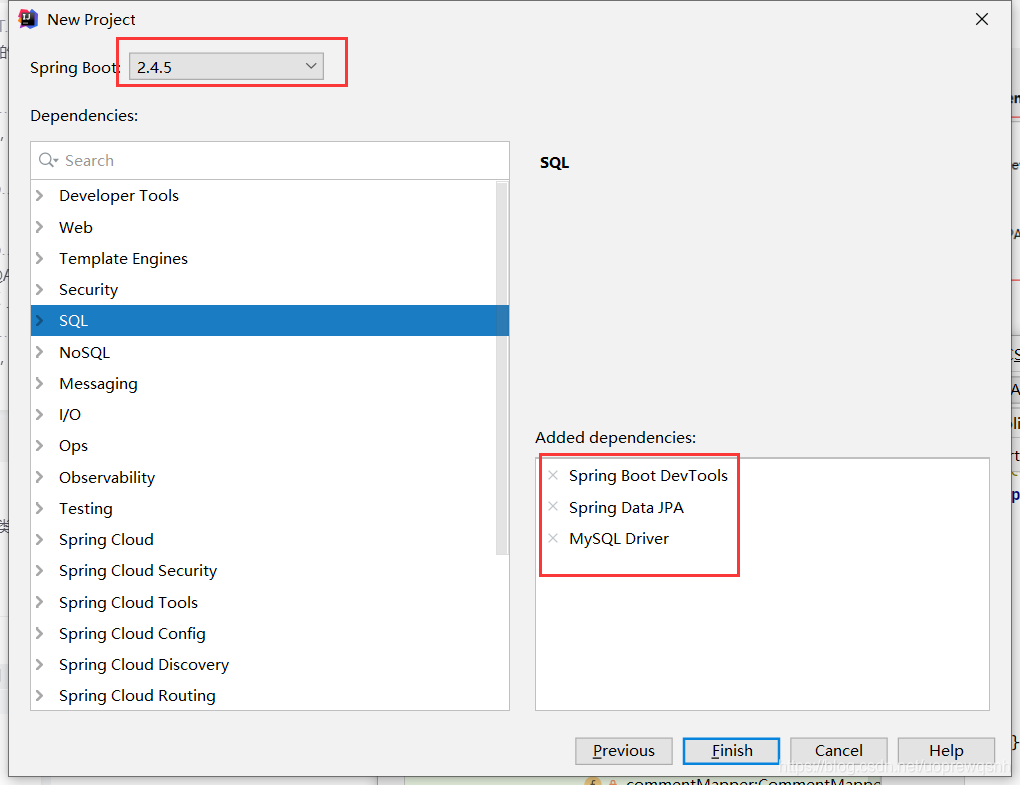
1、创建Spring Boot项目JPADemo
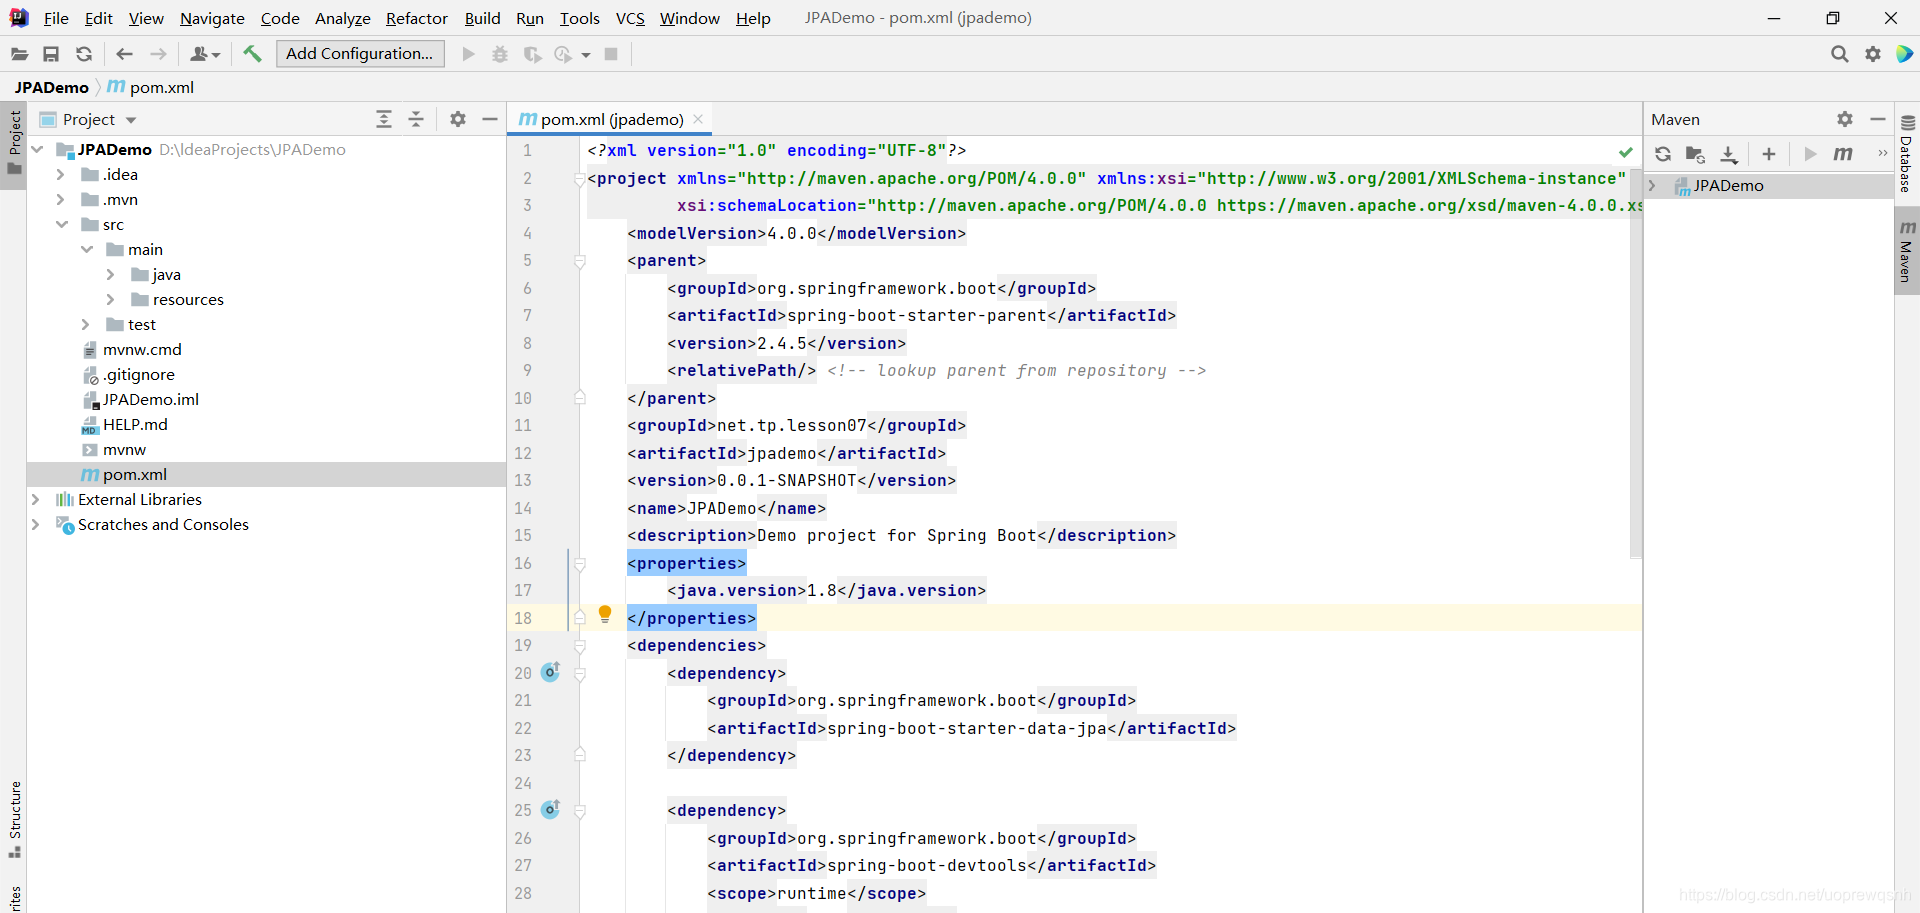
2、添加项目依赖
3、初始化
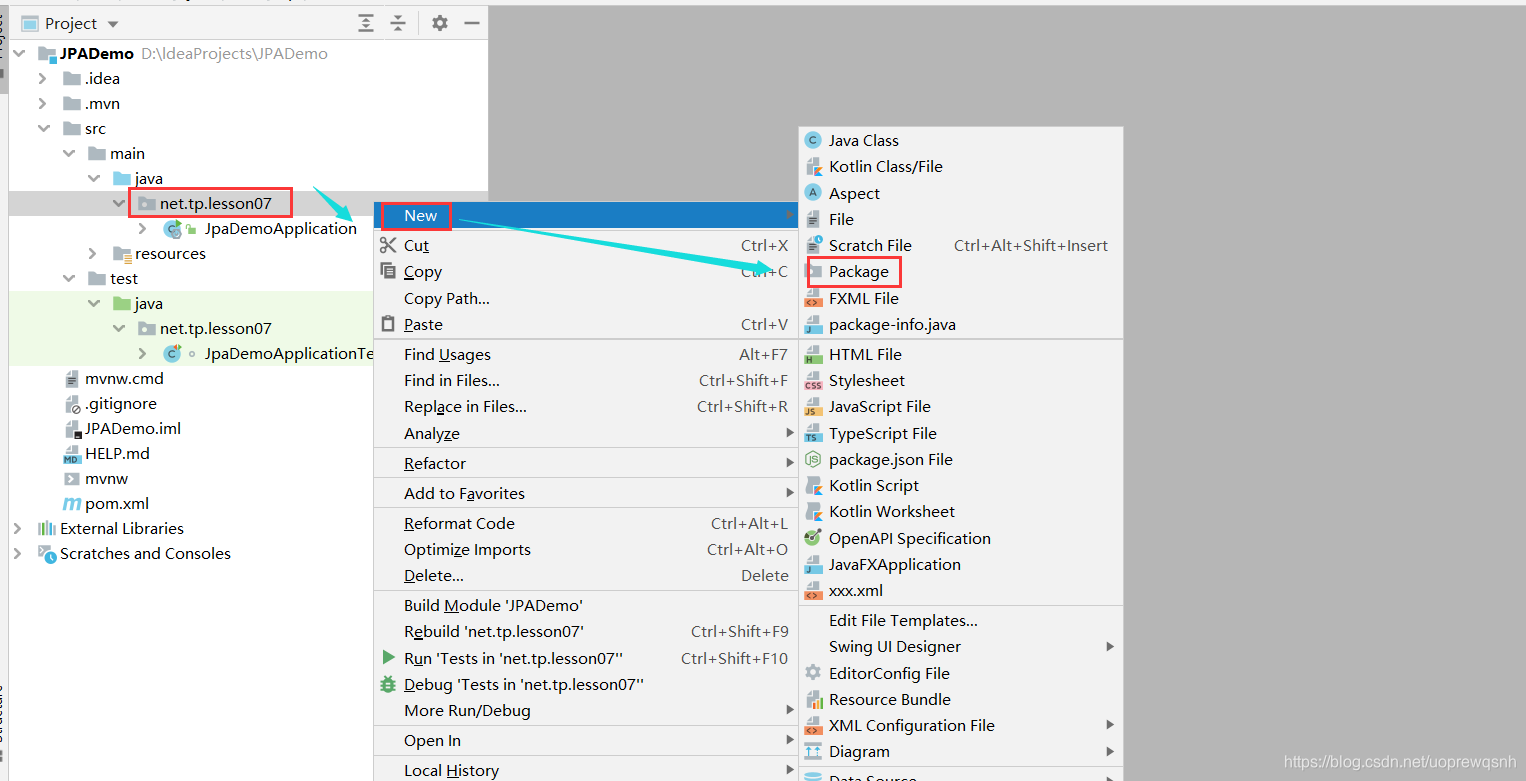
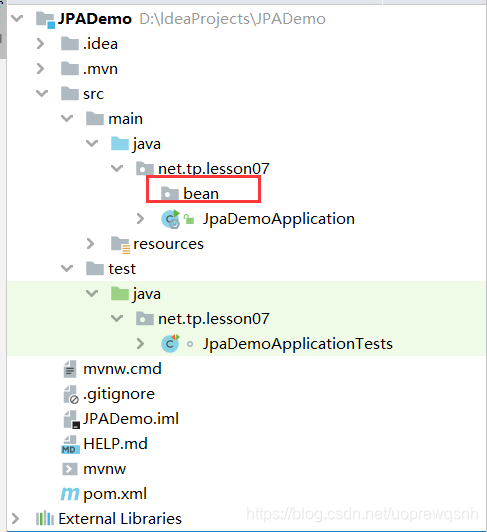
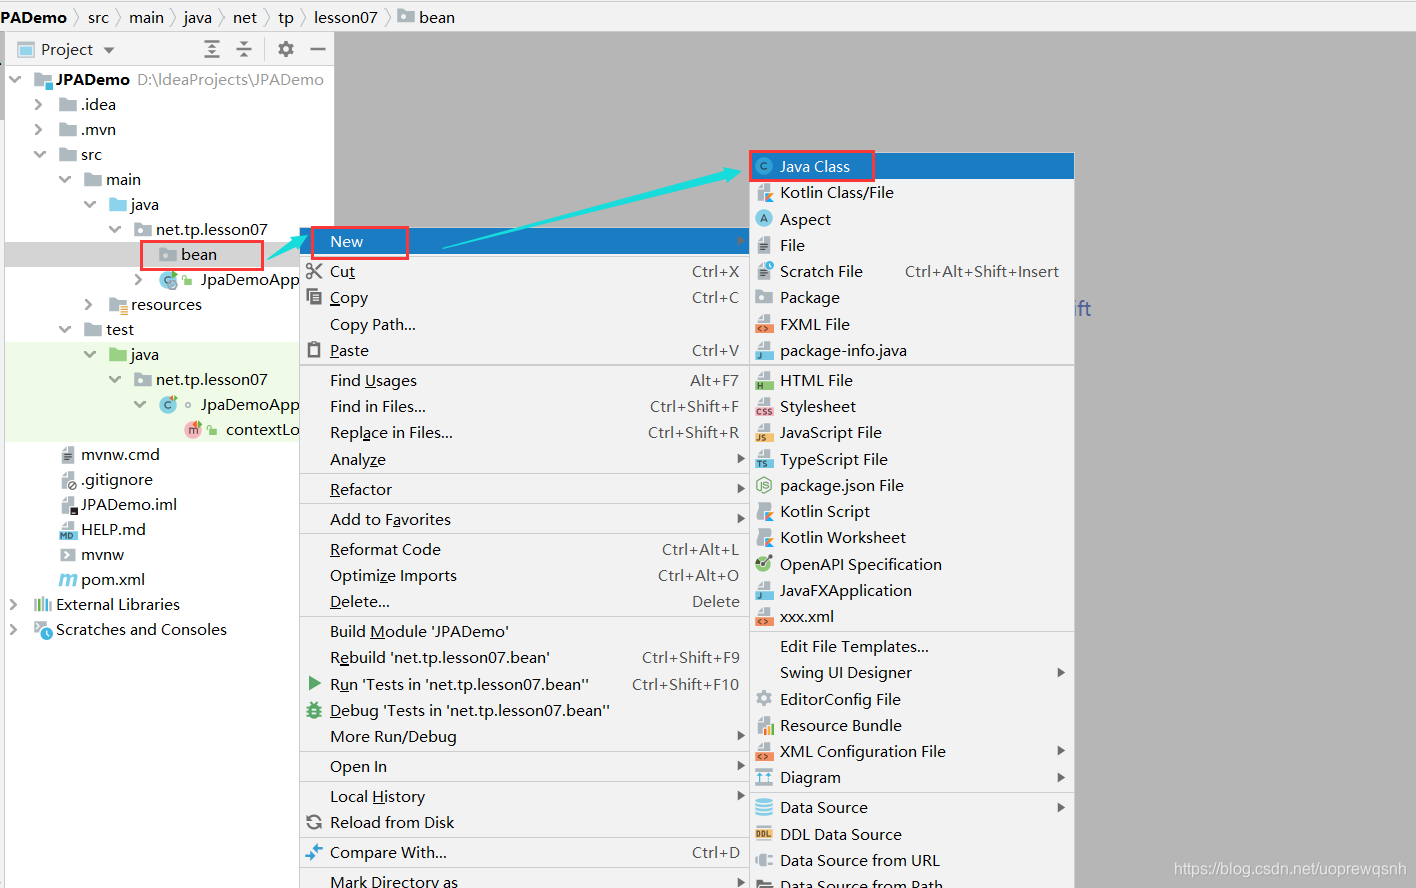
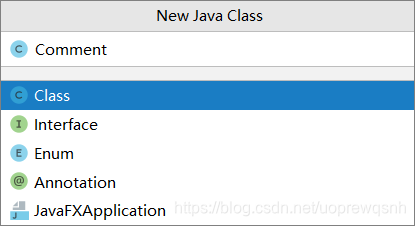
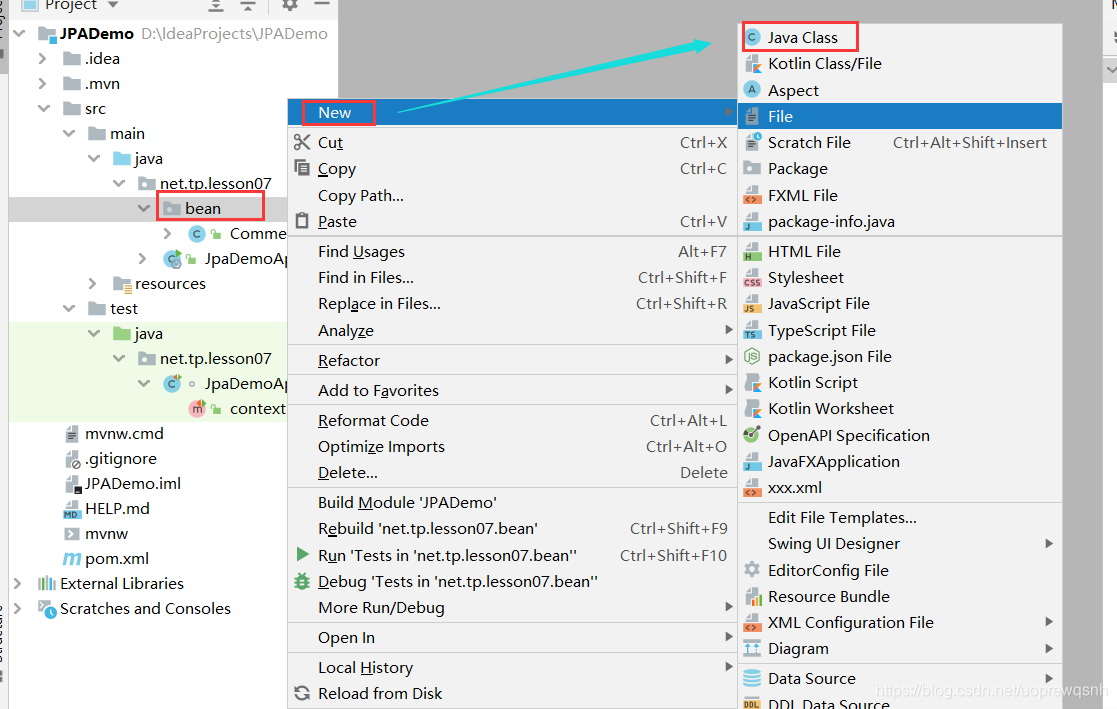
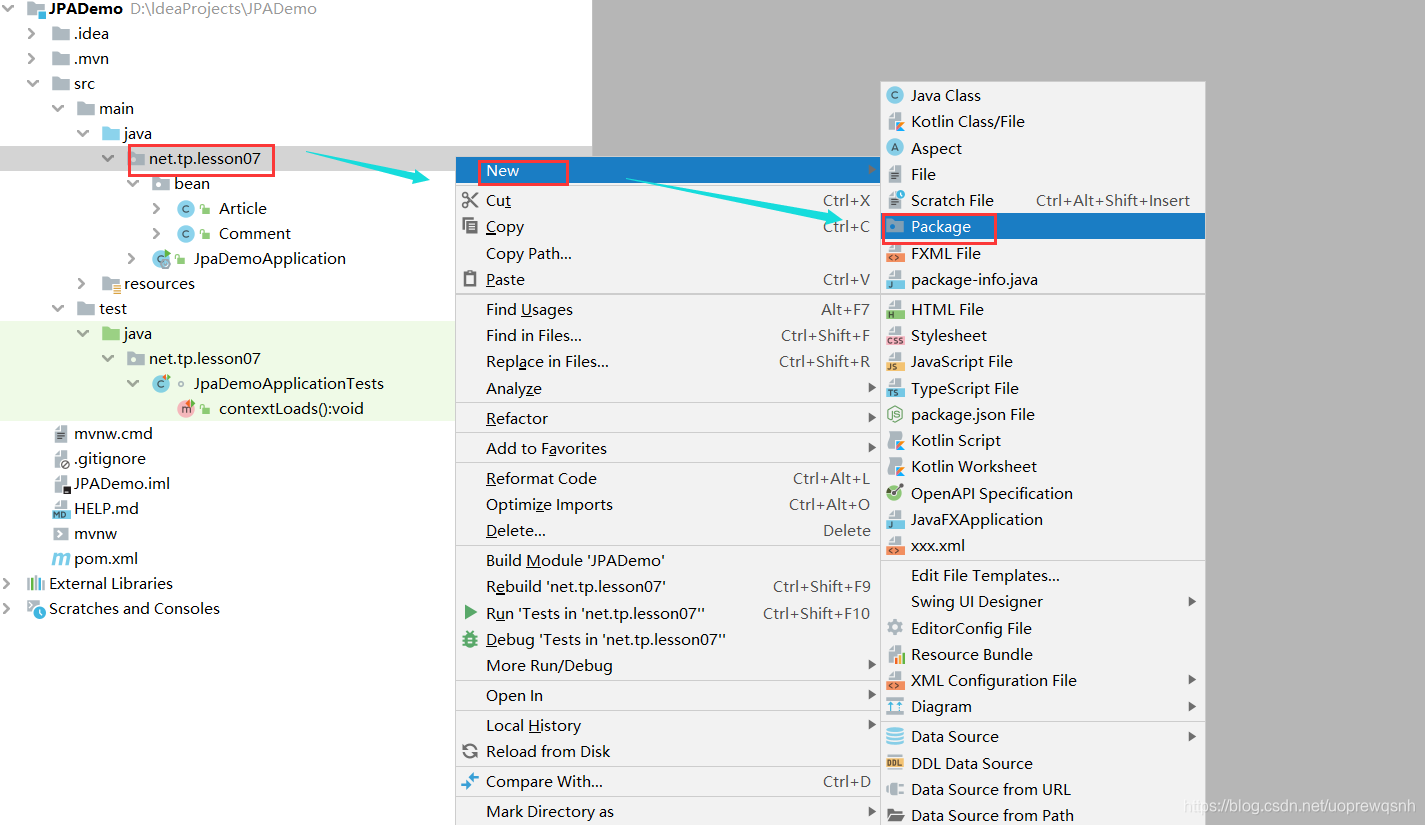
4、在main/java下创建net.tp.lesson07.bean子包

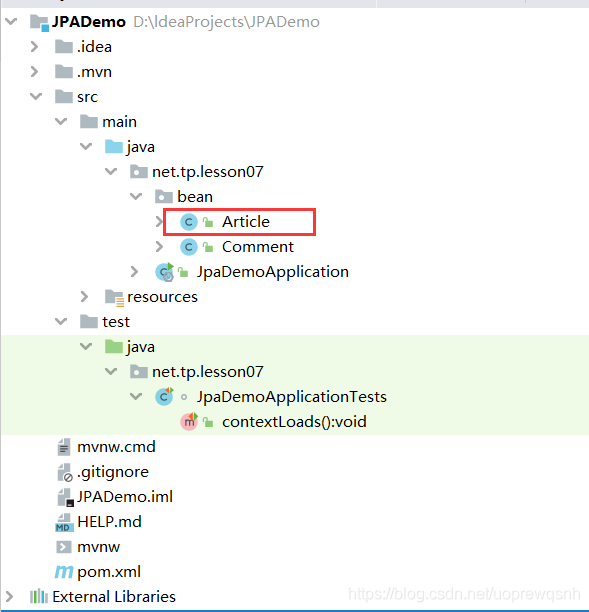
5、创建评论实体类Comment
package net.tp.lesson07.bean;
import javax.persistence.*;
/**
 * 功能:评论实体类
 * 作者:tp
 * 日期:2021年05月12日
 */
@Entity(name = "t_comment")
public class Comment {
    @Id
    @GeneratedValue(strategy = GenerationType.IDENTITY)
    @Column(name = "id")
    private Integer id;
    @Column(name = "content")
    private String content;
    @Column(name = "author")
    private String author;
    @Column(name = "a_id")
    private Integer aId;

    public Integer getId() {
        return id;
    }

    public void setId(Integer id) {
        this.id = id;
    }

    public String getContent() {
        return content;
    }

    public void setContent(String content) {
        this.content = content;
    }

    public String getAuthor() {
        return author;
    }

    public void setAuthor(String author) {
        this.author = author;
    }

    public Integer getaId() {
        return aId;
    }

    public void setaId(Integer aId) {
        this.aId = aId;
    }

    @Override
    public String toString() {
        return "Comment{" +
                "id=" + id +
                ", content='" + content + '\'' +
                ", author='" + author + '\'' +
                ", aId=" + aId +
                '}';
    }
}
6、创建文章实体类Article
package net.tp.lesson07.bean;

import javax.persistence.*;
import java.util.List;

/**
 * 功能:文章实体类
 * 作者:tp
 * 日期:2021年05月12日
 */
@Entity(name = "t_article")
public class Article {
    @Id
    @GeneratedValue(strategy = GenerationType.IDENTITY)
    private Integer id;
    @Column(name = "title")
    private String title;
    @Column(name = "content")
    private String content;

    //查询时把子表一并查出来
    @OneToMany(fetch = FetchType.EAGER) // FetchType.LAZY 懒加载
    @JoinTable(name = "t_comment", joinColumns = {@JoinColumn(name = "a_id")},
            inverseJoinColumns = {@JoinColumn(name = "id")})
    private List<Comment> commentList;

    public Integer getId() {
        return id;
    }

    public void setId(Integer id) {
        this.id = id;
    }

    public String getTitle() {
        return title;
    }

    public void setTitle(String title) {
        this.title = title;
    }

    public String getContent() {
        return content;
    }

    public void setContent(String content) {
        this.content = content;
    }

    public List<Comment> getCommentList() {
        return commentList;
    }

    public void setCommentList(List<Comment> commentList) {
        this.commentList = commentList;
    }

    @Override
    public String toString() {
        return "Article{" +
                "id=" + id +
                ", title='" + title + '\'' +
                ", content='" + content + '\'' +
                ", commentList=" + commentList +
                '}';
    }
}
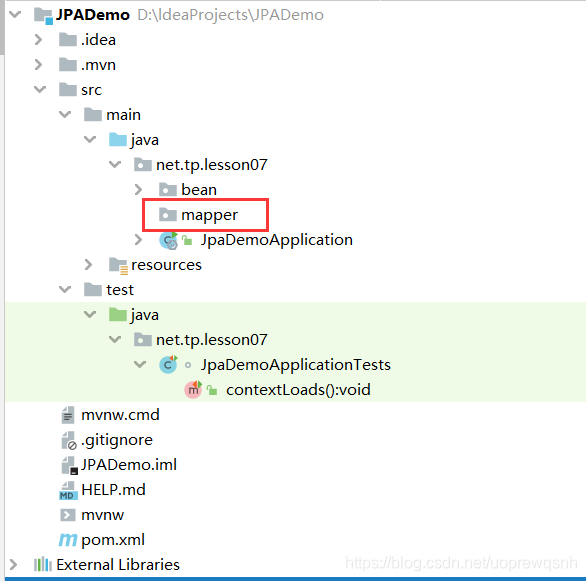
7、在main/java下创建net.tp.lesson07.mapper子包

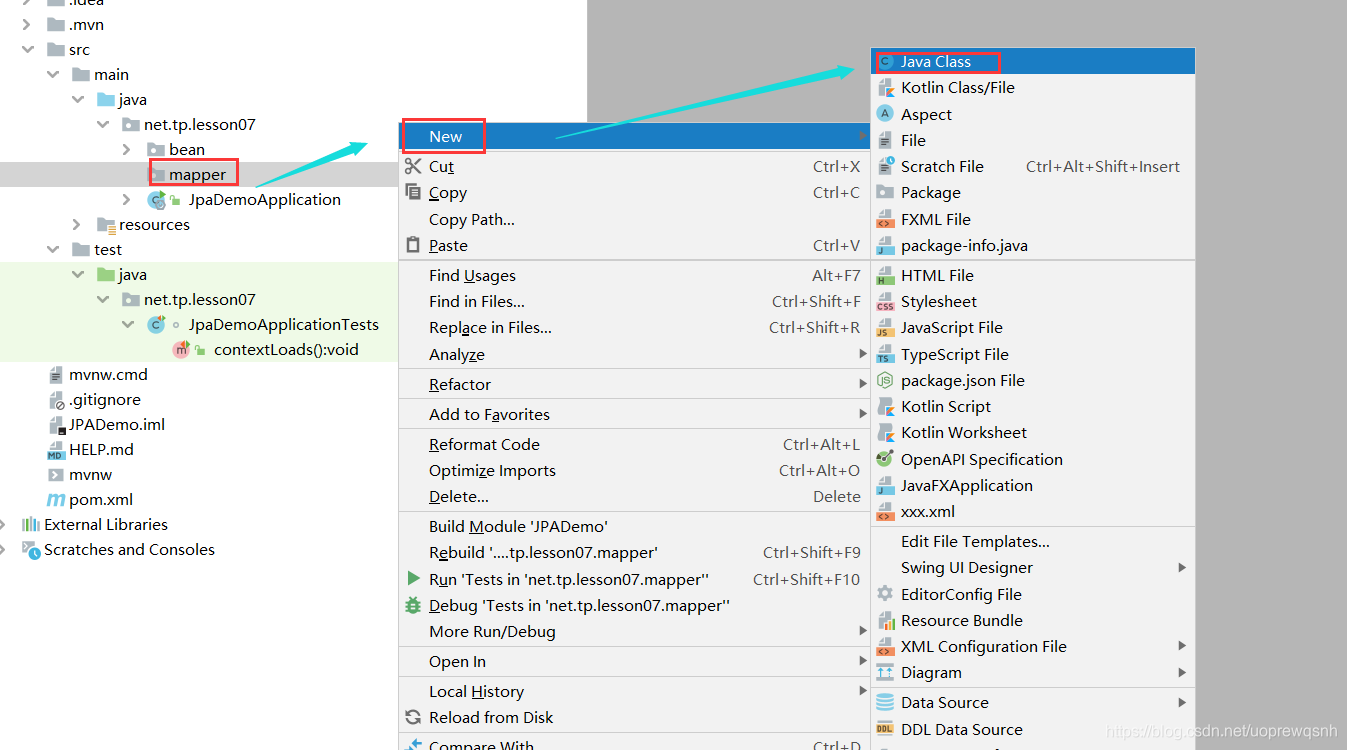
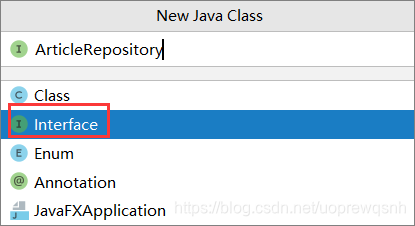
8、创建自定义JpaRepository接口 - ArticleRepository
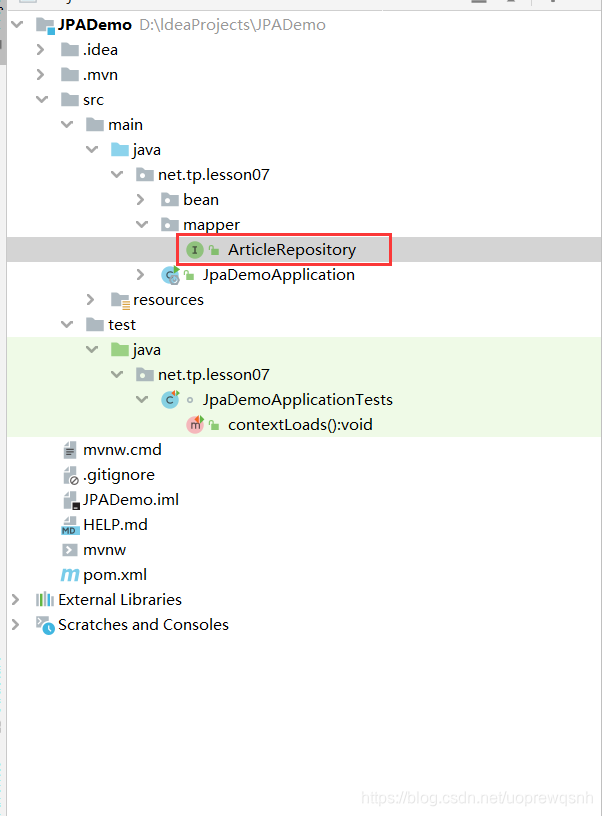
package net.tp.lesson07.mapper;

import net.tp.lesson07.bean.Article;
import org.springframework.data.jpa.repository.JpaRepository;

/**
 * 功能:文章仓库接口
 * 作者:tp
 * 日期:日期:2021年05月12日
 */
public interface ArticleRepository extends JpaRepository<Article, Integer> {

}
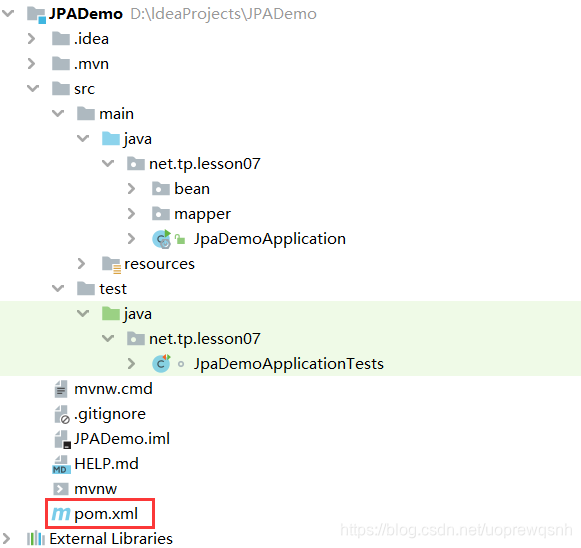
9、在pom.xml里添加依赖
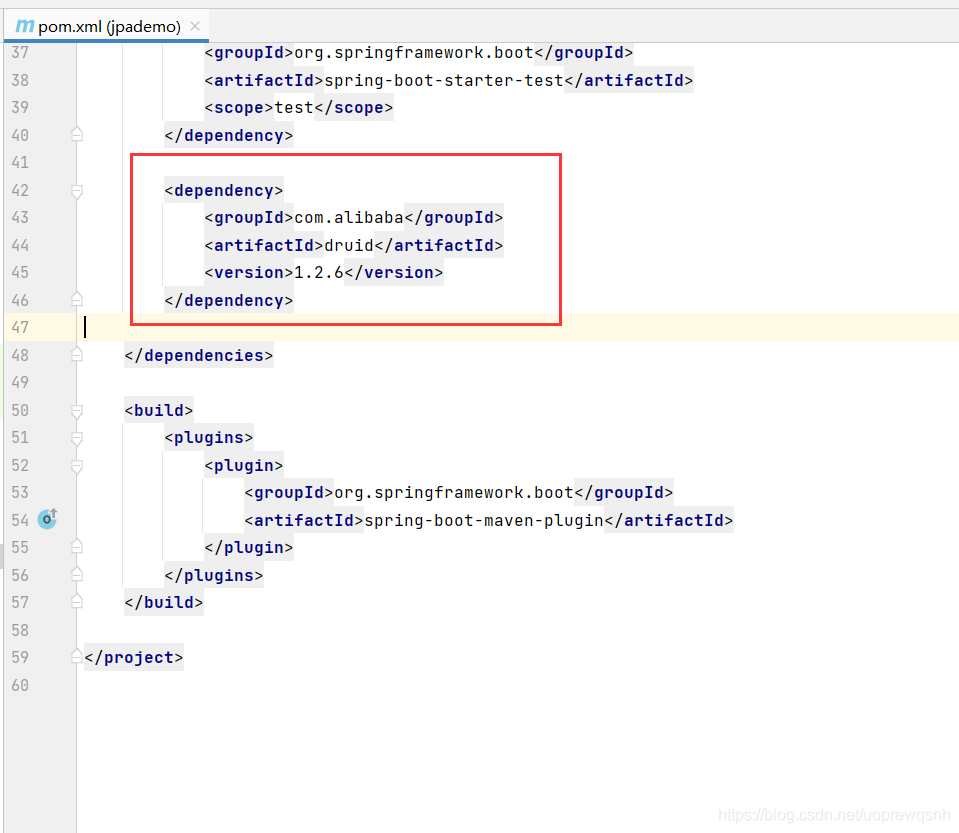
        <dependency>
            <groupId>com.alibaba</groupId>
            <artifactId>druid</artifactId>
            <version>1.2.6</version>
        </dependency>
10、在全局配置文件里配置数据源
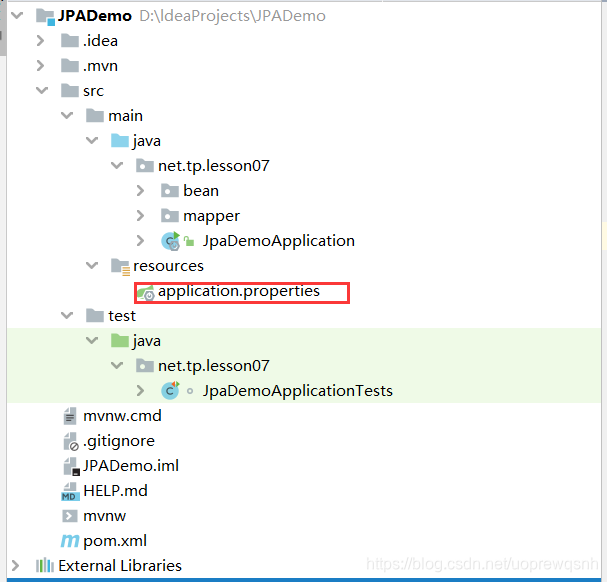
spring.datasource.url=jdbc:mysql://localhost:3306/blog?serverTimezone=UTC
spring.datasource.username=root
spring.datasource.password=root

spring.datasource.druid.max-active=100
spring.datasource.druid.min-idle=10
spring.datasource.druid.initial-size=20
11、在测试类里编写测试方法
(1)、添加文章仓库
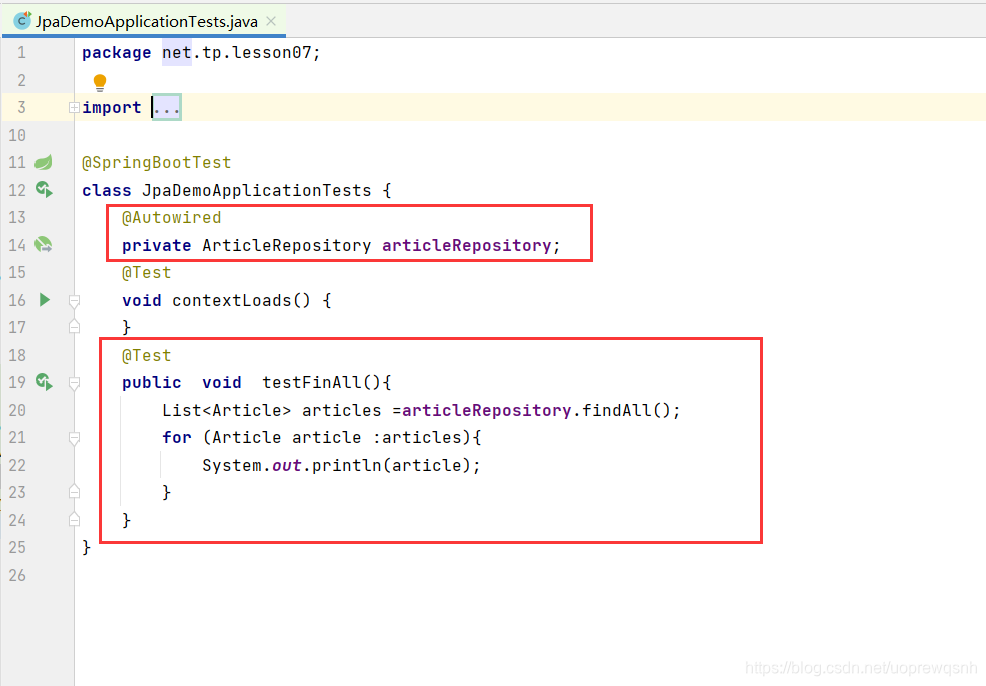
package net.tp.lesson07;

import net.tp.lesson07.bean.Article;
import net.tp.lesson07.mapper.ArticleRepository;
import org.junit.jupiter.api.Test;
import org.springframework.beans.factory.annotation.Autowired;
import org.springframework.boot.test.context.SpringBootTest;

import java.util.List;

@SpringBootTest
class JpaDemoApplicationTests {
    @Autowired
    private ArticleRepository articleRepository;
    @Test
    void contextLoads() {
    }
    @Test
    public  void  testFinAll(){
        List<Article> articles =articleRepository.findAll();
        for (Article article :articles){
            System.out.println(article);
        }
    }
}
(2)、运行查看效果

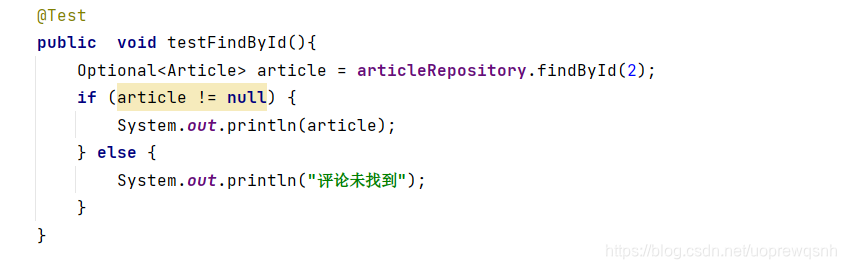
12、创建测试类testFindById()
13、运行查看效果

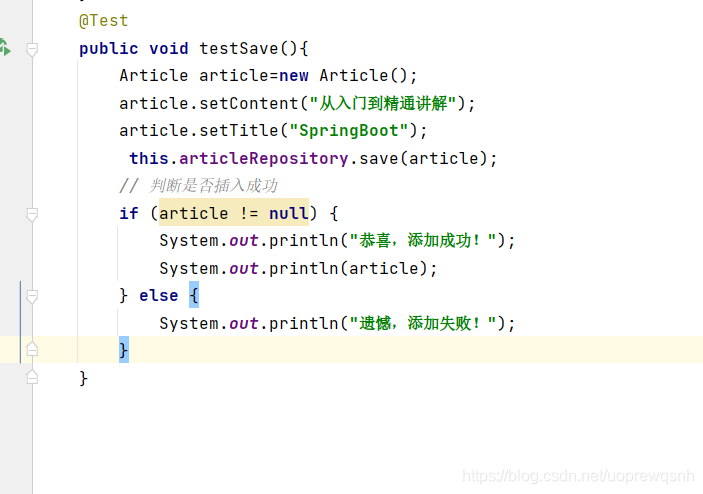
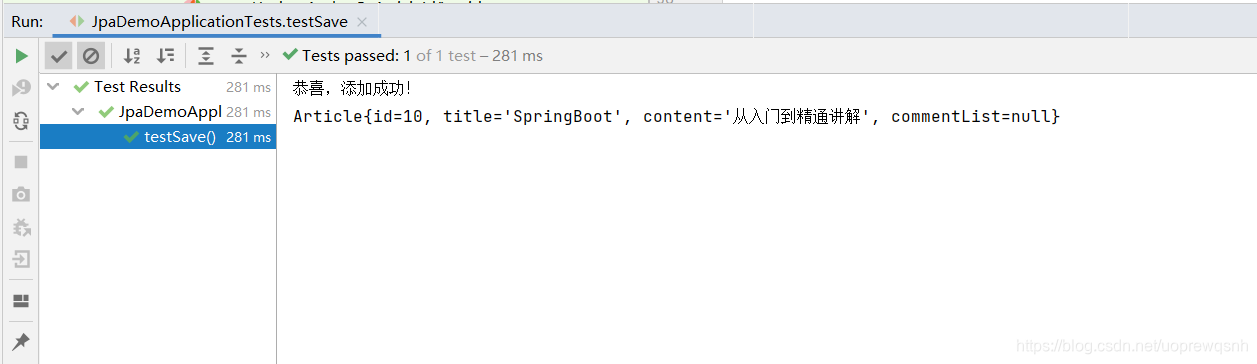
14、创建测试类testSave()
- 如果对应的id不存在,save方法则为insert
15、运行查看效果
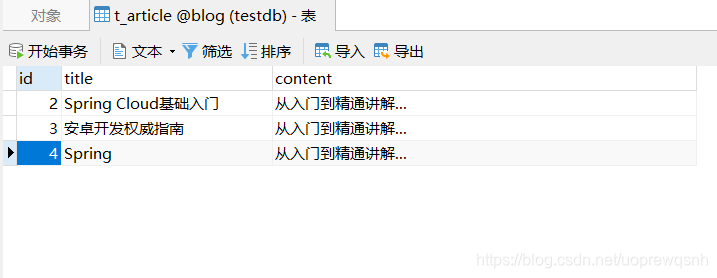
-
先查看数据库数据
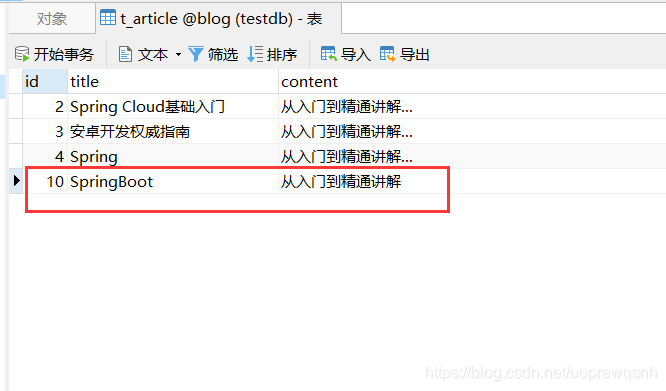
-
刷新后的数据
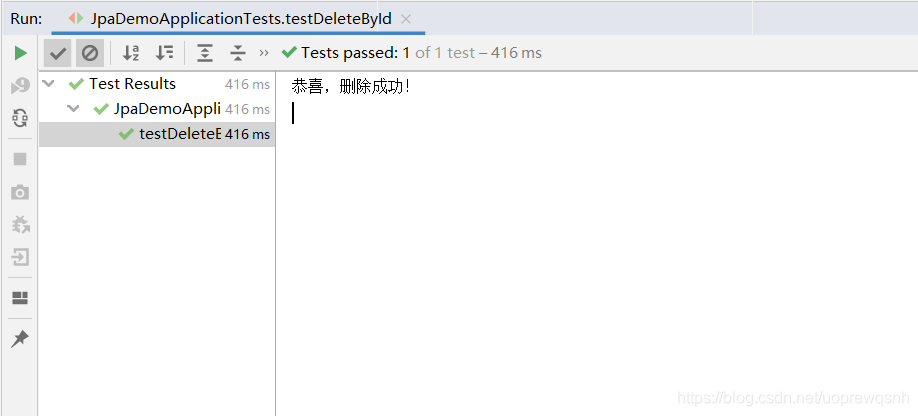
16、创建测试类testDeleteById()
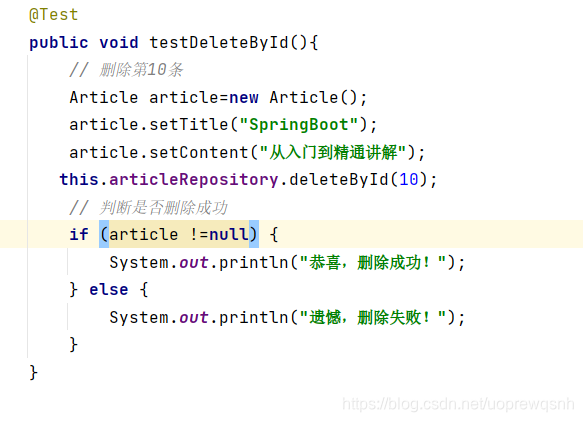
- 运行效果
三、利用JPA实现个性化操作
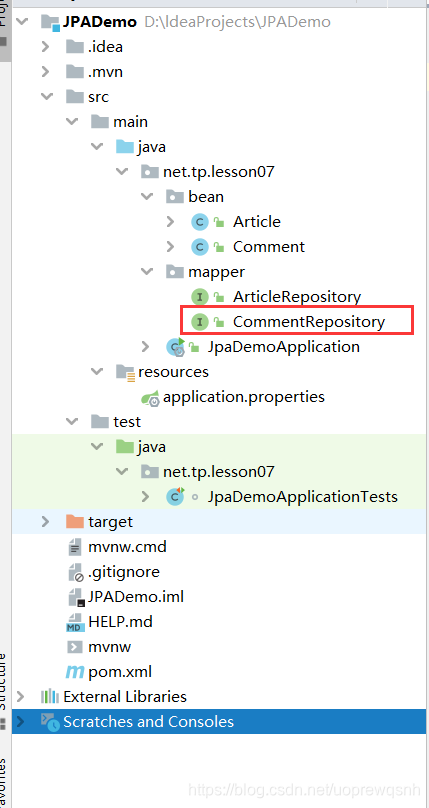
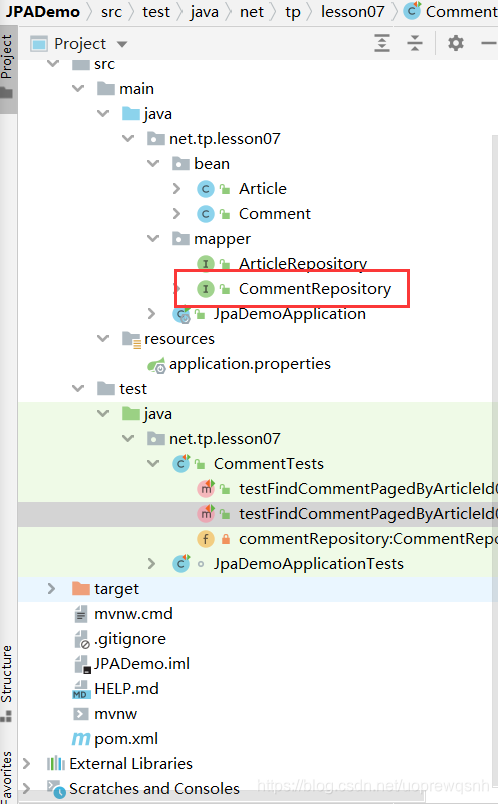
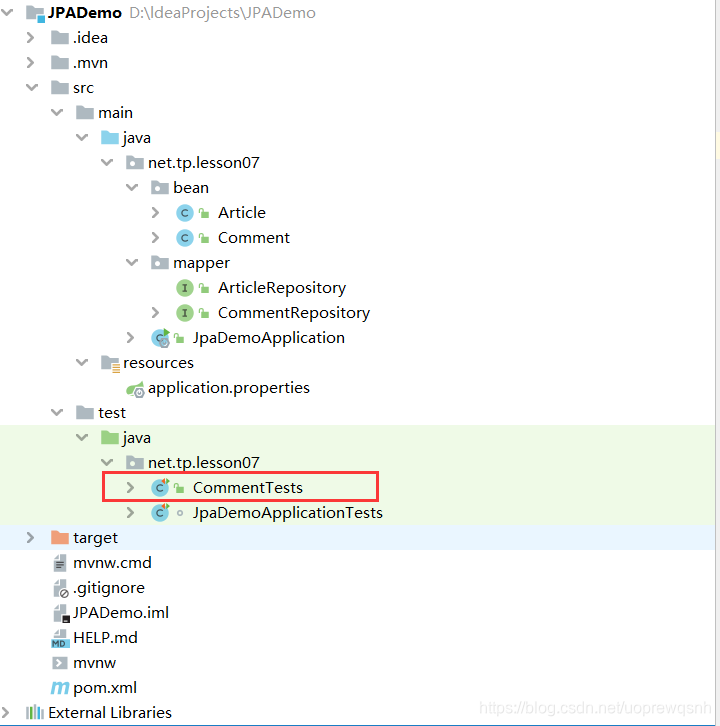
1、创建评论仓库接口CommentRepository

package net.tp.lesson07.mapper;

import net.tp.lesson07.bean.Comment;
import org.springframework.data.domain.Page;
import org.springframework.data.domain.Pageable;
import org.springframework.data.jpa.repository.JpaRepository;
import org.springframework.data.jpa.repository.Query;

/**
 * 功能:评论仓库接口
 * 作者:tp
 * 日期:2021年05月12日
 */
public interface CommentRepository extends JpaRepository<Comment, Integer> {
    /**
     * 据文章ID进行分页查询评论
     * nativeQuery = true表示原生sql语句,否则使用的是实体对象
     * @param aId 查询条件字段
     * @param pageable 凡是要实现分页的查询,只需传递pageable参数即可
     * @return 返回page对象,包含page的相关信息及查询结果集
     */
    @Query(value = "select * from t_comment where a_id = ?1", nativeQuery = true)
    Page<Comment> findCommentPagedByArticleId01(Integer aId, Pageable pageable);

    @Query(value = "select c from t_comment c where c.aId = ?1")
    Page<Comment> findCommentPagedByArticleId02(Integer aId, Pageable pageable);
}
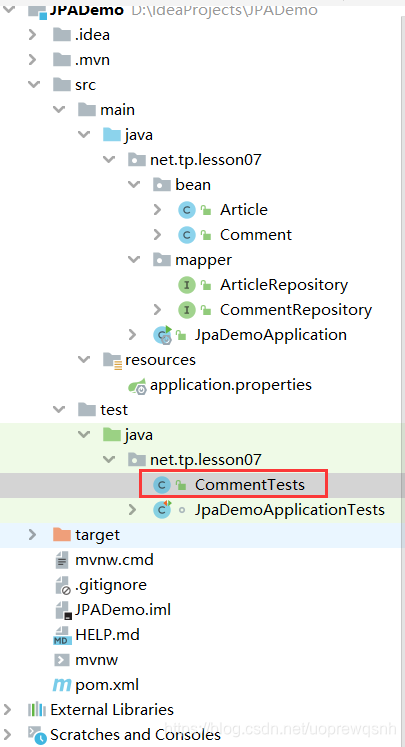
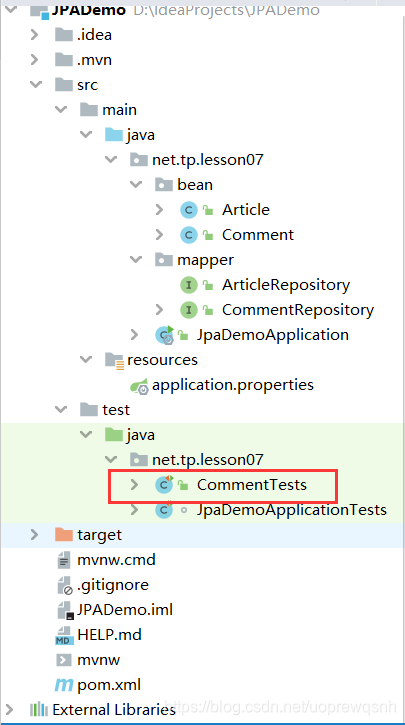
2、创建测试类CommentTests
package net.tp.lesson07;

import net.tp.lesson07.mapper.CommentRepository;
import org.springframework.beans.factory.annotation.Autowired;
import org.springframework.boot.test.context.SpringBootTest;

@SpringBootTest
public class CommentTests {
    //注入评论仓库
    @Autowired
    private CommentRepository commentRepository;
}
3、在测试类里创建测试方法
- 创建测试方法testFindCommentPagedByArticleId01()
package net.tp.lesson07;
import net.tp.lesson07.bean.Comment;
import net.tp.lesson07.mapper.CommentRepository;
import org.junit.jupiter.api.Test;
import org.springframework.beans.factory.annotation.Autowired;
import org.springframework.boot.test.context.SpringBootTest;
import org.springframework.data.domain.Page;
import org.springframework.data.domain.PageRequest;
import org.springframework.data.domain.Pageable;
import java.util.List;
/**
* 功能:测试评论查询方法
* 作者:tp
* 日期:2021年05月12日
*/
@SpringBootTest
public class CommentTests {
//注入评论仓库
@Autowired
private CommentRepository commentRepository;
@Test
public void testFindCommentPagedByArticleId01() {
// 当前页面索引
int pageIndex = 0;
// 设置页面大小
int pageSize = 2;
// 创建分页器
Pageable pageable = PageRequest.of(pageIndex, pageSize);
// 查询文章编号为1的页面对象
Page<Comment> page = commentRepository.findCommentPagedByArticleId01(1, pageable);
// 获取页面对象里的评论列表
List<Comment> comments = page.getContent();
// 获取页索引
int number = page.getNumber();
// 获取总页数
int totalPages = page.getTotalPages();
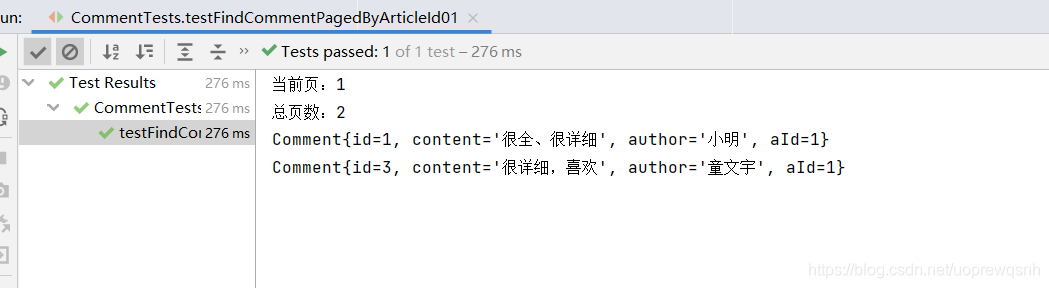
System.out.println("当前页:" + (number + 1)); // 页索引加1才是页码
System.out.println("总页数:" + totalPages);
// 输出当前页全部评论
for (Comment comment : comments) {
System.out.println(comment);
}
}
}
4、运行查看效果
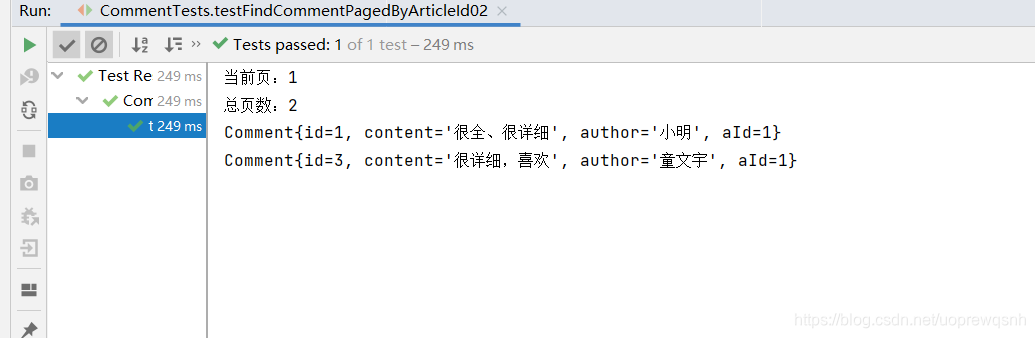
5、创建测试方法testFindCommentPagedByArticleId02()
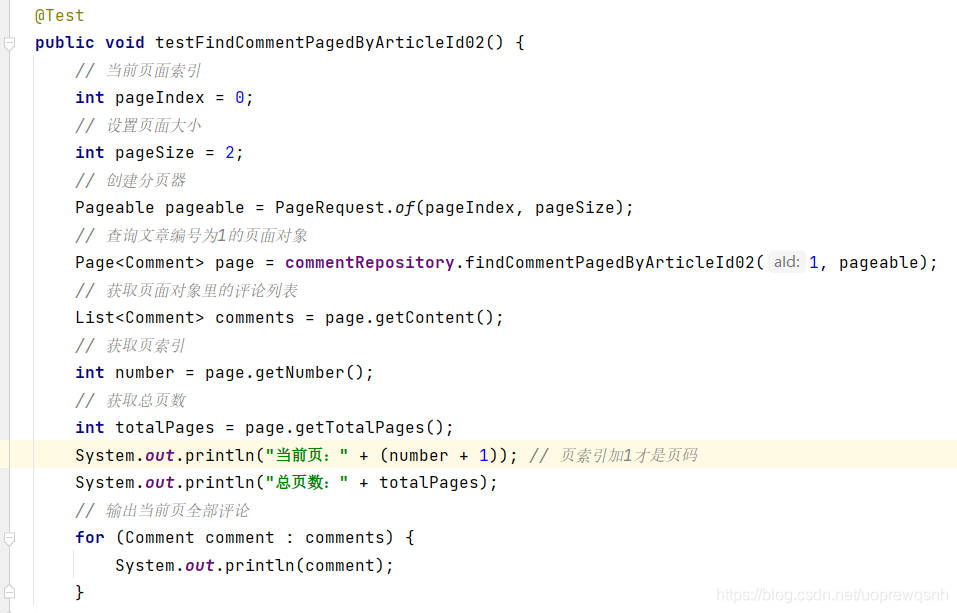
    @Test
    public void testFindCommentPagedByArticleId02() {
        // 当前页面索引
        int pageIndex = 0;
        // 设置页面大小
        int pageSize = 2;
        // 创建分页器
        Pageable pageable = PageRequest.of(pageIndex, pageSize);
        // 查询文章编号为1的页面对象
        Page<Comment> page = commentRepository.findCommentPagedByArticleId02(1, pageable);
        // 获取页面对象里的评论列表
        List<Comment> comments = page.getContent();
        // 获取页索引
        int number = page.getNumber();
        // 获取总页数
        int totalPages = page.getTotalPages();
        System.out.println("当前页:" + (number + 1)); // 页索引加1才是页码
        System.out.println("总页数:" + totalPages);
        // 输出当前页全部评论
        for (Comment comment : comments) {
            System.out.println(comment);
        }
    }
6、运行查看效果
四、根据文章编号更新作者
1、在评论仓库接口里编写updateAuthorByArticleId()方法
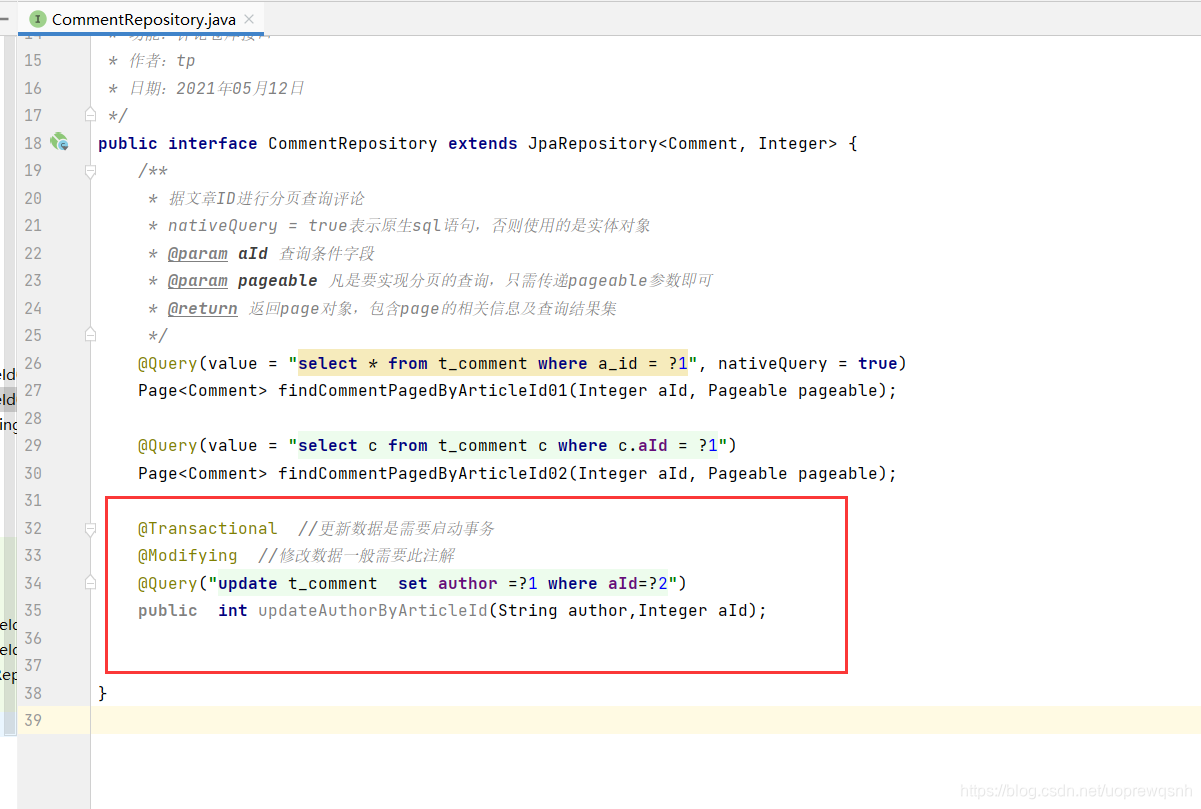
    @Transactional  //更新数据是需要启动事务
    @Modifying  //修改数据一般需要此注解
    @Query("update t_comment  set author =?1 where aId=?2")
    public  int updateAuthorByArticleId(String author,Integer aId);
2、在测试类创建testUpdateAuthorByArticleId()
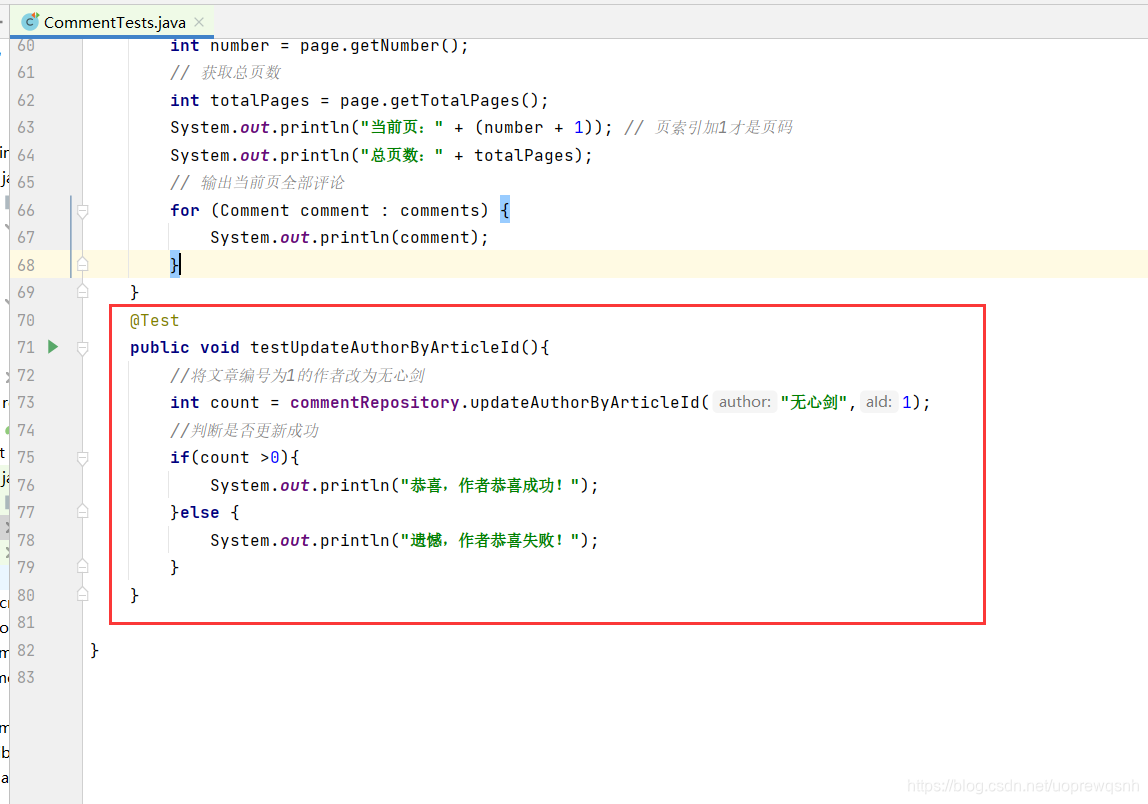
    @Test
    public void testUpdateAuthorByArticleId(){
        //将文章编号为1的作者改为无心剑
        int count = commentRepository.updateAuthorByArticleId("无心剑",1);
        //判断是否更新成功
        if(count >0){
            System.out.println("恭喜,作者恭喜成功!");
        }else {
            System.out.println("遗憾,作者恭喜失败!");
        }
    }
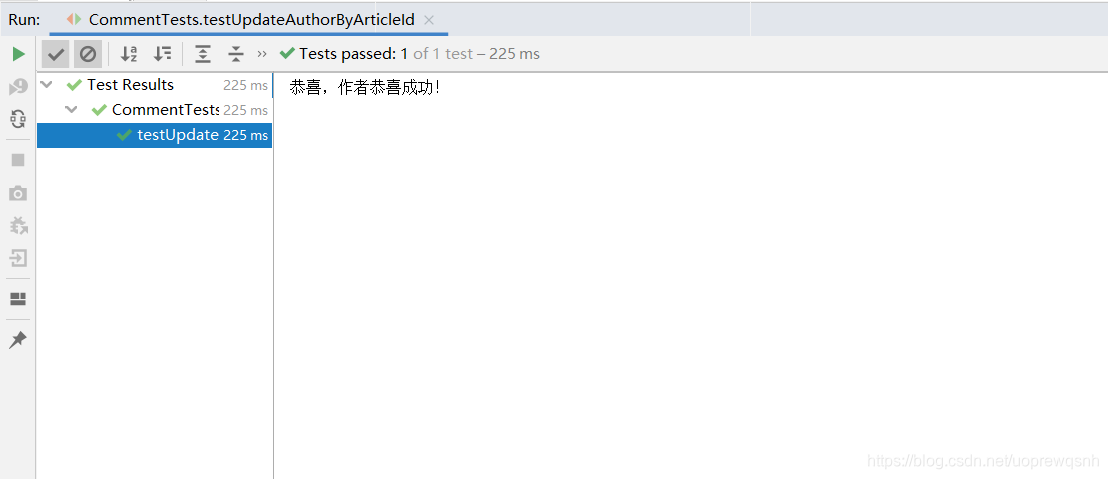
3、运行查看效果
4、在评论仓库接口里编写deleteCommentByAuthor()方法
- 根据评论作者删除评论记录

5、创建测试方法testUpdateAuthorByArticleId()
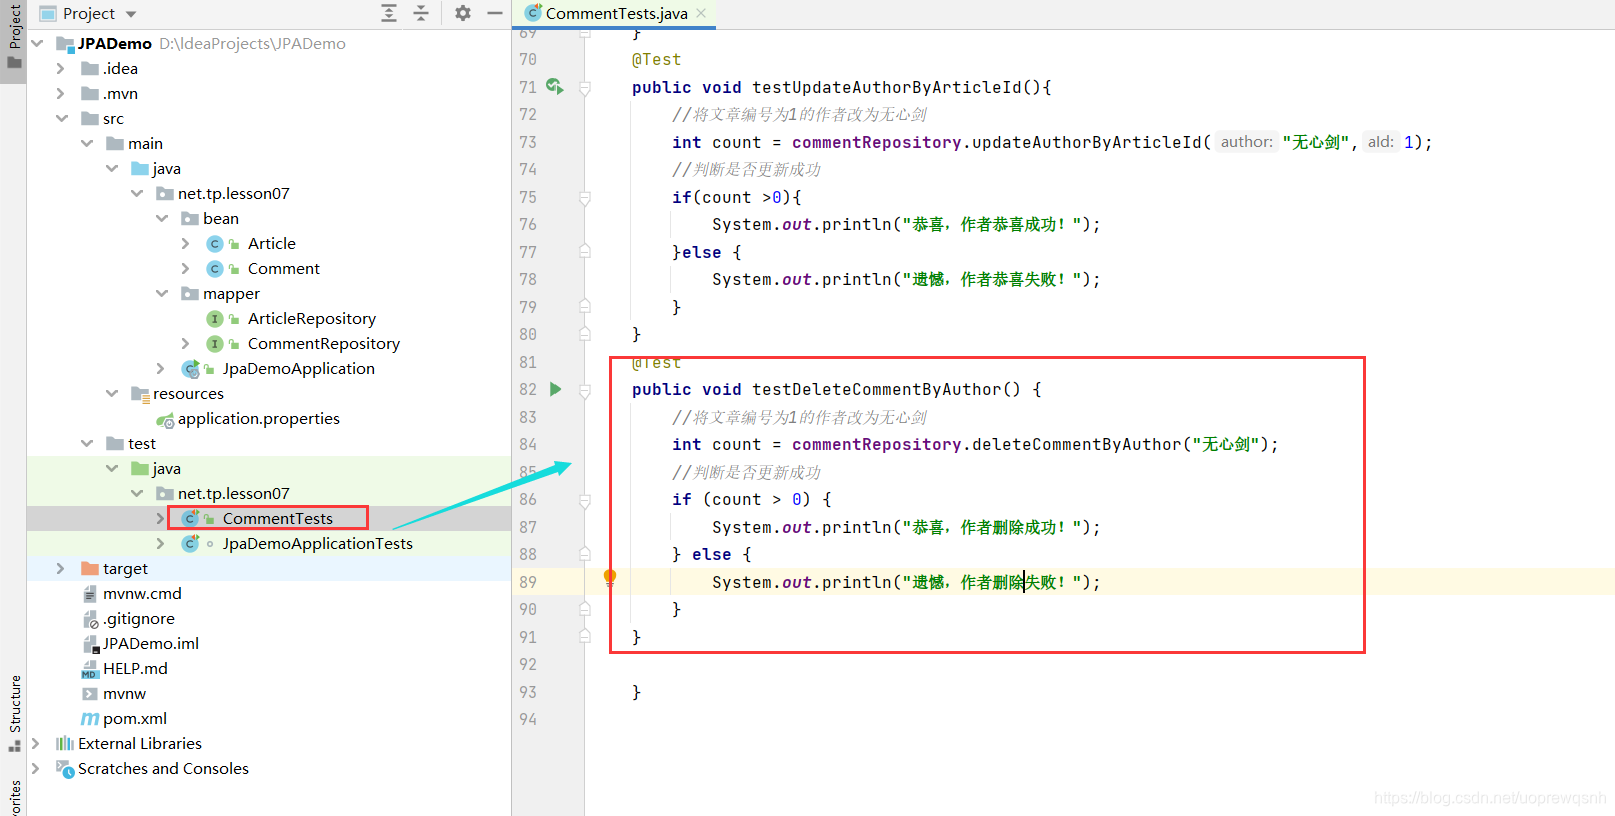
  @Test
    public void testDeleteCommentByAuthor() {
        //将文章编号为1的作者改为无心剑
        int count = commentRepository.deleteCommentByAuthor("无心剑");
        //判断是否更新成功
        if (count > 0) {
            System.out.println("恭喜,评论删除成功!");
        } else {
            System.out.println("遗憾,评论删除失败!");
        }
    }
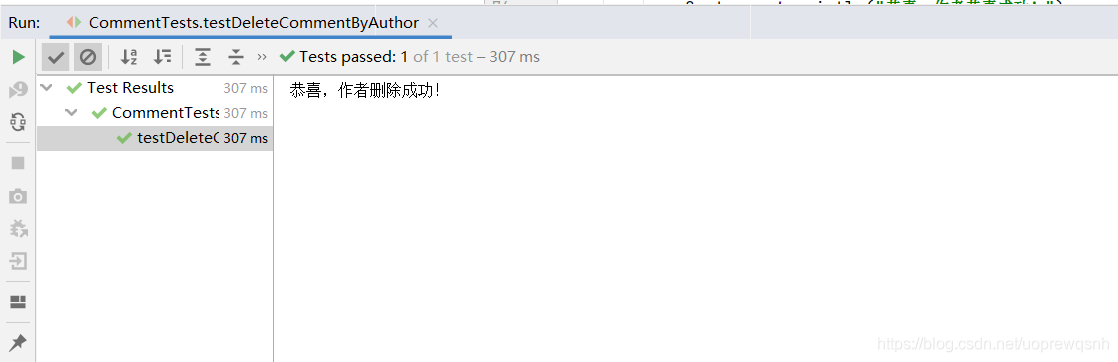
6、运行查看效果
7、创建测试方法testUpdateAuthorByArticleId02()
- 根据文章编号更新作者
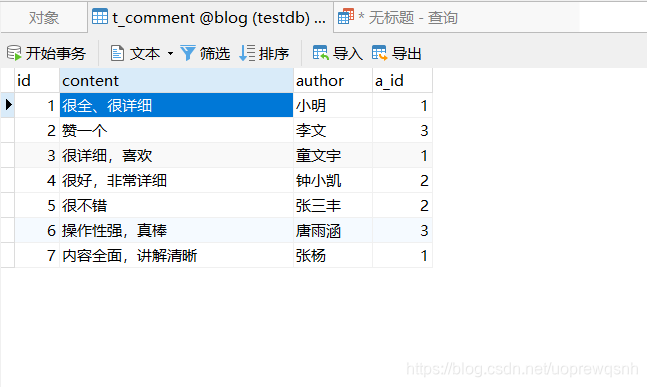
- 因刚刚删除无心剑,现在去数据库里添加刚刚删除的数据
INSERT INTO `t_comment` VALUES ('1', '很全、很详细', '小明', '1');
INSERT INTO `t_comment` VALUES ('2', '赞一个', '李文', '3');
INSERT INTO `t_comment` VALUES ('3', '很详细,喜欢', '童文宇', '1');
INSERT INTO `t_comment` VALUES ('4', '很好,非常详细', '钟小凯', '2');
INSERT INTO `t_comment` VALUES ('5', '很不错', '张三丰', '2');
INSERT INTO `t_comment` VALUES ('6', '操作性强,真棒', '唐雨涵', '3');
INSERT INTO `t_comment` VALUES ('7', '内容全面,讲解清晰', '张杨', '1');
- 现在创建测试方法
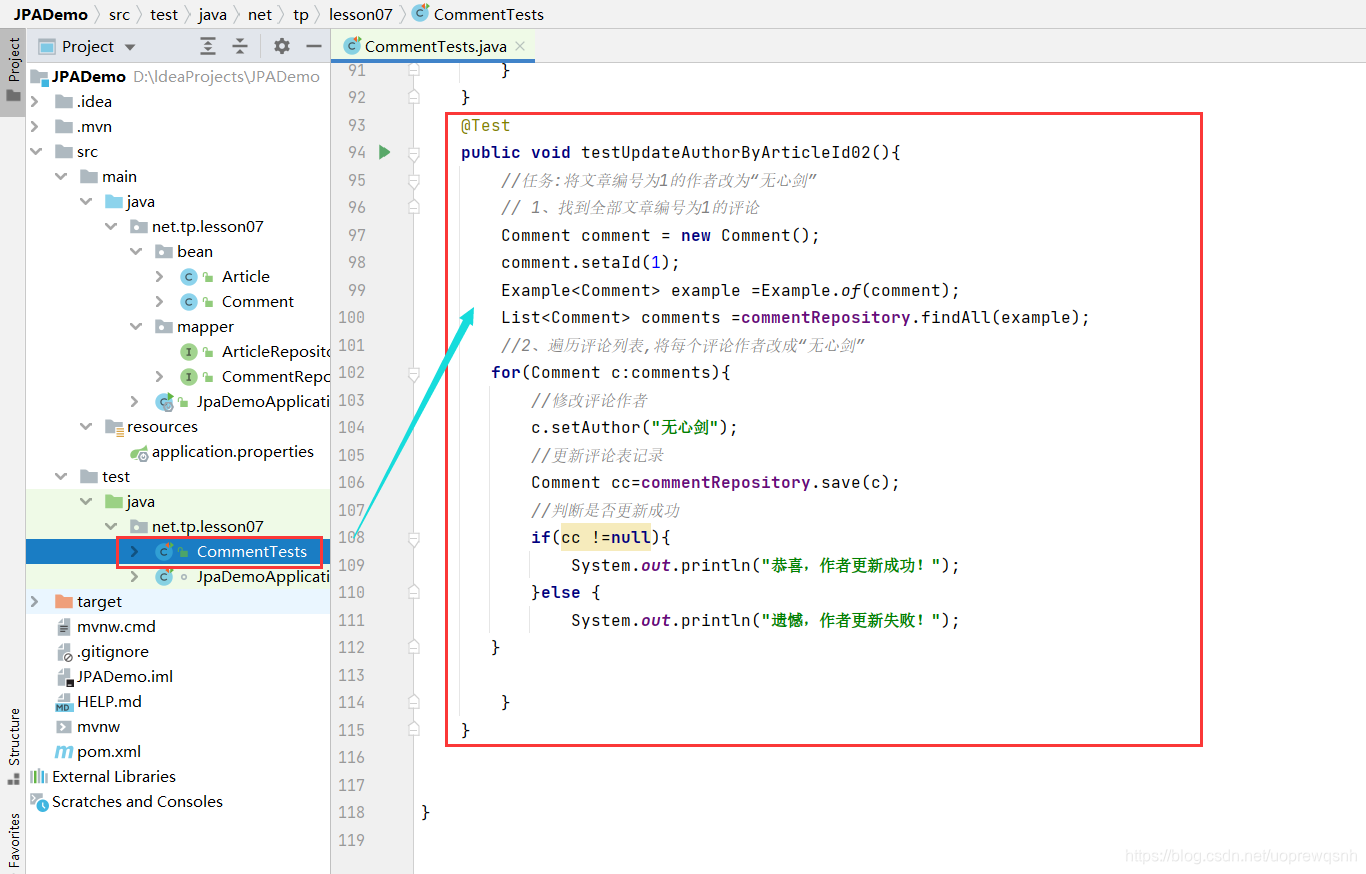
    @Test
    public void testUpdateAuthorByArticleId02(){
        //任务:将文章编号为1的作者改为“无心剑”
        // 1、找到全部文章编号为1的评论
        Comment comment = new Comment();
        comment.setaId(1);
        Example<Comment> example =Example.of(comment);
        List<Comment> comments =commentRepository.findAll(example);
        //2、遍历评论列表,将每个评论作者改成“无心剑”
       for(Comment c:comments){
           //修改评论作者
           c.setAuthor("无心剑");
           //更新评论表记录
           Comment cc=commentRepository.save(c);
           //判断是否更新成功
           if(cc !=null){
               System.out.println("恭喜,作者更新成功!");
           }else {
               System.out.println("遗憾,作者更新失败!");
            }

       }
    }
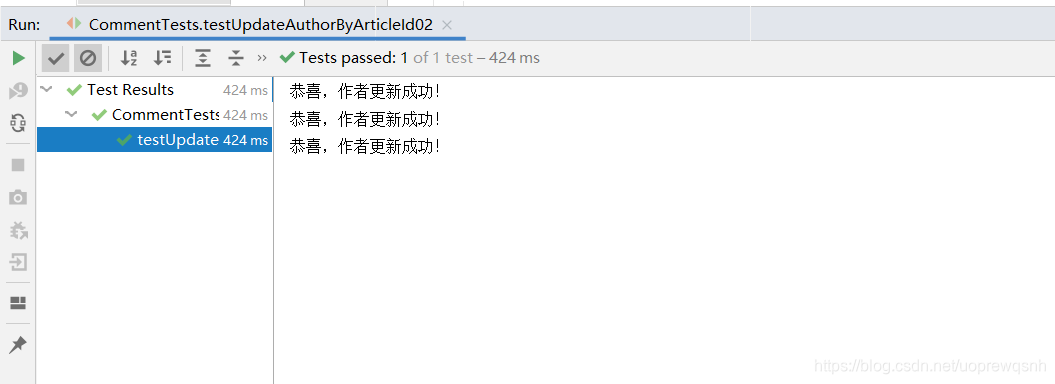
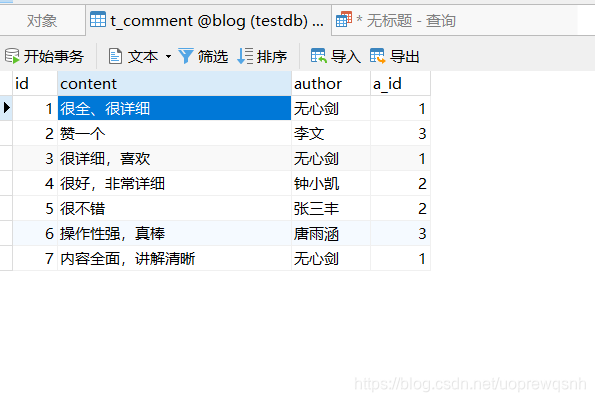
8、运行查看效果
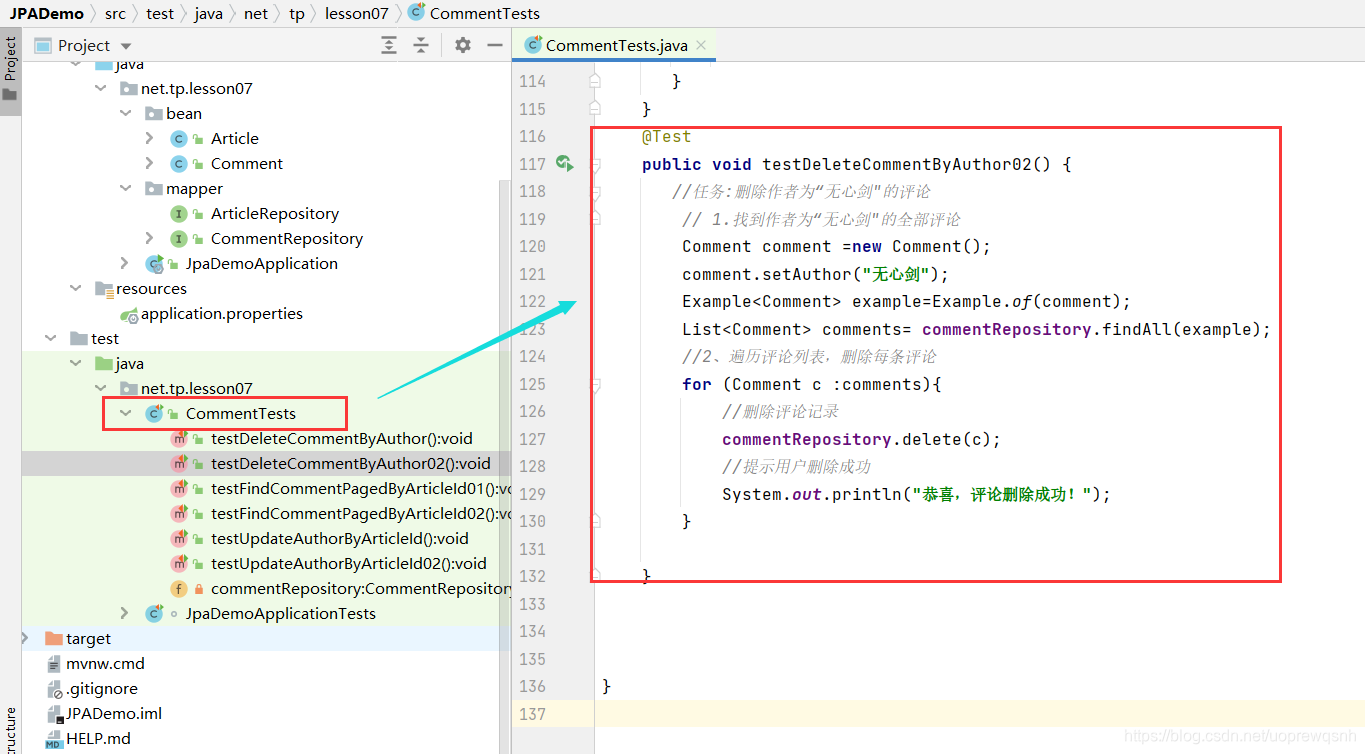
9、创建测试方法testDeleteCommentByAuthor02()
- 根据评论作者删除评论记录
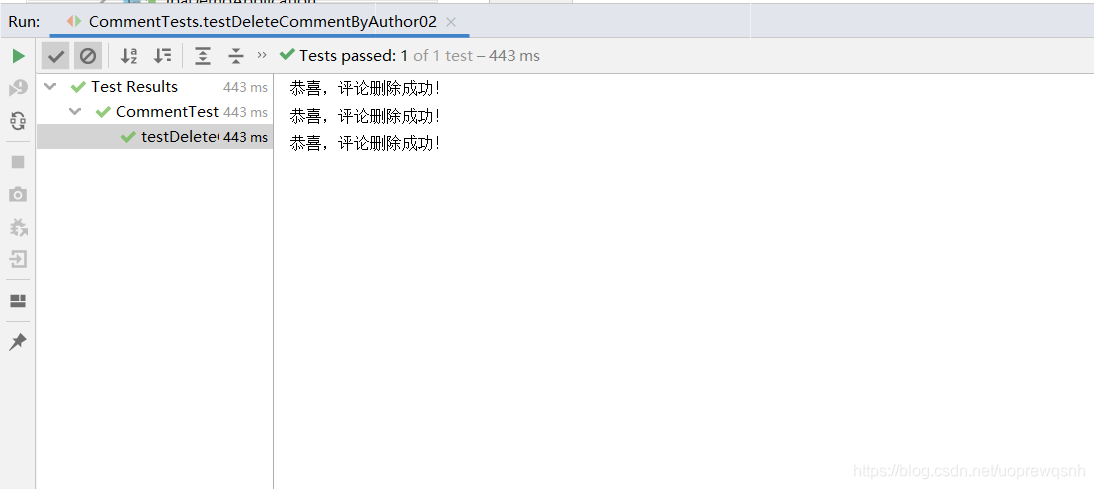
10、运行查看效果


 被折叠的 条评论
为什么被折叠?
被折叠的 条评论
为什么被折叠?
 到【灌水乐园】发言


