实验内容及步骤
实验内容

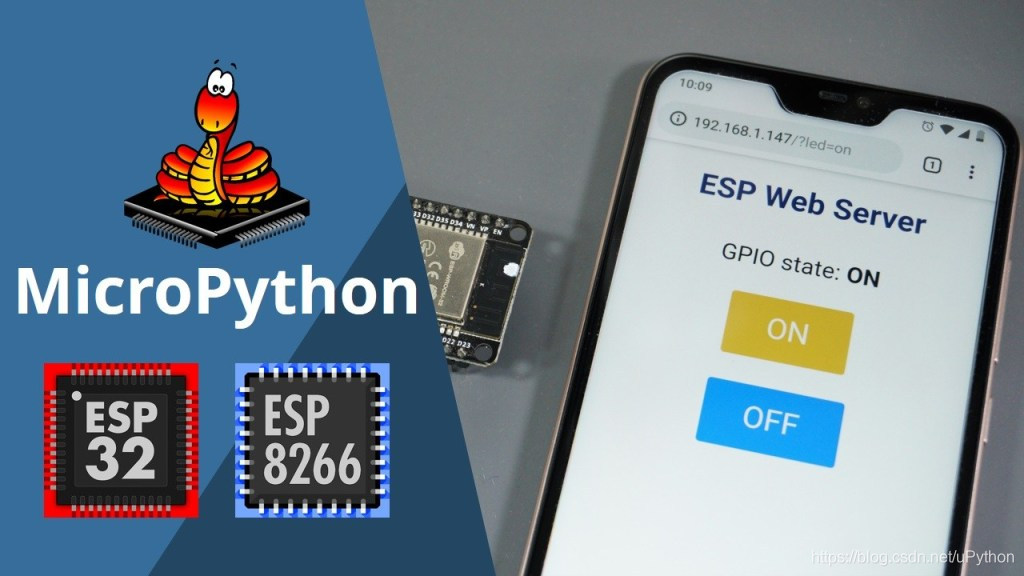
ESP32/ESP8266 MicroPython Web Server – Control Outputs
实验步骤
整理boot.py,main.py两个文件
boot.py
# Complete project details at https://RandomNerdTutorials.com

try:
  import usocket as socket
except:
  import socket

from machine import Pin
import network

import esp
esp.osdebug(None)

import gc
gc.collect()

ssid = 'REPLACE_WITH_YOUR_SSID'
password = 'REPLACE_WITH_YOUR_PASSWORD'

station = network.WLAN(network.STA_IF)

station.active(True)
station.connect(ssid, password)

while station.isconnected() == False:
  pass

print('Connection successful')
print(station.ifconfig())

led = Pin(2, Pin.OUT)
main.py
# Complete project details at https://RandomNerdTutorials.com

def web_page():
  if led.value() == 1:
    gpio_state="ON"
  else:
    gpio_state="OFF"

  html = """<html><head> <title>ESP Web Server</title> <meta name="viewport" content="width=device-width, initial-scale=1">
  <link rel="icon" href="data:,"> <style>html{font-family: Helvetica; display:inline-block; margin: 0px auto; text-align: center;}
  h1{color: #0F3376; padding: 2vh;}p{font-size: 1.5rem;}.button{display: inline-block; background-color: #e7bd3b; border: none;
  border-radius: 4px; color: white; padding: 16px 40px; text-decoration: none; font-size: 30px; margin: 2px; cursor: pointer;}
  .button2{background-color: #4286f4;}</style></head><body> <h1>ESP Web Server</h1>
  <p>GPIO state: <strong>""" + gpio_state + """</strong></p><p><a href="/?led=on"><button class="button">ON</button></a></p>
  <p><a href="/?led=off"><button class="button button2">OFF</button></a></p></body></html>"""
  return html

s = socket.socket(socket.AF_INET, socket.SOCK_STREAM)
s.bind(('', 80))
s.listen(5)

while True:
  conn, addr = s.accept()
  print('Got a connection from %s' % str(addr))
  request = conn.recv(1024)
  request = str(request)
  print('Content = %s' % request)
  led_on = request.find('/?led=on')
  led_off = request.find('/?led=off')
  if led_on == 6:
    print('LED ON')
    led.value(1)
  if led_off == 6:
    print('LED OFF')
    led.value(0)
  response = web_page()
  conn.send('HTTP/1.1 200 OK\n')
  conn.send('Content-Type: text/html\n')
  conn.send('Connection: close\n\n')
  conn.sendall(response)
  conn.close()
问题描述:
1,会报错
2,只能有一个终端能够连接,与实际使用不服
原因分析:
1,程序Socket端口不关闭,一直处于ACCEP状态
2,Socket端口未固定
解决方案:
# Complete project details at https://RandomNerdTutorials.com

def web_page():
  if led.value() == 1:
    gpio_state="ON"
  else:
    gpio_state="OFF"

  html = """<html><head> <title>ESP Web Server</title> <meta name="viewport" content="width=device-width, initial-scale=1">
  <link rel="icon" href="data:,"> <style>html{font-family: Helvetica; display:inline-block; margin: 0px auto; text-align: center;}
  h1{color: #0F3376; padding: 2vh;}p{font-size: 1.5rem;}.button{display: inline-block; background-color: #e7bd3b; border: none;
  border-radius: 4px; color: white; padding: 16px 40px; text-decoration: none; font-size: 30px; margin: 2px; cursor: pointer;}
  .button2{background-color: #4286f4;}</style></head><body> <h1>ESP Web Server</h1>
  <p>GPIO state: <strong>""" + gpio_state + """</strong></p><p><a href="/?led=on"><button class="button">ON</button></a></p>
  <p><a href="/?led=off"><button class="button button2">OFF</button></a></p></body></html>"""
  return html


while True:
  s = socket.socket(socket.AF_INET, socket.SOCK_STREAM)
  s.setsockopt(socket.SOL_SOCKET, socket.SO_REUSEADDR, 1)
  s.bind(('',80))
  s.listen(5)
  conn, addr = s.accept()
  print('Got a connection from %s' % str(addr))
  request = conn.recv(2048)
  request = str(request)
  print('Content = %s' % request)
  led_on = request.find('/?led=on')
  led_off = request.find('/?led=off')
  if led_on == 6:
    print('LED ON')
    led.value(1)
  if led_off == 6:
    print('LED OFF')
    led.value(0)
  response = web_page()
  conn.send('HTTP/1.1 200 OK\n')
  conn.send('Content-Type: text/html\n')
  conn.send('Connection: close\n\n')
  conn.sendall(response)
  conn.close()
  s.close()
扩展阅读
1,下载安装uPycraft
uPycraft软件我放在了百度网盘,是.EXE可执行文件,直接下载打开使用就好了。
需要注意的是,不需要安装python就可以直接使用uPycraft
链接:https://pan.baidu.com/s/1iLB1ZSj0pjePylt08qcfpA
提取码:aqxs
2,ESP8266使用uPycraft刷micro python固件
这里推荐两个视频,这个哥们讲的比较可以的。
大众IT学 - MicroPython On ESP8266 by 科技小制作
大众IT学 - MicroPython On ESP8266 续 by 科技小制作


 该博客介绍了如何调试ESP32/ESP8266上运行的MicroPython Web服务器,解决连接错误和多终端访问问题。通过整理boot.py和main.py文件,修复了Socket端口未关闭和端口不固定的故障。此外,推荐了uPycraft工具用于ESP8266的MicroPython固件刷写,并提供了下载链接和相关教学视频。


 326
326

 被折叠的 条评论
为什么被折叠?


