


 本文介绍了如何在纯静态网站中集成Giscus评论功能,并利用Giscus-to-parent-message-eventsAPI实时获取和显示评论数,包括在Docusaurus中使用Giscus组件的步骤和相关配置。
纯静态网站或博客,由于没有数据存储功能,经常借助第三方的评论系统以插件的方式集成进来,而又以 Github 的 Discussions[1]和 Issues[2] 功能实现的居多。
giscus[3] - 可借助组件库[4]在 React、Vue 和 Svelte 中使用,支持多种语言
gitalk[5] - 基于 Github Issue 和 Preact 开发的评论插件
utterances[6] - 借助 Github issues 实现的轻量的评论组件,giscus 灵感就是来源于它
本站采用的是 Giscus 的方案。UI 风格我很喜欢,简介清爽。色调也和我的网站很搭。
Giscus 为 React、Vue、Solid 和 Svelte 都提供了对应的 组件库[7]。
这里以在 Docusaurus 中使用进行讲解:
安装
npm i @giscus/react创建评论组件
接着我们以封装组件的形式,让评论功能成为我们网站代码的独立的一部分,在需要的地方引入即可。
import React from 'react';
import Giscus from "@giscus/react";
import { useColorMode } from '@docusaurus/theme-common';

export default function GiscusComponent() {
  const { colorMode } = useColorMode();

  return (
    <div className="wrapper" id="Comment">
      <Giscus
        repo="fantingsheng/spacexcode-discus"
        repoId="R_kgDOJoGL9w"
        category="General"
        categoryId="DIC_kwDOJoGL984CWxiW"  // E.g. id of "General"
        mapping="url"                        // Important! To map comments to URL
        term="Welcome to @giscus/react component!"
        strict="0"
        reactionsEnabled="1"
        emitMetadata="1"
        inputPosition="top"
        theme={colorMode}
        lang="zh-Hans"
        loading="lazy"
        crossorigin="anonymous"
        async
      />
    </div>
  );
}
这里将常用到的一些特性说明下:
如果你想关闭它的懒加载,只需要将
loading="lazy"这一项去掉即可;关闭评论上方的表情回复,将
data-reactions-enabled="1"参数设为0;评论框的位置默认是放在评论的上方,这样在发表评论的时候就不必一定要滚动到底部,你可以通过
inputPosition参数进行控制,它有两个值top和bottom;
今天着重要讲的是一个功能是如何在你的页面中拿到评论数并显示?
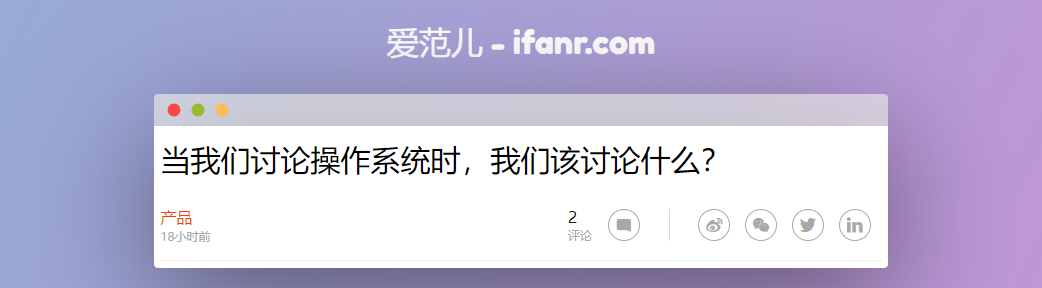
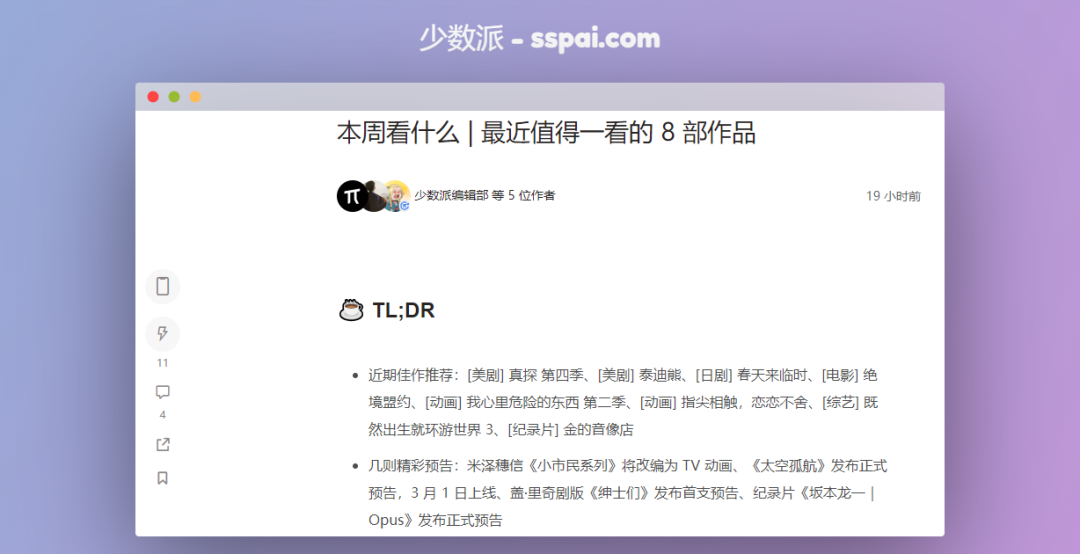
显示评论数
一般的网站在标题的下面或者侧边栏都会有评论数的显示。而如果评论是以 Giscus 这样的外部插件的形式引入进来的,其实是通过 iframe 嵌入到当前网页的。数据是完全隔离开的。 那么我们还有没有办法拿到它的评论数据呢?
办法是有的!
官方的文档中也有提到 giscus-to-parent message events[8], 意思就是我们可以监听由 giscus 通过 window.parent.postMessage() 发送到父窗口的 message 事件。
官方给出的例子:
function handleMessage(event: MessageEvent) {
  if (event.origin !== 'https://giscus.app') return;
  if (!(typeof event.data === 'object' && event.data.giscus)) return;

  const giscusData = event.data.giscus;
  // Do whatever you want with it, e.g. `console.log(giscusData)`.
  // You'll need to make sure that `giscusData` contains the message you're
  // expecting, e.g. by using `if ('discussion' in giscusData)`.
}

window.addEventListener('message', handleMessage);
// Some time later...
window.removeEventListener('message', handleMessage);
由此,我们很容易在网站的其它地方通过监听 message 事件来拿到评论的相关数据。
我们不妨先打印下,看返回来的数据结构是什么样:
import useEventListener from '@site/src/hooks/useEventListener';

export default function Header () {
  useEventListener('message', function (e) {
    console.log(e);
  })

  return (
    // ...
  )
}useEventListener[9] 是我自己封装的事件监听的 hook,通过回调函数来处理相关逻辑。
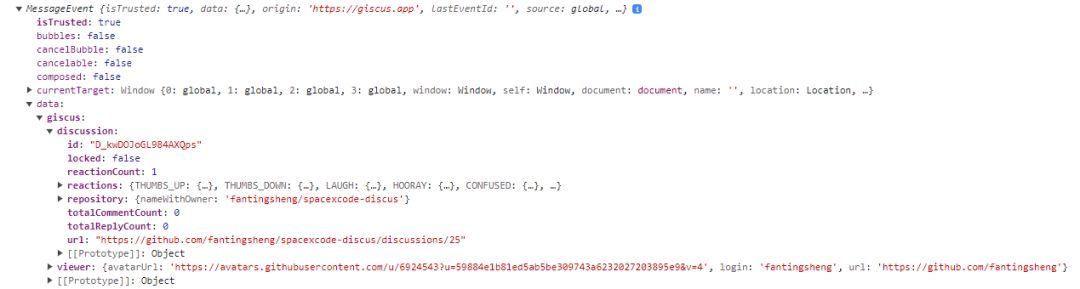
我从打印的数据中截取了部分有用的数据,其中不难发现,data.giscus 是我们想要的数据。如果该篇文章下还没有任何的评论,那么它的值是 error,否则 就是一个对象,包含 totalCommentCount 和 totalReplyCount 两个字段。它们的和就是该文的总评论数。
然后我们完善后,完整的代码如下:
import useEventListener from '@site/src/hooks/useEventListener';

export default function Header () {
  useEventListener('message', function (e) {
    console.log(e);
    if (e.origin !== 'https://giscus.app') return
    if (!(typeof e.data === 'object' && e.data.giscus)) return

    const giscus = e.data.giscus;

    if (giscus.error) {
      setCommentCounter(0)
      return
    }
    if (giscus.discussion) {
      setCommentCounter(
        giscus.discussion.totalCommentCount + giscus.discussion.totalReplyCount
      )
    }
  })

  return (
    // ...
  )
}
这里为了进入页面就要拿到评论数据,所以我们要关闭 Giscus 懒加载的配置选项。
好了,这篇文章就写到这里,感谢你的阅读。🥰
参考资料
[1]
Discussions: https://docs.github.com/en/discussions
[2]Issues: https://github.com/issues
[3]giscus: https://giscus.app
[4]组件库: https://github.com/giscus/giscus-component
[5]gitalk: https://gitalk.github.io
[6]utterances: https://utteranc.es
[7]组件库: https://github.com/giscus/giscus-component
[8]giscus-to-parent message events: https://github.com/giscus/giscus/blob/main/ADVANCED-USAGE.md#giscus-to-parent-message-events
[9]useEventListener: https://spacexcode.com/docs/snippet/hooks/useEventListener


 632
632

 被折叠的 条评论
为什么被折叠?
被折叠的 条评论
为什么被折叠?
 到【灌水乐园】发言


