


 本文介绍如何使用Nginx作为前端项目的本地代理服务器,解决跨域问题。包括Nginx的安装、配置及如何设置反向代理,使本地项目通过Nginx访问不同端口的服务。

前端本地设置代理,采用Nginx服务
安装Nginx步骤:
1、打开终端
2、安装Command Line tools
$ xcode-select --install
3、安装brew命令
$ ruby -e “$(curl -fsSL https://raw.githubusercontent.com/Homebrew/install/master/install)”
4、安装nginx
$ brew install nginx
5、启动nginx
$ sudo nginx
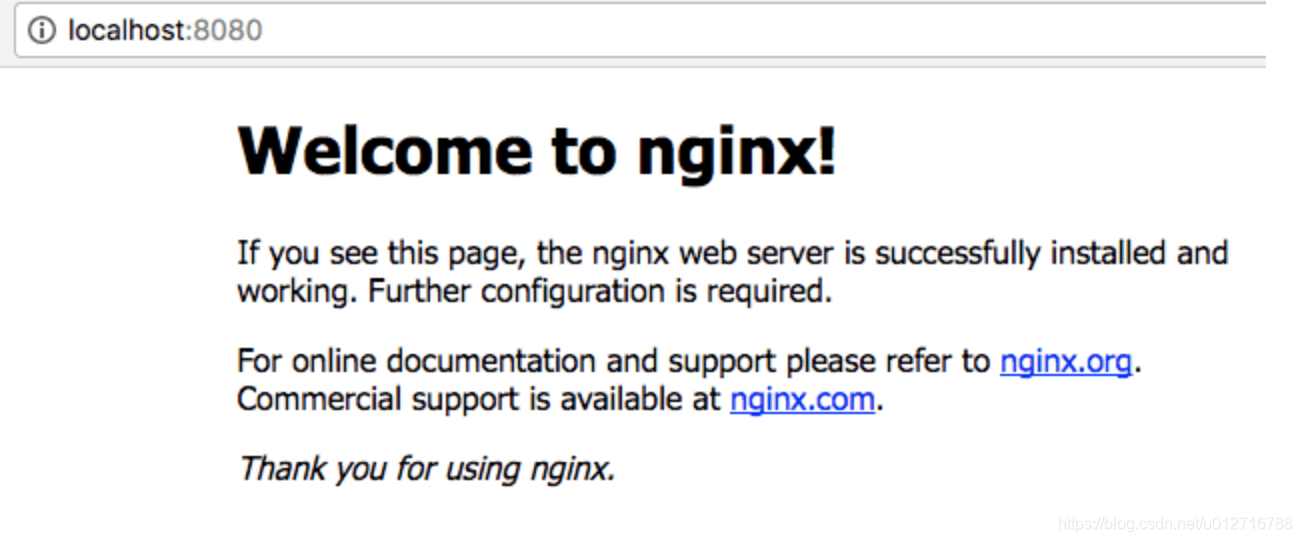
OK, nginx就安装好了,可以在浏览器访问了,默认端口为8080,
在浏览器输入 http://localhost:8080 就能看到nginx在本计算机搭建的服务器
6、 设置反向代理地址,准备编辑nginx的配置文件:
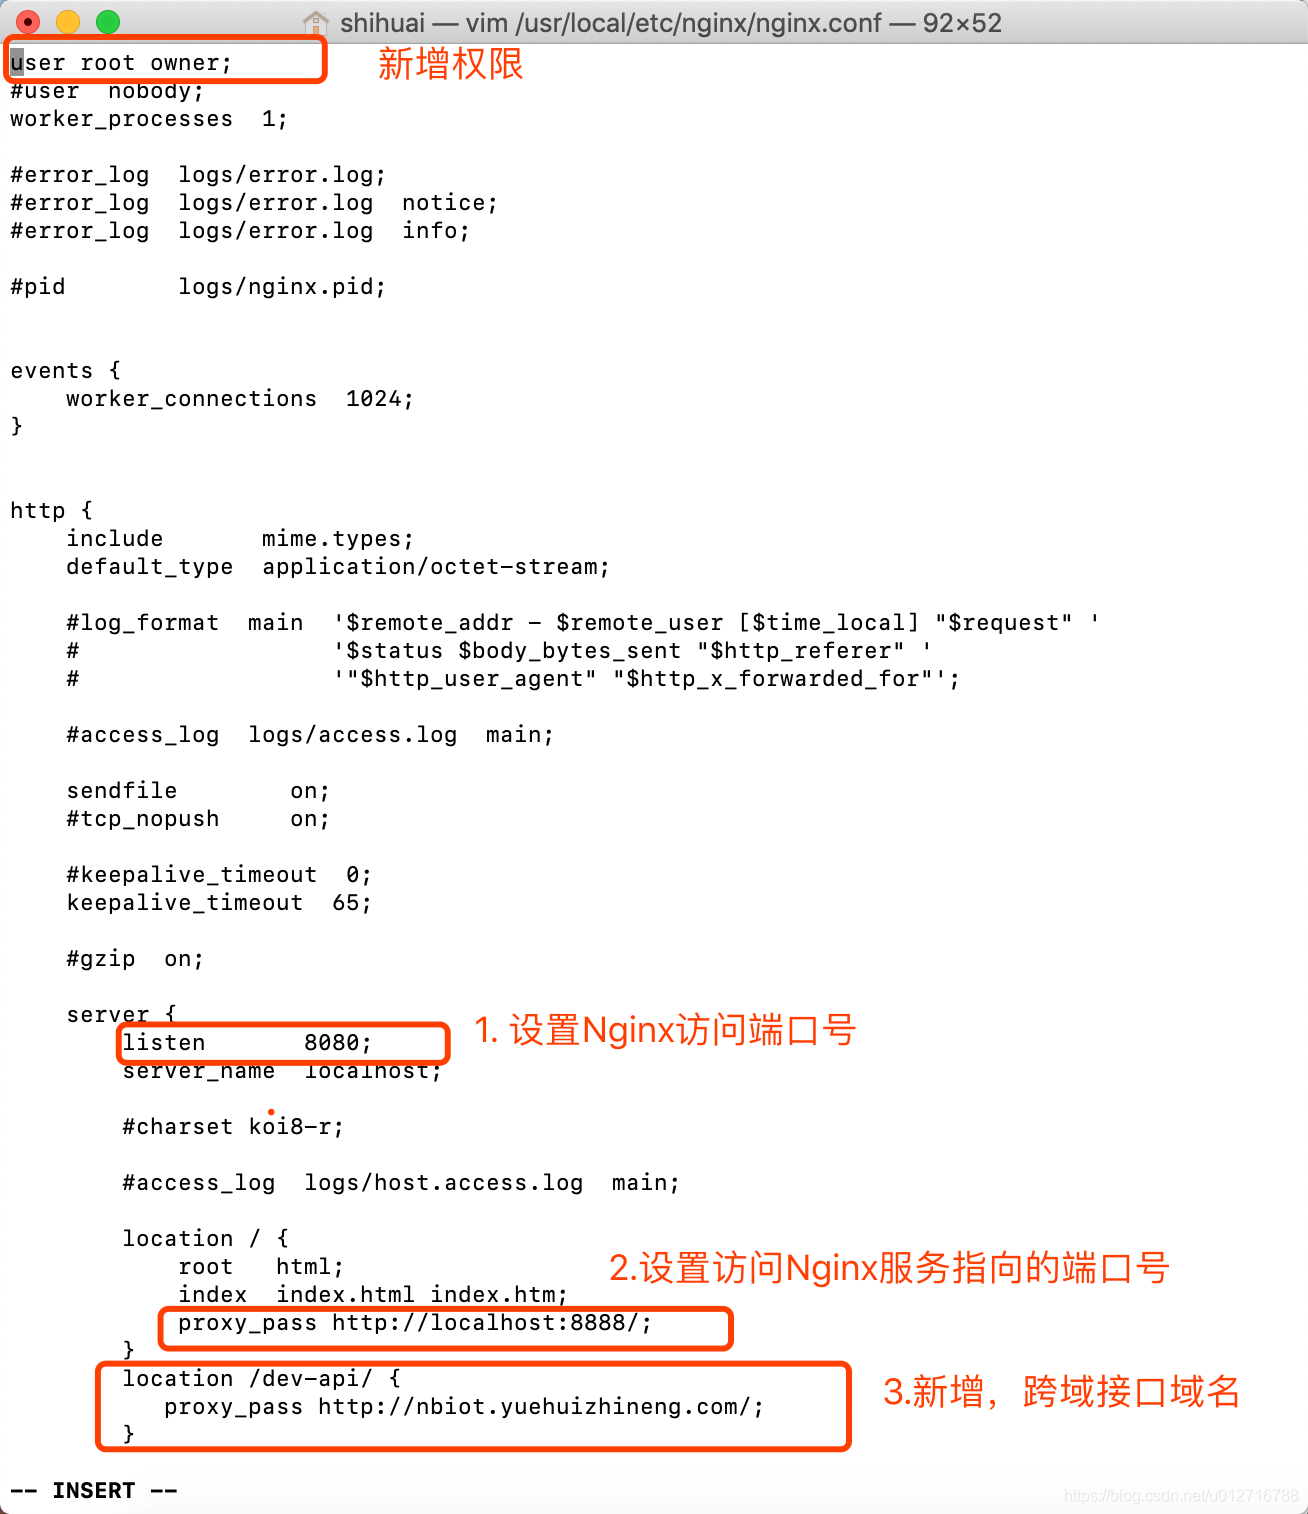
$ vim /usr/local/etc/nginx/nginx.conf
进入nginx.conf页面后,按 “i" 键进入编辑状态
说明:
(1)nginx的访问端口可以修改为没被占用的其他端口,这里设置nginx的访问路径是 http://localhost:8080
(2)注意这里需要添加 proxy_pass 为本地运行的项目地址 http://localhost:8888 !!! 当访问 http://localhost:8080 的时候,location会匹配 ’ / ’ 到文件夹根目录下的index.html文件,但这里添加 proxy_pass 后,访问 http://localhost:8080 的时候会代理到 http://localhost:8888,而且你的访问路径显示的还是 http://localhost:8080 ,内容是 http://localhost:8888的项目
(3)这里location匹配的是 访问 http://localhost:80/dev-api/.* 路径的时候,在proxy_pass填上需要用到的外域api地址 http://nbiot.yuehuizhineng.com/ ,此时就相当于访问:http://nbiot.yuehuizhineng.com/ .* ,但实际上显示在你眼前的还是原来路径: http://localhost:80/dev-api/.* ,只是你访问这个原路径的时候nginx自动帮你代理到你想要访问的api路径 。但这里有个很重要的细节需要注意: 匹配路径 /dev-api/ 和代理路径 http://nbiot.yuehuizhineng.com/ 后面的斜杠统统都不能少!!!任何一个少了都不行,这是nginx的规则。
本地项目vue.config.js代码:
module.exports = {
    devServer: {
        port: 8888,
        host: "localhost", //
        https: false, // 协议
        open: true,  //启动服务时自动打开浏览器访问
        proxy: { //开发环境代理配置
            [process.env.VUE_APP_BASE_API]: {
                target: process.env.VUE_APP_SERVICE_URL,  // 目标服务器
                changeOrigin:true , //开启代理服务器
                pathRewrite: {
                    ['^' + process.env.VUE_APP_BASE_API]: ''
                }
            }
        }
    },
    lintOnSave: false, //关闭格式检查
    productionSourceMap: false //打包不会生成 .map 文件 加快打包速度
}
修改完 nginx.conf 文件后,需要重启nginx ,才会生效 !!!
7、按esc键退出编辑状态,输入 :wq 保存并退出nginx.conf页面
8、重新启动nginx
$ sudo nginx -s reload
注意:本地项目配置和访问方式:
本地项目中,我访问接口以这样的格式: /dev-api/.*,然后运行本地项目后,访问 http://localhost:8080 地址,而不是 http://localhost:8888 。
直接访问 http://localhost:8888 不会通过 nginx中转,而访问 http://localhost:8080 通过nginx中转解决了跨域问题。


 3444
3444

 被折叠的 条评论
为什么被折叠?
被折叠的 条评论
为什么被折叠?
 到【灌水乐园】发言


