


 本文详细介绍了如何在CentOS7上安装Nexus仓库,包括下载、安装配置、仓库设置、使用阿里镜像、发布jar包到Nexus以及禁用匿名账号的步骤。通过这些步骤,你可以成功搭建并管理自己的Maven仓库。
这篇博文记录Nexus安装过程。
一、下载
- 网页下载(https://help.sonatype.com/repomanager2/download)

- wget下载
wget https://sonatype-download.global.ssl.fastly.net/repository/repositoryManager/oss/nexus-2.14.10-01-bundle.tar.gz二、安装配置
解压下载的tar.gz包:
tar -zxvf nexus-2.14.10-01-bundle.tar.gz编辑conf/nexus.properties,修改nexus对外端口

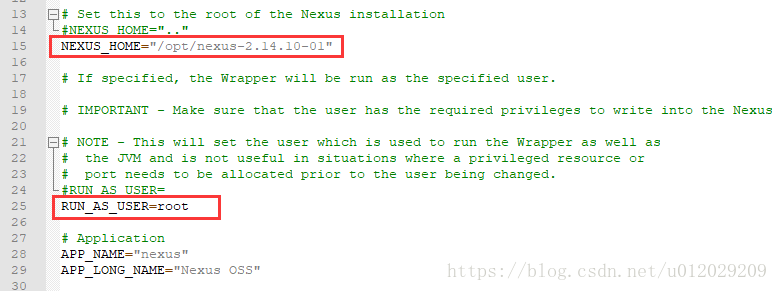
编辑nexus文件,修改NEXUS_HOME为自己的安装地址,修改运行使用用户名称。
启动nexus
/opt/nexus-2.14.10-01/bin/nexus start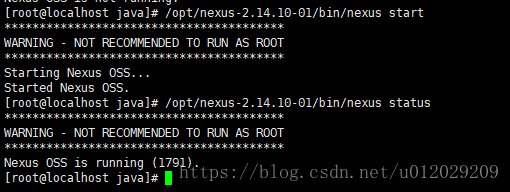
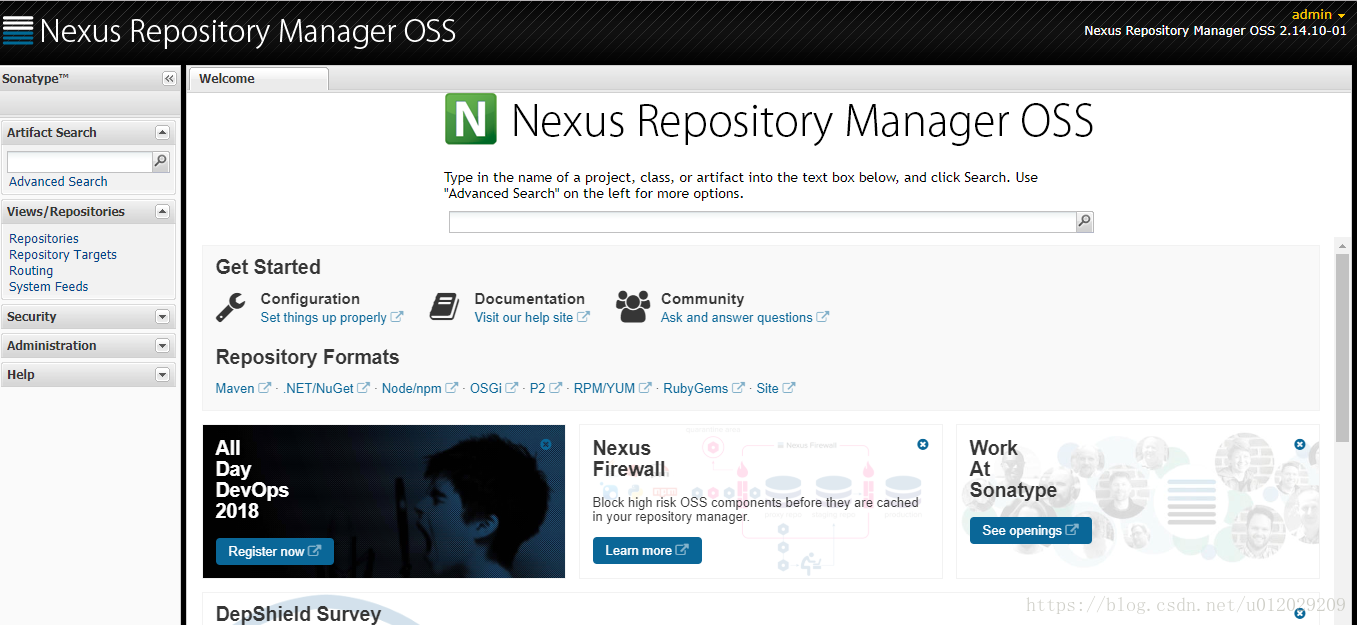
访问网站:ip:8888/nexus,初始用户名密码:admin/admin123、deployment/deployment123
PS:如果不能访问,可能是端口被拦截的原因,开启端口即可:
firewall-cmd --zone=public --add-port=8888/tcp --permanent
firewall-cmd --reload
三、仓库配置
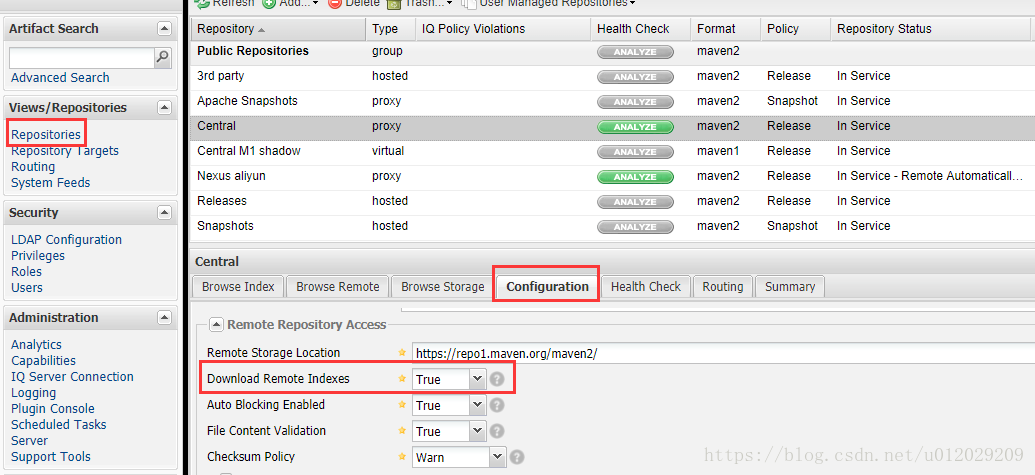
1、Central 的 Download Remote Indexes改为True。而Remote Storage Location是maven中央仓库的地址,可以改为阿里的镜像:http://maven.aliyun.com/nexus/content/groups/public/,本人实际使用时有个别jar包下载有问题,这里推荐这个地址不要修改,而是再建一个proxy类型的仓库从阿里镜像下载。
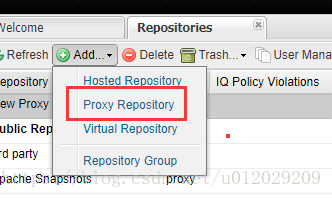
四、使用阿里镜像(可选)
新建Proxy Repository,ID、Name随意填

有一个类型为group的Public Repositories,它是仓库的集合,这里加入新建的阿里镜像仓库,并排在第一个

至此,Nexus已可以使用,仓库地址用Public Repositories的Repository Path。
五、发布jar包到Nexus
pom中加入配置(ip和port需要替换)
    <distributionManagement>
        <repository>
            <id>my-deploy-release</id>
            <url>http://ip:port/nexus/content/repositories/releases/</url>
        </repository>

        <snapshotRepository>
            <id>my-deploy-snapshot</id>
            <url>http://ip:port/nexus/content/repositories/snapshots/</url>
        </snapshotRepository>
    </distributionManagement>
maven中conf/settings.xml添加server,id和pom中snapshotRepository的id对应。
    <server>
      <id>my-deploy-release</id>
      <username>admin</username>
      <password>admin123</password>
    </server>

    <server>
      <id>my-deploy-snapshot</id>
      <username>admin</username>
      <password>admin123</password>
    </server>
此时deploy即可发布:
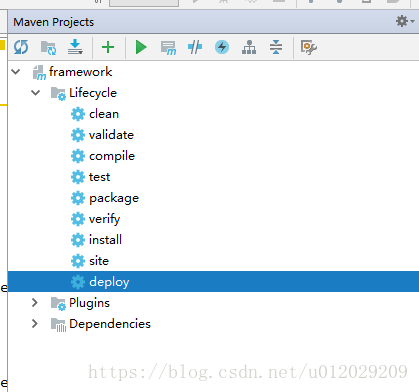
如果需要发布源码,添加maven-source-plugin
<plugin>
<artifactId>maven-source-plugin</artifactId>
<version>3.0.1</version>
<configuration>
<attach>true</attach>
</configuration>
<executions>
<execution>
<phase>compile</phase>
<goals>
<goal>jar</goal>
</goals>
</execution>
</executions>
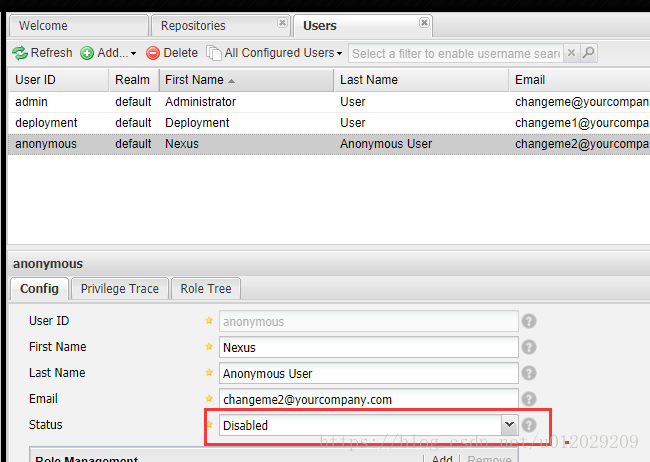
</plugin>六、禁用匿名账号
Nexus默认的匿名账号是anonymous,有所有仓库的读权限,如果你的Nexus上发布了非公开项目且不是部署在内网,需要将anonymous账号禁用。
此时我们使用Nexus时需要在maven的settings.xml加入server配置连接账号,id和settings.xml里配置的mirror的id对应。
    <server>
      <id>my-nexus</id>
      <username>deployment</username>
      <password>deployment123</password>
    </server>


 1808
1808

 被折叠的 条评论
为什么被折叠?
被折叠的 条评论
为什么被折叠?
 到【灌水乐园】发言


