


利用3台服务器实战Linux+Nginx+PHP+MySQL主从,发布两个虚拟主机网站:Discuz和WordPress,数据库使用不同的库,实现通过两个域名dz.jf.com|wp.jf.com访问。 Node1:Linux+Nginx+PHP (FastCGI)Node2:MYSQL主库 Node3:MySQL从库
一.准备Discuz与WordPress软件包
1.Discuz_X3.1_SC_UTF8.zip
2.wordpress-4.9.7.tar.gz
二.准备一台装有Nginx+PHP的服务器
1.可以正常发布与访问即可
2.无,跟随配置一下跟随配置一下
三.安装Discuz
1.下载Discuz软件包
[root@localhost ~]# wget -c http://download.comsenz.com/DiscuzX/3.1/Discuz_X3.1_SC_UTF8.zip
2.安装服务
[root@localhost ~]# unzip Discuz_X3.1_SC_UTF8.zip -d /data/nginx/html   #解压至 /data/nginx/html 目录下
[root@localhost ~]# cd /data/nginx/html   #进入html目录
[root@localhost html]# mv upload/* /data/nginx/html   #移动 upload 目录下文件至 data/nginx/html 目录
[root@localhost html]# chmod 757 -R data/ uc_server/ config/ uc_client/   #为目录添加权限
3.修改Nginx配置文件
[root@localhost html]# cd /data/nginx/conf   #进入配置文件目录
[root@localhost conf]# vim nginx.conf   #修改nginx.conf
**Discuz server:**
server {
        listen       80;
        server_name  dz.jf.com;   #修改成需要的域名
        location / {
        root   /data/nginx/html;
        index  index.html index.php;
        }
		location ~ \.php$ {
        root           html;
        fastcgi_pass   127.0.0.1:9000;
        fastcgi_index  index.php;
		fastcgi_param  SCRIPT_FILENAME  /data/nginx/html$fastcgi_script_name;
        include        fastcgi_params;
		}
	}
4.重启Nginx服务
[root@localhost html]# /data/nginx/sbin/nginx -s reload
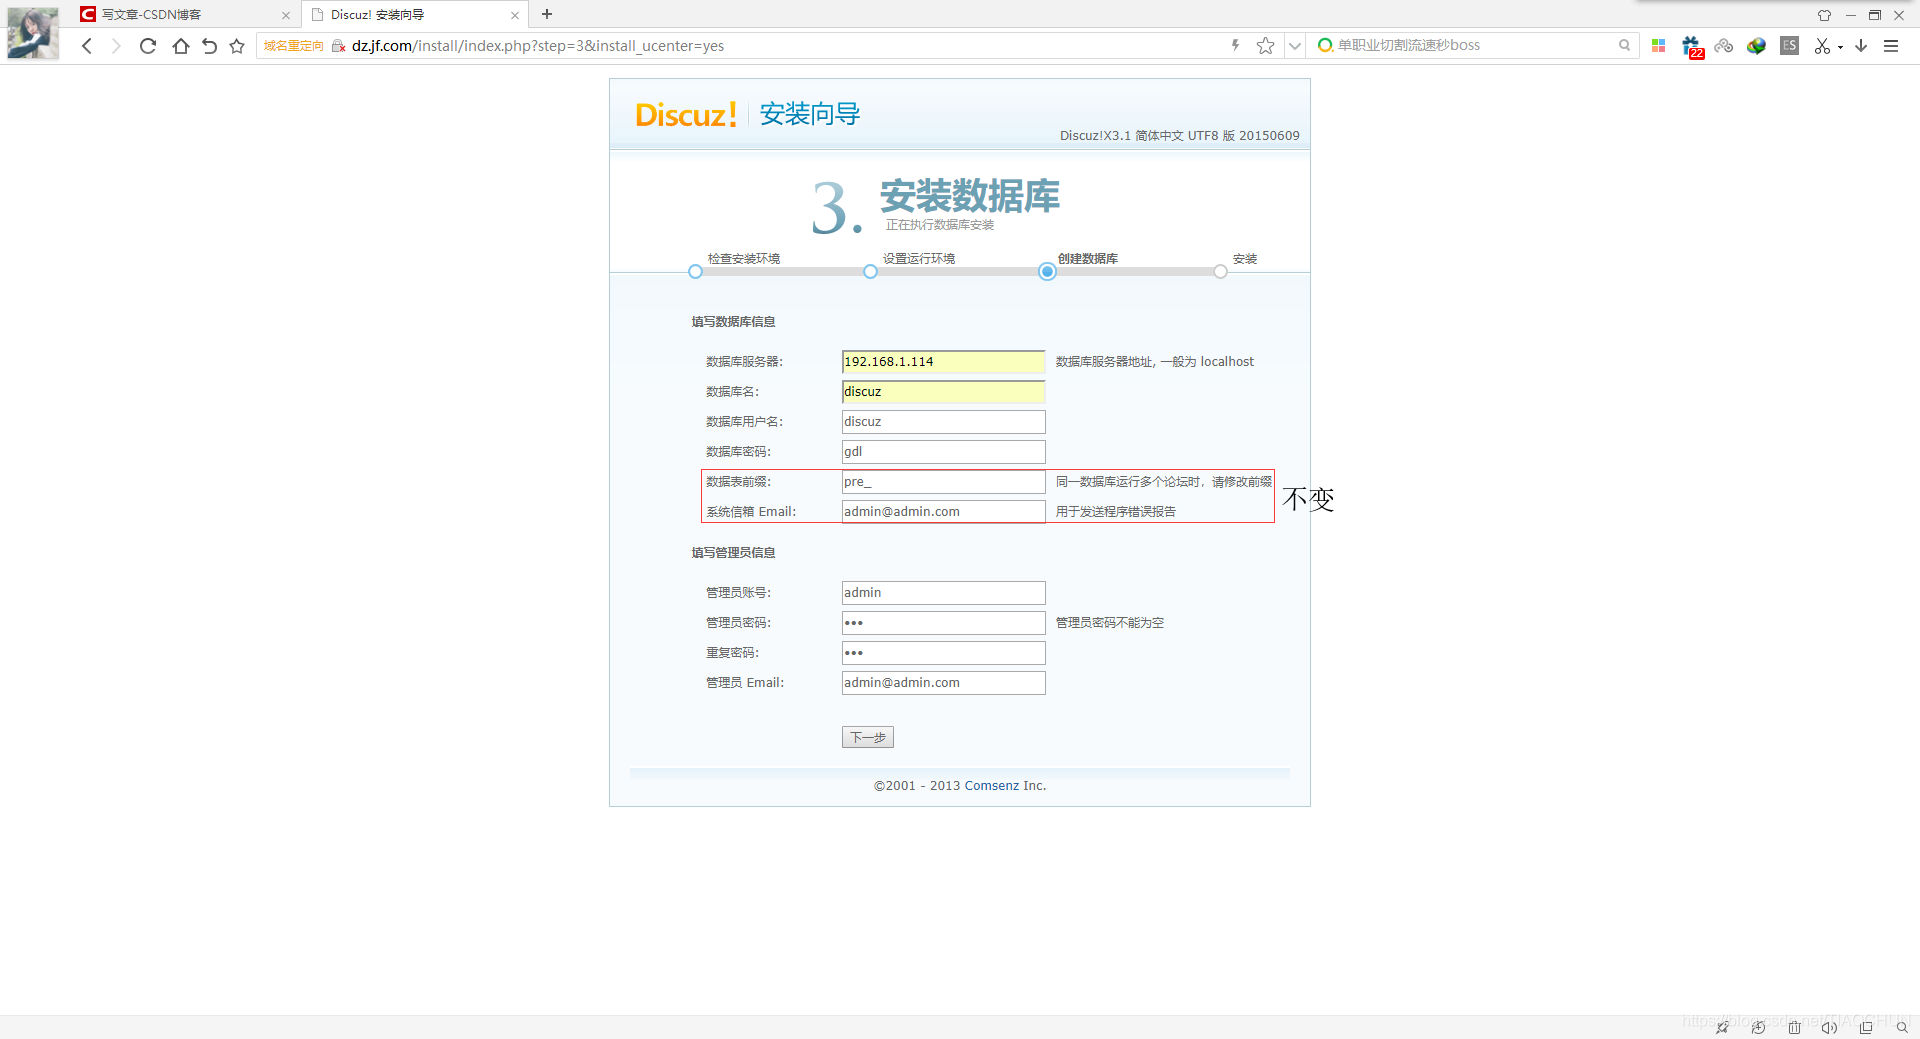
5.在MySQL创建Discuz数据库
MariaDB [(none)]> grant all on discuz.* to discuz@'192.168.1.113' identified by "gdl";   #创建MySQL连接用户
MariaDB [(none)]> create database discuz charset=utf8;   创建DIscuz数据库
MariaDB [(none)]> flush privileges;   #更新权限
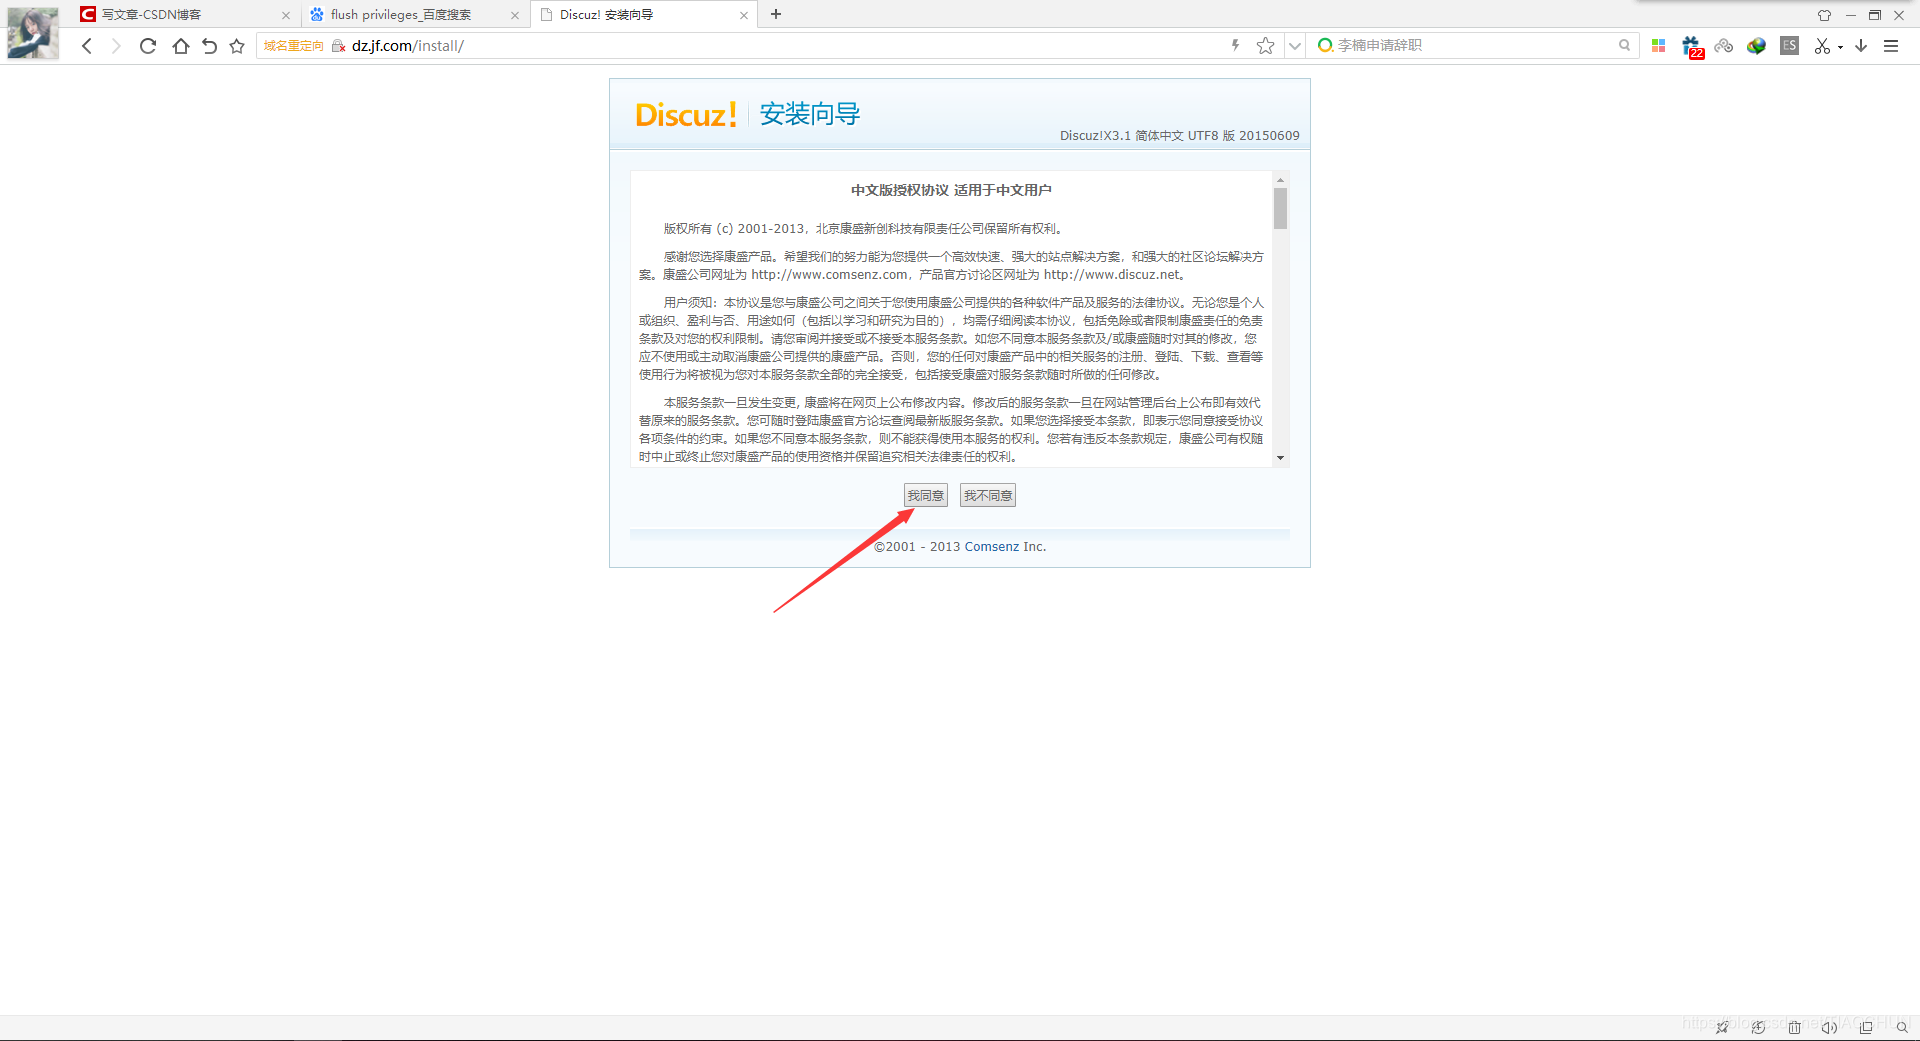
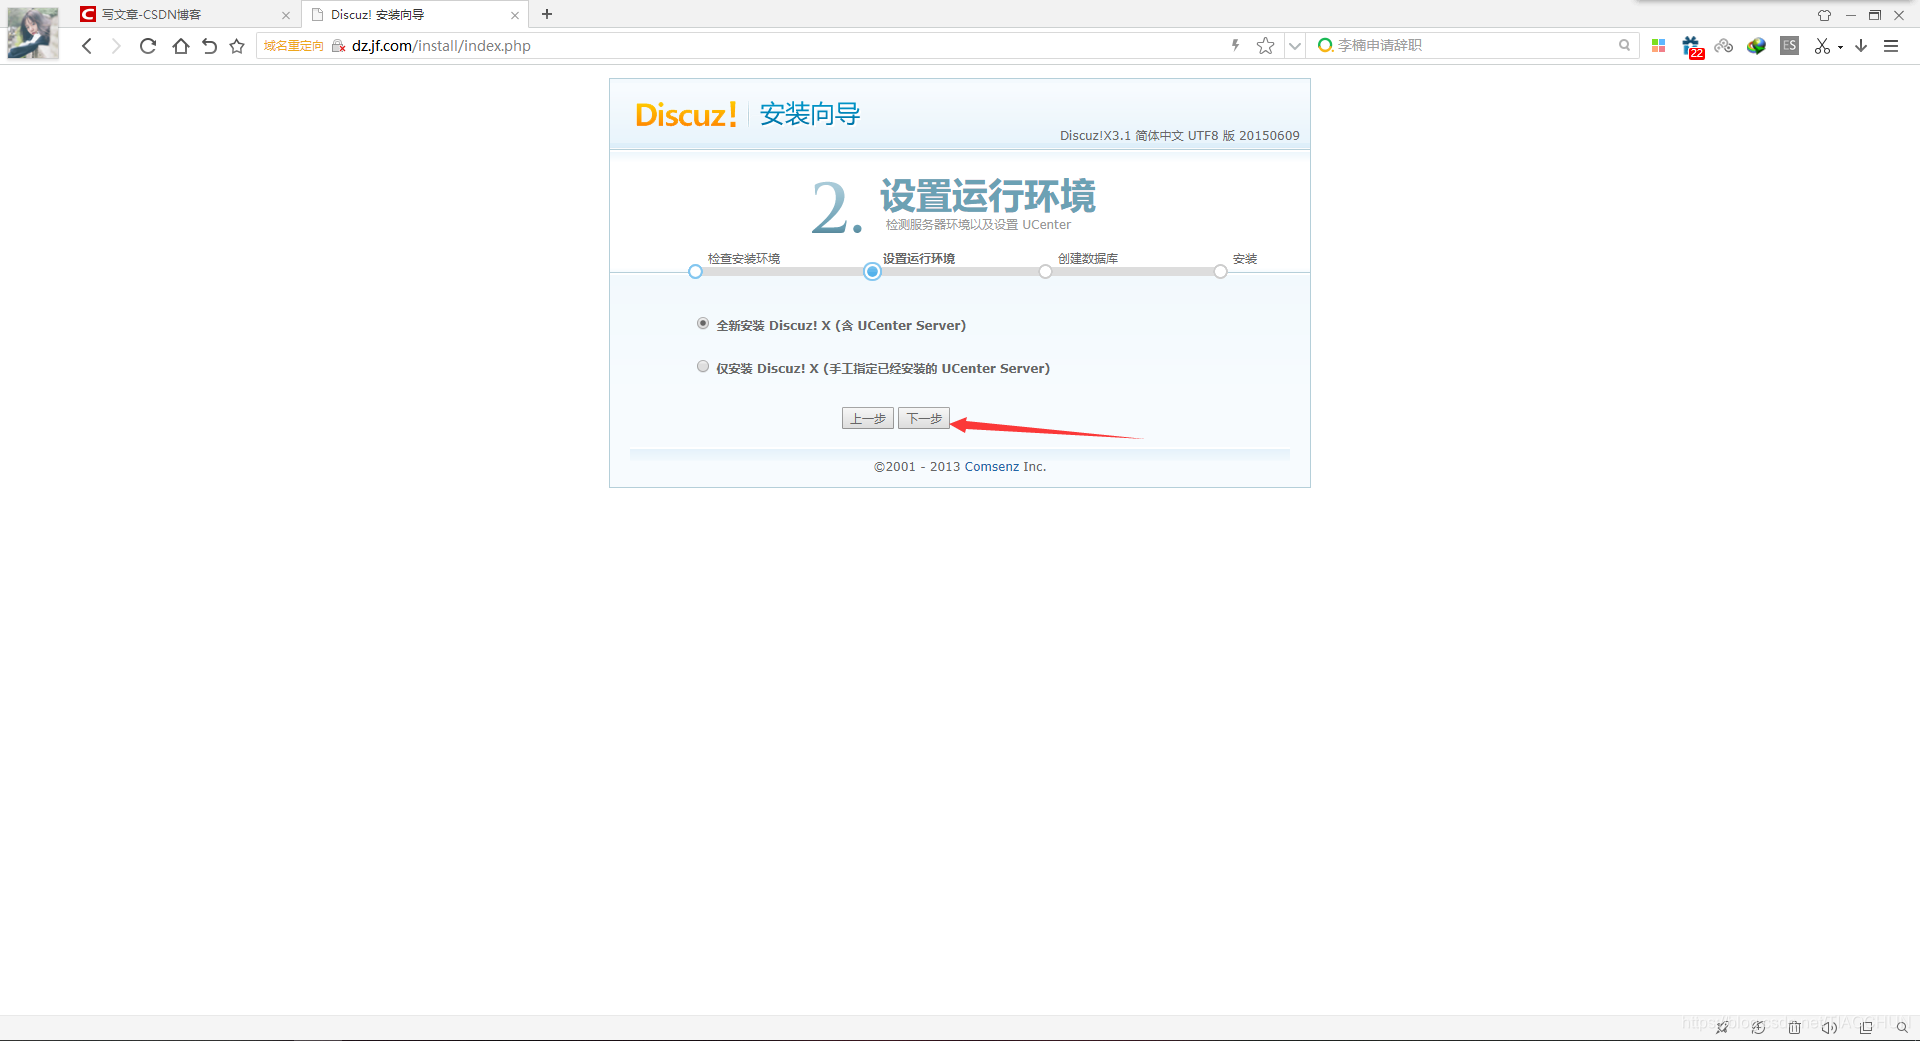
6.使用浏览器访问http://dz.jf.com,进行论坛安装

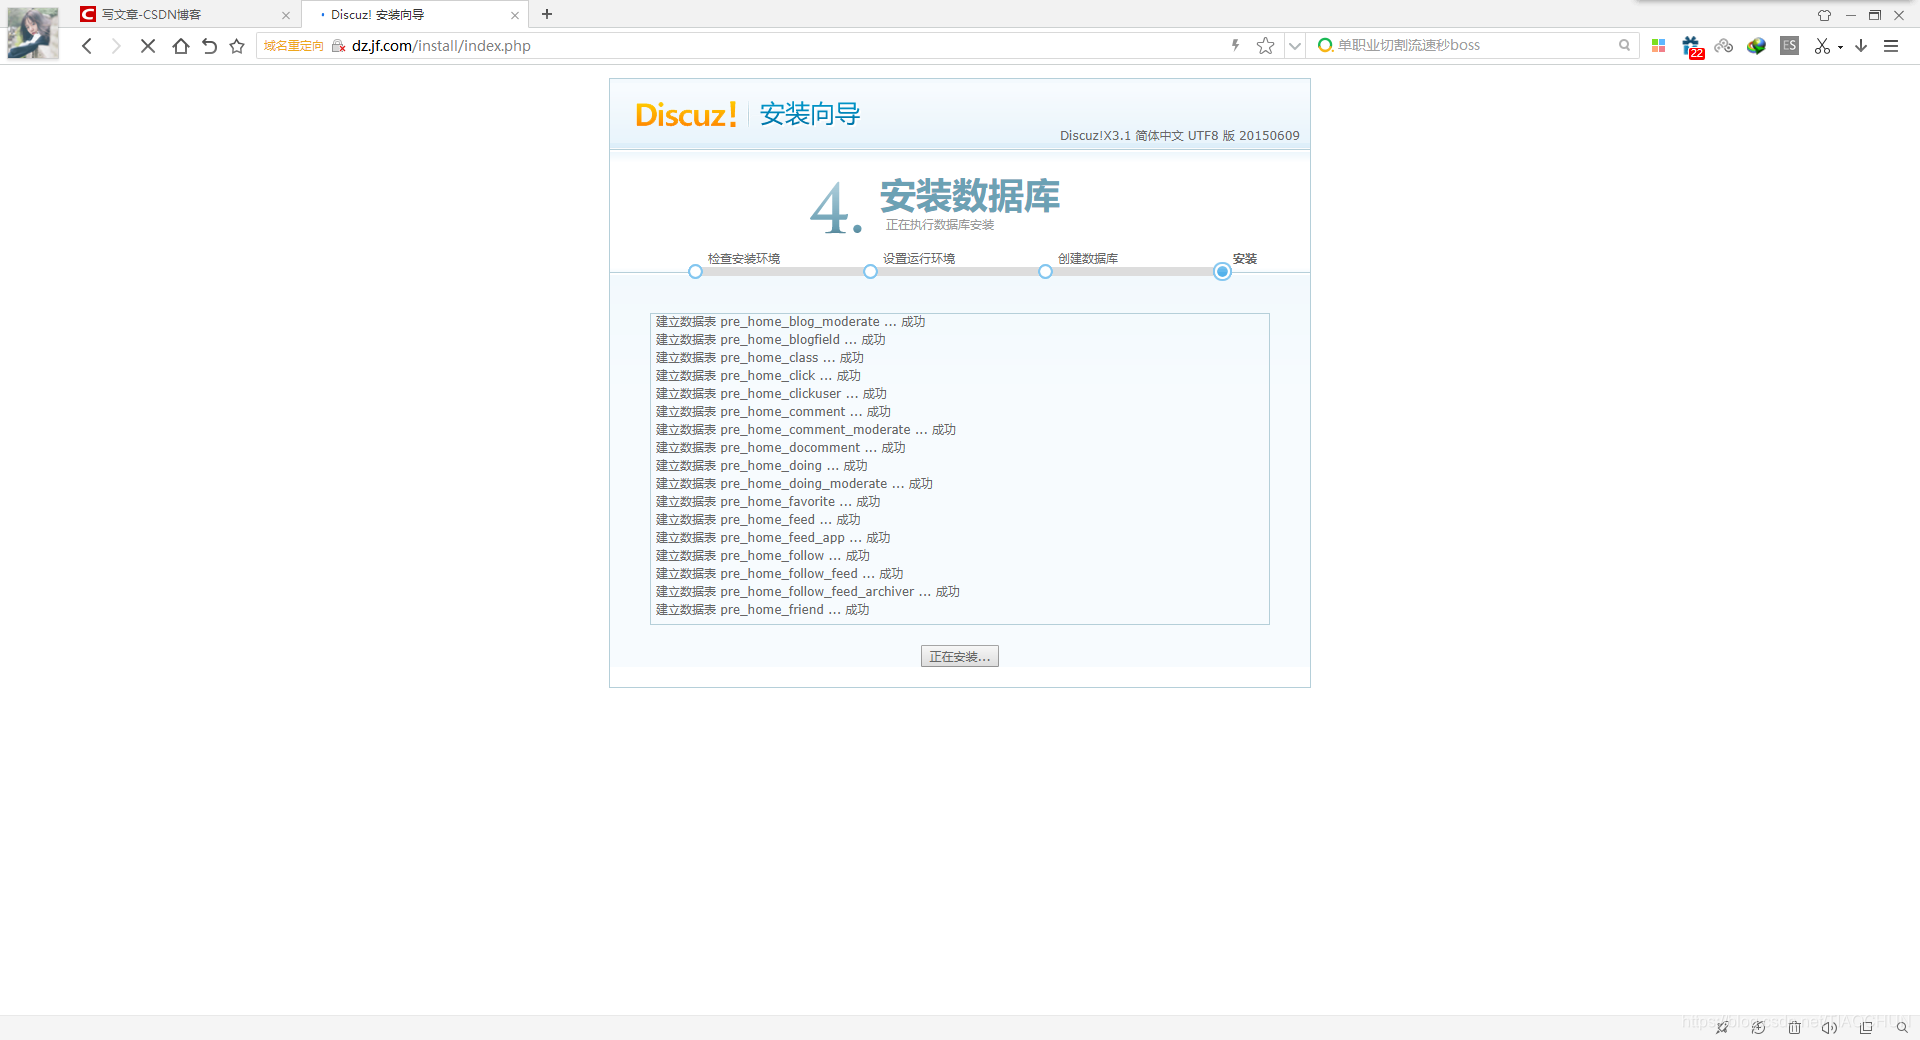
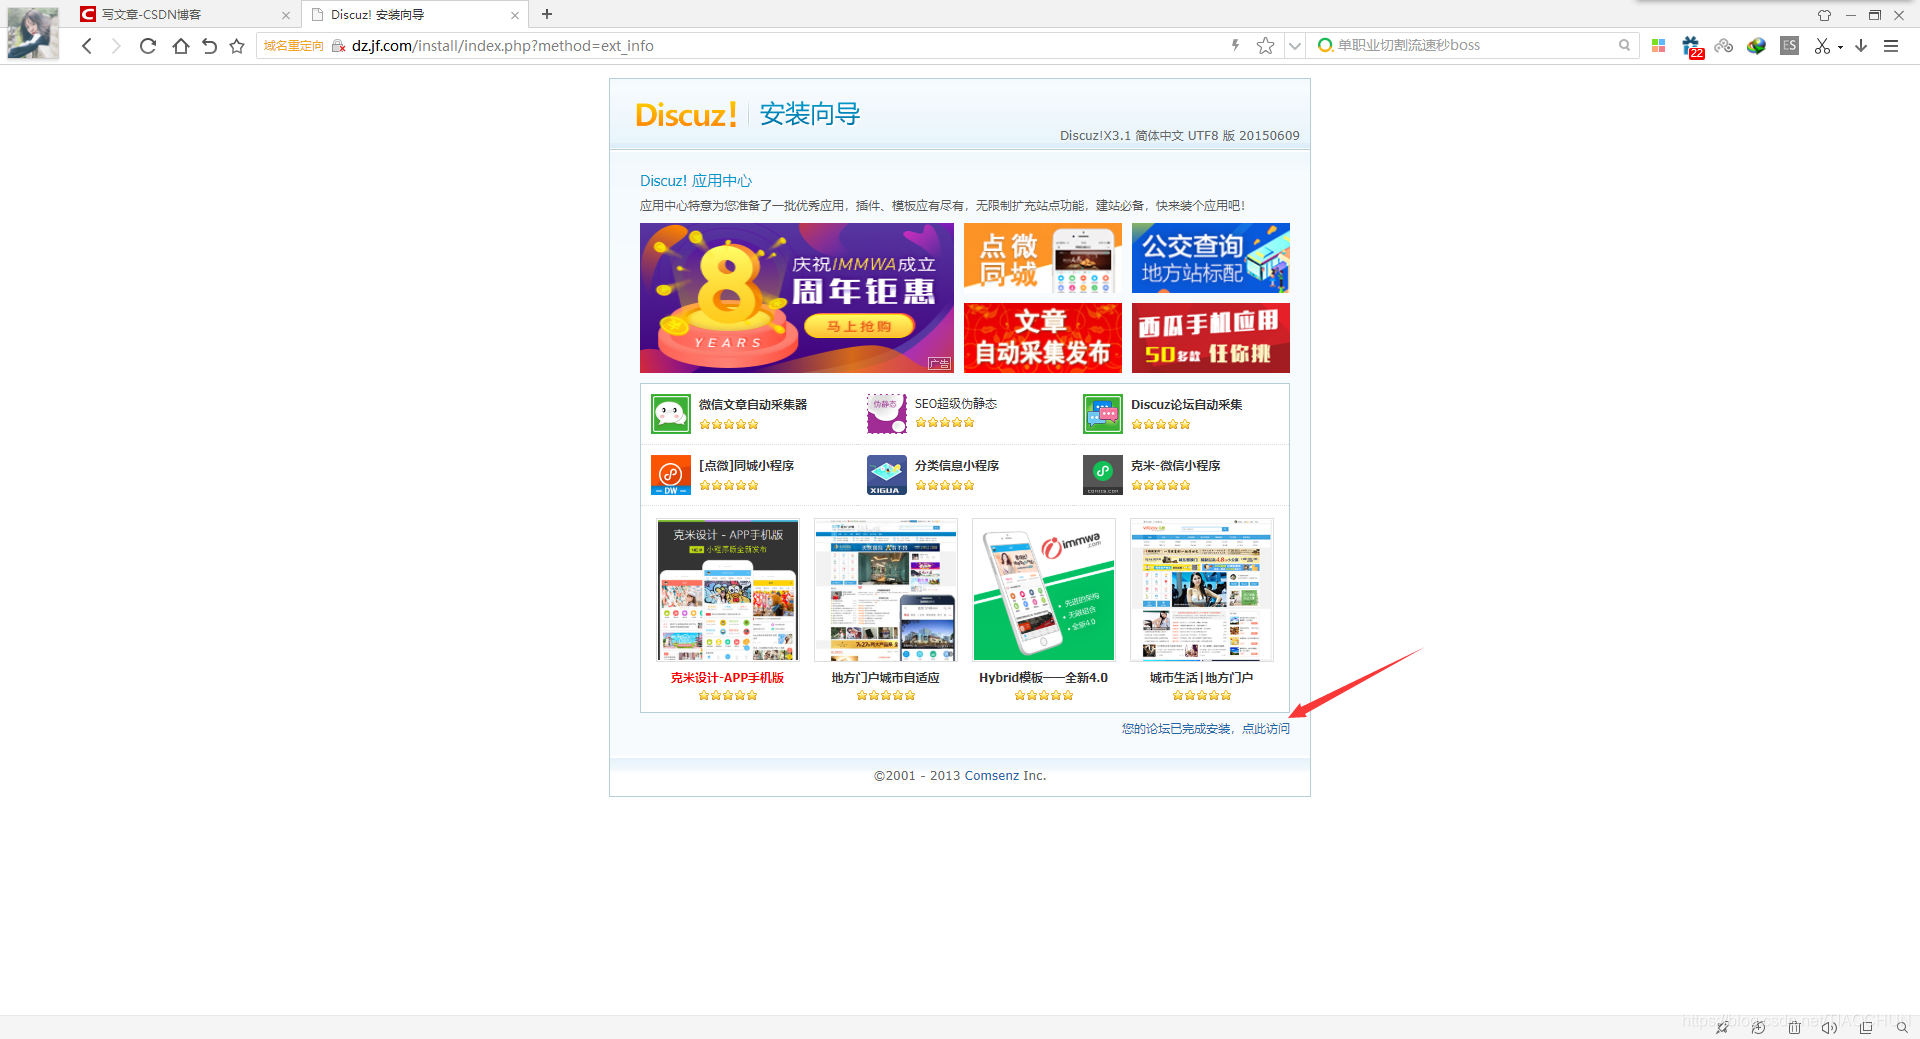
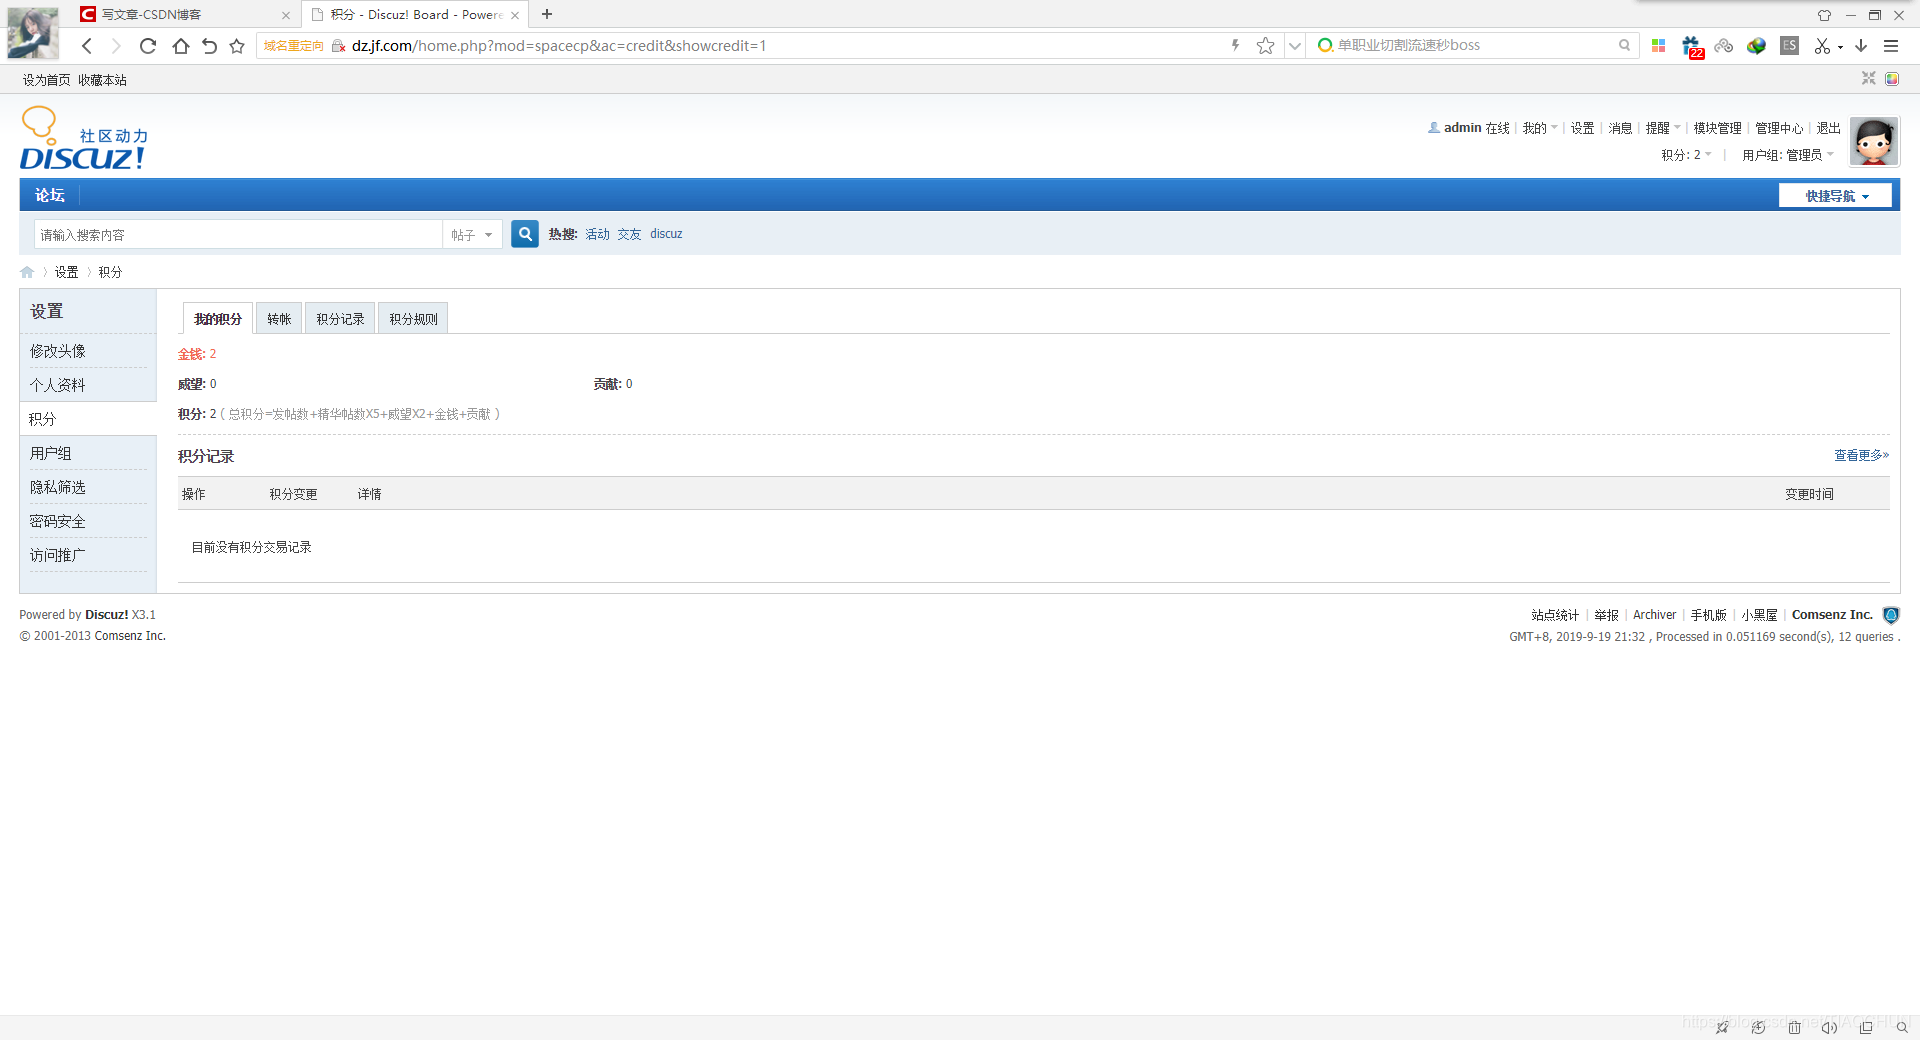
7.安装完毕,登录即可正常访问
三.安装WordPress
1.在/data/nginx目录下创建html_WP
[root@localhost nginx]# mkdir html_WP
2.下载WordPress软件包
[root@localhost nginx]# cd html_WP   #进入html_WP目录
[root@localhost ~]# wget -c https://wordpress.org/wordpress-4.9.7.tar.gz   #下载WordPress软件包
[root@localhost html_WP]# tar -xzf wordpress-4.9.7.tar.gz   #解压WordPress软件包
3.修改Nginx配置文件
[root@localhost html]# cd /data/nginx/conf   #进入配置文件目录
[root@localhost conf]# vim nginx.conf   #修改nginx.conf
**Discuz server:**
    server {
        listen       80;
        server_name  dz.jf.com;
        location / {
        root   /data/nginx/html;
        index  index.html index.php;
        }
	location ~ \.php$ {
        root           html;
        fastcgi_pass   127.0.0.1:9000;
        fastcgi_index  index.php;
		fastcgi_param  SCRIPT_FILENAME  /data/nginx/html$fastcgi_script_name;
        include        fastcgi_params;
		}
	}

**WordPress server:**
	server {
        listen       80;
        server_name  wp.jf.com;   #修改成需要的域名
        location / {
        root   /data/nginx/html_WP/wordpress;
        index  index.html index.php;
        }
	location ~ \.php$ {
        root           html;
        fastcgi_pass   127.0.0.1:9000;
        fastcgi_index  index.php;
		fastcgi_param  SCRIPT_FILENAME  /data/nginx/html_WP/wordpress$fastcgi_script_name;
        include        fastcgi_params;
		}
	}
4.重启Nginx服务
[root@localhost html]# /data/nginx/sbin/nginx -s reload
5.在MySQL创建WordPress数据库
MariaDB [(none)]> grant all on wordpress.* to wordpress@'192.168.1.113' identified by "gdl";   #创建MySQL连接用户
MariaDB [(none)]> create database wordpress;   创建WordPress数据库
MariaDB [(none)]> flush privileges;   #更新权限
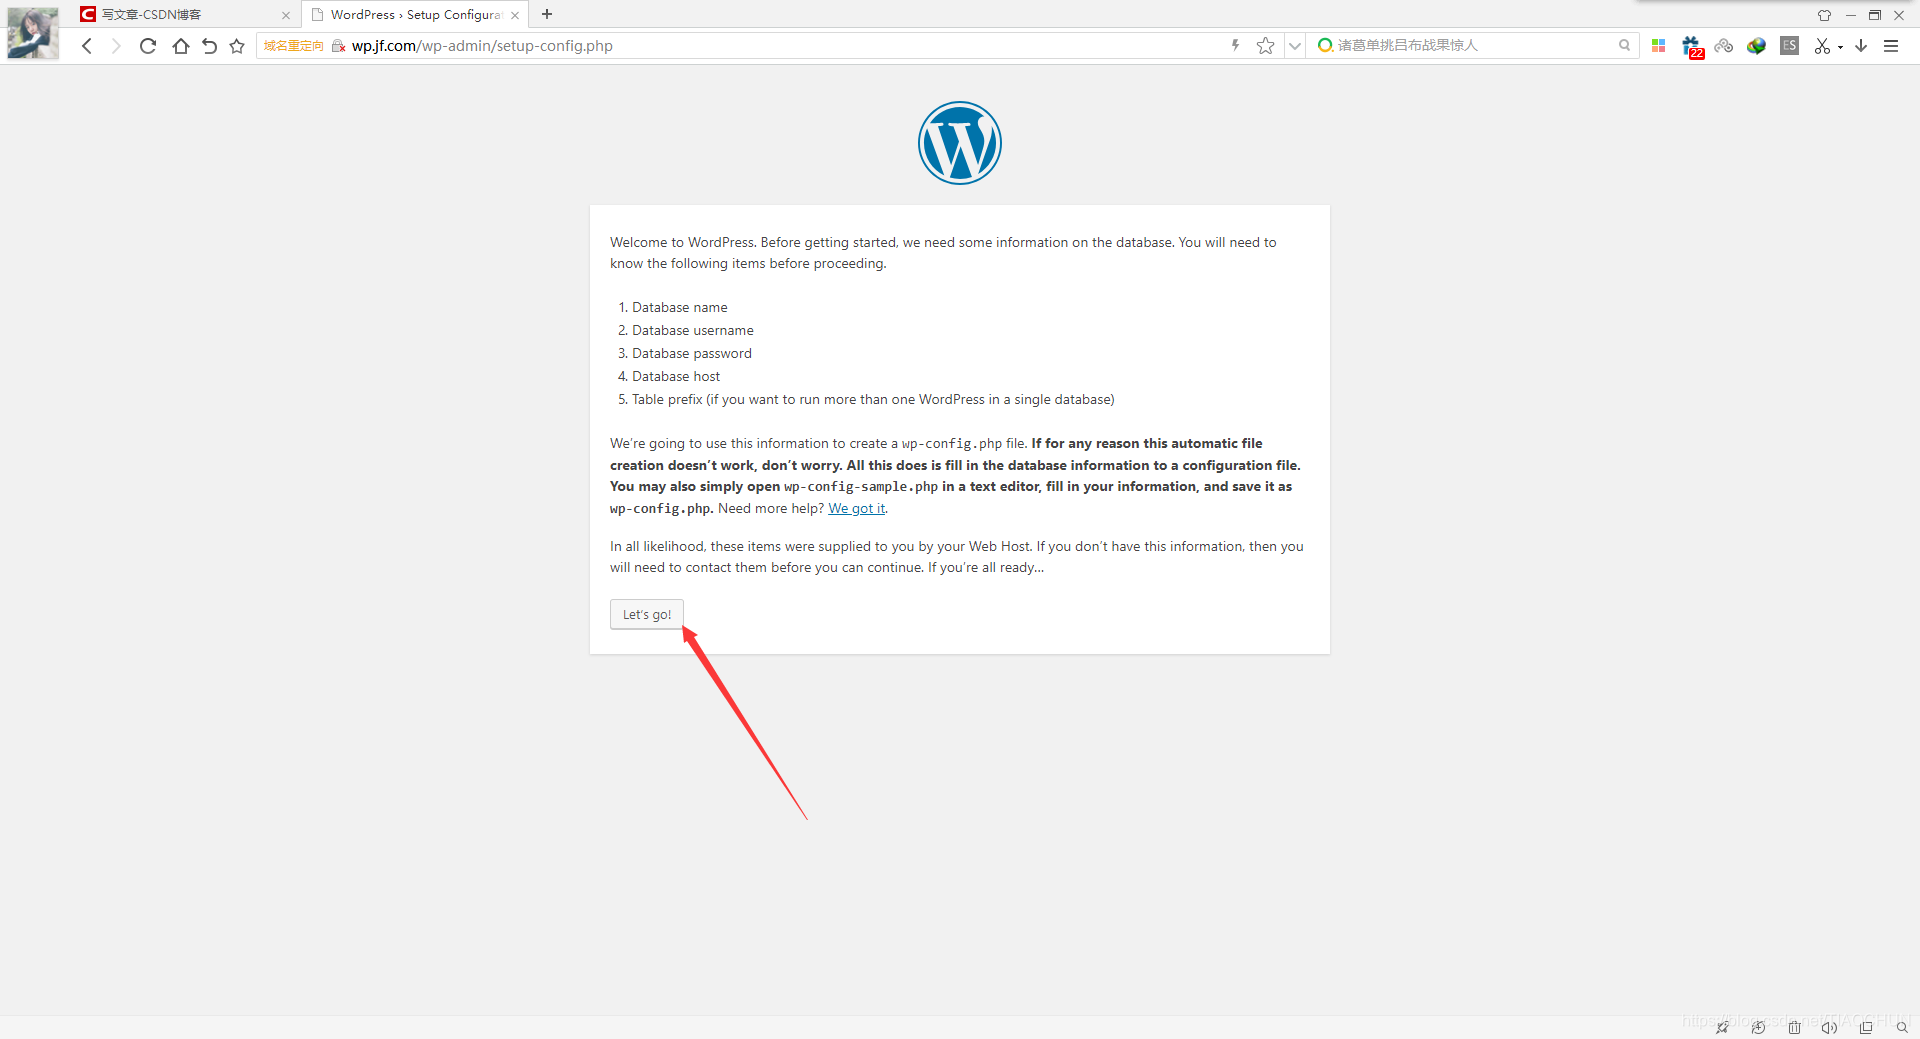
6.使用浏览器访问http://wp.jf.com,进行博客安装
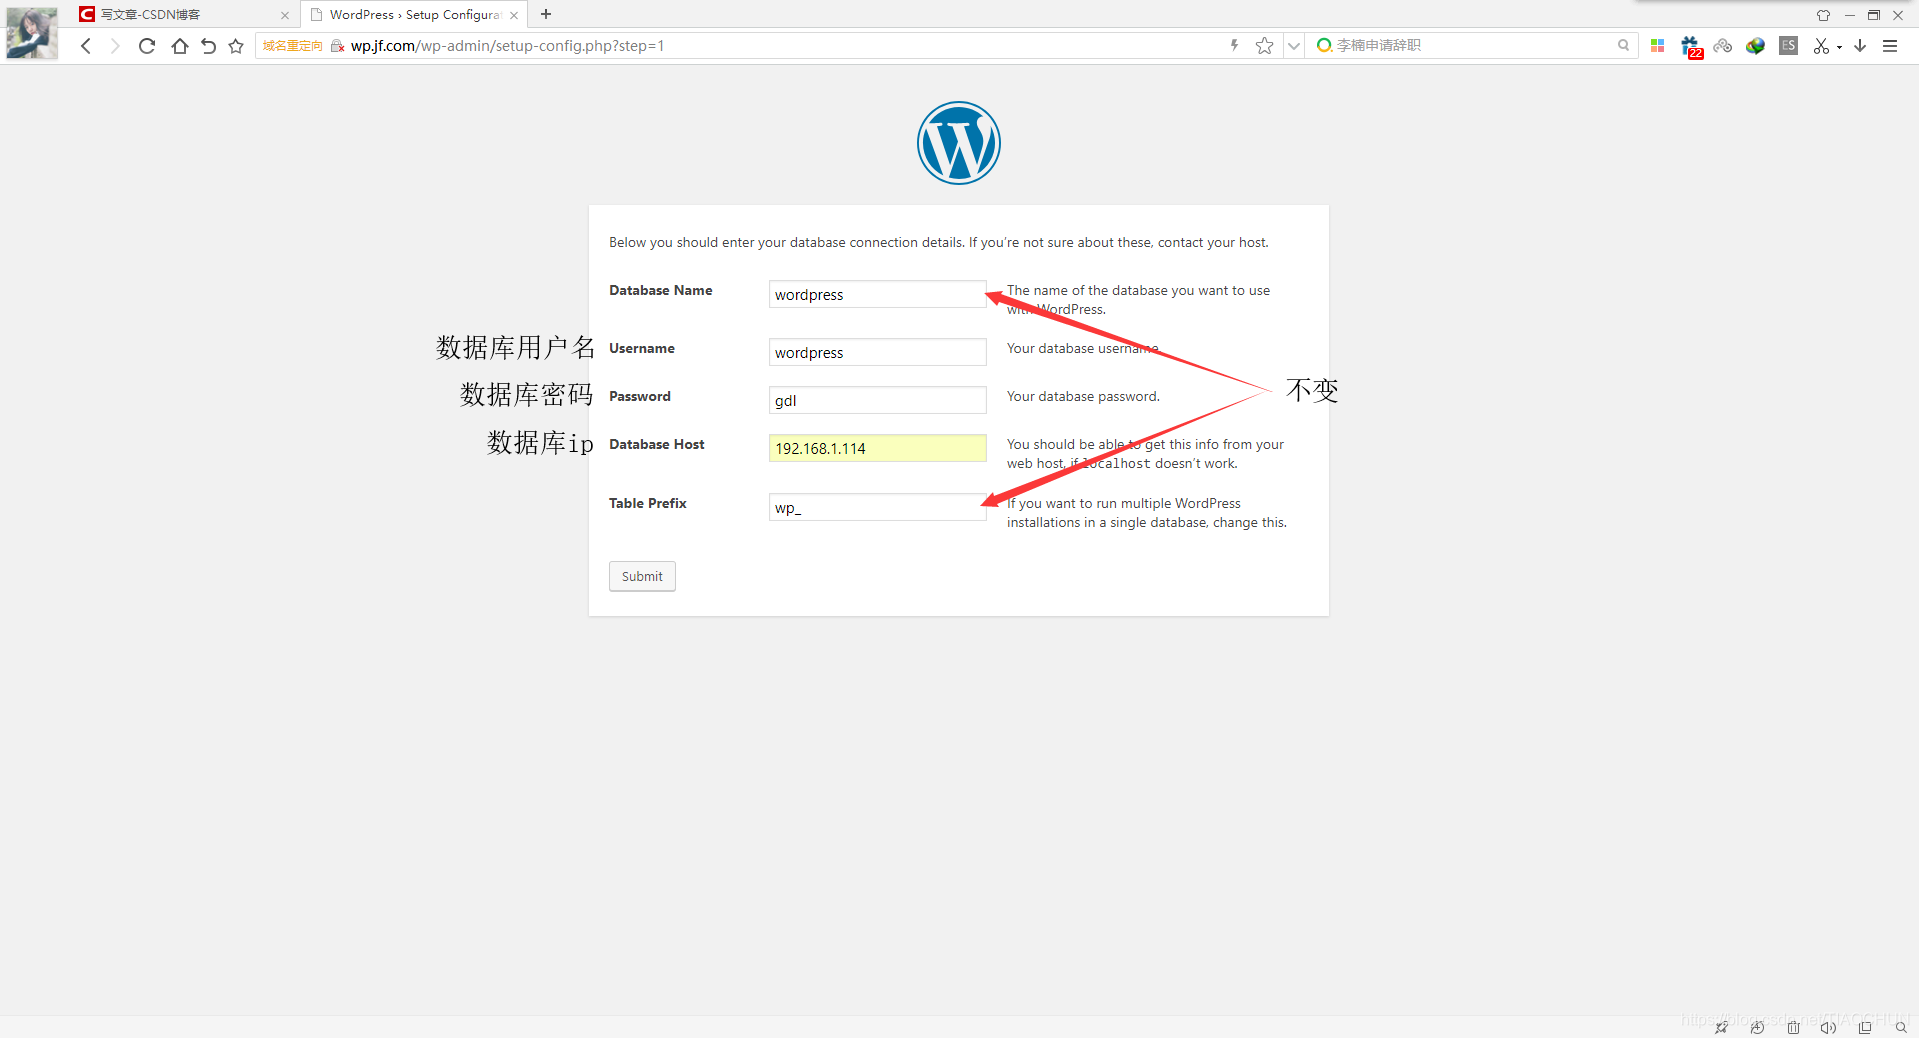
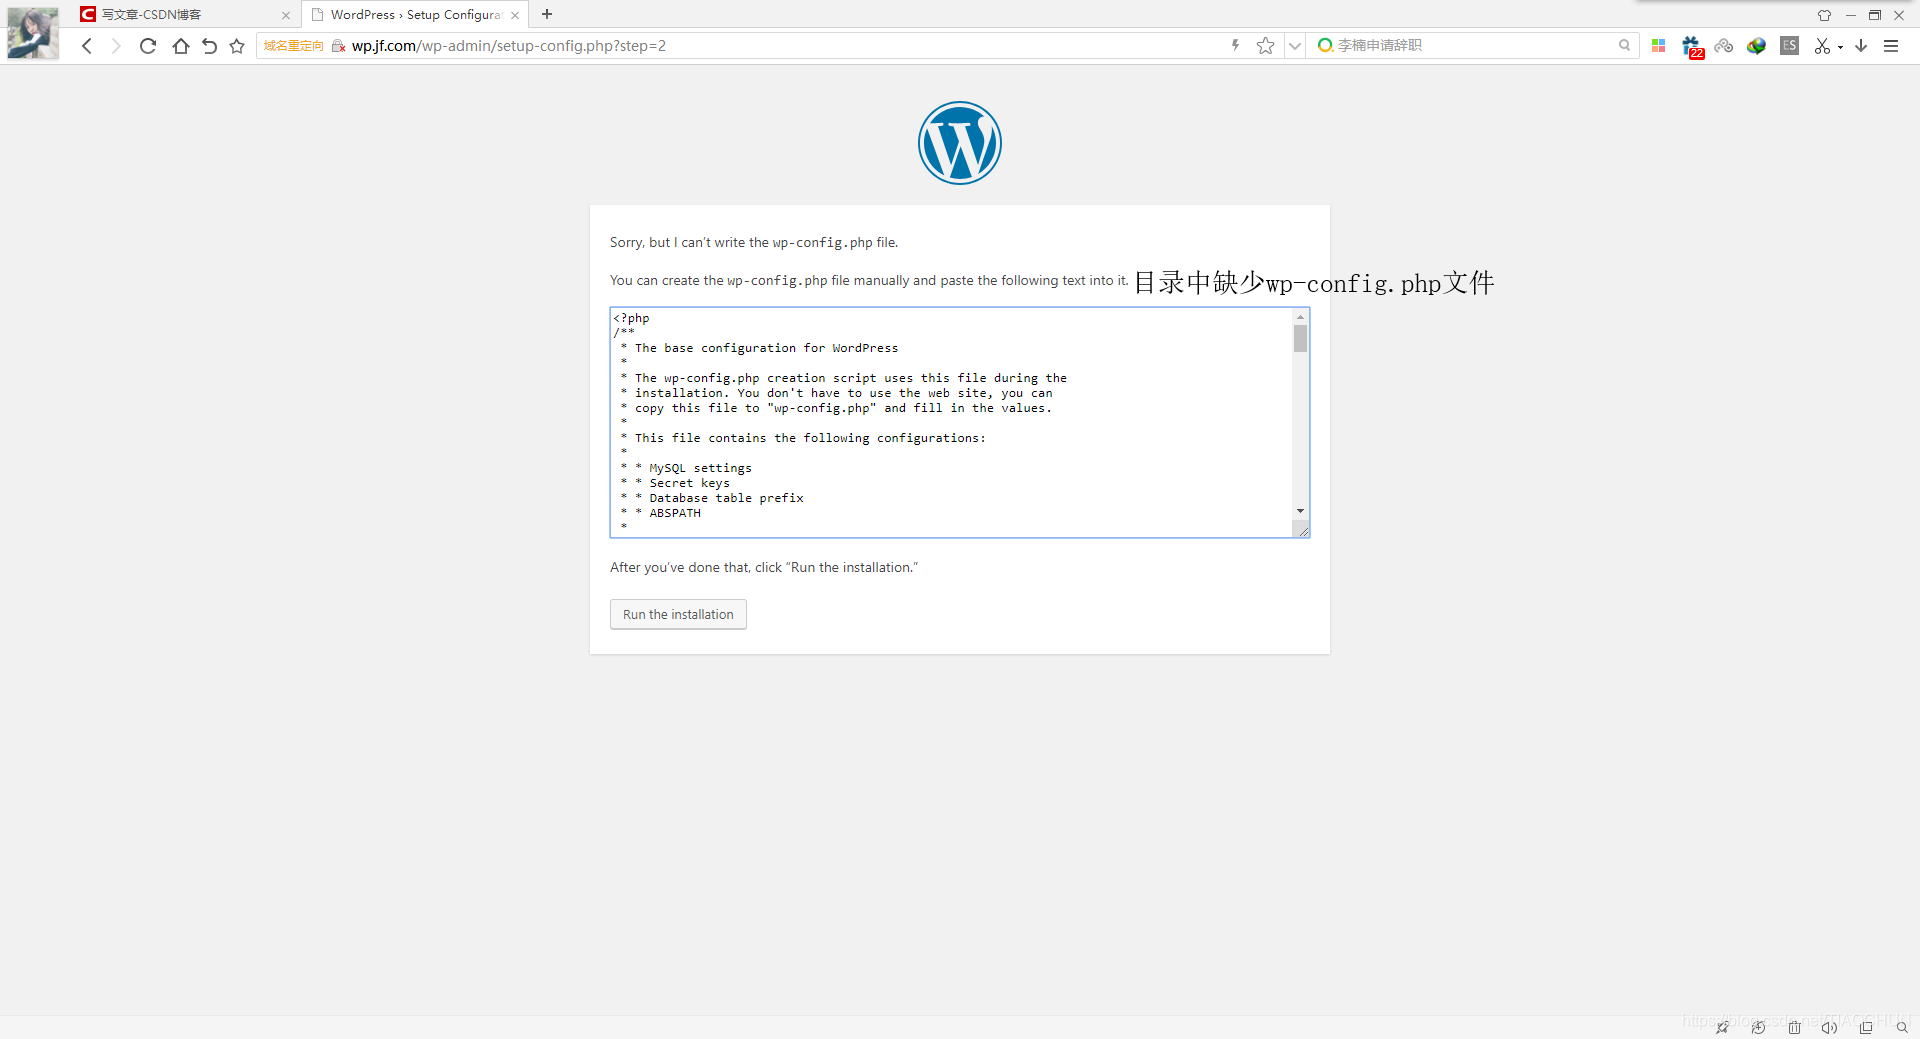
这一步提示缺少wp-config.php文件,进入目录创建wp-config.php
[root@localhost wordpress]# pwd   #当前位置
/data/nginx/html_WP/wordpress
[root@localhost wordpress]# touch wp-config.php   #创建 wp-config.php 空文件
[root@localhost wordpress]# vim wp-config.php   #修改 wp-config.php
<?php
/**
 * The base configuration for WordPress
 *
 * The wp-config.php creation script uses this file during the
 * installation. You don't have to use the web site, you can
 * copy this file to "wp-config.php" and fill in the values.
 *
 * This file contains the following configurations:
 *
 * * MySQL settings
 * * Secret keys
 * * Database table prefix
 * * ABSPATH
 *
 * @link https://codex.wordpress.org/Editing_wp-config.php
 *
 * @package WordPress
 */

// ** MySQL settings - You can get this info from your web host ** //
/** The name of the database for WordPress */
define('DB_NAME', 'wordpress');

/** MySQL database username */
define('DB_USER', 'wordpress');

/** MySQL database password */
define('DB_PASSWORD', 'gdl');

/** MySQL hostname */
define('DB_HOST', '192.168.1.114');

/** Database Charset to use in creating database tables. */
define('DB_CHARSET', 'utf8mb4');

/** The Database Collate type. Don't change this if in doubt. */
define('DB_COLLATE', '');

/**#@+
 * Authentication Unique Keys and Salts.
 *
 * Change these to different unique phrases!
 * You can generate these using the {@link https://api.wordpress.org/secret-key/1.1/salt/ WordPress.org secret-key service}
 * You can change these at any point in time to invalidate all existing cookies. This will force all users to have to log in again.
 *
 * @since 2.6.0
 */
define('AUTH_KEY',         '>`~lGI$2kdW)gk9-cF4q-zgX4qv_L~+J-Z*^?? K<5Lm%vg$fkOdZ;22=caRs%oK');
define('SECURE_AUTH_KEY',  'f>YG}MC-=LR%8]RBb58g/v?nW#+?#.Y7F@ctcdj^!wN9r*Lc0[fADdF+5oS25-ce');
define('LOGGED_IN_KEY',    's~`MBtq#RD<=:*i!V&HL()`1-&#:g[IO)kkBg8e[4aGy_3-q)!~6]zcF7H]zfz;|');
define('NONCE_KEY',        '$dfO <=?Hpm~$~<wB>%JS}(SWbbnw!.ong)k^g_ckm8=To?M)+MAF_lI5,F}p%RD');
define('AUTH_SALT',        'F@=!I#f7&V]Z:EY6wKq*cNA,%`itSDVnefSu*j<f4d8D?S+&C<Mhiqp]dYg90ia7');
define('SECURE_AUTH_SALT', '|VS#C@MNA7v75@B`w[|v}u8f>RoaN-yYJL>mj|Yzh>%kb(lJP@++X8U(-WB;v9:U');
define('LOGGED_IN_SALT',   'V?Br9-EY@#z_vK^AE,y^iZqp|(5B_vR.7ci[?Ld%Z@6o=ihJ{M.){ FHC;V0c}~_');
define('NONCE_SALT',       'WSTpDT2|HoK CWaZ`<Y~+Cjjy+Gky9stn1u{k%T|v3~Wh)*-9FlS[_c!4liiqQ4d');

/**#@-*/

/**
 * WordPress Database Table prefix.
 *
 * You can have multiple installations in one database if you give each
 * a unique prefix. Only numbers, letters, and underscores please!
 */
$table_prefix  = 'wp_';

/**
 * For developers: WordPress debugging mode.
 *
 * Change this to true to enable the display of notices during development.
 * It is strongly recommended that plugin and theme developers use WP_DEBUG
 * in their development environments.
 *
 * For information on other constants that can be used for debugging,
 * visit the Codex.
 *
 * @link https://codex.wordpress.org/Debugging_in_WordPress
 */
define('WP_DEBUG', false);

/* That's all, stop editing! Happy blogging. */

/** Absolute path to the WordPress directory. */
if ( !defined('ABSPATH') )
	define('ABSPATH', dirname(__FILE__) . '/');

/** Sets up WordPress vars and included files. */
require_once(ABSPATH . 'wp-settings.php');
?>
创建完成后继续进行:Run the installation
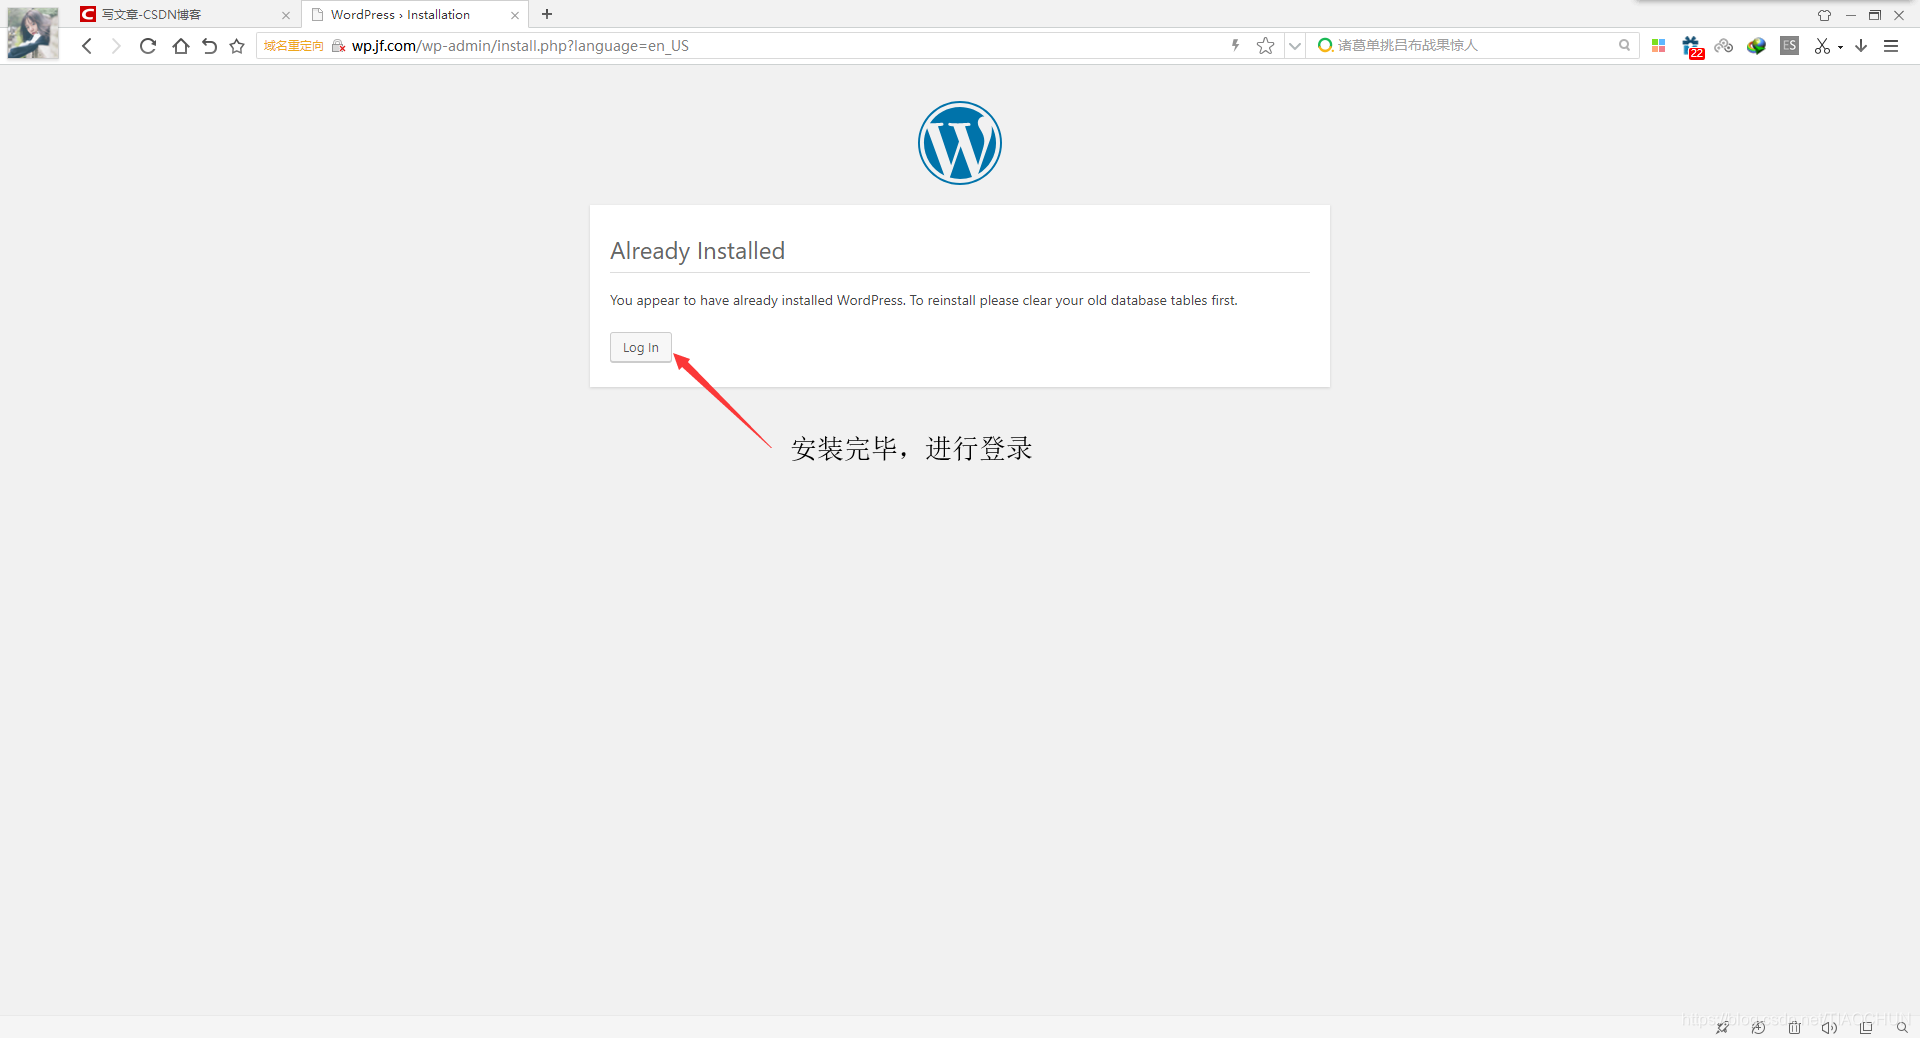
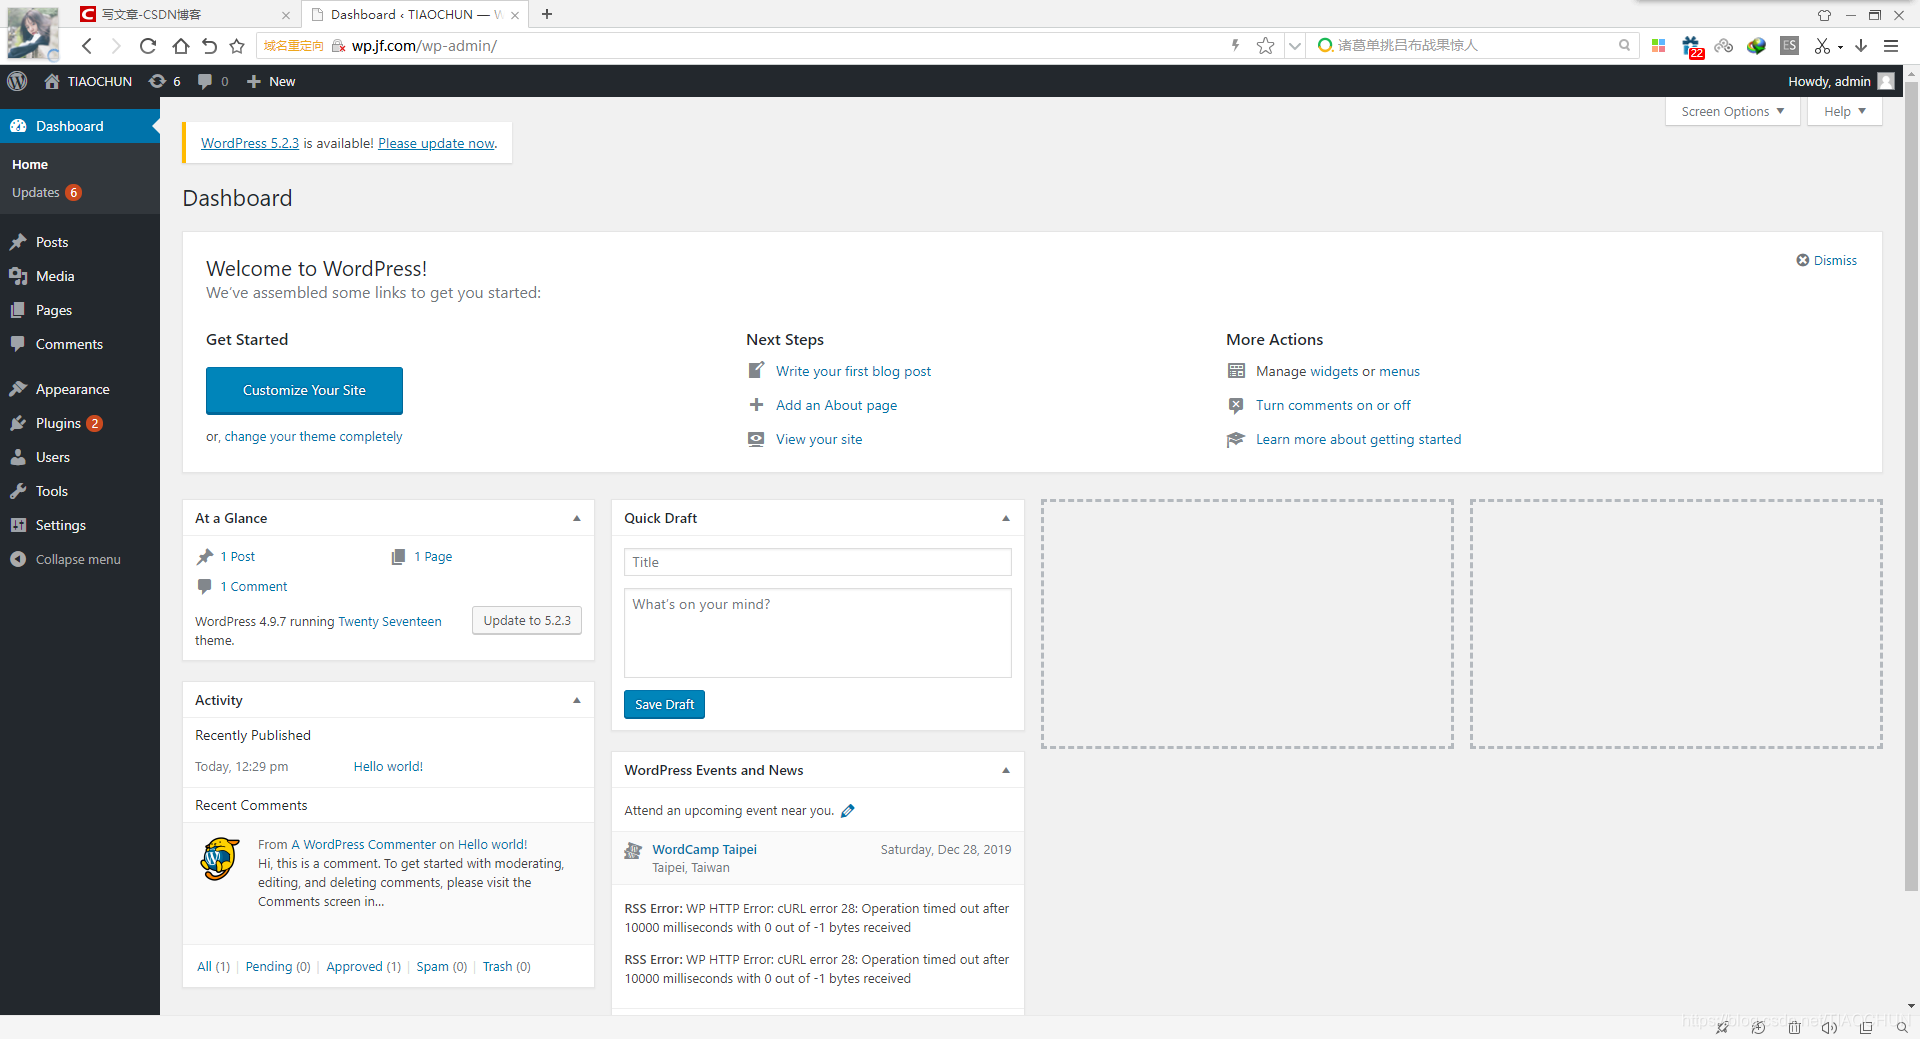
6.安装完毕登录完成,WordPress创建完成
四.当Discuz主数据库宕机时,可以使用以下方法解决
1.修改 /data/nginx/html/config/config_ucenter.php 文件
<?php


define('UC_CONNECT', 'mysql');

define('UC_DBHOST', '192.168.1.114');    #修改为从库192.168.1.115
define('UC_DBUSER', 'discuz');
define('UC_DBPW', 'gdl');
define('UC_DBNAME', 'discuz');
define('UC_DBCHARSET', 'utf8');
define('UC_DBTABLEPRE', '`discuz`.pre_ucenter_');
define('UC_DBCONNECT', 0);

define('UC_CHARSET', 'utf-8');
define('UC_KEY', 'q3O50aF90eeamd3ak5neT8B6CdZ969oaMav0e2Ve56T0sfT5Q16cy92dQaI9u2M
3');
define('UC_API', 'http://dz.jf.com/uc_server');
define('UC_APPID', '1');
define('UC_IP', '');
define('UC_PPP', 20);
?>
2.修改 /data/nginx/html/config/config_global.php 文件
// ----------------------------  CONFIG DB  ----------------------------- //
$_config['db']['1']['dbhost'] = '192.168.1.114';    #修改为从库192.168.1.115
$_config['db']['1']['dbuser'] = 'discuz';
$_config['db']['1']['dbpw'] = 'gdl';
$_config['db']['1']['dbcharset'] = 'utf8';
$_config['db']['1']['pconnect'] = '0';
$_config['db']['1']['dbname'] = 'discuz';
$_config['db']['1']['tablepre'] = 'pre_';
$_config['db']['slave'] = '';
$_config['db']['common']['slave_except_table'] = '';
3.修改 /data/nginx/html/uc_server/data/config.inc.php 文件
<?php
define('UC_DBHOST', '192.168.1.114');     #修改为从库192.168.1.115
define('UC_DBUSER', 'discuz');
define('UC_DBPW', 'gdl');
define('UC_DBNAME', 'discuz');
define('UC_DBCHARSET', 'utf8');
define('UC_DBTABLEPRE', 'pre_ucenter_');
define('UC_COOKIEPATH', '/');
define('UC_COOKIEDOMAIN', '');
define('UC_DBCONNECT', 0);
define('UC_CHARSET', 'utf-8');
define('UC_FOUNDERPW', '9411acc1a52e4a0a8550691785a1122b');
define('UC_FOUNDERSALT', 'q3M5Wa');
define('UC_KEY', 'K3o56aP9ieAaYdGa659ek8w6kd19o9taJai0C28eu660Yfb5Q1Ecw9WdkaM9w2U
3');
define('UC_SITEID', 's3K5Bac9rejaLdgap5je58h64dp959TaJat0y2XeS6y0CfL5t1icl9OdRa89
J273');
define('UC_MYKEY', 'Q3Y5JaX9he6a6dKaH5ZeA856wdH9P90aJak0Y2ze56v0tfi5U1lcj9XdfaM9V
2g3');
define('UC_DEBUG', false);
define('UC_PPP', 20);
4.再次刷新页面就可以访问新数据库,但是主从复制失效。
五.当WordPress主数据库宕机时,可以使用以下方法解决
1.修改 /data/nginx/html_WP/wordpress/wp-config.php 文件
修改23行数据库ip
/** MySQL hostname */
define('DB_HOST', '192.168.1.114');    #修改为从库192.168.1.115
2.再次刷新页面就可以访问新数据库,但是主从复制失效。


 6738
6738

 被折叠的 条评论
为什么被折叠?
被折叠的 条评论
为什么被折叠?
 到【灌水乐园】发言


