


 本文介绍如何在Ubuntu 14.04系统中安装并配置Android NDK r10e版本,包括下载、设置权限、安装及环境变量配置等步骤。此外,还介绍了使用OLLVM进行代码混淆的方法,适用于提高应用程序的安全性。
环境
Ubuntu14.04(64位)
安装
Android Ndk
版本:android-ndk-r10e-linux-x86_64.bin (若从Google官网无法下载,可以在命令行下输入下面的语句来下载)
$ wget -c http://dl.google.com/android/ndk/android-ndk-r10e-linux-x86_64.bin
设置可执行权限
chmod 777 android-ndk-r10e-linux-x86_64.bin
执行
./android-ndk-r10e-linux-x86_64.bin
配置环境变量
1.在文件夹下打开etc目录,查找profile文件,找到后打开编辑(也可以vim /etc/profile),在底部加入:
# set NDK env
export ANDROID_NDK=/home/cxg/android/ndk/android-ndk-r10e
export PATH=$ANDROID_NDK:$PATH
2.保存文件后在命令行输入
$ source /etc/profile
使环境变量生效,这样,整个NDK配置就结束了
测试NDK
测试环境变量 在命令行输入
echo $ANDROID_NDK
若显示为原先的路径,表示环境变量有效
使用OLLVM进行混淆
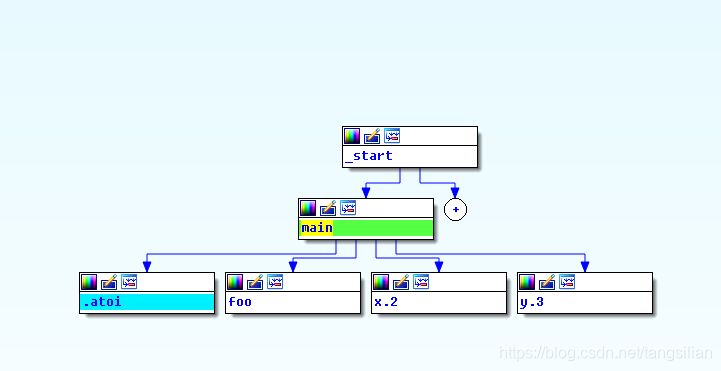
混淆前
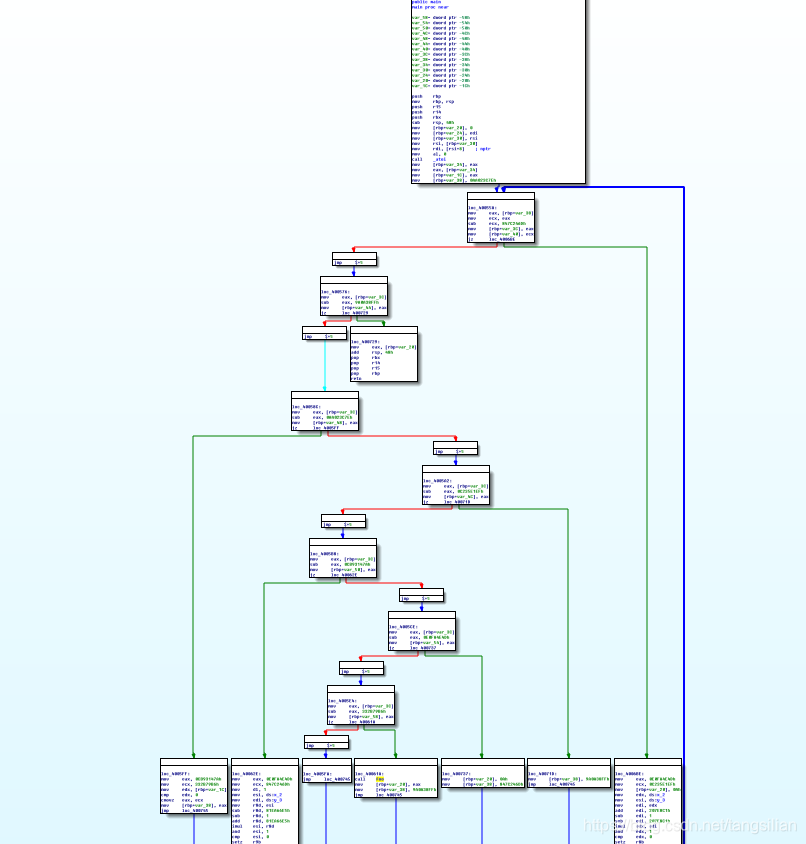
混淆后
mac上使用o-llvm的混淆:
git clone https://github.com/GoSSIP-SJTU/Armariris.git
cd Armariris
mkdir build
cd build
cmake ../ -DCMAKE_BUILD_TYPE=Release -DLLVM_TARGETS_TO_BUILD="ARM;X86;AArch64"
make -j8
vim test.c
#include <stdio.h>

void fun(){
    printf("test 3333\n");
}

int main(int argc, char *argv[]) {
    printf("test 1111\n");
    printf("test 2222\n");
    fun();
    return 0;
}
./clang -isysroot /Applications/Xcode.app/Contents/Developer/Platforms/MacOSX.platform/Developer/SDKs/MacOSX.sdk -mllvm -sobf test.c -o test


 874
874

 被折叠的 条评论
为什么被折叠?
被折叠的 条评论
为什么被折叠?
 到【灌水乐园】发言


